
Winning your first matches in Age of Empires 2 has almost nothing to do with lightning-fast clicking speed and everything to do with eliminating idle Town Center time, respecting unit armor classes, and executing a rigid Dark Age build order. Beginners routinely collapse within the first fifteen minutes because they let their Town Center sit dormant, float thousands of unspent wood while starving for food, or feed expensive cavalry into cheap spearmen. If you want to survive the unforgiving multiplayer ladder or beat the Extreme AI, you need to understand the underlying mathematics of resource decay, hotkey automation, and tactical power spikes before you place a single wall.
The Town Center Never Sleeps: Mastering Continuous Villager Production
The single most catastrophic mistake you can make in Age of Empires II: Definitive Edition is letting your Town Center (TC) stop producing villagers. Every villager costs exactly 50 food and takes 25 seconds to train. In return, a working villager generates roughly 20 to 24 resources per minute depending on the assigned task and technology upgrades. If your TC sits idle for just 50 seconds during the Dark Age, you have permanently sacrificed two working villagers. That might sound minor on paper, but twenty minutes later, that compounding deficit translates to hundreds of missing resources, a delayed Castle Age click, and an army that gets overrun by sheer economic brute force.
To prevent this, never select your TC by clicking it on the map with your mouse. Go into your settings and assign an easily accessible key for the "Select All Town Centers" command—many players map this to an extra mouse side button, Spacebar, or Tab. Whenever you are managing a scouting run or placing a lumber camp, tap that hotkey and queue up two or three villagers. Do not queue fifteen villagers at once; doing so locks up hundreds of food that could be spent on advancing ages or researching crucial technologies like Loom. Keep two villagers queued at all times so production never stalls, while leaving the rest of your stockpiled food available for tactical pivots.
Much like managing worker lines in other complex strategy titles, where economic throughput determines combat survival—a rhythm you can see in detail within our Empires of the Undergrowth fast leveling and gold farming guide—your worker count in AoE2 should generally climb until it makes up roughly 50 to 60 percent of your total 200-population limit. That means you should aim for 100 to 130 active economy units in a standard game before you even think about cutting off villager production.

🎮 RUSH
Looking to experience this game? Grab your digital key directly on our store for $4.99.
View on Steammoz Store →The Counter Matrix: Reading Hidden Armor Classes and Trash Units
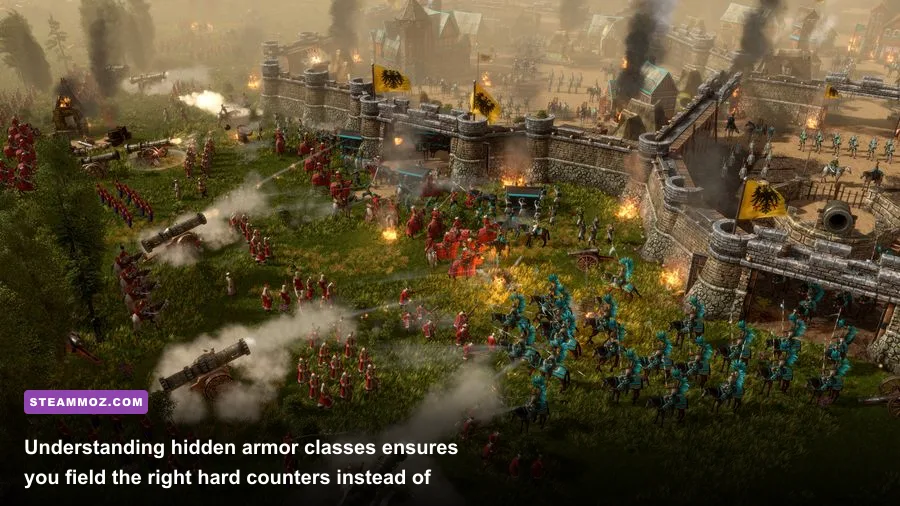
Age of Empires 2 does not use a simple rock-paper-scissors dynamic. Instead, combat relies on hidden armor classes that deal massive flat bonus damage against specific target tags. A generic Spearman only has 3 base melee attack, which looks laughably weak against a Knight with 10 attack and 100 hit points. However, Spearmen possess a hidden +15 attack bonus against the Cavalry class (+22 for Pikemen, +32 for Halberdiers). That massive bonus ignores conventional base armor, shredding expensive mounted units in seconds. If you charge cavalry headlong into a wall of cheap spears, you are throwing the match away.
Mastering this combat ecosystem requires understanding the divide between "Gold Units" (power units like Knights, Crossbowmen, and Siege) and "Trash Units" (units costing only Wood and Food, such as Skirmishers, Spearmen, and the Scout Cavalry line). Gold is a finite map resource. Once your initial three gold piles exhaust, whoever squandered their gold on bad trades faces economic bankruptcy. Skirmishers deal massive bonus damage against standard archers and carry inherent pierce armor, allowing them to trade at incredible efficiency against costly Crossbowmen armies. Understanding when to field trash units to soak damage while keeping your gold-heavy units safely firing from behind is what separates beginners from competitive strategists.
| Unit Archetype | Hard Countered By | Bonus Damage / Mechanic Engine | Gold Cost Efficiency |
|---|---|---|---|
| Archer / Crossbowman | Skirmishers, Mangonels | Skirmishers carry +3 to +4 bonus vs Archers plus high pierce armor; Mangonels deal lethal flat area-of-effect damage | Extreme: Skirmishers cost 0 gold (25 Food, 35 Wood), nullifying enemy gold investments |
| Knight / Cavalier | Spearman line, Monks, Camels | Pikemen boast +22 bonus damage vs Cavalry; Camels attack fast with +9 to +18 anti-cav bonus; Monks convert from range | High: Spearmen cost zero gold; converting a 75-gold Knight yields a +150 gold swing |
| Spearman / Pikeman | Archers, Skirmishers, Militia line | Archers exploit zero base pierce armor; Swordsmen carry massive +anti-infantry bonus damage | Moderate: Spearmen are cheap, but dying before closing distance wastes crucial food stockpiles |
| Scout / Light Cavalry | Spearman line, heavy melee infantry | Spearmen deal devastating anti-cavalry spikes; pure melee wall prevents raiding paths | Very High: Scout line runs on pure food; losing them hurts tempo but preserves gold for Siege |
| Mangonel / Onager | Cavalry, Eagles, Springald/Bombard | Minimum firing range creates a dead zone; slow reload allows quick units to flank and destroy | High Risk: Mangonels cost 160 Wood and 135 Gold; losing one to single scout costs massive momentum |
Keep these counter mechanics front and center when you scout your opponent's military buildings. If you reveal two Archery Ranges during the Feudal transition, immediately throw down an Archery Range of your own to produce Skirmishers, or prepare a stable for Scout Cavalry to flank their ranged lines before they amass a critical death ball.
The Dark Age Blueprint: Standard 21-Pop Feudal Build Order
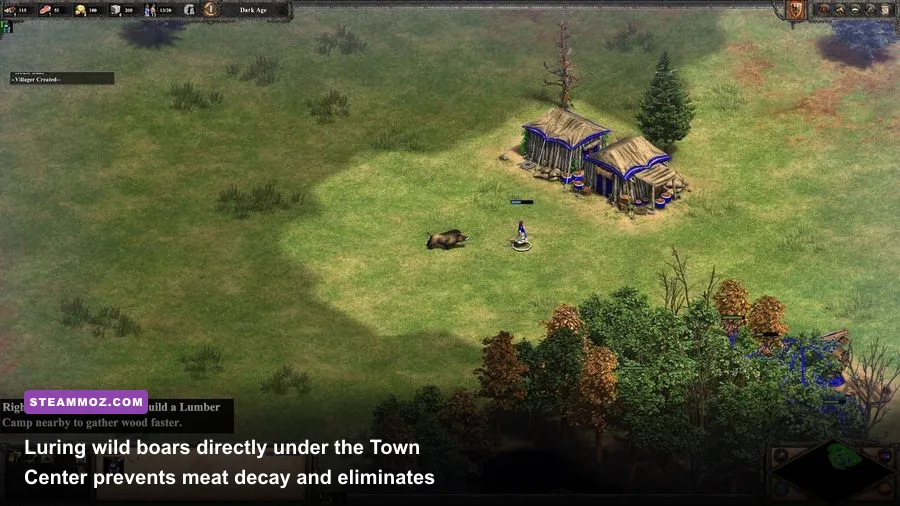
You cannot "wing it" through the first ten minutes of an Age of Empires 2 game. Top players execute identical, mathematically optimized sequences known as build orders to ensure their resources balance perfectly for an aggressive Feudal Age transition. If you reach Feudal Age at 13 minutes while your opponent arrives at 9 minutes and 40 seconds with four archers knocking at your woodline, the game is already over. Every single villager created from population count 1 to 21 must have an assigned task from the moment they spawn.
The standard opening relies on harvesting six sheep directly under the Town Center, shifting four villagers to wood, and then pulling your first wild boar. Wild boars provide 340 food at the fastest natural harvest rate in the early game, but they are hostile. To lure a boar without getting a villager slaughtered, shoot the boar twice with your designated gatherer, immediately issue a move command straight back underneath your Town Center, and have the waiting sheep harvesters finish the beast off. Research Loom at your TC before sending a villager out to pull the second boar or if your latency causes you to mistime your boar-running steps.
| Villager Number | Assigned Resource / Task | Strategic Objective | Target Clock Timestamp |
|---|---|---|---|
| Villagers 1–3 | Build 2 Houses, harvest first Sheep | Prevent housing blocks; ignite primary food pipeline immediately | 0:00 – 0:30 |
| Villagers 4–6 | Harvest Sheep under TC | Establish 6-worker team to guarantee non-stop 50-food villager creation | 0:30 – 1:45 |
| Villagers 7–10 | Build Lumber Camp, chop Wood | Stockpile wood required for houses, mill, mining camps, and farms | 1:45 – 3:25 |
| Villager 11 | Lure First Boar to TC | Initiate high-speed 340 food intake; all sheep harvesters shift to Boar | 3:25 – 3:50 |
| Villagers 12–13 | Harvest Boar under TC | Keep maximum workers on decaying carcass to minimize waste | 3:50 – 4:40 |
| Villager 14 | Build House, then Mill at Berries | Secure secondary food income; build house to avoid 20-pop cap | 4:40 – 5:05 |
| Villagers 15–16 | Harvest Forage Bushes (Berries) | Create secondary food channel while second boar is secured | 5:05 – 5:55 |
| Villager 17 | Lure Second Boar | Chain boar corpses so villagers never experience walking downtime | 5:55 – 6:20 |
| Villagers 18–19 | Harvest Boar under TC | Ramp up toward the 500 food required for Feudal Age upgrade | 6:20 – 7:10 |
| Villagers 20–21 | Chop Wood / Build Mining Camp | Balance macro based on opening (Mining for Archers, Wood for Scouts) | 7:10 – 8:00 |
| Click Feudal (Pop 22) | Research Loom + Click Age Up | Advance age; reallocate gatherers during transit to wood and gold | 8:05 – 9:45 |
Following this precise structure eliminates guesswork. When advancing between ages, optimize your in-game controls just as you would fine-tune system latency for responsive competitive play—a tuning mindset we often recommend in technical guides like our breakdown on PC specs and frame consistency. Clean execution in the Dark Age pays dividends for the rest of the match.
Economy Logistics: Resource Gathering Rates and Meat Decay
Not all food in Age of Empires 2 gathers at the same speed, and failing to understand gathering mechanics is why beginners run out of food during critical moments. When an animal dies in AoE2, its meat rots constantly at a rate of roughly 0.25 food per second. If you shoot two sheep at the exact same time, you are actively burning free resources. Always harvest sheep one by one with a pack of six villagers. Six villagers consume a sheep so rapidly that almost no meat is lost to rot.
Furthermore, Shore Fish and Hunt (Boar and Deer) gather significantly faster than standard Farm crops or Forage Bushes. Farms require a massive initial investment of 60 wood and gather at a modest rate until you research upgrades like Horse Collar and Heavy Plow. Shore fish, by comparison, harvest at a blazing 0.43 food per second. If your map has accessible shore fish or ponds, taking advantage of them gives you an immense early-game edge.
| Food Source | Base Gather Rate (Food/sec) | Decay Mechanics | Optimization Strategy |
|---|---|---|---|
| Shore Fish | ~0.43 | None | Harvest with nearby villagers before building early farms; highest natural land harvest speed |
| Wild Boar | ~0.41 | 0.25 food/sec decay | Always pull directly under TC; use 6 to 8 villagers so the 340 meat is claimed before rot claims it |
| Wild Deer | ~0.40 | 0.25 food/sec decay | Push toward TC with your Scout rather than building a long-distance Mill; eliminates walking time |
| Herdable Sheep | ~0.33 | 0.25 food/sec decay | Harvest strictly one carcass at a time; never task multiple villagers to different sheep simultaneously |
| Farms (Dark/Feudal) | ~0.32 | None | Place tightly around TC or Mill to reduce walk time; always upgrade Horse Collar at the Mill |
| Forage Bushes (Berries) | ~0.31 | None | Safest early source, but slowest; keep 4 villagers maximum to avoid crowding collisions |
Avoid floating resources at all costs. Floating 1,200 wood and 800 gold while sitting in Feudal Age means you have over a thousand resources sitting completely wasted. Transform excess wood into farms, military production buildings, or walls. If your economy ends up heavily lopsided, use the Market to balance your stockpile. Selling wood for gold might carry a transaction tax, but paying a small market fee is vastly superior to sitting on dead resources while your army collapses.
Hotkeys, Shift-Queueing, and Ergonomic Map Control
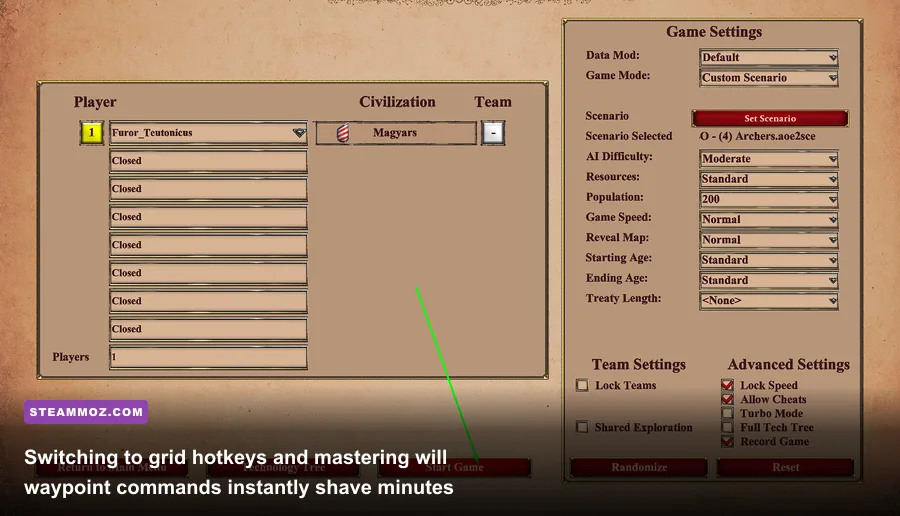
If you play Age of Empires 2 by clicking buttons at the bottom of the user interface, you are introducing artificial handicaps into your gameplay. The modern Definitive Edition includes a full Grid Hotkey layout by default, where command buttons correspond directly to the QWERTY keys on your keyboard. Pressing 'Q' builds a house, pressing 'W' builds a mill, and pressing 'A' trains an archer. Memorizing this layout takes only a couple of matches and instantly doubles your operational speed.
The next essential mechanic to master is waypoint shift-queueing. By holding the Shift key while issuing commands, you chain orders together. When scouting the map in the opening seconds, select your starting Scout, hold Shift, and click in a circular pattern around your Town Center through the black fog of war. Your scout will automatically navigate the path, discovering your eight starting sheep, two wild boars, nearby deer, and gold nodes without requiring your constant micro-attention.
You should also shift-queue your villagers when harvesting herdables or building supply lines. When your villagers finish a sheep, holding Shift and clicking the next live sheep ensures they transition seamlessly to the next target rather than standing idle or slaughtering three sheep at once. For optimal camera control and unit cycling, ensure your interface renders cleanly without frame drops; setting adjustments like those outlined in our guide to visual optimization and higher frame rates can dramatically smooth out high-population combat maneuvers.
For PC performance in general, stuttering during large-scale RTS engagements ruins precise split-second commands. If you experience performance hitches in demanding multiplayer games, reviewing our fixes in the FPS stability and crash troubleshooting guide provides foundational steps to keep your machine running smoothly when hundreds of units clash on screen.
Military Power Spikes: The Blacksmith and Formation Micro
A fatal mistake beginners make is evaluating military strength purely by army size rather than technology level. Ten Crossbowmen with Bodkin Arrow and Fletching will decimate twenty archers that lack Blacksmith upgrades. Upgrades researched at the Blacksmith—particularly Fletching, Bodkin Arrow, and Bracer for ranged units, or Padded Archer Armor for defense—apply immediately across your entire army. Increasing an archer's range by +1 and attack by +1 completely alters the dynamic of engagement, allowing you to hit opposing units before they can even return fire.
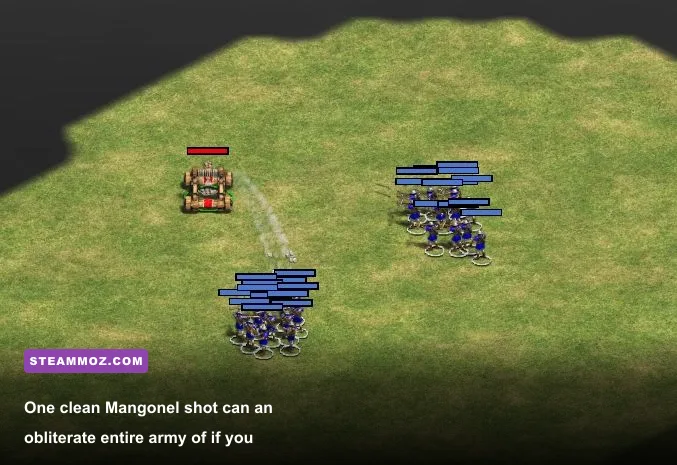
Formation management is just as critical once you enter the Castle Age. Massed ranged units are exceptionally vulnerable to siege weapons like the Mangonel. A single rock volley from a Mangonel deals 40 flat melee damage across an area, capable of wiping thirty clumped Crossbowmen in an instant. To counter this, master the "Split" formation hotkey (mapped to 'X' in the default grid layout). The moment you see a Mangonel unleash its firing animation, hit Split formation. Your units will fan out into two parallel lines, letting the rock crash harmlessly into empty ground between them.
Finally, keep your units set to the "Stand Ground" stance during ranged skirmishes. By default, units are set to Aggressive stance, meaning they will autonomously chase retreating enemies. If your archers chase a lone scout directly beneath an enemy Castle or into a firing choke point, your entire army will melt before you can pull them back. Setting Stand Ground forces your units to attack only what is within their immediate firing radius while holding their exact position, keeping your defensive firing lines intact.
For more exhaustive competitive breakdowns, official tournament rules, and detailed community statistics, consult the comprehensive Liquipedia Age of Empires II database alongside the Age of Empires official community portal. Internalize these fundamental habits, stop letting your Town Center go idle, and you will quickly find yourself dictating the tempo of every match rather than desperately defending your base.