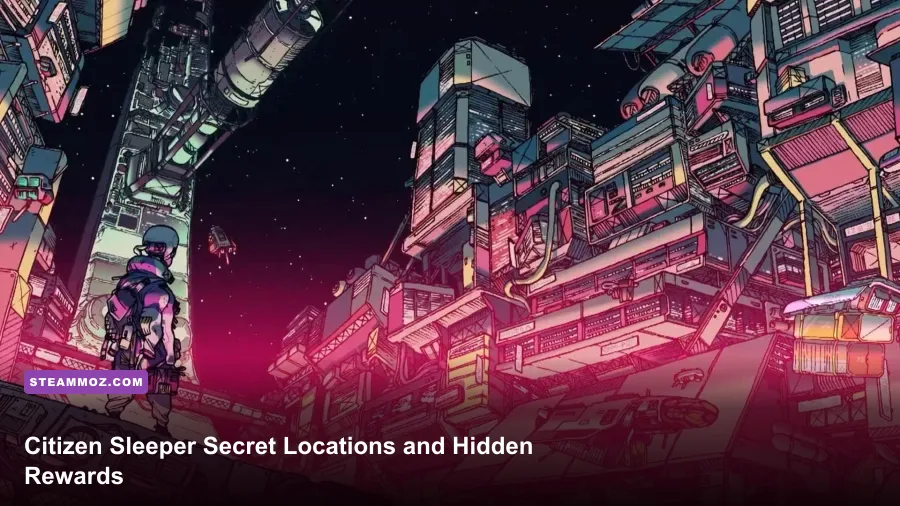
If you want every meaningful secret in Citizen Sleeper, focus on optional character threads rather than hunting for collectible icons. The Greenway, The Overlook, The Hollow, the shipyard, and the Hexport content contain the game's most valuable hidden rewards, including permanent drives, powerful relationships, extra work options, and endings that never appear on the main route. The key is to spend dice deliberately, revisit locations after each cycle, and avoid treating a low roll as an automatic failure.
This guide covers the base game first, then separates the The Starward Vector and Refuge DLC discoveries. Citizen Sleeper has no conventional combat loot table: its secrets are narrative payoffs. A reward might be a new action, a safer source of cryo, a better way to repair your body, or a final choice that only appears if you invested in the right person early.

How secret discoveries actually work
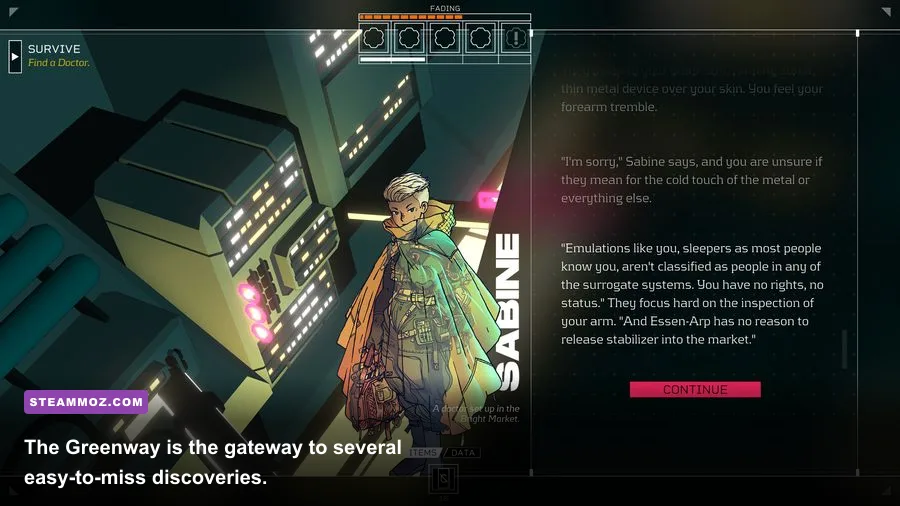
Most hidden locations are not secret rooms in the traditional RPG sense. They unlock when a character sends you somewhere, when a clock reaches a certain stage, or when you complete enough work in a district to expose a new connection. The game rarely tells you that an optional chain has started, so keeping a small note of names and locations is surprisingly useful.
Your five dice faces, from 1 to 6, determine action quality. A 5 or 6 usually gives the best progress, while a 1 can still be worthwhile if failure advances a clock or reveals new information. Don't burn every high die on basic station work. Save at least one strong result for a risky character action, especially when a chain is approaching its final step.
| System | What it affects | Best secret-hunting habit |
|---|---|---|
| Action dice | Progress, pay, and story outcomes | Reserve 5s and 6s for unique character actions |
| Clocks | Quest stages and deadlines | Read every new clock before ending the cycle |
| Drives | Long-term objectives and endings | Complete optional drives before leaving the station |
| Stability | How many actions you can take | Keep cryo and food income ahead of exploration |
The most important rule is simple: revisit old districts. New dialogue appears after a cycle, a completed clock, or a major story milestone. If an area looks finished, it probably isn't.
🎮 Citizen Sleeper
Looking to experience this game? Grab your digital key directly on our store for $5.99.
View on Steammoz Store →The Greenway and its hidden routes
The Greenway is the clearest example of Citizen Sleeper hiding content in plain sight. Follow the conversations that introduce Tala and the local community, then continue checking the district after each meaningful step. The game gradually turns the Greenway from a work location into a network of people, maintenance spaces, and optional decisions.
Tala's thread
Tala's storyline is easy to postpone because it competes with more urgent survival tasks. That is a mistake. Keep returning to her after new cycles and take the actions that move her clock forward rather than abandoning it for better-paying jobs. The eventual payoff is not just dialogue: it opens additional context around the Greenway and can provide a more reliable relationship route than random station work.
When the game offers a choice between immediate scrap and helping a local resident, helping is usually the better long-term play. The Greenway's rewards are cumulative. You may not receive a spectacular item after one action, but the chain improves later access and makes future checks less punishing.
The shrine and environmental discoveries
Several Greenway interactions function like secret locations because they appear only after you have advanced the surrounding character stories. Read the location text carefully and inspect newly added action nodes instead of selecting the same work option every cycle. If a node mentions an overgrown passage, maintenance route, or community site, it is usually a story lead, not flavor text.
The Greenway is also where a high Intuition or Interface build feels especially good. Those skills make investigative actions more efficient, but no build is locked out of the content. A low roll can delay the clock; it rarely destroys the entire route. That forgiving structure is why spending a precious 6 here is often less important than simply showing up consistently.
The Overlook and The Hollow
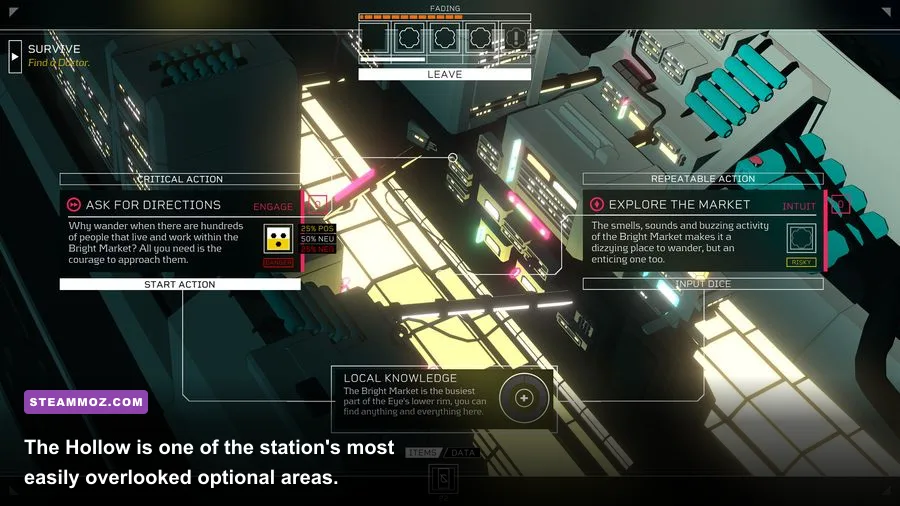
The Overlook and The Hollow are connected to the station's stranger, more reflective side. They are not destinations you should rush toward at the expense of survival, but they contain some of the best optional writing and several rewards tied to Sleeper identity, memory, and belonging.
Unlocking the Overlook
Keep working through the contacts and route markers that point upward from the main station districts. The Overlook tends to become useful after you have established yourself around Erlin's Eye, so don't assume its first visit is the end of the chain. Return whenever a related character gains a new clock stage, and check whether a previously static action has changed.
Dialogue choices matter more here than raw dice. The game often gives you a chance to learn why someone wants access, what they fear, or which version of events they believe. Asking questions before committing can reveal a safer route. Rushing to the most obviously profitable option may close a smaller branch without warning.
Finding The Hollow
The Hollow is best treated as a discovery unlocked by following station lore rather than as a location to search for manually. Advance the relevant Overlook and exploration conversations, then revisit the area once the new route appears. If you are using a guide while playing, don't spend cycles clicking every available job; the Hollow's entrance is tied to the narrative prompts that describe what lies beneath or beyond the visible station spaces.
The reward is primarily narrative, but that undersells its value. The Hollow expands the game's understanding of Sleeper consciousness and can affect which personal-drive conclusions feel available later. Complete its actions before pushing the final stages of the main escape plot. The game does not always warn you that a late-game transition is approaching.
| Location | Typical unlock condition | Reward type | Common mistake |
|---|---|---|---|
| The Greenway | Advance local contacts and revisit after cycles | Relationship progress and optional access | Only taking paid work |
| The Overlook | Follow station and identity-related conversations | Lore, drive progress, alternate outcomes | Rushing dialogue choices |
| The Hollow | Continue the Overlook's investigative route | Hidden story branch and endgame context | Leaving before checking new nodes |
| Shipyard | Keep advancing Lem and Mina's clock | Practical station help and relationship payoff | Ignoring low-profit actions |
The shipyard, Lem, Mina, and the big optional payoffs
The shipyard storyline with Lem and Mina is one of the most rewarding optional chains in the base game. It begins as a modest favor but develops into a long-running sequence involving repairs, trust, and the station's fragile working infrastructure. Keep returning to the shipyard and take actions that advance the clock even when the immediate payment looks worse than a normal job.
Lem's route is a lesson in how Citizen Sleeper handles hidden rewards. The best outcome comes from consistency, not from passing every check. You can use a mediocre die on an early task if it keeps the clock moving, then save a high result for a later repair or negotiation. If you have access to a skill bonus that improves Interface or Engineering-style actions, this is an excellent place to use it, but the story remains achievable with a generalist character.
Don't confuse the shipyard's practical reward with a traditional equipment upgrade. Its value is that it gives you more options and a stronger safety net around the station. That can matter more than a one-time payout, especially if your Sleeper is struggling with stability or degradation. Complete this chain before committing to the final departure sequence if you want its full context.
Timing the shipyard correctly
- Visit the shipyard as soon as the route becomes available.
- Advance Lem and Mina's conversation clock every time it reappears.
- Maintain enough cryo and stability to survive several low-income cycles.
- Revisit after major story milestones instead of assuming the chain is dormant.
- Finish the final shipyard actions before the main story removes access to parts of the station.
This is also a good point to plan your build. Citizen Sleeper rewards flexible characters more than specialists who can only exploit one die type. If you want broader optimization advice for similarly demanding indie games, Steamoz's Beacon Pines performance guide and Bionic Dues settings breakdown cover the same kind of careful resource planning, even though the games play very differently.
Hexport and the DLC-only secrets
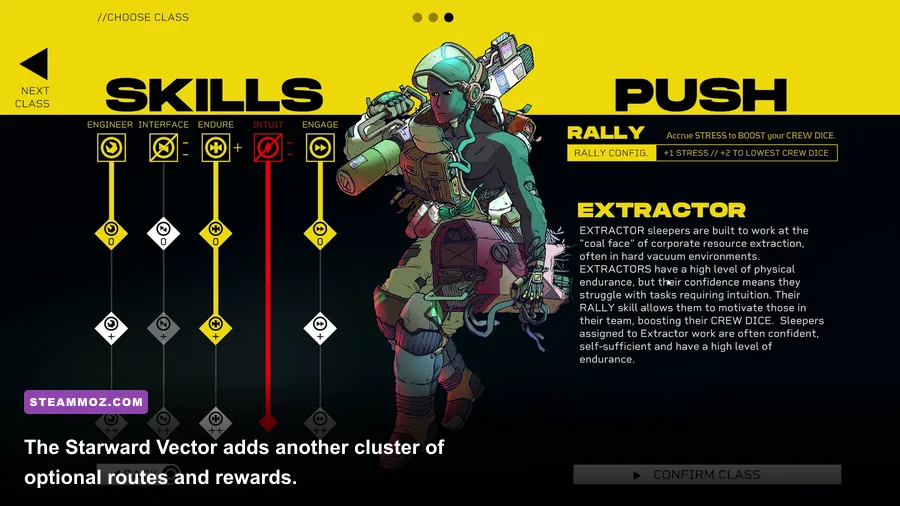
If you own The Starward Vector, Hexport adds a separate cluster of optional stories. Start by exploring the new district rather than sprinting through its central objective. Hexport is designed around contacts who gradually reveal more of the area's history, so a first pass that only follows the obvious mission leaves a lot on the table.
Advance every new character clock you can afford, and revisit Hexport after completing a major stage elsewhere. The DLC's hidden content is particularly sensitive to timing because some conversations only appear after the station's broader situation changes. As in the base game, a failed check usually creates a different problem rather than permanently deleting the route, but repeatedly ignoring a clock can push you toward a less complete resolution.
The most useful Hexport rewards are additional context, new ways to interpret the station's politics, and end-state variations. They won't transform combat stats because Citizen Sleeper has no combat system, but they can change how much control you have over the final stretch. The official Citizen Sleeper Steam page lists the available expansions, while the developer's Citizen Sleeper site is the best place to confirm which DLC content is installed.
Refuge is shorter and more focused, but it follows the same principle: explore the new conversations fully, don't spend every cycle on the safest job, and return after major story beats. Treat each new character as a potential drive, not a one-scene cameo.
Best route for seeing every reward
There is no single perfect order, but this route minimizes the risk of missing optional content:
- Stabilize your Sleeper with dependable cryo and food income.
- Open the Greenway and begin Tala's storyline early.
- Start the shipyard route with Lem and Mina before the main plot becomes urgent.
- Develop the Overlook contacts and follow every newly exposed investigative action.
- Enter The Hollow when its route appears, then complete its remaining actions.
- Keep at least one high-value die for end-stage relationship checks.
- Finish personal drives and DLC clocks before triggering the final escape progression.
Before you leave Erlin's Eye, check every district once more. The Hub, Low End, Greenway, Overlook, shipyard, and any DLC area can gain a final conversation after a clock advances. This last sweep is the difference between seeing the main ending and seeing what the station's people were actually building around you.
For a broader look at guides built around avoiding irreversible mistakes, see Steamoz's Badlands Crew survival tips and Back Then's progression analysis. Citizen Sleeper is gentler than either game, but its central lesson is similar: the reward is usually hidden behind the option that looks least efficient right now.