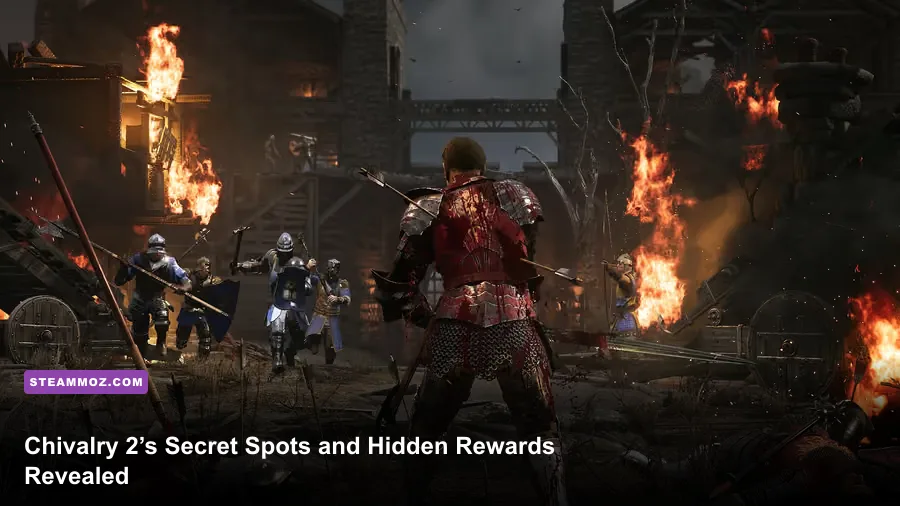
Chivalry 2 doesn’t hide a secret legendary chest or a second loot system. Its real rewards are tucked-away weapon pickups, map interactions, alternate routes, achievement progress, and the occasional ridiculous prop. The most reliable finds are on Galencourt, Aberfell, Falmire, Askandir, Coxwell, and the tutorial’s training grounds. Use the route notes below, and remember that map variants, patch updates, and server-side objectives can move or disable some interactions.
That distinction matters. Chivalry 2 is a skill-based multiplayer slasher, not an RPG with a hidden gear table. You won’t uncover a +10 sword by opening a suspicious barrel. Instead, exploring can give you a temporary special weapon, a safer flank, extra objective progress, or a memorable Easter egg. For broader hidden-area hunting, our guides to Eternal Destiny’s secret rewards and Everspace 2’s secret locations cover games where exploration actually pays out permanent loot.
What counts as a hidden reward in Chivalry 2?
There are four reward types worth hunting. First are special pickups: chickens, fish, brooms, books, torches, rocks, and other objects that become improvised weapons. They normally deal less damage than a real sword, but their surprise value is enormous. A thrown chicken can interrupt an archer, while a torch can create pressure during a retreat.
Second are alternate routes. These don’t award a cosmetic, but they can bypass a choke point, reach a siege engine, or put you behind defenders. Third are interactive objective props, such as bells, books, explosives, prisoner cages, and banners. Their value is tactical: activating them at the right moment can help complete an objective or distract the enemy team.
Finally, there are achievements and challenge progress. The game tracks many actions through platform achievements and class or weapon challenges. A hidden interaction may not display a reward immediately, so check the scoreboard, post-match progress, and achievement list afterward.
| Secret type | Typical reward | Best use | Permanent? |
|---|---|---|---|
| Improvised weapon | Temporary melee or thrown attack | Interrupting archers and finishing wounded enemies | No |
| Alternate route | Flank, escape lane, or safer approach | Breaking defensive lines | No |
| Objective interaction | Progress, distraction, or access | Team Objective maps | Match-dependent |
| Achievement action | Platform achievement or challenge credit | Completionist runs | Yes |

🎮 Chivalry 2 Steam Edition
Looking to experience this game? Grab your digital key directly on our store for $7.99.
View on Steammoz Store →Galencourt and Coxwell secret routes
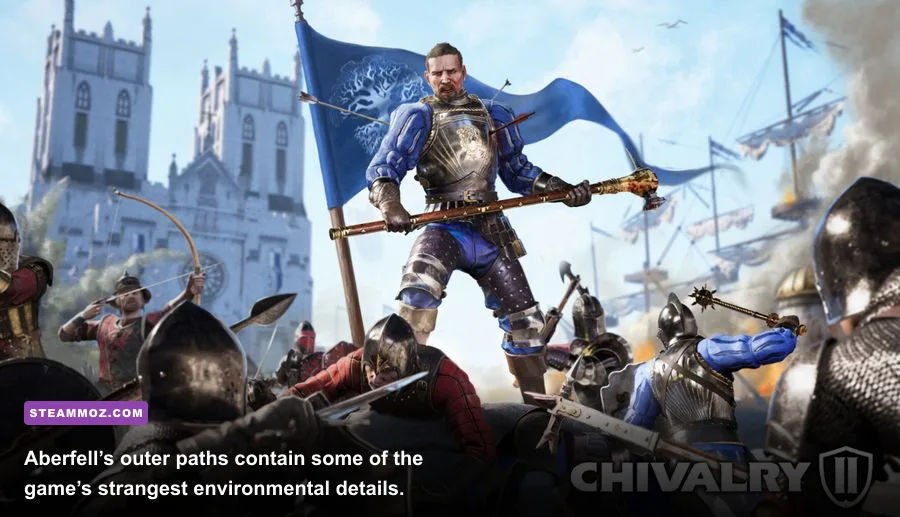
The Fall of Galencourt
Galencourt’s cathedral is the first place to search if you want environmental secrets. During the approach, check the side buildings and church frontage rather than sprinting straight behind the ram. Bells and bell-tower spaces are easy to miss because the main objective keeps pulling attackers toward the gate. Interact with every bell you can reach; some are simply sound effects, but ringing one during a crowded push creates a useful audio distraction and can trigger playful player reactions.
Once the battle reaches the interior, sweep the side rooms before joining the central fight. Look for books, candles, benches, and small throwable objects. They aren’t stronger than class weapons, but a book thrown into an archer nest can interrupt a draw and buy your team a few seconds. The raised walkways around the church also create a strong flank for Ambushers and Vanguards.
Galencourt’s best practical reward is positioning. A Knight with 175 health can absorb the doorway pressure while a Vanguard with 130 health slips around the outer edge. Don’t take the long route alone: an isolated flanker is easy prey for a two-person counterattack. Move when the ram or gate objective has the defenders’ attention.
The Raid on Coxwell
Coxwell’s hidden value is tied to its villages and side lanes. During the opening gold-objective stages, inspect barns, fenced yards, and buildings along the perimeter. The obvious gold piles sit on the main route, but the side spaces contain breakable entrances and improvised weapons. These routes are especially useful for Agathian attackers trying to avoid the first Mason barricade.
On the final escape sequence, don’t assume the widest road is safest. The narrow edges of the village can hide a defender waiting for a tunnel visioned runner. Clear corners with a quick overhead or jab, then sprint only after checking the minimap. Coxwell’s “secret” reward is often a clean extraction rather than a collectible: surviving with the gold objective moving is worth more than winning a flashy duel.
Aberfell’s stone circles, pigs, and odd props
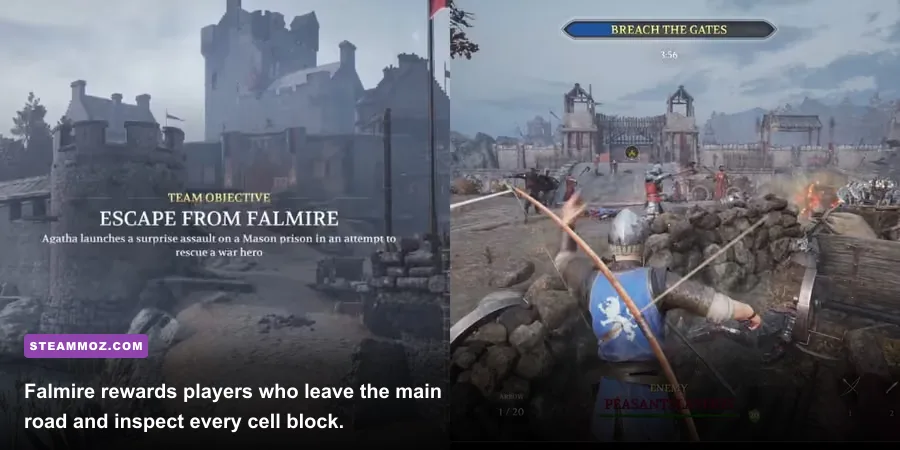
The Raid on Aberfell has the strongest Easter-egg atmosphere in the game. The opening village and surrounding hills are packed with pagan-looking scenery, farm objects, and paths that disappear into the terrain. Search the edges around the stone formations and wooded slopes before the main objective advances. The stone circles are landmarks, not conventional treasure rooms, but they’re excellent places to find loose rocks and other throwable objects.
The pigs are more than background decoration. When the objective involves moving livestock, use the interaction prompt rather than trying to body-block an animal into position. If the prompt fails, step back, let the animal settle, and approach from its side. Teammates shoving from behind can interrupt the interaction and waste valuable seconds.
Aberfell also demonstrates why improvised weapons should be treated as utility tools. A rock has limited reach and poor recovery compared with a mace, but it can stagger an exposed opponent at the exact moment they begin a heavy attack. Throw it from an angle, immediately swap back to your primary weapon, and don’t chase the hit if two enemies are nearby.
| Aberfell find | Where to look | What it does | Best class pairing |
|---|---|---|---|
| Loose rocks | Stone circles and hillside edges | Fast distraction or interrupting throw | Vanguard |
| Farm props | Village yards and sheds | Improvised melee weapon | Footman |
| Livestock prompts | Objective pens and paths | Advances the active objective | Any class |
| Outer flank paths | Woodline around the village | Bypasses the central brawl | Ambusher |
Falmire prison cells and the champion route
Escape from Falmire is easy to rush and surprisingly rewarding to inspect. In the prison section, search the cell blocks and side corridors instead of following the largest group. Breakable doors and corners can conceal a usable escape angle, while prison props provide emergency weapons if you’ve lost your primary arm.
The important warning is that not every cell opens on every phase. If an interaction prompt is missing, the server may have advanced the objective, the door may be decorative, or another player may have already triggered it. Don’t spend half the match attacking scenery. Falmire’s reliable tactic is to check each branch once, then regroup at the active prisoner objective.
When the final champion or prisoner escort sequence begins, hidden routes matter more than novelty props. Attackers should use the edges of the courtyard to protect the escort from crossfire. Defenders should hold the approach rather than diving into the escort itself. Knights are ideal bodyguards because their 175 health and shield options let them absorb chip damage; Archers, at 90 health, should stay behind the escort and punish exposed pursuers rather than entering the cells.
For objective credit, stay near the prisoner or escort target. A spectacular flank that leaves the objective unattended may produce kills but no meaningful progress. That’s the classic Falmire trap.
Askandir’s lighthouse and hidden market corners
In The Razing of Askandir, search the harbor, market, and lighthouse approaches whenever the battle transitions between objectives. The lighthouse is the obvious landmark, but the useful secrets are the side entrances and elevated firing positions around it. They let attackers approach objectives without walking directly through the market choke point.
Check stalls for throwable objects and inspect the edges of the market after the first wave passes. Askandir’s clutter can hide fire pots, books, and small weapons from casual view. Pickups are situational: a fire pot is valuable against a tightly packed group, while a book or bottle is best used to interrupt a bow draw or force a shield user to flinch.
Don’t confuse the lighthouse’s dramatic scenery with a permanent unlock. Burning or reaching a landmark usually advances the Team Objective, not a secret cosmetic. If you’re hunting achievements, record the exact action, finish the match, and verify the platform notification. Chivalry 2 can delay achievement pop-ups during a busy server.
How to turn secrets into real match advantage
Exploration only helps when it supports the fight. The four classes have clear durability differences: Vanguard has 130 health, Footman 150, Knight 175, and Archer 90. That makes a hidden route much safer for a Knight or Footman than for an Archer. Archers should scout from cover, mark threats, and leave before a flank becomes a duel.
| Situation | Best hidden option | Why it works | Main risk |
|---|---|---|---|
| Archer nest is suppressing a push | Side lane plus thrown prop | Breaks aim and creates a close-range opening | Arriving alone |
| Objective is stalled at a doorway | Outer flank route | Splits the defender’s attention | Leaving the objective empty |
| Primary weapon is lost | Nearby environmental pickup | Maintains pressure until a resupply point | Weak recovery and short reach |
| Enemy team is tightly grouped | Fire pot or explosive objective prop | Rewards clustered positioning | Friendly-fire chaos |
| Trying to unlock achievements | Repeat the interaction in a private or low-pressure match | Cleaner testing and easier verification | Patch or map-variant differences |
For combat, remember that Chivalry 2 rewards timing over raw damage. A jab interrupts at close range, a slash clears multiple bodies, an overhead punishes crouched or armored targets, and a throw catches players who are holding block. Don’t grab a secret prop and forget your fundamentals. If the pickup has a slow wind-up, use it after an enemy whiffs rather than opening with it.
On PC, keep frame pacing stable while hunting these locations. A locked 60 frames per second is more useful than a fluctuating 100, especially during crowded sieges. Lower shadows and effects first if performance dips; keep textures high if your graphics memory allows it. For more PC troubleshooting, see our ELEX crash and FPS fixes and Far Cry 6 performance settings.
The best way to verify a disputed interaction is to compare the current map build with Chivalry 2’s Steam page, then check patch notes and community reports from Torn Banner Studios. The official Chivalry 2 support site is also worth checking when a prompt fails repeatedly.
So, the completionist answer is simple: inspect Galencourt’s church, comb Coxwell’s village edges, explore Aberfell’s stone-circle paths, sweep Falmire’s prison branches, and use Askandir’s harbor flanks. You’re hunting tactical advantages and memorable interactions—not secret loot boxes. That’s what makes these discoveries worthwhile: they change how you read the battlefield, and sometimes they let you win with a chicken in your hand.