
Caravan does not use a fixed checklist of named secret chests. In the 2016 trading RPG from it Matters Games, hidden rewards come from unexplored map markers, remote ruins, event chains, and combat encounters whose results vary with the world seed and campaign progress. The reliable strategy is to reveal every branch near settlements, carry enough supplies for two extra travel segments, and inspect unusual dead-end markers before advancing the main objective.
That distinction matters because many supposed “all secret locations” maps circulating online quietly mix Caravan with other desert RPGs. Caravan’s world map can place discoveries differently, while several rewards are selected by event outcome rather than sitting at a universal coordinate. This guide focuses on the locations and route patterns that consistently produce hidden loot, plus the decisions that stop you from wasting water, food, trade goods, or caravan health.
For reference, this is Caravan, the turn-based trading adventure published by Daedalic Entertainment, not Caravan SandWitch. If you’re checking whether your PC can handle older strategy games before installing it, our PC settings coverage has the same useful low-overhead troubleshooting mindset.
How Caravan’s Secret Locations Actually Work
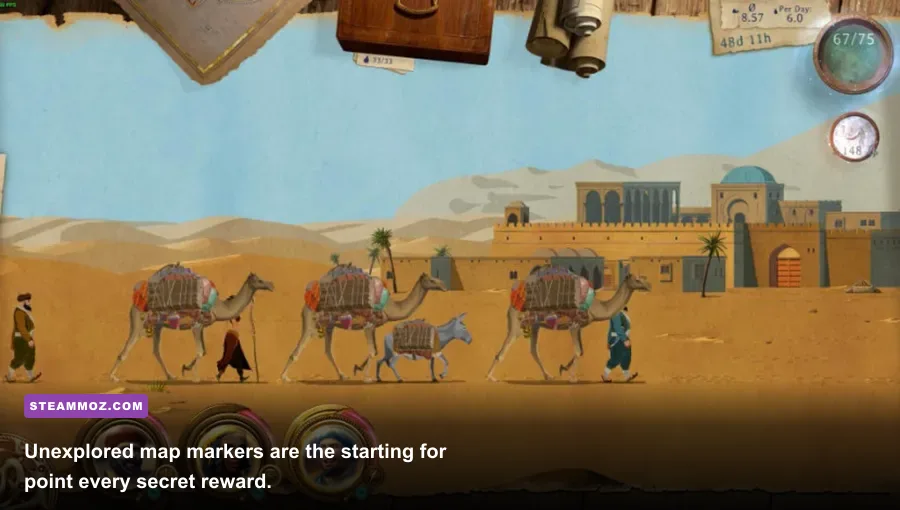
Caravan hides discoveries through the world map rather than a conventional collectible system. As your caravan moves, fog conceals nearby nodes. Some are ordinary travel points, while others trigger a short event, a fight, a merchant, or a reward choice. The game gives you no separate “secrets” tab, so an unexplored marker can be easy to overlook when you’re focused on the next city.
The map’s most valuable clues are visual and positional. A marker sitting one or two movement steps away from a normal trade route is usually worth checking. Branches that lead toward empty-looking terrain are also important: the game often places an encounter at the end of a detour, then lets you decide whether to claim a small immediate reward or continue into a more dangerous event chain.
There is no universal coordinate list because the map’s arrangement is not guaranteed to match another player’s campaign. Instead, use this three-part test:
- Unexplored branch: Any fog-covered route beside a known settlement deserves a reveal before you leave the area.
- Dead-end marker: A route that does not connect two major destinations commonly contains an encounter, salvage reward, or combat site.
- Remote landmark: Ruins, isolated structures, and markers beyond the shortest route are the best candidates for higher-value loot.
Save before committing to a long detour. That isn’t just a convenience. A poor event choice can cost supplies and caravan health, and the game’s trading economy makes a bad early loss hurt much more than a later one. If your run is already struggling, compare the risk to the resource advice in our progression farming guide; the same principle applies here: don’t chase a reward that costs more than its replacement value.
| Map Feature | Likely Discovery | Risk Level | Best Response |
|---|---|---|---|
| Fog-covered branch near a city | Small event or merchant | Low | Reveal it before trading and departing |
| Remote dead-end marker | Salvage, event chain, or combat | Medium | Carry reserve food and water |
| Ruins or isolated structure | Higher-value reward or battle | Medium to high | Scout after recruiting dependable guards |
| Route beyond the current objective | Optional encounter | Variable | Attempt only when the caravan is healthy |

🎮 Caravan
Looking to experience this game? Grab your digital key directly on our store for $1.19.
View on Steammoz Store →Every Secret Location Type to Search First
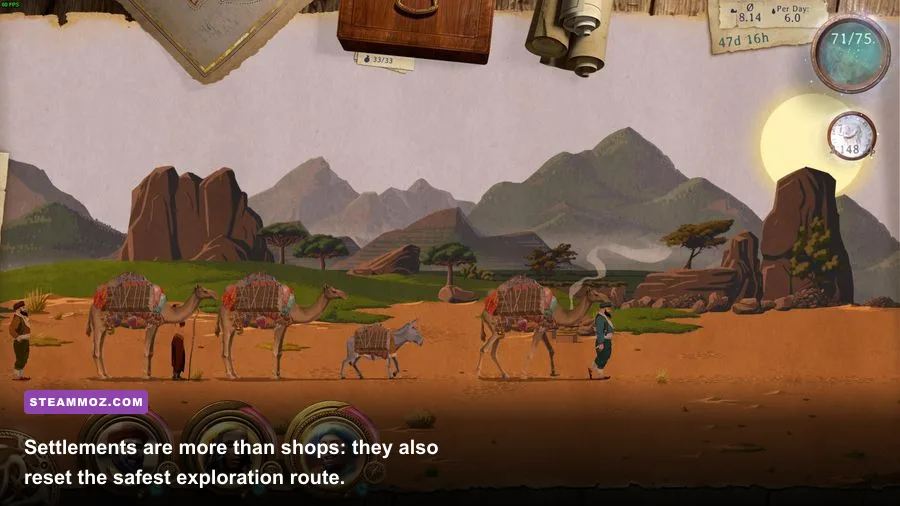
1. Settlement outskirts
The safest hidden rewards are usually close to settlements. After entering a new city, don’t immediately buy goods and leave. Zoom out, reveal every adjacent branch, and check for markers that are not part of the shortest connection to your next destination. These sites often produce low-risk event rewards, but their real value is information: revealing the local area can expose a better trade loop and a second route around hostile encounters.
Settlement-adjacent discoveries are especially useful early in a campaign. Your caravan has fewer combat options, your cargo reserve is smaller, and one bad desert event can cancel the profit from several trades. Take the short detours first, then return to the city to sell unwanted goods and refill supplies before attempting anything remote.
2. Desert dead ends
Dead-end routes are the closest thing Caravan has to traditional secret rooms. They don’t always pay out with a unique item, but they frequently trigger an event that the main road bypasses. Look for a branch that stops in open terrain instead of connecting to another named destination. If the marker is still hidden, reveal it. If it shows a fight, decide whether the possible reward justifies the health loss.
Never enter a dead end with a nearly empty food or water stock. The return trip is where inexperienced players get trapped. A detour that looks like one movement step can become several travel actions once the event and retreat are factored in.
3. Ancient ruins and isolated landmarks
Ruins are the most exciting targets because they tend to combine exploration with a meaningful decision. You may receive goods, a recruit opportunity, a combat encounter, or a choice that trades immediate profit for a safer future route. Their exact contents can vary, so treat the landmark as a reward category rather than a fixed chest location.
The best time to investigate is after you have established a profitable trade route and recruited at least one reliable combat specialist. The worst time is immediately after a costly battle, when the caravan’s health and supplies are already compromised. Caravan rewards are only valuable if you can carry them home.
4. Encounters beside hostile routes
Some hidden locations are disguised by danger rather than distance. A marker near bandit territory may be visible, but players skip it because the route appears inefficient. These encounters can produce better rewards than ordinary road events, yet the opportunity cost is high. Check your combat formation and cargo value before entering. If you’re carrying expensive trade goods, a retreat can be smarter than defending every shipment.
Hidden Rewards and the Choices That Unlock Them

Caravan’s hidden rewards are less about opening the correct chest and more about making the correct event decision. The reward may be trade goods, currency, supplies, a recruit, or access to a safer route. Because the game’s economy is built around buying low and selling high, a reward that looks modest can be excellent if it fills a profitable gap in your current route.
Prioritize permanent value over one-time cargo
Early in the campaign, extra food and water are tempting, but a recruit or route advantage can outclass a small bundle of goods. Permanent improvements reduce risk across every later trip. If the event offers a choice between immediate cargo and a character or safer travel option, take the permanent benefit unless your caravan is genuinely close to running out of supplies.
Read the event before selecting a reward
Don’t click through event text. Caravan telegraphs its risks through wording. A request that sounds like a simple delivery can become a combat encounter, while a suspicious merchant may offer a profitable trade if you have the right stock. Keep a note of the item quantities you carry so you can recognize whether an offer is actually profitable rather than merely large.
Use save discipline, not blind reloads
Saving before a hidden site is sensible, but reloading every reward can make the campaign’s economy feel flat and can hide which decisions are strategically strong. A better method is to test the event once, record the cost, and reload only if the outcome creates an unwinnable supply problem. You’ll learn which risks are acceptable instead of turning every discovery into trial and error.
| Reward Type | When It’s Best | Why It Matters | Common Mistake |
|---|---|---|---|
| Food or water | Before a long unexplored route | Prevents detour attrition | Taking it after returning to a stocked city |
| Trade goods | When a nearby settlement pays well | Can finance the next route | Ignoring local demand and selling immediately |
| Recruit | Before remote ruins or bandit routes | Improves future survival | Choosing short-term cargo instead |
| Currency | When supplies and roster are stable | Flexible purchasing power | Spending it before checking the next market |
| Route or information | When the main road is hostile | Reduces repeated travel risk | Valuing only visible inventory rewards |
Best Exploration Route for a New Caravan
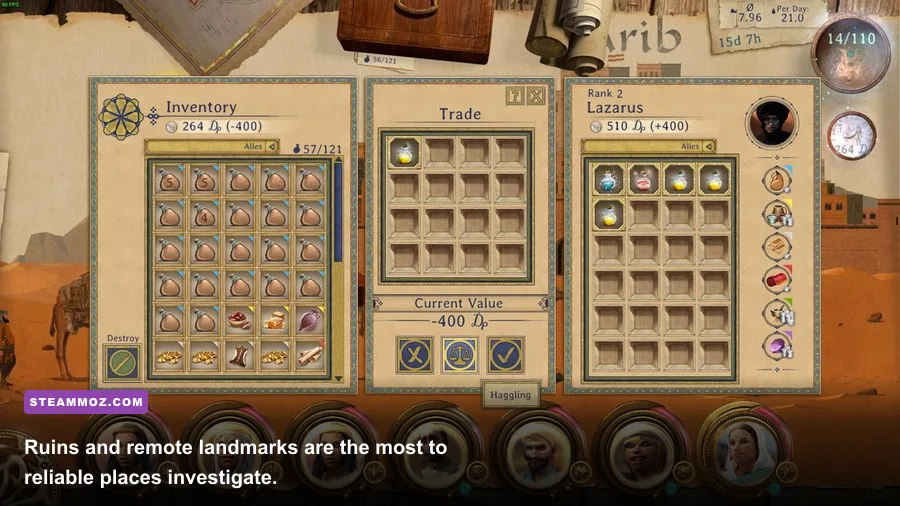
For a clean secret-location sweep, use a settlement-to-settlement rhythm instead of wandering continuously. Start by buying only enough cargo to create a reasonable margin. Leave one inventory slot and a supply buffer open for discoveries. At the first nearby city, reveal every branch. Then choose the safest unexplored route, not necessarily the shortest one.
- Stock before scouting: Carry enough food and water for the planned trip plus two extra travel segments. The exact amount depends on your caravan’s current consumption, so check the projected travel cost before departing.
- Reveal the local ring: Investigate markers around the settlement before committing to a distant objective. This exposes low-risk rewards and alternate routes.
- Sell dead cargo: Don’t keep goods that have no strong buyer in the next two destinations. Free inventory space is a hidden advantage.
- Take one remote detour: Test a single ruins or dead-end route while your caravan is healthy. Multiple risks in sequence can turn a profitable trip into a recovery mission.
- Return and reinvest: Convert the reward into supplies, a recruit, or cargo with a known buyer. Exploration should improve the next run, not just inflate the inventory screen.
This route also makes the game’s difficulty curve easier to manage. Caravan is not a race to uncover every node immediately. Your first objective is to create enough economic stability that a failed event doesn’t end the campaign’s momentum. Once your trade loop is paying reliably, revisit unexplored branches that looked too dangerous earlier.
If you’re coming from a loot-heavy action game, the mindset shift is important. Our weapon-tier analysis covers a game where stronger equipment solves most problems. Caravan works differently: supplies, route planning, and event choices often matter more than raw combat power.
Combat Preparation for Dangerous Secret Sites
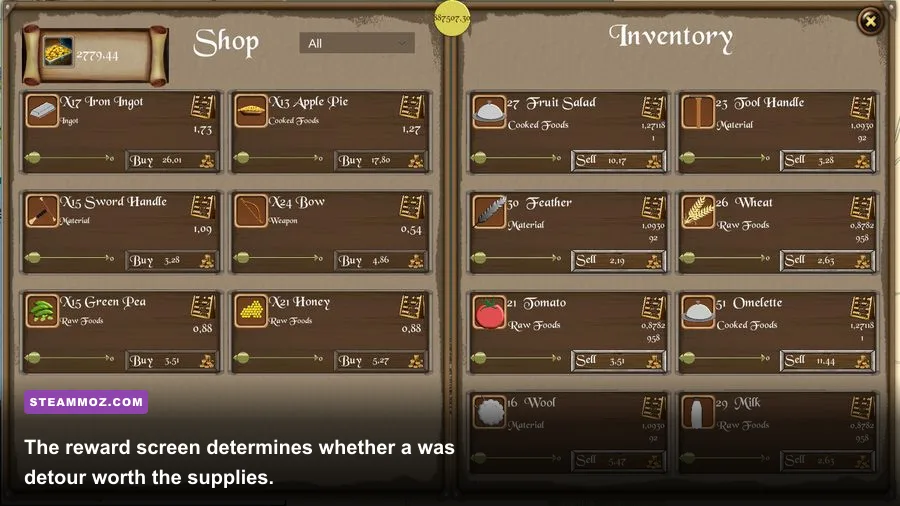
Remote discoveries are where hidden rewards become expensive. Caravan’s combat is turn-based, so entering with a weak formation can cost more than the reward is worth. Before scouting a dangerous marker, check caravan health, available supplies, recruit roles, and cargo value. If one battle could destroy the profit from your entire trip, leave the location for later.
Keep your toughest front-line units positioned to absorb the first exchange, while support characters remain protected behind them. Focus fire instead of spreading damage across several enemies. Removing one attacker reduces incoming damage immediately; leaving three wounded enemies alive usually produces a worse result than finishing one target.
Bandit encounters are particularly dangerous when you arrive carrying valuable cargo. Their threat isn’t only the battle itself. The lost health, replacement costs, and delayed trade route can erase the reward from a secret event. Scout low-risk locations first, then use the improved roster or supplies to tackle hostile branches.
| Situation | Main Danger | Counter Strategy | Skip When |
|---|---|---|---|
| Healthy caravan, low-value cargo | Moderate combat damage | Take the encounter and focus one target | Supplies are already below the return-trip buffer |
| Healthy caravan, expensive cargo | Profit loss after battle | Use the safest route or sell first | Replacement cost exceeds the expected reward |
| Damaged caravan near ruins | Chain events and attrition | Return to settlement and recover | Any combat marker blocks the route |
| New roster with weak frontline | Early unit loss | Scout settlement branches only | Remote site requires a fight |
What to Skip and How to Finish the Sweep
Not every hidden marker deserves attention. Skip a remote site when the route consumes more supplies than your current market profit can replace, when your caravan is carrying irreplaceable cargo, or when the encounter demands a fight you cannot comfortably win. A secret location is optional by design; forcing it early is one of the fastest ways to lose a promising campaign.
To finish a region, compare the revealed map with the original fog boundary around every settlement. Look for three omissions: an unvisited branch, a dead-end marker, and a landmark beyond the main road. Visit each one, then return to the nearest settlement and confirm that no new event route appeared. Some discoveries reveal follow-up choices rather than paying out immediately, so an area is not truly cleared just because the first event is complete.
Keep a simple note with the settlement name, nearby marker type, reward category, and whether the route produced combat. Because the map can differ between campaigns, this personal log is more useful than copying someone else’s coordinates. It also lets you identify which routes support your current trade loop.
The official Caravan Steam page remains the best place to verify the game version, while Daedalic’s official publisher site can help confirm support information. Before starting a new run, check the latest Steam Community discussions for seed-specific reports, but treat posted coordinates as campaign-dependent rather than universal.
The short version: reveal every branch near settlements, investigate dead ends and ruins when your supplies are healthy, choose permanent rewards over disposable cargo, and never judge a discovery by its chest value alone. Caravan’s best secrets are the ones that improve your next route. That’s why a modest recruit, safer path, or profitable trade clue can be worth far more than a flashy one-time payout.
For more games where exploration rewards depend on careful route planning, see our secret-location guide for Code of Princess and the PC troubleshooting guide for Decay: The Mare.