
If you want fast leveling and reliable gold in Borderlands 2: Commander Lilith & the Fight for Sanctuary, push the story until Helios Fallen unlocks, then farm Uranus repeatedly with a high-damage weapon, selling every non-essential drop between runs. At level 30, complete the DLC normally; in True Vault Hunter or Ultimate Vault Hunter Mode, Uranus becomes the efficient loop for experience, cash, and endgame gear.
This route works because the DLC packs unusually generous loot density into short repeatable encounters. You aren’t grinding random Hyperion soldiers for pocket change. You’re using mission progression to unlock a boss with a large loot pool, a nearby fast-travel-friendly arena, and enough weapon drops to fund ammunition, health upgrades, and expensive late-game purchases. The same logic applies whether you’re playing Maya, Salvador, Axton, Gaige, Zero, Krieg, or a custom co-op team.
Before starting, check the official Steam page for the DLC and make sure the add-on is installed. It raises Borderlands 2’s level cap from 72 to 80 and adds the Overpower progression beyond level 80.
🎮 Get Borderlands 2: Commander Lilith & the Fight for Sanctuary
Ready to dive in? Grab your copy today for just $4.94.
Check OfferChoose the right difficulty and starting level
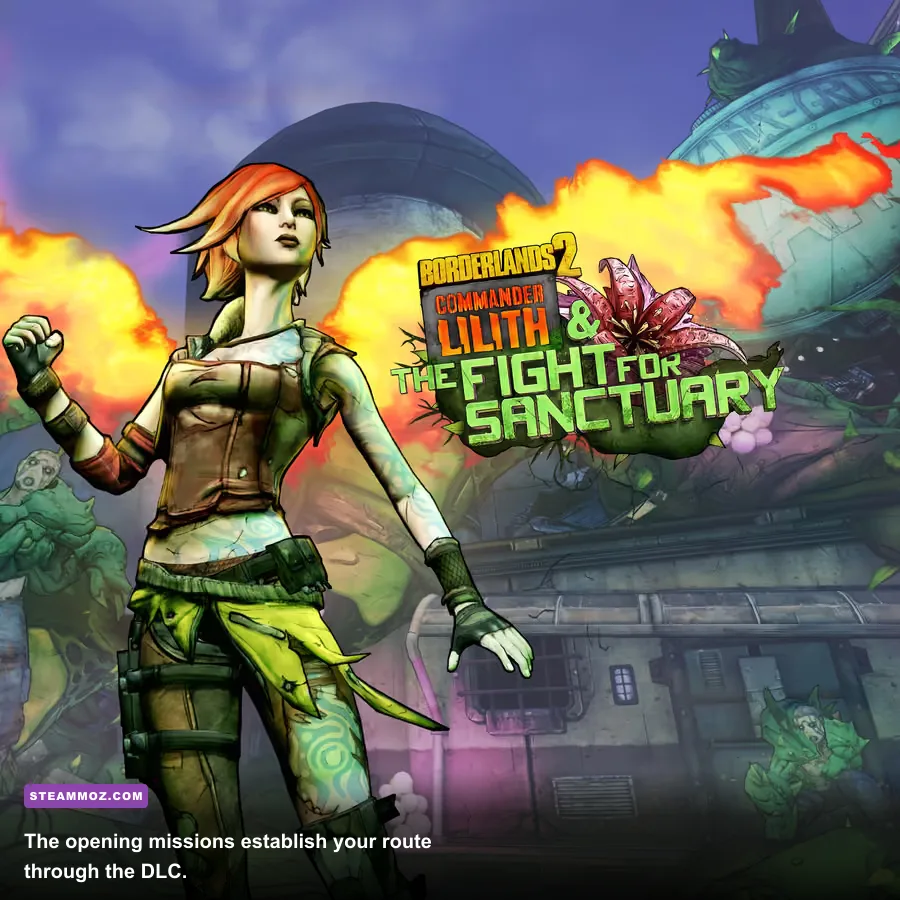
Commander Lilith is designed as a bridge into the level-80 endgame, but its value changes dramatically depending on your playthrough. A fresh character can enter around level 30, while a character imported or boosted into the DLC can start with a level-30 package. That shortcut is convenient, but it doesn’t replace learning your build: the game gives you a usable character, not a perfectly tuned loadout.
Normal Mode is the fastest way to see the story, but it gives weaker returns once your character outgrows the enemies. True Vault Hunter Mode is better for a second playthrough because enemies and rewards scale more competitively. Ultimate Vault Hunter Mode is the real farming environment. Enemy health is much higher, but slag, elemental matching, and optimized skill interactions make the rewards worthwhile.
| Goal | Best Mode | Recommended Level | Why It Works |
|---|---|---|---|
| Finish the DLC quickly | Normal Mode | 30–40 | Low enemy health and minimal gear preparation |
| Build a level-50 character | True Vault Hunter Mode | 40–50 | Better scaling and useful quest rewards |
| Reach level 80 | Ultimate Vault Hunter Mode | 50–80 | Highest experience and endgame gear relevance |
| Begin OP progression | Ultimate Vault Hunter Mode | 80 | Unlocks Digistruct Peak challenge levels |
Don’t burn rare gear while leveling. A level-50 legendary can be spectacular for twenty minutes and useless after the next story zone. Prioritize weapons with strong base damage, elemental bonuses, and useful effects over perfect parts. Once you reach level 80, then it makes sense to hunt exact prefixes, manufacturers, and class-mod rolls.

🎮 Borderlands 2: Commander Lilith & the Fight for Sanctuary
Looking to experience this game? Grab your digital key directly on our store for $4.94.
View on Steammoz Store →The fastest story route to Uranus
The cleanest leveling path is to follow the main missions without detouring into every side quest. Start in Fight for Sanctuary, complete the early missions around the ruined city, and keep moving through Dahl Abandon. The DLC eventually sends you toward Helios Fallen and the Hyperion facilities. Your key objective is reaching the mission chain that leads to Uranus. Once that boss is available, stop treating the story as your main source of experience.
During the push, accept side missions only when they are directly on your route or offer a weapon you genuinely need. The mission reward “The Vaughn” and other early quest items can fill gaps, but don’t spend ten minutes clearing a camp for a gun that will be replaced by the next level. Turn in missions at the level you want the reward to match. If you’re near a major level breakpoint, complete the combat first, gain experience from nearby enemies, and hand in the quest afterward.
Use fast travel aggressively. Return to Sanctuary to sell gear, restock ammunition, and spend your cash before advancing. A full backpack is a hidden experience penalty because you’ll waste time leaving drops behind or walking back to a vending machine. Keep one weapon for each useful element: fire for flesh, corrosive for armor, and shock for shields. In UVHM, add slag through a grenade, weapon, or skill before switching to your damage gun.
Build choices that make the route faster
Maya is excellent for solo progression because Phaselock removes one enemy from the fight and lets you safely strip shields or apply elemental damage. Salvador’s Gunzerking is the fastest boss-killing option when paired with two complementary guns, such as a slag weapon in one hand and the Unkempt Harold in the other. Axton’s turret buys breathing room, while Krieg’s Bloodlust and Mania trees can clear packed groups but demand more aggressive positioning.
| Vault Hunter | Skill Priority | Useful Weapon Pair | Farming Advantage |
|---|---|---|---|
| Maya | Converge, Ruin, Chain Reaction | Slag weapon plus elemental SMG | Phaselock controls crowds and spreads effects |
| Salvador | Money Shot, Lay Waste, Keep Firing | Slag gun plus Unkempt Harold | Gunzerking deletes Uranus during damage windows |
| Axton | Double Up, Scorched Earth, Longbow Turret | Explosive AR plus corrosive launcher | Turret draws aggro and adds burst damage |
| Gaige | Close Enough, Blood Soaked Shields, Anarchy | Shock weapon plus shotgun | Anarchy rewards sustained fights and ricochets |
| Zero | B0re, Death Mark, Many Must Fall | Sniper or pistol plus slag tool | B0re can punish aligned Hyperion targets |
For a general damage setup, use a slag tool, a main damage weapon, and a panic option. The Unkempt Harold is famous because its explosive projectiles split as they travel, creating a huge close-to-mid-range damage cone. It’s particularly effective on Salvador, but any class can use it. Don’t fire it point-blank into your own feet, especially in confined rooms.
Build references from other games won’t solve Borderlands 2’s specific problems, but our Borderlands 3 weapon ranking is useful for understanding why weapon effects often matter more than raw rarity.
How to farm Uranus for XP, weapons, and gold
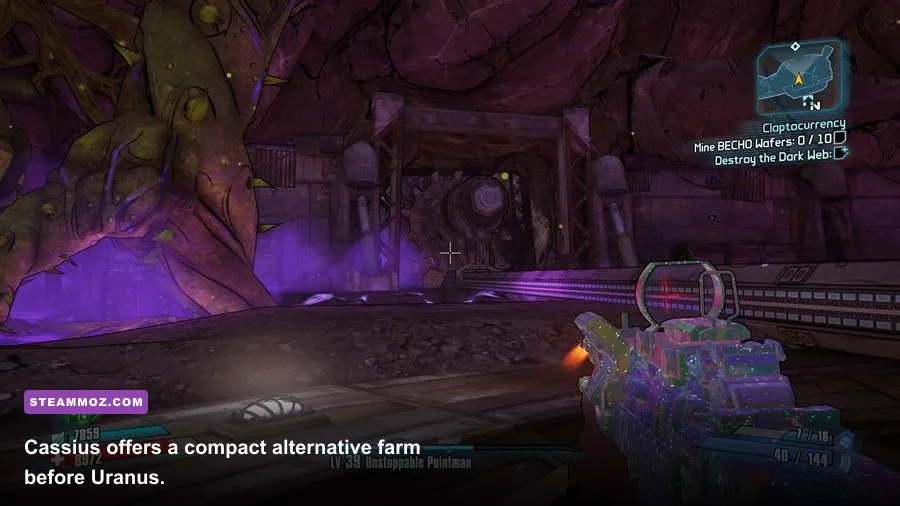
Uranus is the centerpiece of this guide. The fight takes place in Helios Fallen and is repeatable after the relevant mission is complete. His large mechanical body drops a substantial number of weapons, shields, class mods, and grenades. Even when the direct cash payout feels ordinary, the sell value of the loot turns each successful kill into a strong gold run.
Step-by-step Uranus loop
- Enter with full ammunition. Buy rockets only if your build relies on them; otherwise invest in your main weapon and grenades.
- Apply slag before your damage rotation. In UVHM, slag dramatically improves the speed of the kill, and the time saved is worth more than carrying extra novelty weapons.
- Target exposed sections and keep moving. Uranus telegraphs heavy attacks with obvious wind-ups. Strafe around cover instead of standing in the open and trading damage.
- Use the correct element. Shock is useful against shields, corrosive damage is strong against armored sections, and explosive or fire damage is better once health is exposed.
- Collect only valuable drops first. Prioritize purple and legendary gear, upgrades for your current level, class mods, and high-value shields.
- Sell at the nearest vending machine, then reload the area. A save-and-quit refreshes the encounter. Re-enter and repeat the fight.
The best farming rhythm is not “pick up everything.” It’s “kill, scan, sell, reload.” Keep a rough price filter: if a weapon is several levels below your current gear and has no exceptional effect, leave it. Purple guns with high listed value are worth grabbing when your backpack has room, especially during the push toward level 80.
| Uranus Threat | Telegraph | Counter | Best Tool |
|---|---|---|---|
| Heavy projectile burst | Weapon arms pause and track your position | Break line of sight or strafe laterally | Cover and a fast shield recharge |
| Close-range impact | Machine closes distance and lifts its body | Keep an escape lane behind you | Shotgun or explosive weapon |
| Shielded phase | Damage numbers drop sharply | Swap to shock and keep slag active | Shock SMG or pistol |
| Armor phase | Blue health bar is replaced by yellow armor | Use corrosive damage and avoid reload traps | Corrosive rifle or launcher |
If the fight takes longer than a couple of minutes, your gear is probably lagging behind your level or your elemental rotation is wrong. Farming an underpowered boss for twenty minutes isn’t efficient. Run a few story missions, replace your main weapon, and return. The point of Uranus is a short repeatable kill, not a stubborn endurance test.
Gold farming without wasting your time

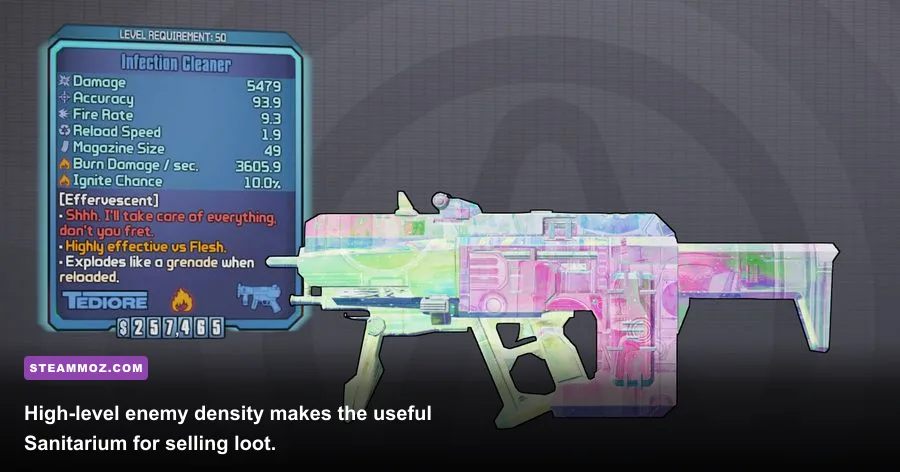
Gold has a practical role in Commander Lilith: ammunition, health, shields, and vending-machine upgrades can drain your wallet quickly, particularly when you’re dying in UVHM. The safest gold strategy is to convert surplus loot into cash. Uranus is ideal because the loot volume is high, but the Dahl Abandon Sanitarium and dense Hyperion combat zones can work when you need a change of pace.
Never sell a weapon just because it is green or blue. Inspect the effect first. A low-rarity gun with an unusual fire rate, elemental chance, or manufacturer bonus may be more useful than a higher-rarity weapon with poor handling. Keep one backup weapon per important element, one slag option in UVHM, and your best class mod. Everything else is a candidate for the vending machine.
Vending-machine purchases are usually a bad investment while leveling. Their stock costs too much compared with the lifespan of the item. The exception is an immediate replacement for a severely outdated shield, grenade, or slag weapon. Spend spare cash on ammunition after every run and on upgrades when the price is manageable. Losing a fight because you ran out of rockets is more expensive than buying them up front.
| Gold Method | Speed | Best Use | Downside |
|---|---|---|---|
| Sell Uranus drops | Very high | Leveling and cash together | Requires a repeatable boss kill |
| Sell Sanitarium loot | High | Early DLC money runs | More combat between vending trips |
| Open red chests | Medium | Combining cash with gear hunting | Chest contents are inconsistent |
| Buy and resell vending stock | Very low | Almost never worthwhile | Creates a direct cash loss |
For another perspective on efficient in-game currency loops, see Steamoz’s gold farming breakdown. The economies differ, but the same principle holds: farm an activity that pays in both progression and sellable rewards.
From level 80 to OP levels
Reaching level 80 is the end of ordinary leveling, not the end of progression. After hitting the cap, you can tackle Digistruct Peak to unlock Overpower levels. Each successful run raises the maximum level of enemies and gear available to you. This is where the casual Uranus loop stops being enough: OP content expects carefully chosen equipment, reliable slag application, and a build that can survive burst damage.
Before your first Digistruct Peak attempt, replace weapons that are several levels behind, even if they are legendary. A level-72 legendary can lose to a level-80 purple with better damage and matching parts. Check your shield recharge delay, grenade utility, class-mod skill bonuses, and relic. At high difficulty, survivability often beats a tiny damage increase because a failed run costs far more time than a slower kill.
Uranus remains useful at level 80 for farming replacement gear and cash, but don’t confuse it with an OP-level farm. Once you begin OP progression, equipment must match your current OP tier. Keep a slag weapon, a high-damage boss weapon, a corrosive option, and a shield that suits your class. Salvador can lean into Gunzerking and Money Shot; Maya benefits from Phaselock control and Ruin’s elemental spread; Axton wants turret uptime and explosive damage; Zero needs careful positioning around B0re and Death Mark.
For performance, disable unnecessary visual effects if crowded fights cause frame dips. Borderlands 2’s PhysX effects can be especially demanding on PC, and a stable frame rate makes projectile tracking and evasive movement easier. Lower PhysX before reducing texture quality: the game’s stylized textures still look good, while unstable effects can make a boss arena feel visually noisy.
| Progression Stage | Primary Activity | Gear Standard | Farming Focus |
|---|---|---|---|
| Level 30–50 | Main DLC missions | Replace weapons frequently | Story XP and usable quest rewards |
| Level 50–72 | TVHM or UVHM progression | Element matching and slag | Uranus plus selective side missions |
| Level 72–80 | UVHM Uranus loop | Level-appropriate weapons and class mods | XP, cash, and legendary drops |
| Level 80+ | Digistruct Peak | Exact build synergy and OP-tier gear | Targeted farms, not random loot |
Commander Lilith is at its best when you treat it as a compact endgame runway. Rush the story once, unlock Uranus, and let the boss provide the experience and money your character needs. Sell intelligently, match elements, refresh your gear at meaningful level breaks, and save perfectionism for level 80 and beyond. That approach turns the DLC from a one-time campaign detour into one of Borderlands 2’s most efficient progression hubs.
For official background and patch information, visit the official Borderlands website and Gearbox’s Borderlands 2 page. If you’re jumping between looter-shooters, Steamoz’s fast leveling and gold farming guide offers another useful comparison of progression-focused play.