
Blood Rush hides its best rewards in places the main route is designed to make you ignore: behind damaged walls, below apparently dead-end platforms, inside optional combat rooms, and along paths that only become reachable after you acquire the right movement upgrade. The fastest way to find every secret is to stop treating each stage as a straight sprint. Clear the immediate threat, scan for visual irregularities, and return after every major ability unlock. This guide focuses on the reliable search patterns, reward triggers, and backtracking order that prevent missed caches without pretending that a random-looking wall is always breakable.
Before hunting secrets, confirm that you’re playing the same Blood Rush build covered by the current patch notes on the official Steam search page. Several similarly titled projects use different maps and progression systems, and an update can move a collectible or change an interaction prompt. If a location described below doesn’t match your map, don’t force the route: check the stage name, difficulty, platform, and version number first.
How Blood Rush’s secrets actually work
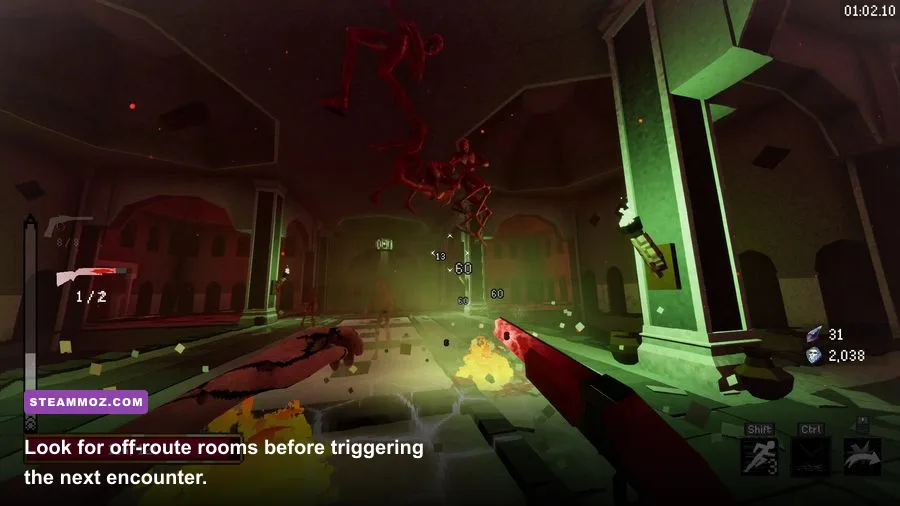
Most hidden rewards in Blood Rush fall into four categories. The first is a permanently placed cache: a chest, pickup, or interactable object that remains in the same room on every run. The second is a conditional reward that appears only after you defeat a nearby elite, survive an ambush, or activate a switch. The third is a movement-gated secret, where the route exists from the beginning but cannot be completed until you unlock a dash, double jump, wall interaction, or equivalent traversal tool. The final category is a hidden encounter. These rooms are easy to mistake for ordinary side chambers because the reward may not appear until the arena is locked and every enemy is defeated.
That distinction matters. A missing chest does not necessarily mean you took a wrong turn. If a room contains an empty pedestal, inactive panel, or sealed doorway, mark it and return later. Blood Rush often communicates future access through environmental staging rather than an explicit quest marker. A clean wall with no damage, no lighting difference, and no nearby interaction is usually scenery. A wall with a narrow seam, mismatched texture, red glow, loose debris, or an oddly placed light is worth testing.
| Secret type | What to look for | Typical unlock condition | Best response |
|---|---|---|---|
| Permanent cache | Chest, pickup, or isolated alcove | Available immediately | Search corners before leaving |
| Conditional cache | Empty pedestal or sealed reward door | Nearby encounter or switch | Clear the room and rescan |
| Movement secret | Gap, high ledge, or blocked route | Traversal upgrade | Mark the room for backtracking |
| Hidden encounter | Unusual side room or closed arena | Entry trigger and enemy clear | Prepare health and ammunition |

🎮 Blood Rush
Looking to experience this game? Grab your digital key directly on our store for $13.04.
View on Steammoz Store →Early-stage secrets you should not miss
The first areas teach Blood Rush’s visual language, but they also encourage players to rush past the easiest rewards. At the opening checkpoint, turn around before following the obvious objective marker. Check the space behind the start position and the side of the first structure you pass. Developers frequently place the first tutorial cache there to teach players that the camera’s forward direction isn’t always the intended route. If you find an interactable object that gives only a sound or a brief flash, wait a moment and check the surrounding floor; some rewards appear after the feedback animation finishes.
At the first large combat room, don’t open the next objective door immediately after the final enemy falls. Circle the perimeter in the opposite direction from your entrance. Pay particular attention to low ledges and dark corners beneath stairs. These spaces are deliberately easy to miss when the arena is filled with enemies, and the reward can blend into the environment once combat lighting fades.
The next reliable secret pattern is a split corridor. One route normally has the objective marker, while the other looks shorter but ends at a locked door. Take the dead end anyway. Look for a side panel, pressure plate, or breakable obstruction near the lock. If there is no interaction, continue through the marked route and return after the next combat encounter. Blood Rush uses dead ends as breadcrumbs, not just punishment for choosing incorrectly.
Early rewards are rarely designed to transform your build. Their real value is momentum: ammunition, healing, currency, or a modest upgrade that lets you reach the first major encounter with more resources. Don’t burn a powerful ability simply to reach a cache if the same ability is needed for the next fight. A secret is only valuable if the route doesn’t cost more than the reward.
Midgame hidden rooms and return routes
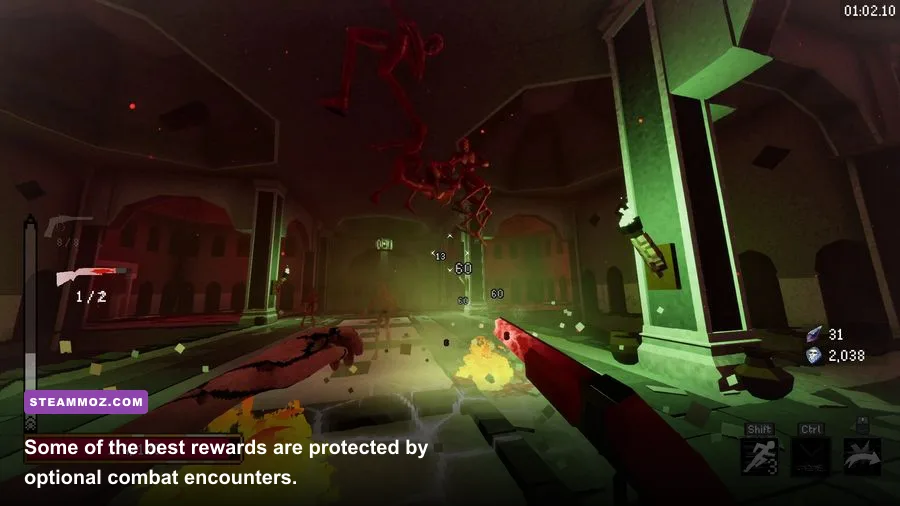
Midgame stages are where Blood Rush’s secrets become less obvious. By this point, the game expects you to remember inaccessible spaces rather than discover every reward on the first pass. The most efficient method is to keep a mental or written three-column checklist: room landmark, blocked route, and suspected requirement. “Blue-lit shaft beside elevator — too high — return with vertical movement” is far more useful than “secret near elevator.”
When you unlock a new traversal ability, revisit areas in this order: the current stage, the immediately previous stage, then the earliest stage containing a matching landmark. This minimizes loading and prevents the common mistake of backtracking through the entire game after every upgrade. Test the ability against gaps and ledges first, then doors and panels. Movement-gated secrets generally provide a clear physical route; if you have to perform a pixel-perfect exploit, you’re probably not looking at an intended collectible.
Watch for one-way progression traps. A door, elevator, or arena trigger may permanently move you into the next section until you reload the checkpoint. Before activating anything that changes the level state, sweep the room and inspect the route behind you. If the game allows manual checkpoint reloads, use one after collecting a major reward so you don’t lose it to an unexpected death.
| Landmark | Likely secret | What to test | Common mistake |
|---|---|---|---|
| Inactive elevator shaft | High ledge or lower maintenance route | Vertical movement and ledge grabs | Activating the elevator too early |
| Red-lit side corridor | Conditional encounter | Clear nearby enemies, inspect panels | Assuming red lighting marks the objective |
| Broken bridge | Movement-gated cache | Dash, double jump, or alternate platform | Dropping before checking both edges |
| Empty pedestal | Delayed reward | Nearby switches and enemy waves | Leaving after the first interaction |
| Locked side door | Optional combat room | Search for a key route or arena trigger | Ignoring the dead-end corridor |
How to identify breakable walls and false leads

Breakable walls are one of the easiest secrets to overthink. Don’t attack every suspicious surface. Start with the three strongest signals: a visible crack or seam, debris that doesn’t match nearby geometry, and a reward sound or glow coming from behind the wall. A single visual clue can be misleading, especially in dark rooms. Two clues justify testing the wall with a low-cost attack. Three clues usually mean the route is intentional.
Use sound as a confirmation tool. If a strike produces a dull impact identical to a normal wall, stop wasting ammunition. If it produces a sharper break, vibration, flash, or changed hit effect, attack again and watch for the opening. Some rooms also use destructible objects rather than walls. Barrels, panels, hanging coverings, and damaged machinery may hide a switch, but they’re often placed near a reward line-of-sight so observant players can connect the dots.
False leads tend to have symmetrical geometry. If both sides of a hallway contain identical panels and only one appears slightly darker because of lighting, it’s probably decoration. Intended secrets usually break symmetry: one loose tile, one light pointed at an empty corner, or one object placed just far enough away from the main path to draw the eye. This is especially useful when playing on low settings, where subtle texture detail may disappear.
Optional fights and the rewards behind them
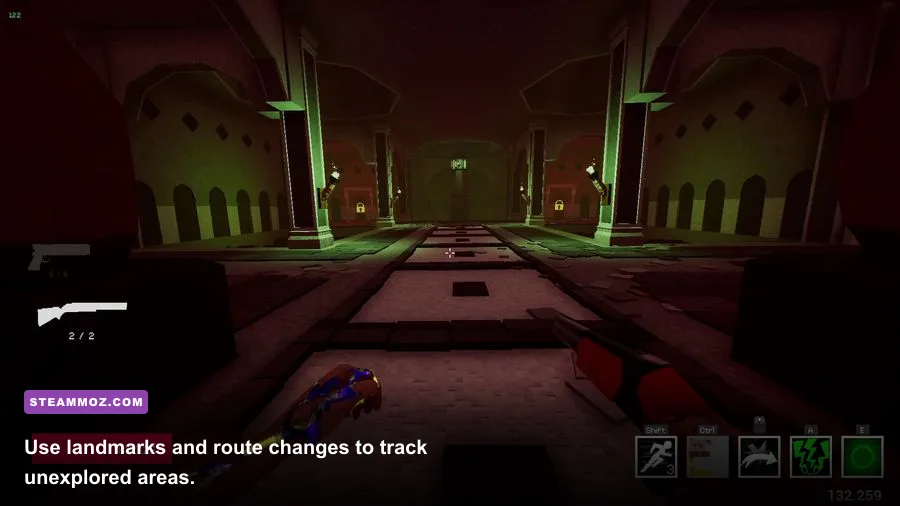
Hidden combat rooms are worth more than ordinary caches, but they’re also the easiest places to lose a run. Enter only after checking your health, ammunition, cooldowns, and escape route. If the entrance seals, the room is telling you that the reward is tied to the encounter. Don’t spend your strongest attack on the first weak wave unless the arena has limited cover. Save burst damage for the elite or the moment multiple enemies overlap.
Read the arena before the fight begins. Elevated platforms usually create a kiting route, while narrow lanes favor crowd control and explosive damage. If the room contains explosive objects, treat them as a resource rather than decoration. Triggering them early may remove the only safe cover. Move in a wide circle, keep the camera pointed toward the arena center, and avoid backing into the entrance wall. Blood Rush’s hidden fights often spawn enemies behind the player after the first wave.
After the final enemy falls, wait for the reward trigger. Search the arena floor, then inspect the center platform, the entrance, and any object that changed state during combat. Some rewards appear only after a short delay or after interacting with a newly unlocked panel. If nothing appears, walk through the room’s perimeter once more; a pickup can spawn at the location of the last defeated enemy rather than in the center.
Reward priority: what to collect first
Not every secret deserves the same detour. Prioritize permanent upgrades and capacity increases, then currency or crafting materials, then healing and ammunition. Temporary boosts are worth taking when they’re directly on the route, but they shouldn’t justify a dangerous backtrack unless you’re preparing for a boss or difficulty spike. The ideal secret hunt improves your next encounter without draining the resources needed to reach it.
| Reward | Priority | Why it matters | When to detour |
|---|---|---|---|
| Permanent upgrade | S-tier | Improves every later encounter | Always, unless the route is one-way |
| Capacity increase | S-tier | Raises long-term survivability or damage uptime | Before major fights |
| Currency or materials | A-tier | Supports upgrades and equipment choices | When the detour has low combat risk |
| Healing item | B-tier | Strong immediate value, no lasting benefit | When entering an elite encounter |
| Ammo or temporary boost | C-tier | Useful but easy to replace | Only when already nearby |
For completionists, take screenshots of landmark rooms before leaving them. A screenshot showing the blocked ledge or sealed panel is much easier to use than a vague note, especially if Blood Rush changes the lighting between visits. Keep a second save or manual checkpoint before an obvious progression trigger. That single habit prevents the most frustrating type of missed collectible: the reward sitting in a room you can no longer revisit.
A clean route for finding every secret
Use this loop on every stage. First, follow the main route until the game introduces a new mechanic or opens a large room. Second, clear the encounter and sweep the room’s perimeter. Third, inspect every dead end, elevated ledge, and suspicious wall. Fourth, record anything that looks inaccessible instead of repeatedly testing it. Fifth, trigger the next checkpoint only after the current area is clean. Finally, return after the next movement upgrade and check your recorded landmarks in reverse order.
That process is slower than a pure speedrun, but it’s dramatically faster than random backtracking. It also works well with performance tuning: if a dark room hides visual cues, increase brightness or temporarily raise texture quality instead of lowering every setting. Players comparing Blood Rush performance can use the practical approach explained in our low-FPS troubleshooting guide, while those playing on modest hardware may find the graphics advice in our PC settings guide useful.
Don’t confuse a complete reward inventory with a complete secret record. Some areas contain lore interactions, alternate viewpoints, or optional encounters that don’t add an item to your inventory. If you want a genuinely complete run, track three things separately: collectible rewards, optional fights, and inaccessible landmarks. The third category is what tells you whether you’re actually done or simply unable to reach a secret yet.
Final checklist before declaring a stage complete
Before moving on, confirm that every side corridor has been visited, every optional arena has been cleared, every empty pedestal has been rechecked, and every blocked route has been logged against the abilities currently available. Reload the latest checkpoint if a reward fails to spawn, then repeat the encounter without skipping its final animation. If the problem persists, check the developer’s official Steam news feed and the game’s Steam Community discussions for patch-specific reports.
Blood Rush’s secret design rewards attention more than brute force. The strongest habits are simple: scan before sprinting, mark blocked routes, revisit after movement upgrades, and never activate a one-way transition until the room is empty. For more games built around careful progression, our guides to starting builds and efficient farming routes cover the same kind of decision-making. Follow that checklist and the hidden rewards stop feeling random: every strange wall, silent corridor, and empty pedestal becomes a readable clue.