
The best Blades of Fire weapon is the forged tool that matches the enemy, but the spear and mace are the most consistently powerful choices. Spears dominate neutral-range combat, maces punish armor and stagger windows, swords are the safest all-rounders, and axes sit just below the top because their slower commitments are easier for late-game enemies to punish. That ranking changes when you factor in metal quality, weapon shape, durability, and the damage type an encounter demands.
That last point matters more here than in a conventional loot RPG. MercurySteam does not give Aran de Lira a giant list of named swords with permanently fixed damage numbers. Blades of Fire is built around forging and maintaining weapons, so two blades from the same family can feel dramatically different depending on their construction. The practical tier list below ranks weapon families, forging priorities, and equipment roles rather than pretending there is one magical drop that solves the whole campaign.
Blades of Fire weapon tier list at a glance
The cleanest way to rank the arsenal is by reliability. A weapon that delivers slightly less peak damage but lets you safely control distance will outperform a heavier option if you can land it consistently. That is why the spear earns S-Tier, even though the mace can produce nastier stagger bursts in the right hands.
| Rank | Weapon family | Why it ranks here | Best use |
|---|---|---|---|
| S-Tier | Spear | Excellent reach, safe pokes, strong control of approach lanes | Unknown encounters, groups, large enemies |
| S-Tier | Mace | High impact and dependable pressure against protected targets | Armored enemies, stagger-focused fights |
| A-Tier | Sword | Fast recovery, flexible attacks, forgiving general-purpose moveset | Exploration and mixed enemy groups |
| B-Tier | Axe | Strong commitment damage, but slower recovery and shorter safety margin | Confident players and stagger openings |
This is not a claim that axes are bad. They are satisfying precisely because every clean hit feels expensive and meaningful. The problem is that Blades of Fire asks you to read attacks, target specific body areas, and manage durability under pressure. A slow swing that misses costs more than time. It can leave Aran open, waste a valuable opening, and damage a weapon you may need later.

🎮 Blades of Fire
Looking to experience this game? Grab your digital key directly on our store for $31.99.
View on Steammoz Store →S-Tier weapons: spear and mace
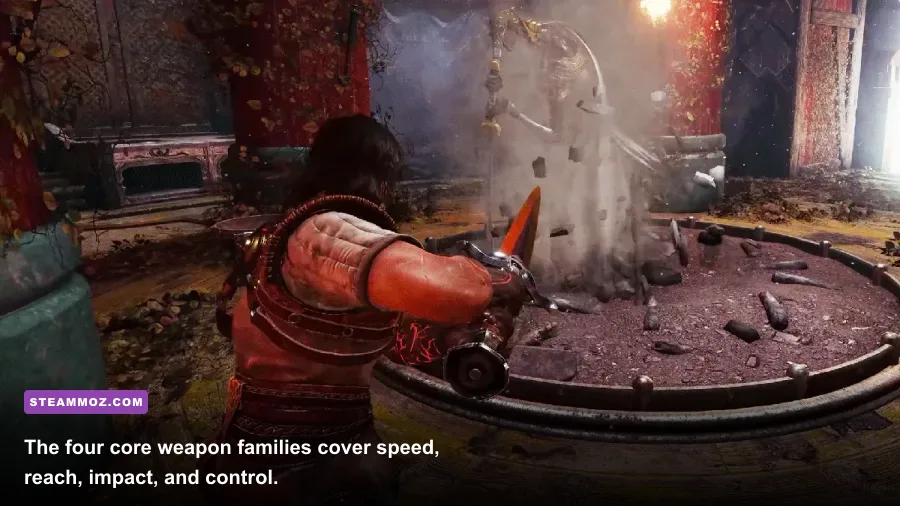
Spear — the best blind-pick weapon
The spear is the most dependable weapon family in the game because reach solves several problems at once. You can test an enemy's attack range without standing directly inside it, tag a limb before committing, and keep dangerous targets at the end of your threat zone. That makes it especially strong while learning a new enemy's telegraphs.
Its real strength is not simply range. The spear lets you maintain a rhythm of single attacks, repositioning, and guarded responses. Against groups, that rhythm prevents one enemy from disappearing behind another and surprising you during a recovery animation. Against large targets, the extra distance gives you more time to react when the camera becomes crowded by a body or weapon.
Forge a spear with control and repeatability in mind. A durable shaft and a head that preserves its effective reach are generally more valuable than chasing maximum burst. Use lighter construction when you need faster follow-up attacks, but do not sacrifice so much durability that every room becomes a repair stop. The spear is at its best when it remains available for the next encounter, not when it produces one spectacular opening hit.
Mace — the armor breaker
The mace is the answer when an enemy refuses to flinch. Armored soldiers and other protected targets can make quick blades feel like they are bouncing off a wall, while a well-built mace turns each committed strike into meaningful pressure. Its slower handling is a fair trade when the target's defense is the main obstacle.
Use the mace as a deliberate counter weapon, not a button-mashing replacement for the sword. Wait for an attack to finish, step into the recovery window, and place the blow on the most vulnerable exposed area. A single impact followed by a retreat is safer than chaining a full sequence just because the first hit connected.
The mace also shines when your party is dealing with an enemy that has a clear stagger threshold. Heavy impact can create the opening your other tools need, but the weapon still depends on correct targeting. Hitting the wrong protected section repeatedly will not magically convert the mace into a universal solution. Read the enemy, identify the vulnerable zone, then spend durability with purpose.
A-Tier and B-Tier: sword and axe explained
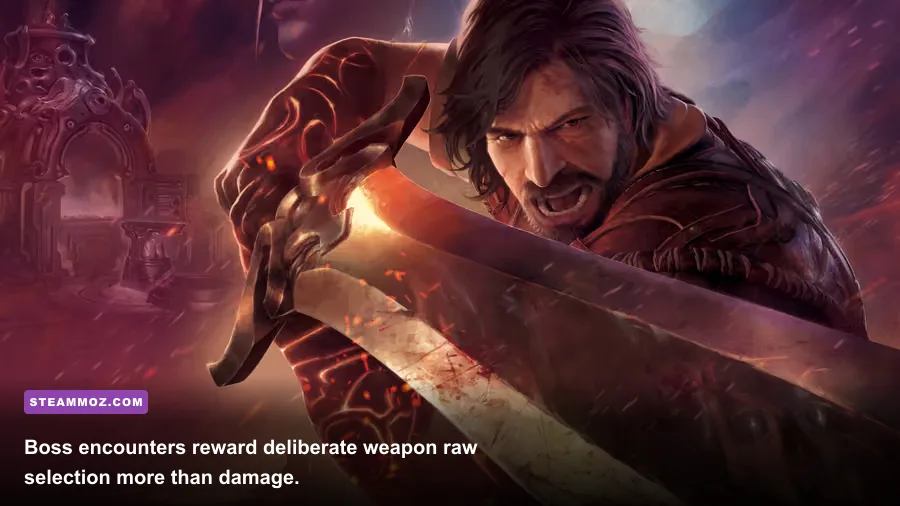
Sword — the best learning weapon
The sword is the most comfortable recommendation for a first playthrough. It has the speed to punish short openings, enough reach for ordinary encounters, and recovery animations that are easier to cancel with movement or defense. If you only want to carry one dependable option while exploring, the sword deserves A-Tier.
Its weakness appears against heavily defended targets and enemies that demand blunt impact. You can still win those fights with a sword, but the margin for error is narrower. The sword rewards accurate targeting and repeated, disciplined hits; it does not reward swinging into armor and hoping the damage eventually adds up.
For general equipment, keep one sword forged toward low recovery and reliable durability. That becomes your exploration weapon: the tool you use when you do not yet know whether the next room contains a fast duelist, a crowd, or a larger creature. A second sword can be shaped toward a more specialized damage profile, but that is a luxury once your materials and forge knowledge improve.
Axe — the specialist's choice
The axe has the highest “I should not have pressed that” factor in the arsenal. Its attacks can produce excellent damage when they connect cleanly, yet the commitment is obvious. Enemies with long-reaching counters or rapid sidesteps can punish an axe user before the animation finishes.
That makes it a B-Tier weapon for most players and an A-Tier option for anyone who has enemy timings memorized. Use it when you have a reliable opening, not as your default answer to a target that is actively attacking. The axe is also better in narrow spaces than in open arenas, where its heavy commitment can be protected by terrain and enemy pathing.
Do not judge the axe only by its maximum hit. Compare the entire exchange: how long you are committed, whether the target can retaliate, how much durability the miss costs, and whether the same opening could have been converted more safely with a spear or sword. That is the difference between a powerful weapon and a useful weapon.
Forging priorities that decide the ranking

Weapon families provide the baseline, but the forge determines whether a weapon feels premium or disposable. The game’s defining mechanic is physically shaping metal, and that process is not cosmetic. Poor forging creates an immediate combat tax through weaker performance and faster deterioration. A technically lower-tier sword with excellent construction can therefore outperform a badly made mace.
| Forging priority | What to prioritize | Why it matters | Common mistake |
|---|---|---|---|
| Weapon shape | Clean, consistent construction | Improves the weapon's practical performance and keeps attacks dependable | Rushing the forge for a tiny theoretical damage gain |
| Material quality | Save better metal for boss or armored encounters | Premium resources have greater value when the matchup demands them | Spending rare material on routine enemies |
| Durability | Maintain a reliable primary weapon | A broken weapon can ruin an otherwise controlled run | Entering a major fight with a nearly exhausted blade |
| Weapon role | Build for reach, impact, or speed | Specialization lets the loadout answer different defenses | Making every weapon perform the same job |
The most important forging habit is simple: do not chase damage in isolation. Durability and handling are combat stats because they determine how many safe decisions a weapon supports. If a stronger head makes the weapon awkward or fragile, the upgrade may be worse for exploration than the familiar tool already in your inventory.
Use the forge before a major story encounter, after unlocking new schematics, and whenever you notice repeated bounce or poor damage against a particular defense. You do not need to rebuild every weapon after every discovery. Keep a reliable sword or spear for ordinary travel, then reserve specialized equipment for the enemy type that justifies it.
Best equipment loadouts for different players
There is no single best equipment ranking for every stage of the campaign. Aran’s needs change as enemy variety expands, and Adso’s presence makes exploration feel different from a contained boss arena. The best loadout is the one that gives you a safe answer to the threats you are most likely to face.
| Loadout | Primary weapon | Backup weapon | Ideal player | Main weakness |
|---|---|---|---|---|
| Safe explorer | Spear | Sword | Players learning enemy ranges and unfamiliar areas | Less burst against heavily protected targets |
| Armor breaker | Mace | Spear | Players comfortable waiting for punish windows | Slow recovery after a missed attack |
| Balanced campaign | Sword | Mace | First-time players wanting flexible answers | Requires swapping instead of forcing one weapon |
| Execution specialist | Axe | Sword | Players who know enemy telegraphs by memory | Very unforgiving when spacing is wrong |
For most players, the balanced campaign setup is the smart default: sword for movement-heavy enemies and mace for targets that demand impact. If you are still learning the game’s parry and attack timing, replace the sword with a spear. Reach gives you more breathing room while you build the muscle memory needed for closer exchanges.
Equipment management should also follow the encounter rather than a rigid build guide. Carrying every possible weapon is not automatically better if it leaves all of them under-maintained. A smaller, healthy inventory of purpose-built tools is more useful than a backpack full of damaged experiments.
How to use each tier in boss fights
Bosses expose the difference between theoretical ranking and practical performance. A boss can force a weapon swap through a change in distance, protection, or attack rhythm. The spear is usually the safest opener because it helps you study the arena without immediately gambling on close range. Once the boss reveals a protected phase or a stagger opportunity, move to the mace if the matchup calls for impact.
The sword is strongest when a boss repeatedly gives short recovery windows. Strike once or twice, reposition, and reset. The axe is reserved for a telegraph you can identify early enough to guarantee a clean punish. If you cannot explain exactly when the boss is vulnerable, the axe is probably the wrong choice for that attempt.
| Boss situation | Recommended tier | Combat plan | What to avoid |
|---|---|---|---|
| Long-range approach or large arena | Spear | Probe from reach, attack once, then reset spacing | Chasing extra hits after a safe poke |
| Heavy armor or protected phase | Mace | Wait for exposed sections and commit only during recovery | Repeatedly striking defended areas |
| Fast counterattacks | Sword | Use short punish strings and prioritize recovery | Long attack chains near the boss |
| Guaranteed long telegraph | Axe | Charge the punish, land the hit, and immediately disengage | Using it during neutral exchanges |
Enemy telegraphs matter more than raw weapon tier. Watch shoulders, feet, and weapon position rather than the character’s health bar. Large swings usually announce themselves through a clear body turn, while faster enemies often reveal intent by stepping into range before the attack begins. Blocking or parrying is only useful if you are already positioned to answer the recovery.
That is also why weapon durability should be treated as part of boss preparation. Repair or reforge before entering a major arena, and do not spend your best material on routine fights immediately beforehand. The game rewards preparation, but it punishes hoarding just as harshly: a perfect weapon that you never risk using is not helping Aran win.
Final ranking and the smartest upgrade path
If you want the short version, choose a spear as your safest all-purpose weapon, keep a mace ready for armor and stagger checks, use a sword as the most forgiving learning tool, and pick the axe when you already understand the fight. That ranking remains stable because it measures reliability, not just damage fantasies.
Your first upgrades should improve consistency: a well-forged primary weapon, enough durability to survive an expedition, and a backup that covers a different defensive problem. Do not spend every rare resource chasing a perfect damage roll while ignoring handling. The best weapon in Blades of Fire is the one that lets you finish an encounter without taking a reckless trade.
For official reference, check the Blades of Fire Steam page, the official Blades of Fire website, and MercurySteam’s developer site. If performance issues are getting in the way of judging combat, Steamoz’s PC crash and FPS troubleshooting guide and graphics settings advice cover the same practical optimization mindset.
For more equipment-focused reading, compare this approach with our weapon value ranking in Everspace and the Far Cry 3: Blood Dragon weapon tier list. The lesson carries across both games: ranking gear by damage alone misses the part that wins fights—reliability under pressure.