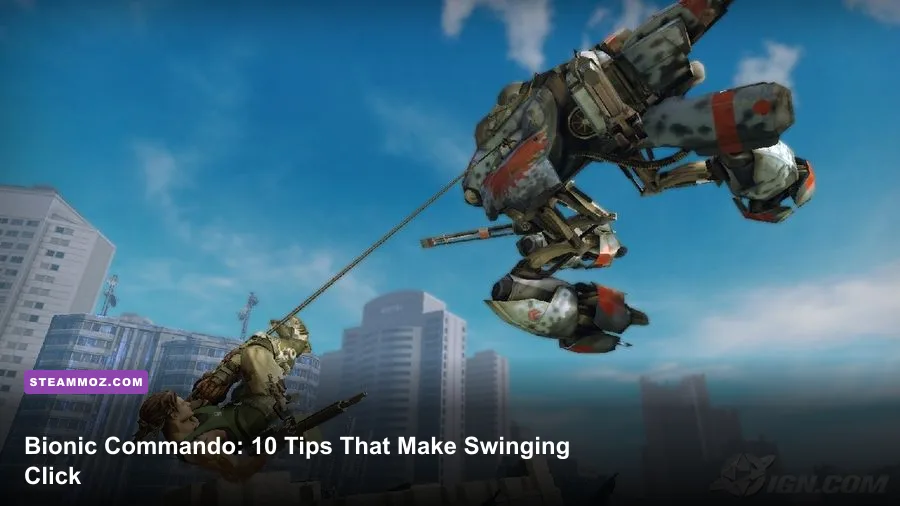
If you're new to Bionic Commando (2009), the fastest route to survival is simple: stop treating Nathan Spencer's bionic arm like a normal grappling hook. Use it to control momentum, cancel danger, disarm enemies, launch zip kicks, and reach safer ground before the radiation closes in. These 10 tips cover the movement habits, combat decisions, upgrades, and boss tactics that make the campaign feel dramatically less punishing.
This is the 3D Capcom action game starring Nathan “Rad” Spencer, not Bionic Commando Rearmed. Its campaign combines vertical traversal with third-person shooting, and its most important lesson is that movement is not separate from combat. Every good fight starts with a good swing.
Before playing, check the official Steam listing for Bionic Commando for the current PC release details. If you want broader Capcom context, the official Capcom games site is also worth bookmarking.
1. Learn the swing arc before chasing speed
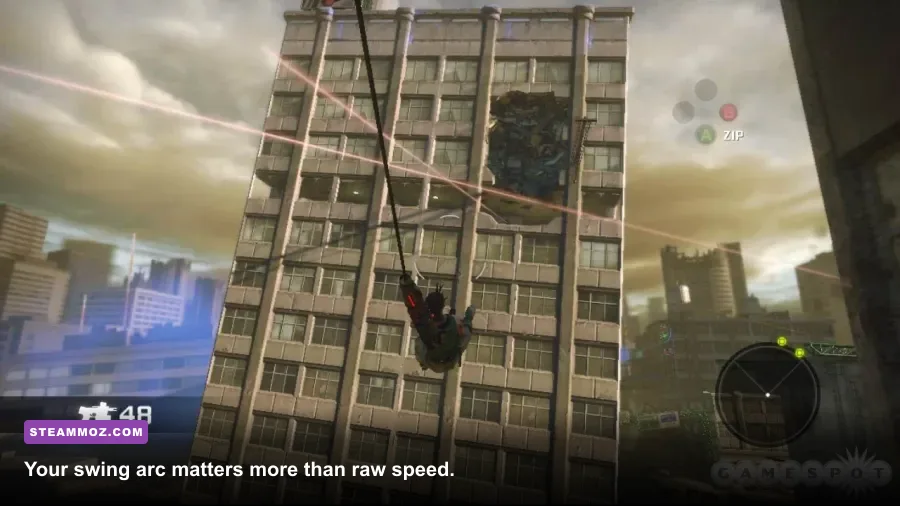
The arm does not simply pull Spencer toward whatever you target. It creates a pendulum. Attach to a valid surface, hold your swing, and release when your body is moving toward the next platform. Releasing too early produces a shallow hop; releasing at the bottom of the arc gives you more horizontal distance; releasing after the arc has climbed often wastes momentum.
Start each movement sequence by looking for the next two possible anchor points, not just the nearest one. A low ledge can be useful because it lets you build a larger arc, while a high point may only save vertical distance. When you miss, don't instantly fire the arm again. Let Spencer fall until a lower surface enters range, then attach and convert the mistake into a recovery swing.
Use the camera to check behind you before committing to a long launch. Many early gaps are designed around a second anchor point that sits outside your initial view. A controlled two-swing route is usually safer than trying to clear the entire gap in one dramatic release.

🎮 Bionic Commando
Looking to experience this game? Grab your digital key directly on our store for $3.19.
View on Steammoz Store →2. Treat the green radiation zones as a timer
Ascension City is split by poisonous green radiation zones. Spencer can cross them briefly, but lingering drains his health quickly. The trap for new players is stopping to search for collectibles or ammunition after entering one. If the screen starts warning you about radiation, movement becomes the priority.
Look for the blue safe areas and rooftops before you launch. Your route should end on stable ground, not merely pass over it. If you land near the edge, immediately move inward; a safe-zone boundary can make a technically successful swing lethal if Spencer hangs from a contaminated ledge.
Radiation also changes how you read combat arenas. An enemy standing in a safe pocket may be less urgent than a route that leads back into the contamination. Clear only the opponents blocking your escape path, then move. The campaign rewards forward momentum far more than perfect arena cleanup.
3. Use zip kicks as interrupts, not just attacks
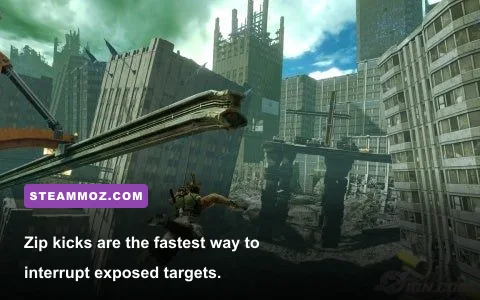
Zip kicks are Spencer's signature close-range tool. Target an enemy, launch toward them, and connect with a forceful kick that can interrupt exposed troops and create breathing room. The mistake is using it from a flat, predictable approach. Zip from an angle, preferably after swinging above or around the target, so incoming gunfire has less time to track you.
Human soldiers are particularly vulnerable when they reload, turn, or finish climbing. Those animations are your cue. A zip kick can also reposition Spencer away from a cluster, which is often more valuable than the damage itself. Against heavier targets, don't repeatedly kick the front of the body and expect a stun. Circle with the arm, attack from the side or rear, and watch for the brief opening after their attack finishes.
Think of the arm as a three-part sequence: swing to gain an angle, zip to interrupt, then finish with gunfire or a contextual throw. That rhythm is much safer than standing in the open and trading bullets.
4. Separate enemy types by the threat they create
Bionic Commando's combat becomes manageable once you stop treating every target as a damage sponge. Rifle troops pressure open spaces, shielded enemies deny frontal approaches, and armored machines punish predictable movement. Drones and airborne threats are especially irritating because they can keep Spencer exposed while he searches for a landing point.
Prioritize anything that limits movement first. A soldier pinning you near a radiation boundary is more dangerous than a distant grunt. Next, remove enemies capable of suppressing your chosen escape route. Save heavy ammunition for machines and large targets rather than spending it on ordinary infantry.
| Enemy situation | Best first response | Why it works | Common mistake |
|---|---|---|---|
| Rifle soldiers in open ground | Swing wide, then zip kick or shoot | Breaks their tracking angle | Standing still behind weak cover |
| Shielded or armored target | Flank with the arm and attack from behind | Avoids wasting frontal fire | Repeating the same frontal attack |
| Airborne drone | Use gunfire while moving between anchors | Keeps you mobile and denies pressure | Stopping to aim in a contaminated zone |
| Large BioMech | Study its attack cycle, then counter after recovery | Big attacks create predictable openings | Chasing damage during its active attack |
5. Make every weapon solve a different problem
The standard firearm is your reliable option for finishing exposed infantry, but it isn't the answer to every encounter. Shotgun-style close-range fire is better when an enemy pushes into your landing space. Explosives and the rocket launcher are strongest against clustered troops, machines, and targets protected by awkward positioning. The bionic arm remains the tool that creates the opening; firearms capitalize on it.
Don't burn explosive ammunition simply because a weapon pickup is nearby. Pickups are situational, and the campaign often places them before a machine-heavy encounter. Carry the stronger option into the next arena when you can. If you see a rocket launcher but the current room contains only scattered infantry, clear the room with your regular gun first and collect the launcher afterward.
| Tool | Ideal target | Best range | Practical advice |
|---|---|---|---|
| Standard firearm | Unarmored infantry and exposed weak points | Medium | Use while swinging or after a zip kick |
| Close-range shotgun weapon | Enemies entering your landing zone | Short | Fire after a stun or forced approach |
| Grenades | Groups behind cover | Medium | Flush enemies out before committing |
| Rocket launcher | Heavy machines and dense groups | Medium to long | Save ammunition for high-value targets |
| Bionic arm | Interrupts, throws, traversal, and mobility | Variable | Use it to change the fight, not just deal damage |
6. Throw the environment whenever the game allows it
Environmental interaction is one of Spencer's biggest advantages. The arm can grab and manipulate objects, turning nearby debris into a weapon or a temporary answer to a crowded encounter. Before firing into a group, scan the arena for movable objects, explosive hazards, and breakable cover.
A thrown object can stagger or reposition a target while Spencer moves to a new anchor. That matters because the arm's value is not limited to direct damage. It lets you split enemy formations, interrupt a dangerous animation, and buy the half-second needed to cross a gap. If a fight feels unfair, you're often missing a useful environmental interaction rather than lacking firepower.
Use heavy objects on durable targets and explosive objects on groups. Don't stand in the blast radius just to confirm the hit; throw, swing, and let the environment do its work while you relocate.
7. Upgrade movement before chasing raw damage
The campaign's progression is more generous when you improve the abilities that make traversal consistent. Prioritize upgrades that extend arm reach, improve swinging control, or expand the usefulness of the arm in combat. Extra damage is welcome, but it won't fix a missed anchor point or a poor escape route.
Collectible challenges and hidden items are worth pursuing when they sit on your natural route. Don't risk a full checkpoint restart for one awkward pickup in a radiation zone. The best upgrades are the ones you'll use every minute: better reach, smoother traversal, and more reliable control. This is also why replaying a completed section can feel easier than the first attempt; you know the anchor rhythm and spend less health improvising.
For a broader look at how movement-focused games reward route planning, compare the approach with Steamoz's guide to games like Giant Machines 2017. The same principle applies: learn the space before demanding speed from yourself.
8. Read boss telegraphs instead of forcing damage
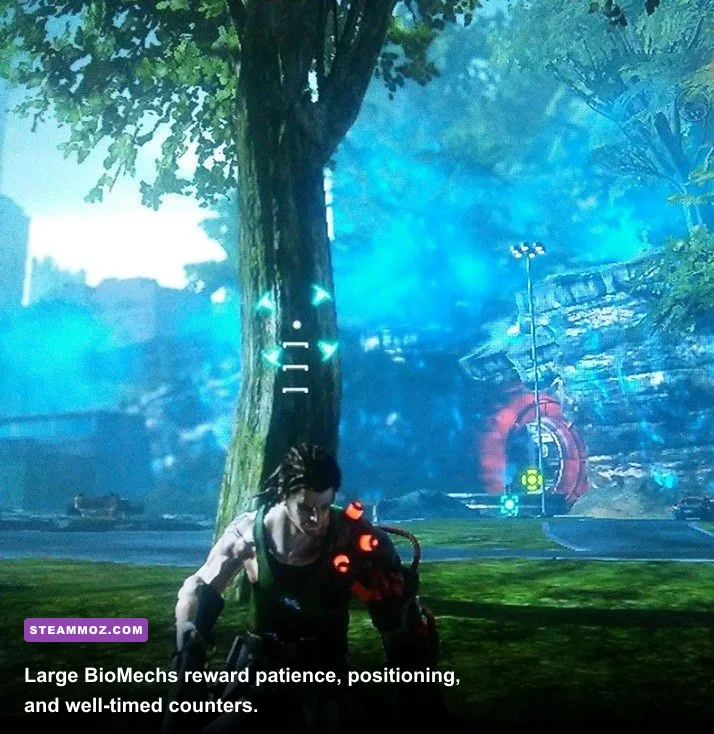
Large BioMechs and boss encounters look chaotic, but their attacks are usually built around readable phases. Watch the wind-up: a raised limb, a pause before a charge, or a visible targeting cue. That is your signal to swing out of range, not your invitation to squeeze in one last shot.
After a heavy attack lands, the machine typically has a recovery window. Use that moment to attack the exposed weak area, then disengage before the next animation begins. If the arena includes anchor points, stay mobile around its perimeter instead of circling on the ground. The arm lets you bypass shockwaves, reposition behind the target, and return on your own terms.
| Boss phase | Danger signal | Counter strategy | Optimal tool |
|---|---|---|---|
| Long wind-up | Raised limb or locked-on approach | Attach to a side anchor and swing clear | Bionic arm |
| Area attack | Ground shockwave or broad sweep | Gain height and stay off the floor | Swing and release |
| Recovery | Target pauses after impact | Attack the exposed weak point, then retreat | Firearm or explosives |
| Reposition | Boss turns toward your landing zone | Change anchor rather than repeating the route | Arm traversal |
For an official platform reference, the Xbox listing for Bionic Commando provides the original game's basic release information. The important gameplay takeaway remains the same: boss fights are movement tests disguised as damage races.
9. Tune PC controls and frame rate before judging the game
On PC, Bionic Commando feels dramatically better when the camera and arm controls are comfortable. Use a controller if analog camera movement feels more natural, but mouse-and-keyboard works well when you want fast target selection. Lower mouse sensitivity if the camera overshoots anchors; raise it only enough to check threats without losing your intended swing line.
Frame pacing matters more than chasing a flashy maximum. A stable 60 frames per second makes release timing and camera corrections easier than an unstable high frame rate. If performance dips in dense city sections, lower shadows and post-processing first. Keep texture quality higher if your GPU has room, since texture reduction affects visual clarity more than it fixes the biggest frame-time spikes.
| Setting | Recommended starting value | Performance impact | Visual trade-off |
|---|---|---|---|
| Resolution | Native display resolution | High | Lower only when GPU-limited |
| Texture quality | High if VRAM allows | Medium | Lower settings blur city surfaces |
| Shadows | Medium | Medium to high | Small lighting loss, useful FPS gain |
| Post-processing | Medium | Medium | Less bloom and softer effects |
| Anti-aliasing | Use the game's stable option | Medium | Lower values make cables and edges shimmer |
| Frame-rate target | Stable 60 FPS | Depends on hardware | Improves swing and camera consistency |
If the game is stuttering or crashing, don't randomly lower every option. Steamoz's low-FPS troubleshooting guide explains the broader PC habits that also help here: verify files, update drivers, close overlays, and test one graphics change at a time.
10. Use checkpoints and replay knowledge intelligently
Bionic Commando can punish experimentation, but its checkpoints make learning worthwhile. When you die, identify the exact failure: missed anchor, poor landing, wasted explosive, or ignoring a threat that controlled your route. Restart with one change rather than attempting a completely different strategy every time.
On a first run, prioritize reaching the next stable checkpoint. On a replay, return for collectibles and challenges once you understand the level's anchor chains. That order saves time and turns the campaign's most frustrating vertical sections into satisfying speed routes.
Keep a mental inventory before entering a major arena: current health, weapon type, ammunition, safe-zone position, and the nearest escape anchor. This takes seconds and prevents the classic beginner error of discovering the only exit while surrounded by gunfire. The game is at its best when you move decisively, so make those decisions before the shooting starts.
The 10-tip routine to remember
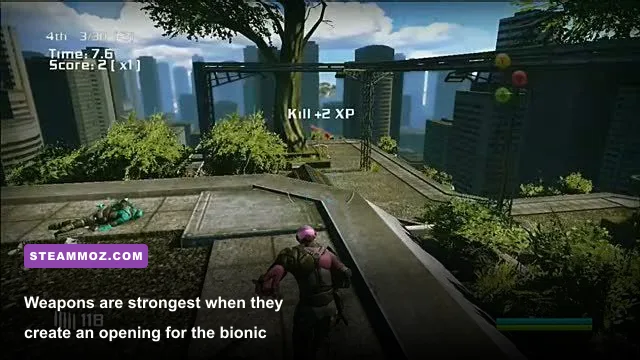
For a clean beginner routine, swing from low anchors to build momentum, release toward the next safe surface, and treat radiation as a countdown. Use zip kicks to interrupt rather than blindly charge, target enemies that restrict movement, and reserve explosives for machines or groups. Throw environmental objects when the arena offers them, upgrade traversal before damage, and wait out boss attacks instead of forcing a hit.
Finally, stabilize your PC settings and replay difficult sections with route knowledge. Nathan Spencer is powerful, but only when you keep moving. Once the arm becomes your camera, escape button, interrupt, and attack starter all at once, Bionic Commando stops feeling like a clumsy shooter and starts revealing the stylish movement game underneath.
Players who enjoy that blend of combat, exploration, and hidden routes may also like Steamoz's guides to Enshrouded secret locations and Legend of Keepers rewards. Neither plays like Capcom's bionic-arm adventure, but both understand the same crucial pleasure: knowing the space is often more valuable than simply hitting harder.