The fastest way to find Beautiful Desolation’s secret locations is to revisit every major hub after story flags change, exhaust unusual dialogue, and inspect map edges before leaving. The game rarely marks its best optional content with a bright objective marker. Instead, hidden rewards come from talking to characters twice, bringing the right companion to a location, examining apparently decorative objects, and returning to old zones after major missions. Use this guide as a route checklist rather than a one-pass walkthrough, because several secrets only become available after Mark and Don recover new information about the world.
Beautiful Desolation is a point-and-click adventure, so there are no conventional weapon builds or level-gated treasure chests to grind. Your real tools are timing, inventory knowledge, companion selection, and careful observation. Save before major conversations, keep every strange object you find, and never assume that a completed objective means a region is finished. The official Steam page for Beautiful Desolation is also worth checking for patches and achievement notes.
How to Make Secrets Appear
Most hidden content follows a simple three-step pattern: advance the main story, return to a previously visited place, then speak to everyone who has new dialogue. The game’s world state changes after major discoveries involving the Brotherhood, the Marked, and the strange technology scattered across the wasteland. A character who offered nothing but a greeting earlier may suddenly unlock a side objective or reveal a new interaction.
Before moving to a new chapter, walk the entire perimeter of each available area. Beautiful Desolation hides clickable objects in the foreground, not just behind buildings. Look for broken machinery, bodies, signs, terminals, unusual plants, and piles of scrap. Mark’s examination lines are often the only indication that a harmless-looking object matters later.
| Secret trigger | What to do | Typical reward |
|---|---|---|
| New story chapter | Return to every populated hub | New dialogue, side quests, lore |
| Unusual scenery | Inspect the object from multiple angles | Inventory item or clue |
| Locked conversation | Change companion and speak again | Alternate route or outcome |
| Completed side quest | Revisit the quest giver later | Follow-up scene or achievement progress |
| Story-critical item | Keep it instead of trading it immediately | Optional solution later |
There is no conventional fast-travel checklist that tells you which secrets remain. The safest routine is to keep a manual note of every named character, unresolved conversation, and inaccessible object. If a dialogue option sounds dismissive, reload and test the other response. Some branches close off small rewards without warning, although the game usually preserves the main path.

🎮 BEAUTIFUL DESOLATION
Looking to experience this game? Grab your digital key directly on our store for $5.19.
View on Steammoz Store →Pana and the Early Wasteland Secrets
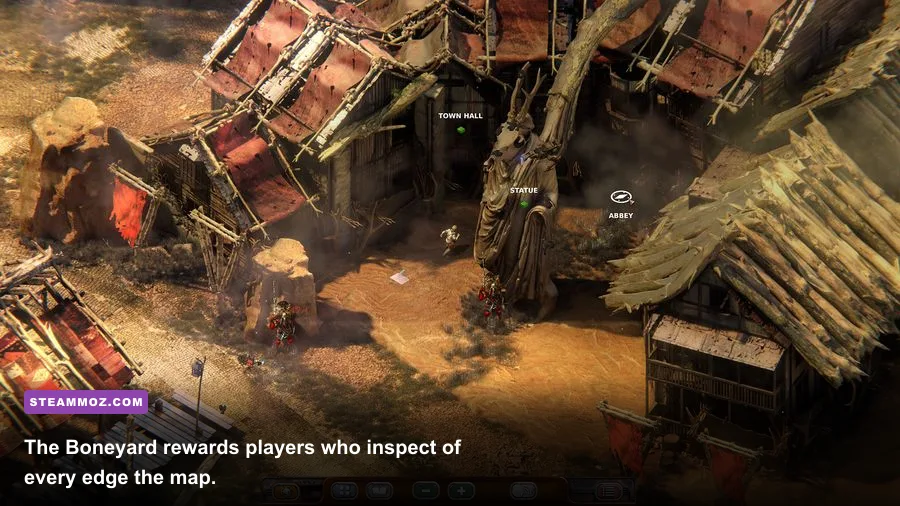
Pana is the first place where exploration starts paying off. After arriving, speak to every resident before committing to the next major objective, then return once the local situation changes. The settlement’s conversations establish relationships that can unlock later comments in the Boneyard and other regions. Don’t rush out after receiving your first clear objective; several residents only reveal their useful dialogue after you have inspected nearby points of interest.
Search the outer edges of Pana rather than staying on the obvious central path. The game’s camera can make the boundary look decorative, but clickable debris and small interactive objects are commonly placed there. Check the area around entrances, ruined walls, and machinery. If Mark comments that something is broken or unfamiliar, remember it. That line often identifies a future puzzle dependency rather than disposable flavour text.
Pana also teaches an important rule for hidden rewards: inventory objects are rarely junk. Keep odd components, biological samples, and pieces of technology until you are certain they have no further use. Trading an item for an immediate convenience can remove a later dialogue option. Save before bartering, especially when the exchange involves a unique object rather than a common consumable.
For a similar approach to tracking optional objectives, our Cosmic Express secret locations guide uses the same “inspect the perimeter, then revisit after story changes” method. The lesson applies here: the most valuable reward is often a new route or piece of context, not a conventional piece of loot.
The Boneyard and Its Missable Interactions
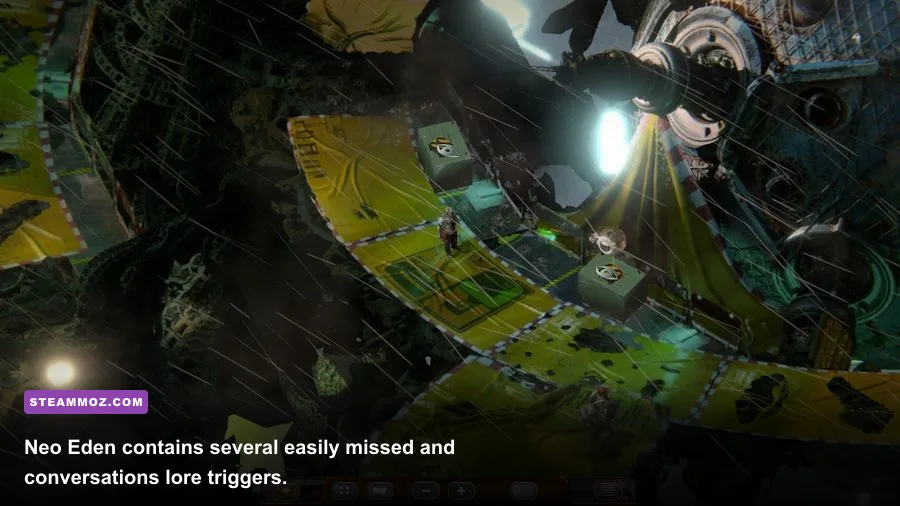
The Boneyard is one of the easiest regions to leave unfinished because its scenery is deliberately noisy. Broken machines, bones, scrap, and background ruins all compete for attention. Move slowly around the graveyard and mechanical wreckage, clicking every object that produces a unique examination line. Do not assume that an item is irrelevant simply because it does not enter the inventory.
Talk to the Boneyard’s inhabitants in more than one visit. Some conversations are gated behind progress elsewhere, and companion choice can alter the available response. If a character refuses to help, exhaust every neutral dialogue option, leave the area, and return after completing the next main objective. That loop is particularly important for optional lore and achievement progress.
The region also contains environmental clues that make later puzzles easier. Read signs, inspect remains, and pay attention to references to the old world and the machines that replaced it. Beautiful Desolation often gives you the solution indirectly through a character’s story. Writing down names and symbols may feel excessive, but it prevents a lot of backtracking when a later terminal asks you to connect an earlier clue with a new location.
| Boneyard check | Why it matters | Best approach |
|---|---|---|
| Graveyard perimeter | Easy-to-miss examination lines | Walk the outer edge before speaking to the main NPCs |
| Machine wreckage | Clues for later technology puzzles | Inspect every distinct silhouette |
| Resident dialogue | Optional lore and branching outcomes | Return after the next major story event |
| Area exits | Possible companion-specific interactions | Test the exit with your current companion |
Neo Eden and The Dome Return Trips
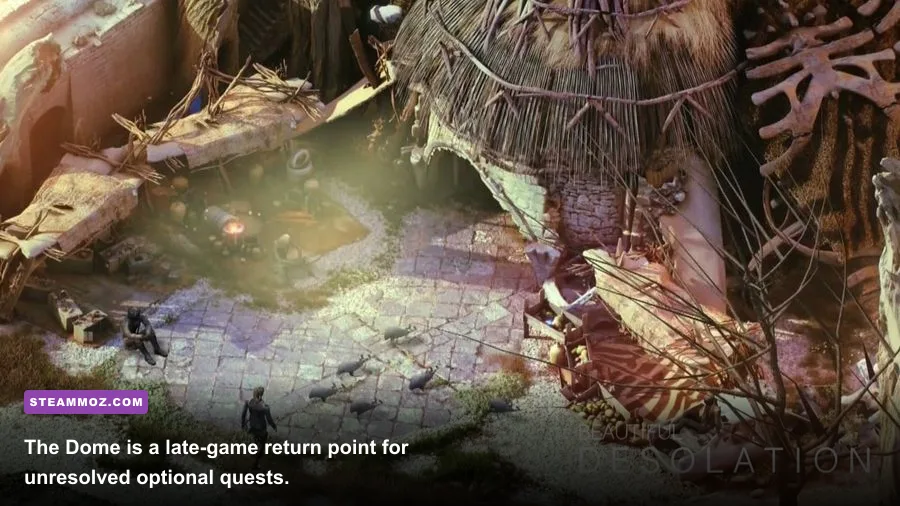
Neo Eden is where many players miss hidden content by treating the city as a linear story corridor. Speak to every named character before progressing the central objective, then revisit the city after each major revelation. Futuristic buildings and terminals are not just scenery; examine consoles, displays, and damaged infrastructure even when the game does not place a cursor hotspot directly on them.
Pay close attention to contradictions in dialogue. A character who describes an event differently from another may be pointing you toward optional lore rather than creating a mistake. Ask every available question before choosing a response that ends the conversation. If you are pursuing achievements, avoid selecting the most aggressive answer automatically. Some optional scenes require a neutral or empathetic response and can disappear after a hostile branch.
The Dome deserves the same treatment, especially during late-game returns. Its settlement contains conversations that make more sense after you have visited Neo Eden and learned more about the world’s factions. Clear the main objective, leave, complete one other task, and come back. This reset frequently exposes the final version of a conversation chain.
Keep separate saves before entering a major new region. Beautiful Desolation’s choices are usually narrative rather than combat-focused, but the consequences can still affect which scene, clue, or achievement you receive. The Citizen Sleeper 2 progression guide is useful reading if you like planning around irreversible story flags, even though its mechanics are very different.
Late-Game Secrets, Achievements, and Safe Cleanup

Before entering the final sequence, make a cleanup save and revisit Pana, the Boneyard, Neo Eden, The Dome, and every other accessible named location. Speak to anyone still offering dialogue, use every unresolved inventory item, and inspect objects that previously produced a “not yet” response. This is the point where most delayed side scenes become available.
Achievements are often the clearest sign that you have found a hidden branch, but they should not be your only measure. Some of the game’s best rewards are short conversations, additional context about Mark and Don, or a different explanation for the wasteland’s history. If an achievement does not trigger immediately, check whether you completed the interaction in the intended order rather than simply visiting the correct screen.
| Cleanup priority | Action | Reason |
|---|---|---|
| 1 | Create a manual save | Protects against irreversible dialogue choices |
| 2 | Revisit populated hubs | Story flags unlock delayed conversations |
| 3 | Use unusual inventory items | Prevents late puzzle backtracking |
| 4 | Inspect all map edges | Finds environmental interactions and lore |
| 5 | Check achievements and reload if needed | Confirms branch completion without losing progress |
Don’t overwrite your cleanup save when starting the finale. Keep one file before the final commitment and another after it. That makes it easy to explore alternate dialogue outcomes without replaying the entire campaign. If performance or loading becomes unstable while revisiting old areas, the Deadfall Adventures PC settings guide has practical advice for reducing stutter on older systems.
A Practical Secret-Location Checklist
Use this final route whenever you are unsure whether Beautiful Desolation still has hidden content. Start in Pana and exhaust every conversation. Sweep its perimeter and inspect all machinery. Move to the Boneyard, check the graveyard and wreckage, then return after the next story milestone. In Neo Eden, question every named character, examine terminals, and test alternate responses. Finish at The Dome, where late-game dialogue can finally resolve earlier mysteries.
Most importantly, separate “nothing happens” from “nothing matters.” A short examination line can be a clue, a character can become relevant several hours later, and a reward can be an achievement or a new piece of story rather than an item. That patient design is the point of Beautiful Desolation. The game wants you to look twice at the ruined world, and the players who do are the ones who see its strangest, most memorable secrets.
For more survival-adventure habits, check our Daymare: 1998 survival tips and God’s Trigger run-cleaning tips. They cover different genres, but the same principle applies: explore methodically, preserve your saves, and treat every unusual interaction as potentially important.
For development background and official updates, visit The Brotherhood’s official website and the developer’s Beautiful Desolation Steam community hub. Patch notes and player reports can help when a dialogue trigger fails to appear.