
If you want the strongest armor in Avowed, prioritize upgraded unique chest pieces rather than searching for traditional matching sets: the game does not use a conventional five-piece set system with a shared bonus. The best results come from finding named armor, upgrading it at a workbench, and pairing its enchantments with your build. Start with the best vendor gear in Dawnshore, move to unique rewards in Emerald Stair, and replace it with high-level heavy, medium, or light armor in the Living Lands’ late-game regions.
This guide covers the most useful armor locations, the best armor type for each playstyle, upgrade priorities, and the mistakes that waste rare materials. Item quality and available enchantments can vary with your level, so an early unique item may need to be replaced later even when its name remains attractive.
For official system and patch information, check the Avowed Steam page, the official Obsidian Avowed site, and Obsidian’s Avowed forums. If you enjoy detailed RPG gear guides, our Lords of the Fallen armor locations guide covers a more traditional set-based system.
How Avowed Armor Actually Works

Avowed divides wearable body armor into light, medium, and heavy categories. Your chest armor contributes the largest portion of your protection, while head, hand, and accessory choices help complete the build. The important distinction is that these pieces are not normally locked into named sets. You can wear a light chest piece with heavy gloves, use a unique helm from one region, and still receive the full value of each item.
Light armor
Light armor is the best choice for stealth, ranged weapons, grimoires, and ability-focused builds. It keeps movement responsive and usually supports lower encumbrance. Choose it if you spend fights dodging, sneaking, using a bow, or maintaining distance with a pistol. The trade-off is lower damage reduction when a melee enemy reaches you.
Medium armor
Medium armor is the safest option for most first playthroughs. It gives noticeably better protection without making dodge timing and stamina management feel as restrictive as heavy armor. A medium chest piece works especially well for a one-handed weapon and shield, dual-wielding, or a hybrid build that mixes firearms with elemental abilities.
Heavy armor
Heavy armor belongs on a frontline fighter using a great sword, battle axe, or shield. Its higher protection lets you survive mistakes against bears, lagufaeth, steel garrote soldiers, and high-level bosses. It is less efficient for a pure wizard or stealth character because the extra protection does not compensate for slower, more committed combat.
Armor quality matters as much as the name. A higher-level exceptional piece with a useful enchantment can outperform a lower-level unique chest piece. Before spending rare Adra on an upgrade, compare the armor rating, item level, enchantment slots, and whether the bonus supports your actual damage pattern.
Best Early Armor Locations in Dawnshore
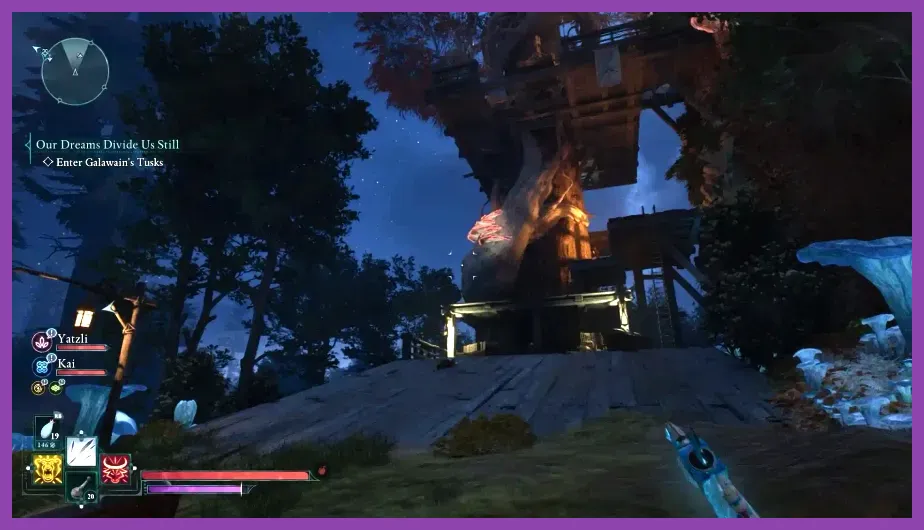
Dawnshore is the first region where shopping, quest rewards, and exploration combine into a reliable armor route. Do not rush out of Paradis wearing the opening equipment. Visit the merchants after completing a few quests, because their stock improves as your character level and regional progression increase.
Paradis vendors
Check every armor and general-goods merchant in Paradis whenever you return from the wilderness. Their medium and heavy chest pieces are the most consistent early upgrade for a fighter, while light armor from the same stock is useful for a ranger or wizard. Vendor inventory is randomized within level bands, so save before shopping if you are specifically hunting an enchantment such as increased health, increased damage reduction, or improved ability resource regeneration.
The practical early target is not a particular color of rarity; it is a chest piece at your current level with an enchantment that you can afford to maintain. Buy a better weapon first if your damage is falling behind, then purchase armor when normal enemies begin taking too long to defeat. This keeps Adra and money available for the first meaningful upgrades.
Dawnshore side quests and containers
Search locked houses, abandoned camps, and faction-controlled buildings after gaining access to their surrounding areas. Dawnshore’s side quests frequently provide armor or money rather than a complete matching outfit. Bring a lockpick supply and use scouting abilities to reveal containers behind ruined walls. Unique rewards may not appear as a full set, but one named chest piece can remain useful for several hours after you leave the region.
Complete the Dawntreader quest line before treating Dawnshore as finished. Its reward path gives useful early equipment and exposes several combat encounters that are excellent for testing whether your armor is appropriate. If you are playing a shield build, keep at least one medium or heavy chest piece available; the extra protection is valuable during the region’s close-range fights.
Best Mid-Game Armor Locations in Emerald Stair

Emerald Stair is where armor decisions begin to matter. Enemies hit harder, elemental attacks become more common, and the region’s vertical paths hide containers that are easy to miss. Complete the major quest objectives that open access to new settlements before judging the armor available there. Several merchants and reward pools become more useful after the region changes state.
Faction and settlement merchants
Inspect the armor stock in Fior mes Iverno and other Emerald Stair settlements after every major quest. Medium armor is particularly strong here because it gives enough protection for aggressive melee while preserving stamina for dodges and power attacks. A light piece with an ability-focused enchantment is preferable for a wizard who relies on grimoires, especially if the bonus improves essence or shortens ability downtime.
Do not sell older unique gear immediately. Keep one light, one medium, and one heavy chest piece in storage. Avowed’s encounters can change your preferred approach, and a heavy piece with fire or poison resistance may be more valuable for a specific dungeon than a higher-rated general-purpose item.
Exploration rewards
Use the map’s unmarked paths to reach elevated ruins, flooded chambers, and caves branching away from the critical route. Emerald Stair hides several high-quality containers behind breakable objects, climbable roots, and side paths that become obvious only when you look above the main trail. Party members can also provide useful combat utility while you explore: Kai helps hold enemies in place, while Giatta supports sustained fights where your armor absorbs repeated chip damage.
For a stealth or ranged character, the best mid-game setup is a light chest piece, light headgear, and a reserve medium chest piece for ambushes that become forced melee fights. For a melee character, choose the highest-rated medium armor you can upgrade without delaying weapon improvements. Heavy armor is worth the weight only when you are consistently taking hits rather than avoiding them.
Late-Game Armor: The Living Lands’ Hardest Areas
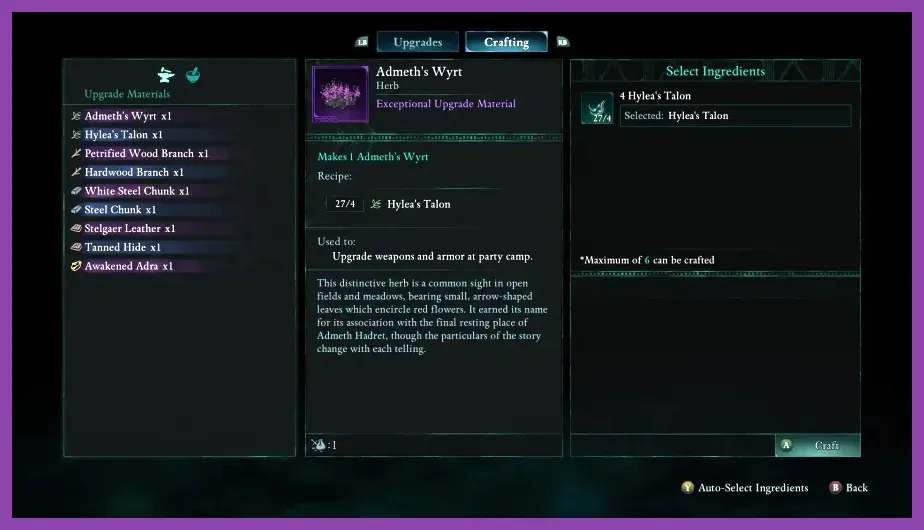
Late-game armor comes from high-level merchants, major quest rewards, and difficult optional locations rather than one guaranteed universal set. By this point, your best chest piece should be upgraded at least once and carry an enchantment that directly supports your build. A named item with a poor bonus is not automatically better than an exceptional replacement found in a chest.
Gods and major quest rewards
Complete the major region quest lines and inspect the reward screen carefully before confirming a choice. Some rewards are weapons, while others are armor or upgrade materials, and the correct option depends on your build. Heavy fighters should favor protection and survivability; wizards should favor resource efficiency and elemental synergy; ranged builds should value mobility and damage consistency over raw armor rating.
Keep manual saves before major decisions. Avowed’s quest consequences can alter access to vendors, faction areas, and later rewards. If a faction settlement becomes hostile, you may lose a convenient source of armor even if the story remains playable. This is particularly important for completionists who want to compare every regional inventory.
Optional dungeons and high-level containers
Return to previously visited regions after unlocking more traversal options. High-level gear containers often sit behind hazards, locked doors, or routes that require careful use of the environment. Use scouting mode to detect interactable objects, then clear nearby enemies before opening a chest. This prevents a surprise ambush from forcing you to abandon a valuable item or burn consumables.
For endgame melee, medium armor is usually the most forgiving choice because it balances protection, stamina, and dodge reliability. Heavy armor becomes superior when your build uses block, parry, and interrupts to control the fight. Light armor remains competitive for a bow, pistol, stealth, or pure ability setup, particularly when avoiding damage is part of the rotation rather than an emergency response.
Best Armor Setups by Build

1. S-Tier: Medium armor for hybrid combat
A medium chest piece is the strongest all-purpose setup. Pair it with a one-handed weapon and shield for safe blocking, or use a pistol and melee weapon for flexible range. Prioritize health, stamina, damage reduction, and bonuses that improve ability uptime. This setup handles most story encounters without forcing you to rebuild your inventory for every region.
2. S-Tier: Heavy armor for the frontline warrior
Use heavy chest armor with a great sword, battle axe, or shield. Select abilities that reward close combat, including penetration, interrupts, and attacks that stagger. Your rotation should begin with a block or parry, follow with a heavy attack while the enemy is recovering, and use a crowd-control ability before surrounding enemies can punish the recovery animation. Upgrade protection first, then add resistance for the region’s most common elemental threat.
3. A-Tier: Light armor for wizard and ranged builds
Light armor is excellent when your build spends more time positioning than trading hits. Combine it with a grimoire, wand, bow, or pistol and keep a medium backup piece in your inventory. Open with a long-range attack, apply an elemental effect, reposition with a dodge, and avoid spending stamina on unnecessary power attacks. Bonuses to essence, ability recovery, or elemental damage are generally more useful than a small increase to physical protection.
4. A-Tier: Mixed armor for stealth and exploration
A mixed setup works for players who switch between sneak attacks and direct combat. Use the lightest chest piece that still survives a failed stealth attempt, then select accessories that improve accuracy, health, or damage after entering combat. This is not a formal set bonus, but Avowed allows the combination to perform better than forcing every slot into the same armor weight.
Companion equipment also deserves attention. Give frontline companions durable armor so they can hold aggro while you attack from safety, and avoid wasting your rarest upgrade materials on a companion whose role is primarily support. Your own chest piece should receive priority unless a companion is consistently collapsing before you can finish an encounter.
Upgrade Priorities and Armor Mistakes to Avoid
Upgrade at a workbench only after comparing the replacement cost with your current item level. Adra and other materials are limited early, and spreading upgrades over five mediocre pieces creates a weaker character than investing in one excellent chest piece. Improve the item you expect to use for the next major region, then replace it when the armor rating falls substantially behind enemy damage.
- Upgrade the chest first: it gives the largest defensive return and normally stays equipped through the most encounters.
- Match the enchantment to the build: health and damage reduction suit frontline fighters; essence, stamina, or elemental bonuses suit ability-heavy characters.
- Carry a backup weight class: one light or medium alternative prevents a heavy build from feeling sluggish in exploration and ranged encounters.
- Do not chase rarity alone: a lower-rarity item with the correct bonus can outperform a named item that does nothing for your rotation.
- Keep regional resistance options: swap armor before poison, fire, frost, or shock-heavy encounters instead of trying to overpower every hazard.
The biggest mistake is treating armor as a permanent collection objective. Avowed rewards practical loadouts, not a complete visual wardrobe. Revisit merchants, compare current-level gear, and spend materials on the piece that keeps you alive while your chosen weapons and abilities do their work. For more build-focused RPG advice, see our Metaphor: ReFantazio beginner tips and defensive setup guide.
Final Verdict on Avowed’s Best Armor
There is no single best matching armor set in Avowed. The most reliable path is a medium armor chest piece upgraded for your level, with heavy armor reserved for shield and great-weapon fighters and light armor used by stealth, ranged, and wizard builds. Search Dawnshore for your first serious upgrade, inspect Emerald Stair’s settlements and hidden containers for mid-game replacements, and complete late-game quest lines before committing rare materials.
Think of the best armor location as the place that offers the right item for your next encounter, not merely the highest displayed number. Once your armor weight, enchantment, weapon choice, and ability rotation support the same playstyle, even the Living Lands’ toughest battles become far more manageable.