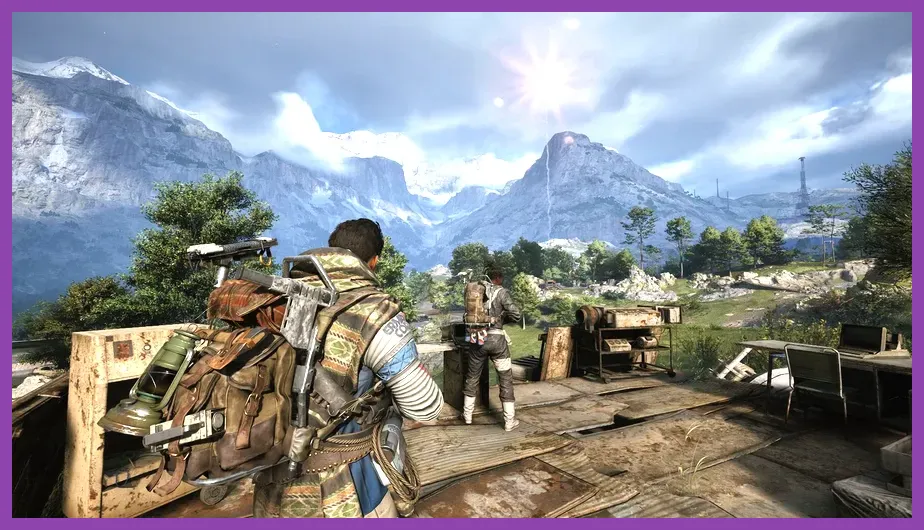
Surviving against the ruthless, automated mechanized forces in Embark Studios' extraction shooter requires more than just decent gunplay; it demands complementary, specialized team loadouts designed for extreme armor destruction and survival. The overall best co-op builds in ARC Raiders rely on a tight balance between high-impact armor shredding, long-range reconnaissance, rapid emergency healing, and area-of-effect electro-magnetic disruption. Building an optimized three-player squad centered around dedicated roles—such as the Heavy Breaker, Field Support Specialist, Long-Range Recon Overwatch, and ARC Disruptor—drastically increases your successful extraction rates and boss kill speeds.
1. Core Squad Synergy and Armor Destruction Mechanics in ARC Raiders
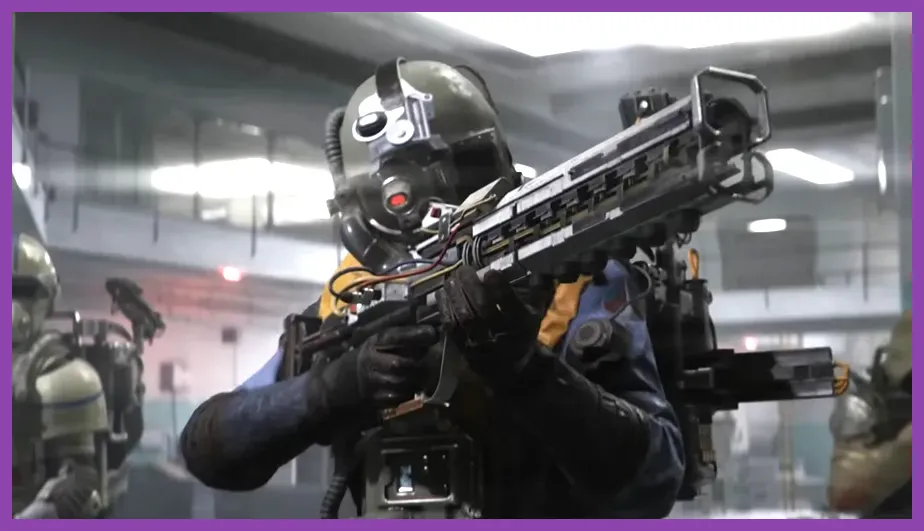
To craft effective co-op builds in ARC Raiders, you must first understand how mechanical enemy armor functions. Every medium to heavy ARC unit features localized armor plating over vital internal power cores. Standard bullet damage dealt to outer armor plating is severely reduced. Consequently, a functional three-player raider squad must coordinate weapon damage types across three distinct phases: Armor Stripping, Weak-Point Exposure, and Target Annihilation.
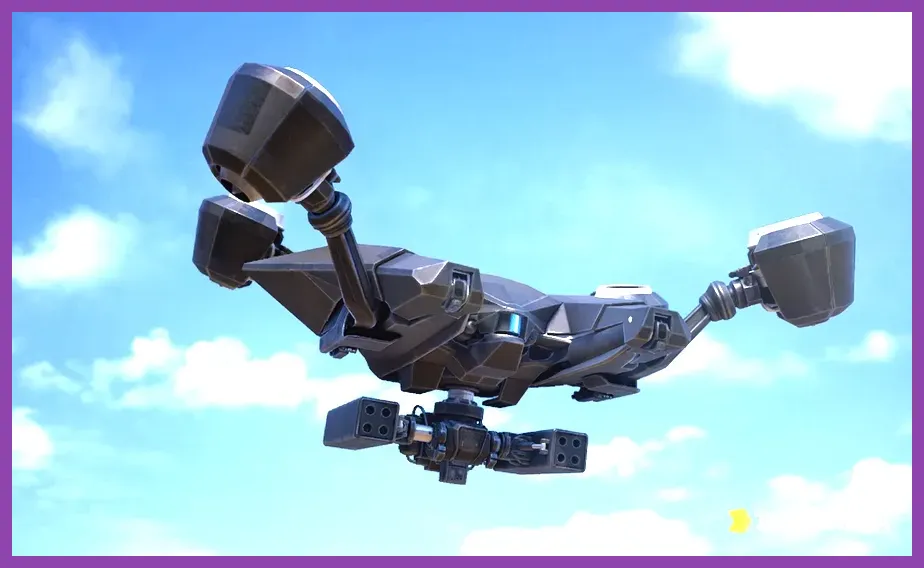
If your entire team runs identical low-caliber assault rifles, you will deplete your ammunition reserves long before stripping the chassis of a heavy Goliath Harvester or Sentinel Quad-Leg. Efficient squads assign specific roles to manage aggro, apply sustained kinetic force, reveal weak points via scanning gadgets, and execute burst damage when the machine's critical core is exposed. Combining complementary utility items, such as deploying portable cover alongside shield domes, allows players to hold ground against aggressive flying drones like Snatchers and Hunters. If you encounter performance drops during chaotic team firefights, optimizing your client performance using our ARC Raiders performance optimization guide will ensure smooth inputs during critical gun fights.
2. The Frontline Tank: Heavy Breaker Build
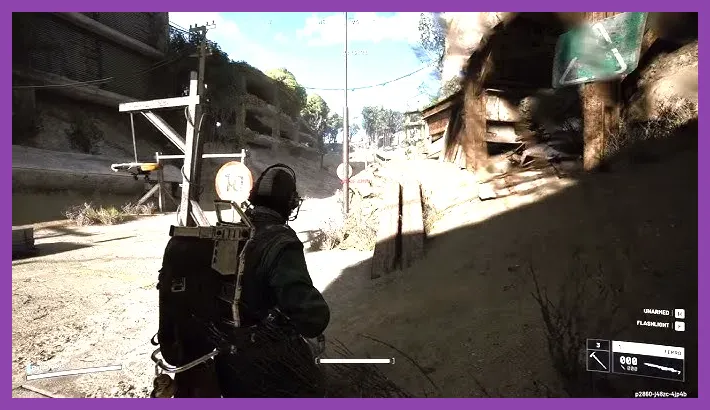
The Heavy Breaker serves as the unstoppable tip of the squad's spear. This build focuses on drawing enemy aggro, absorbing heavy energy mortar fire, and stripping heavy armor plates from ground units at point-blank range using heavy-duty ballistics and high-capacity explosives.
Weapon Selection
- Primary Weapon: Vulcan 762 Heavy Machine Gun (Mods: Armor-Piercing Munitions, Recoil Stabilizer Stock, Extended Drum Mag).
- Secondary Weapon: Ferro-7 Heavy Breaching Shotgun (Mods: Choke Tube, Kinetic Impact Slug).
Gadget Loadout
- Gadget 1: Portable Ballistic Shield (Deploys solid frontal cover capable of deflecting plasma bursts).
- Gadget 2: Heavy Grenade Launcher Attachment / Frag Grenades (Used for massive structural impact damage).
- Special Utility: Armor Plate Repair Kit (Keeps personal shield durability high during prolonged firefights).
Passive Abilities & Gameplay Loop
Prioritize passive perks that enhance maximum sprint stamina under heavy load, explosive damage mitigation, and recoil control while crouched. The Heavy Breaker opens combat by popping deployable cover near the objective, firing sustained Armor-Piercing bursts from the Vulcan HMG directly into the front chassis of heavy ARC targets. Once the armor plate cracks open, the Breaker calls out the exposed sub-system to the squad's damage dealers while drawing aggro with short-range shotgun bursts.
3. The Tactical Recon & Sniper: Long-Range Overwatch Build

While the Breaker holds the frontline, the Long-Range Overwatch build controls the engagement geometry from elevated perches. This build excels at spotting enemy drop pods, identifying third-party player squads moving through your extraction zone, and sniping exposed mechanical cores from hundreds of meters away.
Weapon Selection
- Primary Weapon: Vector-5 Marksman Sniper Rifle (Mods: High-Magnification Thermal Scope, Suppressor, High-Velocity Barrel).
- Secondary Weapon: Tempest Pulse Carbine (Mods: Extended Mag, Laser Sight for fast hip-fire self-defense).
Gadget Loadout
- Gadget 1: Recon Scanner Drone (Launches a controllable quadcopter that highlights machine power cores and rival players in real time).
- Gadget 2: Tactical Zipline Launcher (Allows rapid relocation between high rooftops and mountain ridges).
- Special Utility: Proximity Sensor Mines (Defends high-ground sniper positions against flankers).
Passive Abilities & Gameplay Loop
Focus perk choices on scope sway reduction, crouch movement speed, and increased marking duration. The Overwatch raider launches the Scanner Drone prior to opening fire, pinging all mechanical cores and enemy player positions for the team. When weak points are tagged, the Overwatch raider delivers high-precision bolt-action rifle hits directly into exposed cooling vents. Similar to managing party dynamics found in our Path of Exile 2 co-op guide, clear communication from your backline sniper prevents your team from getting caught in multi-front crossfires.
4. The Field Support Specialist: Combat Medic Build
No high-tier raid squad survives top-tier extraction zones without a dedicated Combat Medic. This build maximizes squad uptime, minimizes revive channel times, and provides defensive energy shields to neutralize heavy artillery strikes during extraction holds.
Weapon Selection
- Primary Weapon: Combat SMG-9 (Mods: Compensator, Quick-Draw Mag, Reflex Sight).
- Secondary Weapon: Striker-12 Kinetic Shotgun (Used strictly for self-defense when rushed by melee ARC crawlers).
Gadget Loadout
- Gadget 1: Medical Aerosol Grenade / Cloud Emitter (Creates a wide fog zone that rapidly heals squadmates over time).
- Gadget 2: Bubble Shield Projector (Deploys a 360-degree energy dome deflecting incoming ARC laser and rocket bombardments).
- Special Utility: Instant Defibrillator Kit (Reduces revive times for downed teammates by 70%).
Passive Abilities & Gameplay Loop
Invest heavily into revive speed bonuses, utility gadget cooldown reductions, and movement speed perks while carrying downed allies. During combat, the Field Support player sits directly behind the Heavy Breaker. When enemy artillery strikes target your position, deploy the Bubble Shield Projector to create a safe zone for reloading and shielding recharge. Throw Medical Cloud Grenades proactive at your Breaker’s position as they push forward, ensuring their health bar stays full even under intense plasma fire.
5. The High-Tech Crowd Control: ARC Disruptor Saboteur
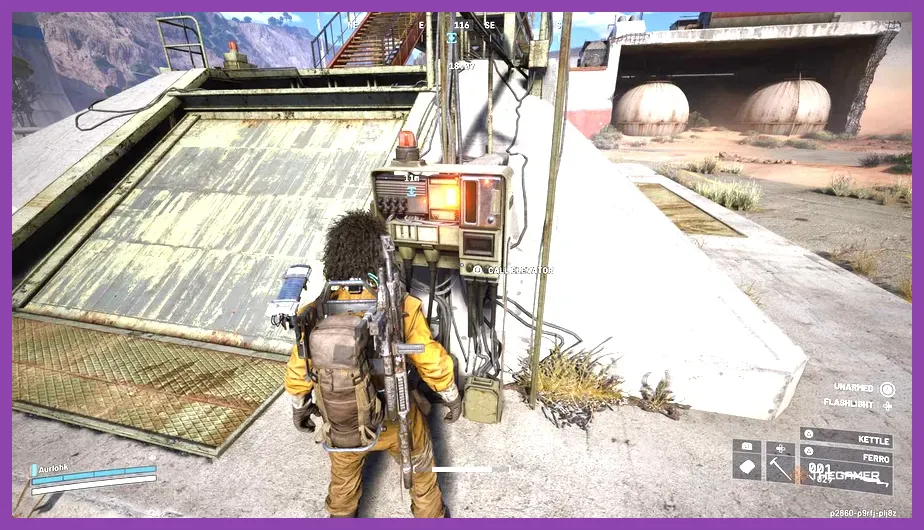
The ARC Disruptor is built specifically to render high-threat mechanical enemies completely helpless through continuous electrical shocks, hardware hacking, and electromagnetic disruption.
Weapon Selection
- Primary Weapon: Arc-Shock Charge Rifle (Fires directed electrical bolts that arc between multiple clustered mechanical units).
- Secondary Weapon: Modular Burst Assault Rifle (Mods: Armor-Piercing Rounds, Medium Scope).
Gadget Loadout
- Gadget 1: EMP Shock Grenades (Stuns mechanical targets, shutting down their weapon systems and disabling mobility for 5-8 seconds).
- Gadget 2: Remote Decoy Beacon (Emits fake raider audio signatures to attract nearby ARC patrols into kill zones).
- Special Utility: Hack Tool Dart (Temporarily reprograms small flying ARC drones to attack rival machines or players).
Passive Abilities & Gameplay Loop
Select perks that extend elemental status effect durations, increase grenade carrying capacity, and boost sprint speed. The Disruptor initiates engagements against large machine patrols by throwing EMP Shock Grenades directly into the center of the formation. While the machines are stunned and locked in their reboot animations, the Disruptor fires the Arc-Shock Charge Rifle to spread electromagnetic overload across the entire group, leaving them completely vulnerable to targeted core fire from the rest of the squad.
6. The Meta Trio: Best 3-Player Squad Loadout Compositions
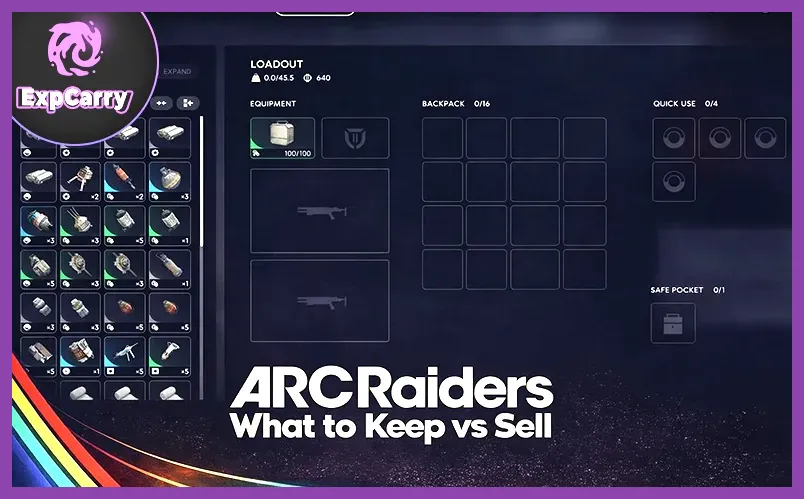
Combining individual builds into a cohesive unit is key to mastering end-game extraction missions. Depending on whether your primary objective is farming heavy ARC bosses, hunting rival raiders, or safely extracting rare crafting materials, pick one of these optimized three-player team compositions:
| Composition Type | Player 1 Role | Player 2 Role | Player 3 Role | Primary Tactical Focus |
|---|---|---|---|---|
| The Raid Crusher (Meta Balanced) | Heavy Breaker | Combat Medic | Long-Range Overwatch | Exceptional balance of frontline tanking, rapid healing, and high-ground reconnaissance. Perfect for all high-tier maps. |
| The Machine Lockdown | Heavy Breaker | ARC Disruptor | Combat Medic | Maximum crowd control and armor destruction. Renders heavy mechanical bosses completely immobile during fights. |
| The Aggressive Extraction Harvester | Heavy Breaker | Heavy Breaker | Combat Medic | Raw kinetic damage and double deployable shields. Ideal for clearing extraction points against heavy enemy waves rapidly. |
Executing the Raid Crusher Rotation
When running the recommended Raid Crusher composition, follow this step-by-step engagement protocol:
- Scout Phase: The Overwatch player launches the Scanner Drone to tag all target weak spots and verify no rival raider squads are lurking nearby.
- Initiation: The Heavy Breaker places portable cover at medium range and opens fire with the Vulcan HMG, drawing primary aggro away from squishier team members.
- Sustain & Breach: The Combat Medic drops a Bubble Shield and Medical Aerosol Cloud over the Breaker's position, while the Overwatch player fires high-velocity sniper shots straight into the exposed back vents of the machine.
- Execution: Once the target's core is exposed and overloaded, all three players concentrate full auto fire into the glowing critical zone to destroy the machine in seconds.
Optimizing character builds and mastering endgame synergy is a cornerstone of success in extraction games, much like setting up an endgame build optimization strategy in complex action RPGs.
7. Gear Optimization, Consumables, and Extraction Tactics
Having the correct weapons and gadgets is only half the battle; how you manage consumables, ammo conservation, and extraction chokepoints determines whether you return to base with your loot or lose everything to a last-minute ambush.
Essential Squad Consumables Checklist
Every member of the squad should carry a tailored pocket loadout before dropping into high-threat zones:
- High-Grade Battery Packs: Needed to quickly recharge energy shields and continuous power gadgets without waiting for slow passive cooldowns.
- Kinetic Ammo Crate: The Breaker and Overwatch builds consume high volumes of ammunition. Carry at least one deployable ammo crate per team.
- Smoke Grenades: Essential for breaking line-of-sight when retreating from sniper drones or masking an emergency revive during extraction call-ins.
Extraction Zone Defense Strategy
When calling in the extraction pod, mechanical units and hostile players will rush your position. To secure a 100% extraction success rate, deploy your utility gadgets in concentric defensive rings:
Place Proximity Sensor Mines along popular entry stairwells and flanks. Have the Heavy Breaker deploy the Portable Ballistic Shield facing the most open line of sight. When the extraction pod lands, the Combat Medic drops the Bubble Shield Projector directly over the pod entrance. This bubble blocks all incoming sniper rounds and rocket splash damage while your team boards the elevator. For more details on official game updates and patch notes, check the official ARC Raiders Steam Page and keep up with news on the Official ARC Raiders Website hosted by Embark Studios.
By tailoring your loadouts to these specialized roles, balancing armor-piercing capabilities with tactical healing and lockdown utility, your squad will easily dominate both the mechanical threats and rival raiders across every mission in ARC Raiders.