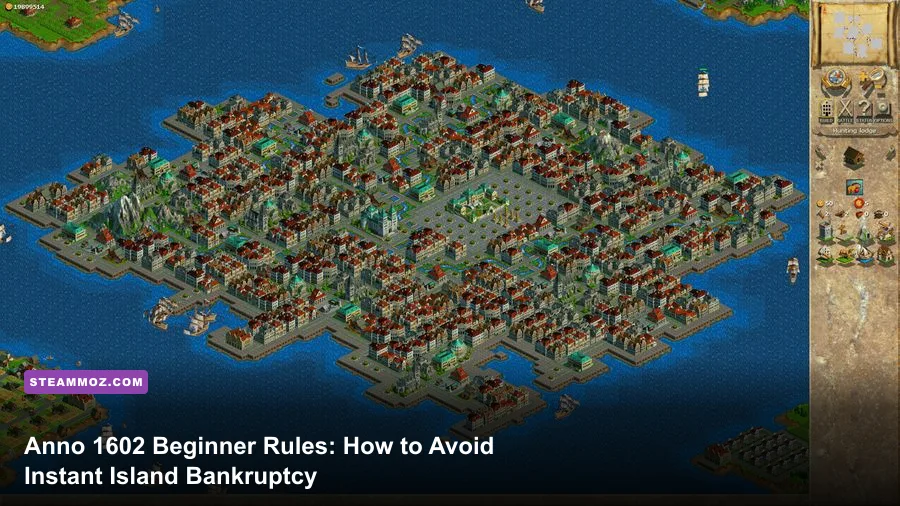
In Anno 1602, your most dangerous enemy will never be pirate raiders or aggressive AI rivals like Astrid Alvarez; it is running out of iron tools while your balance sheet bleeds 80 gold pieces every minute. Released by Max Design and Sunflowers back in 1998, this grandfather of historical economic sims offers zero hand-holding. If you burn through your flagship's starting crate of 30 tools by laying down redundant roads, unnecessary sheep farms, and unneeded watchtowers, your colony will stall, your treasury will hit negative numbers, and your settlers will burn their homes to the ground. Surviving your inaugural expedition requires strict logistical discipline: scout an island with fertile soil and mountain ore deposits, lock in automated tool imports from the Free Trader, tightly control your tax sliders, and never build a service structure before your population generates the revenue to maintain it.
Island Selection and Why Fertility Dictates Your Entire Campaign
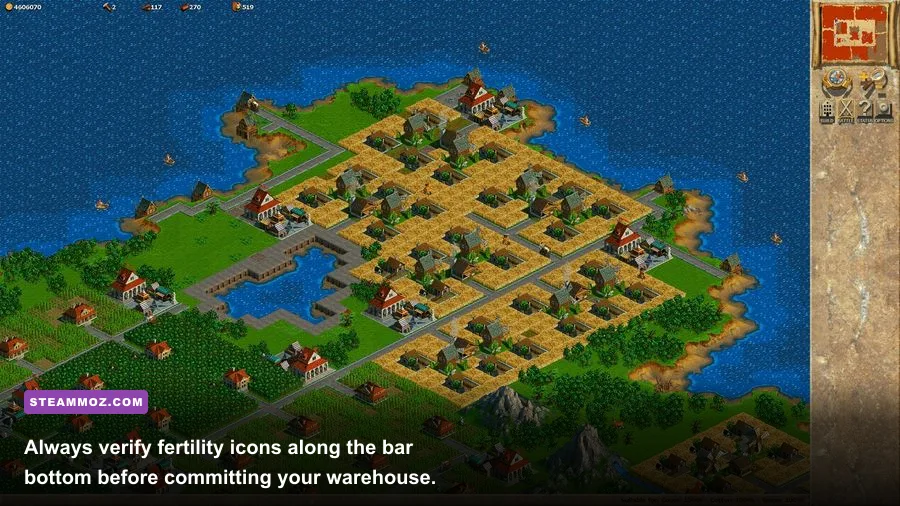
When your lone exploratory ship drops into the fog of war with 20,000 gold pieces, 50 tons of wood, 30 tons of tools, and 20 tons of food, your natural instinct is to anchor at the first large landmass you spot. That impulse is a death sentence. In Anno 1602, islands are split between distinct climate profiles: northern temperate landmasses and southern tropical outposts. No single island can produce every raw resource in the game. If you establish your primary capital on an island that lacks iron ore or cannot support grain, your expansion stalls before you even unlock the Citizen tier.
Before laying down your first Warehouse (Kontor), click on the island to examine the resource strip at the bottom of the screen. You are hunting for two absolute non-negotiables for your main settlement: a mountain with an active Iron Ore Deposit and natural fertility for Grain and Sheep. Grain yields flour and bread—the most cost-effective bulk food source once your starter fishing huts fail to keep pace with population growth. Iron provides the raw material for domestic toolmaking, freeing you from exorbitant merchant markups.
Secondary luxuries like Spices, Tobacco, Cocoa, Cotton, and Sugarcane will almost always require settling a second or third island in the south. Much like planning resource rotations in other systemic simulators like Empires of the Undergrowth resource and leveling management, territory planning in Anno must be decided within the first ten minutes. Scout the surrounding archipelago with your ship before laying down wooden beams. If an island only offers wine and tobacco fertility but features zero iron, save it for an agricultural satellite later in the mid-game.
| Crop / Resource | Climate Zone | Required Population Tier | Primary Downstream Good | Critical Strategic Value |
|---|---|---|---|---|
| Grain & Cattle | Northern / Temperate | Pioneer (Food) | Flour & Bread / Meat | Essential urban sustenance; prevents mass starvation |
| Iron Ore | Mountain Deposits | Settler | Iron Bars & Tools / Weapons | Colony independence; removes reliance on foreign trade |
| Spices | Southern / Arid | Citizen | Spices (Raw Consumption) | Mandatory consumable to promote Settlers to Citizens |
| Tobacco | Southern / Arid | Citizen | Tobacco Products | High-margin luxury that dramatically increases tax yields |
| Sugarcane | Southern / Humid | Settler / Citizen | Liquor (Alcohol) | Prevents tavern shortages; maintains social stability |
| Cocoa & Cotton | Southern / Tropical | Merchant | Cocoa Drinks & Clothes | Demanded by upper-tier elites; generates massive profits |
Pay close attention to island geography as well. Narrow beaches with cramped cliffs make placing deep-water piers and defensive coastal gun towers a nightmare. Look for wide, sweeping bays that allow you to expand your harbor front with multiple shipyards, crane houses, and warehouses as sea traffic intensifies.
The Brutal Tool Crunch: Securing Iron Before You Bleed Dry
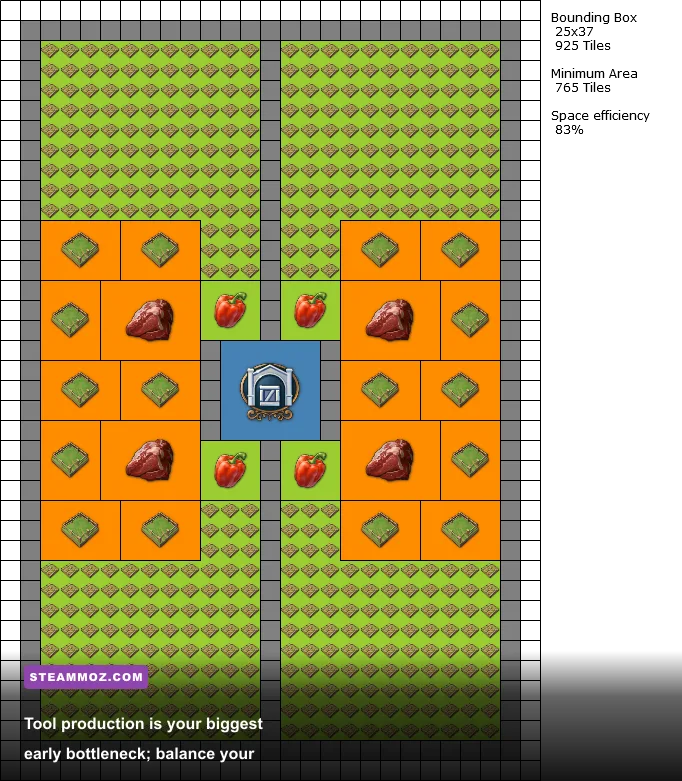
Tools are the lifeblood and the ultimate rookie filter of Anno 1602. Every house, production shed, road upgrade, and harbor extension demands tons of tools. You begin with 30 tons. That sounds generous until you realize that establishing two Forester huts, a Fisher's hut, two Sheep farms, a Weaver's hut, a Quarry, and a Chapel strips your hold down to fewer than 10 tons. If your tool balance hits zero before you establish domestic tool manufacturing, your entire game freezes: you cannot construct new buildings, you cannot replace burned structures, and you cannot repair ships.
To avoid this catastrophe, follow a strict chronological construction priority:
- Step 1: The Bare Minimum Economy. Place two Forester huts to establish a 40+ ton wood surplus. Build one Fisher's hut and two Sheep farms paired with one Weaver hut to supply cloth. Cloth and wood allow you to construct basic Pioneer huts without consuming a single unit of your precious starter tools.
- Step 2: Engage the Free Trader Immediately. Click on your Warehouse (Kontor) the second it is placed. Go to the trade ledger, select "Tools," set the status to "Buy," and drag the target slider up to 40 tons with a price limit of around 70 to 75 gold coins. The neutral white-sailed Free Trader visits your island periodically. Even if you pay a premium, purchasing 10 to 15 emergency tools early gives you a life-saving buffer.
- Step 3: Rapidly Reach 100 Settlers. Build enough Pioneer houses (roughly 20 to 25) to trigger the population threshold for Settlers. Once your citizens upgrade by consuming cloth and food, the tech tree unlocks the Quarry, Iron Mine, Ore Smelter, and Toolmaker workshop.
- Step 4: The 1-to-1-to-1 Heavy Industry Ratio. Construct a Quarry first to secure stone for factory foundations. Then, place an Iron Mine on your scouted mountain, followed by a Charcoal Burner (unless you have a deep iron mine powered by stone), one Ore Smelter, and one Toolmaker workshop. Do not build a Weaponsmith yet! If you activate a Weaponsmith early, it will steal the molten iron bars produced by your smelter, grinding tool production to an immediate halt.
Managing operational tool reserves is very much like managing high-end currency grinds in modern roleplaying games like farming currency efficiently in Dragon Ball Z Kakarot; if you reinvest your profits carelessly before building your baseline infrastructure, you end up soft-locking your progression. Keep your Toolmaker fed with a dedicated Smelter, keep the Charcoal Burner within green cart-hauling distance, and monitor the workshop's output percentage to ensure it never drops below 90%.
Mastering the Tax Slider and Population Progression Tiers
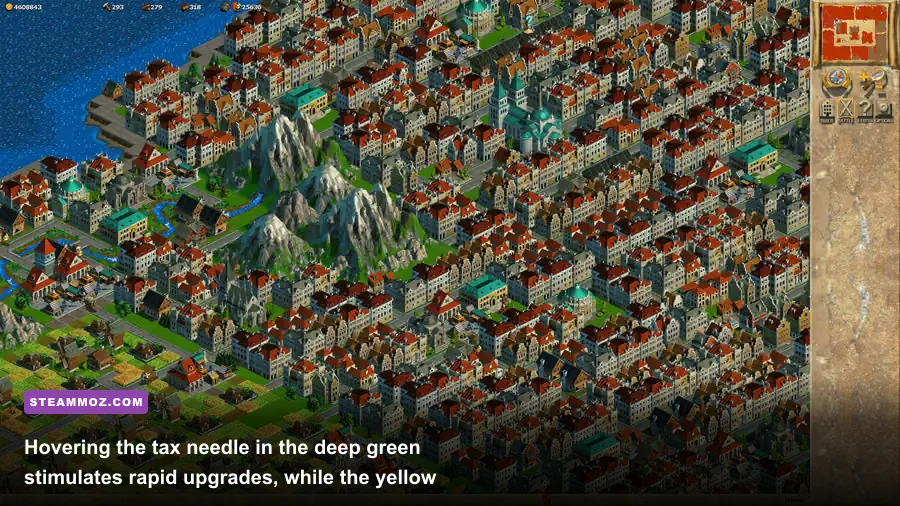
Your treasury in Anno 1602 does not refill automatically over time. You rely entirely on direct citizen taxation. The taxation screen features an interactive slider transitioning across four distinct colored zones: Dark Green, Light Green, Yellow, and Red. Understanding how these colored ranges govern citizen psychology makes the difference between a wealthy empire and an abandoned ghost town.
The Dark Green zone represents euphoria. Citizens living in this tax bracket are thrilled with your governance. When all physical needs (such as food, cloth, liquor, and chapel access) are fulfilled, houses under dark-green taxation will consume construction materials and upgrade to the next tier: Pioneers become Settlers, Settlers become Citizens, Citizens become Merchants, and Merchants become Aristocrats. However, dark green yields negligible gold. Running your city in this zone continuously will empty your treasury within twenty minutes.
The Light Green zone provides steady population growth without triggering structural upgrades. It offers a respectable tax income while keeping satisfaction high. This is your baseline growth setting when expanding your housing districts.
The Yellow zone is where serious money is made. In the yellow range, your population will never upgrade their homes—even if their storehouses are overflowing with rum, tobacco, and cocoa. However, they will not riot, and they will not emigrate. This is your industrial extraction mode. Once you have upgraded a cluster of houses to the desired tier, crank the tax slider into the middle of the yellow zone. Your balance sheet will surge into healthy positive figures, generating the liquid cash needed to fund fleets and mountain mines.
The Red zone is an emergency measure that should almost never be touched. Citizens will drop their work, hoist protest banners, vacate their houses, or outright set fire to city blocks. If a fire breaks out in a dense quarter without nearby Fire Brigades, half your city will burn to ashes before the water carts arrive.
| Population Tier | Max Residents Per House | Required Public Buildings | Required Consumer Commodities | Optimal Tax Strategy |
|---|---|---|---|---|
| Pioneer | 2 Residents | None (Marketplace reach only) | Food | Light green; upgrade as quickly as humanly possible |
| Settler | 6 Residents | Chapel | Food, Cloth, Alcohol (Liquor) | Dark green to upgrade; drop to Yellow once population targets hit |
| Citizen | 15 Residents | Church, School, Tavern | Food, Cloth, Alcohol, Spices or Tobacco | Maintain Yellow zone for massive, steady middle-class gold surpluses |
| Merchant | 25 Residents | Church, School, Tavern, Doctor, Bathhouse | Food, Liquor, Spices, Tobacco, Cocoa, Clothes | Yellow zone for high margins; Dark green only with massive material banks |
| Aristocrat | 40 Residents | Cathedral, Theater, Monument | All Merchant goods + Jewelry (Gold & Gems) | Lock into upper Yellow; aristocrats provide peak end-game tax returns |
Keep a close eye on your warehouse inventory before lowering taxes to provoke upgrades. If forty Settler homes suddenly upgrade to Citizens at once, their collective consumption of alcohol and spices will skyrocket. If your ships fail to deliver those goods, their happiness plummets, your tax income craters, and your population will revert to lower tiers or abandon the city altogether.
Automating Trade Routes Without Crashing Your Domestic Economy
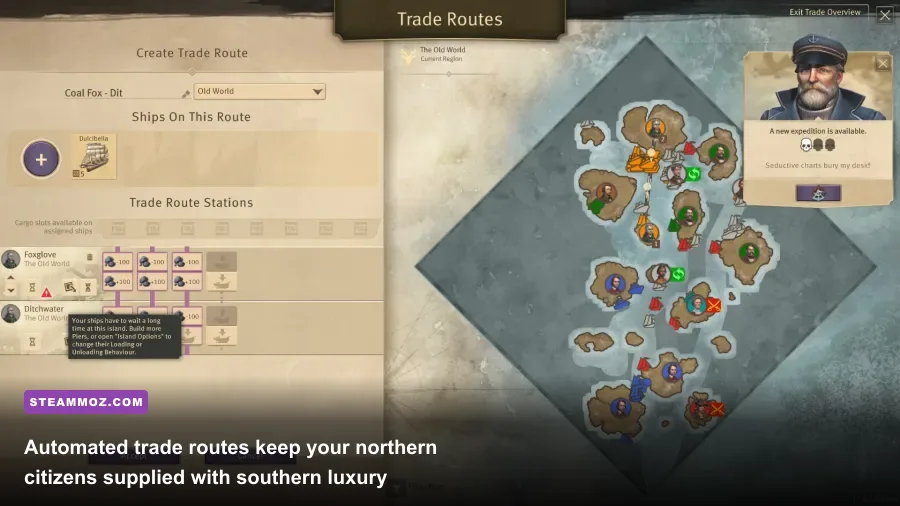
Manual trade runs using your flagship are fine during the opening hour of a campaign, but as your colonial empire spreads across three or four remote archipelagos, automated trade routes become essential. Unfortunately, Anno 1602 features a trade route interface that catches countless new players off guard, causing automated cargo ships to empty home storehouses and starve domestic populations.
To establish a functional trade loop, you must construct a Small Trading Ship or purchase one from a native shipyard. Once selected, open the trade route menu and assign waypoints between your production island (e.g., your southern spice and liquor outpost) and your consumption hub (your main northern capital). When configuring cargo holds, remember these three foundational rules:
- Never Use the "Empty Hold" Command Blindly: When an automated ship docks at an island to load goods, it will load up to its designated cargo capacity (each cargo slot holds up to 50 tons). If you tell a ship to pick up 50 tons of food from your main capital to supply a remote mining island, it can accidentally sweep your home warehouse completely clean, sparking an instant famine.
- Set Warehouse Minimum Inventory Reserves: Inside your destination and source warehouses, you can set inventory thresholds. Always keep at least 20 to 30 tons of critical survival goods (Food, Cloth, Tools) locked in your home harbor so that departing merchantmen cannot siphon away the food your citizens need to survive the winter.
- Account for Wind Mechanics and Navigational Bottlenecks: Unlike modern city builders where trade ships travel at uniform speeds across water, ships in Anno 1602 are bound to prevailing wind directions. A Small Trading Ship sailing directly into a headwind crawls at a snail's pace. If your northern city consumes 4 tons of spices per minute, but your supply ship takes four minutes to beat against the wind on its return voyage, your spice stores will repeatedly run dry. Always commission two medium-capacity vessels running staggered routes rather than relying on a single large galleon.
Keep an eye out for corsairs as well. The red-sailed pirate ships prowling international shipping lanes love nothing more than picking off unescorted merchant sloops loaded with hundreds of gold pieces worth of cocoa and rum. Mount a pair of small cannons on your trade ships or keep a swift Small Warship patrolling your primary trade corridor. For broader technical insights into stabilizing classic games on modern operating systems, check out our guide on tackling PC crashes and FPS stutter to make sure your retro sessions run butter-smooth on modern monitors.
Spatial Layouts: Maximizing Service Coverage and Slashing Operating Costs
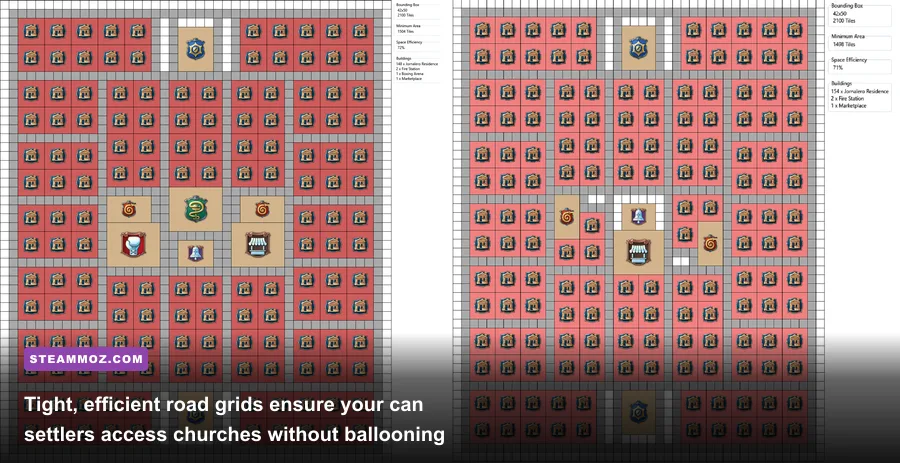
Every single tile of road, every market stall, and every municipal infrastructure building in Anno 1602 carries a recurring upkeep fee that is deducted from your balance sheet every single minute. Placing buildings haphazardly without a tight geometric strategy is the most common reason beginner players find themselves drowning in red ink. If you build two Chapels where one carefully centered Chapel could cover the entire residential block, you are throwing away 30 gold pieces per minute in maintenance.
The most reliable urban building block is the Marketplace-Centered Grid. Marketplaces act as local distribution points; market carts depart from them to collect finished goods from workshops and deliver supplies to homes. Surround your central Marketplace with a ring of houses arranged in 2x2 or 2x3 blocks, separated by simple dirt roads. Do not pave your roads with stone in the early game! While paved roads increase cart transit speed, their stone consumption and ongoing maintenance fees will destroy an early-game budget.
Place your municipal services—the Chapel, Fire Brigade, Tavern, and School—in the geometric core of your residential grid. When placing these structures, click on them to observe their bright circular influence aura. Every home touched by that green highlight gains service access. If houses on the extreme outskirts turn red or gray, do not immediately drop a second service building; simply adjust your road connections or relocate those outlier homes closer to the town square.
Military structures represent another massive drain on your balance sheet. Watchtowers, small garrisons, and defensive ramparts carry punishing upkeep expenses. Unless an aggressive AI competitor like Emilio Castelli drops a hostile landing force right onto your shores, do not build an army during the Settler or Citizen phases. Rely on your coastal harbor towers and mobile naval forces for defense. Ships can be relocated to intercept threats without anchoring thousands of gold coins into idle land fortifications.
You can learn more historical trivia, patch notes, and design details about the game directly on the Anno 1602 Community Wiki. If you are playing the modernized remaster with high-resolution UI scaling and multiplayer lobbies, consult the Ubisoft Official Site or grab the DRM-free classic release via the GOG Anno 1602 Storefront. The legacy mechanics may feel unforgiving by modern design conventions, much like analyzing hardware requirements for older gems like Far Cry 2 PC specs or weapon balance curves in Far Cry 3 Blood Dragon weapons ranked, but master its logistics, and Anno 1602 offers one of the purest, most rewarding strategy loops ever committed to code.