The best AI War 2 weapons are not automatically the ones with the biggest damage number. For most campaigns, kinetic weapons earn the top general-purpose spot, beam weapons are the best answer to fast or evasive targets, missiles provide excellent sustained pressure, and torpedoes are the heavy hitters you save for important structures and slow capital ships. The strongest equipment ranking is therefore role-based: bring a reliable damage core, add the right counter tools, and avoid spending command points on weapons that duplicate what your fleet already does.
That distinction matters because AI War 2 is not a conventional loot game. You are not replacing a green rifle with a purple rifle every few minutes. Your “equipment” is the combination of ship hulls, weapon systems, support ships, special abilities, and captured technology that turns a small fleet into a surgical strike force. A weapon that looks mediocre on a fast frigate can become terrifying when protected by screening ships and backed by a specialist fleet.
This ranking assumes a standard campaign without a mod that radically changes ship balance. It also focuses on practical value: damage uptime, target access, safety, command-point efficiency, and how well each weapon works against the AI’s layered defenses. For official patch information, check the AI War 2 Steam page, the official Arcen Games page, and the AI War 2 community wiki before applying a build to a heavily modded game.
AI War 2 weapon tier list at a glance
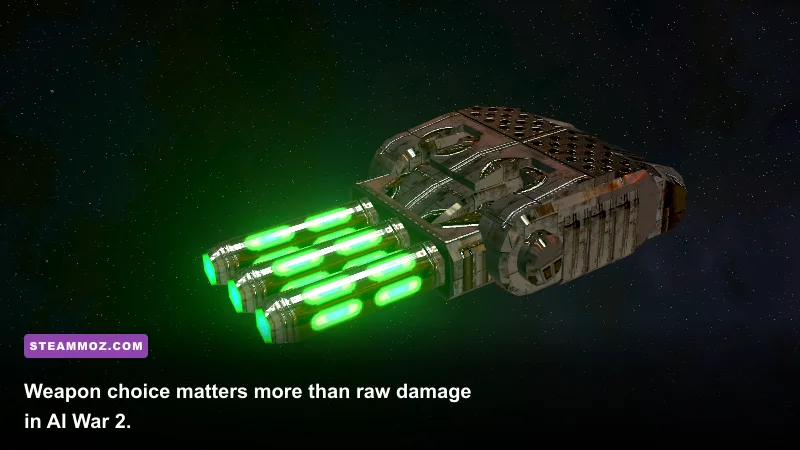
There is no single “best gun” for every map. A weapon’s tier changes with the enemy composition, the planet’s alert level, and whether you are raiding a minor outpost or pushing toward an AI command station. Still, this table gives you a dependable starting point.
| Weapon or equipment role | Tier | Why it ranks here | Best use |
|---|---|---|---|
| Kinetic weapons | S-Tier | Reliable general damage and strong sustained pressure | Mixed fleets, escorts, ordinary defenses |
| Beam weapons | S-Tier | Excellent accuracy and dependable performance against mobile targets | Fast ships, evasive defenses, precision raids |
| Missile weapons | A-Tier | Good reach and useful pressure when firing from a safe formation | Outer defenses and standoff attacks |
| Torpedoes | A-Tier | High-value burst against large, slow targets but less flexible | Capital ships, stations, hardened objectives |
| Hacking and disabling tools | S-Tier support | Can remove a dangerous target from the fight without racing its health bar | Elite defenses and priority structures |
| Point-defense equipment | A-Tier support | Prevents missiles and small attackers from shredding your core fleet | Defensive screens and contested planets |
| Purely short-range brawling loadouts | B-Tier | Powerful when supported, but punishing when the approach goes wrong | Chokepoints and controlled assaults |
The practical takeaway is simple: start with kinetics or beams, then add missiles or torpedoes when you know what your next target requires. Do not build an entire fleet around a damage type just because it performed well against the last planet. AI War 2 is built to punish predictable habits.

🎮 AI War 2
Looking to experience this game? Grab your digital key directly on our store for $4.99.
View on Steammoz Store →S-Tier weapons and equipment
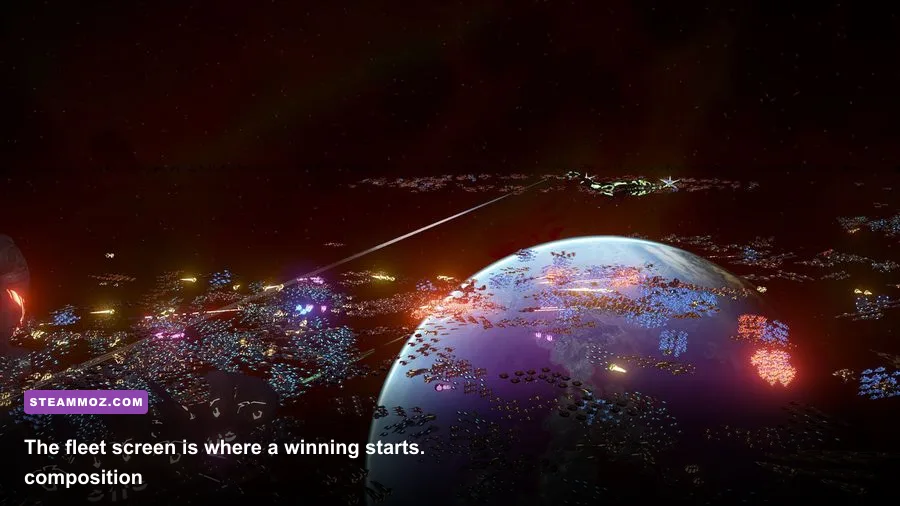
Kinetic weapons are the safest core
Kinetic systems belong in S-Tier because they keep producing value in almost every ordinary fight. They are a natural fit for the escort ships that form the backbone of an early and mid-game fleet. Their biggest advantage is not spectacle; it is consistency. Kinetic-equipped ships can clear screening units, pressure defensive emplacements, and contribute against larger targets without needing a perfect engagement distance.
Use them on ships that can stay active while your fleet moves between targets. A kinetic core is especially useful when you are still learning threat management because it does not force you into a narrow attack pattern. Keep the guns firing, protect the hulls with screens, and use a specialist tool for whatever the general-purpose weapons struggle to finish.
Beam weapons reward precision and mobility
Beam weapons also earn S-Tier status, particularly for players who prefer controlled raids. Their value comes from dependable target access. Fast AI units and defensive targets that are difficult to track can waste the firing time of less accurate systems, while beam-equipped ships tend to contribute more consistently as the battle shifts around the planet.
Beams work beautifully in a hit-and-fade plan. Move into range, focus one dangerous target, and pull back before the AI can surround your fleet. They are not a license to ignore positioning, though. A beam fleet still needs screens and a retreat route. If your frontline collapses, accuracy will not save expensive ships trapped inside overlapping enemy fire.
Hacking and disabling tools are stronger than their damage suggests
Support equipment is easy to underrate because it may not top the combat log. That is a mistake. AI War 2 fights are often decided by whether one critical turret, carrier, or command-support unit is active during the first thirty seconds. Hacking, disabling, and control effects can buy the window your damage fleet needs to remove that target safely.
Use these tools on priority targets, not random low-health ships. A disabled escort is nice; a disabled defensive structure guarding your approach is campaign-saving. Coordinate the effect with torpedoes or concentrated kinetic fire, and you can turn a dangerous planet into a short, controlled operation.
A-Tier equipment that wins the right engagement
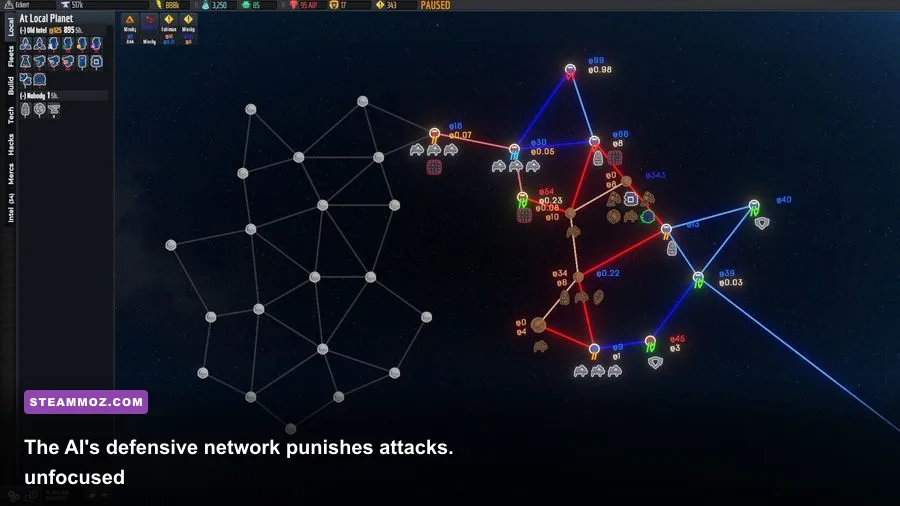
Missiles deliver pressure from a safer distance
Missiles sit just below the top tier because their performance depends more heavily on the target and battlefield. They are excellent when you need to apply damage while staying outside the most punishing short-range defenses. That makes them valuable for opening an engagement, softening outer defenses, and forcing the AI to react before your main fleet commits.
The catch is that missile systems can lose efficiency against targets with strong interception or defensive screening. They also become less attractive if your fleet has to fight at point-blank range. Keep missile ships behind your frontline rather than letting them drift forward with the brawlers. A missile fleet that exposes itself for a few extra seconds of damage is usually trading away the very safety that makes missiles useful.
Torpedoes are for targets that deserve a commitment
Torpedoes are among the best choices for destroying large, slow, valuable targets. Their burst potential makes them a natural answer to capital ships, major defensive nodes, and structures that you cannot afford to leave alive. They are not ideal as your only weapon, however. Torpedo platforms can feel underwhelming while clearing scattered small units, and missed or wasted volleys hurt more than ordinary gunfire.
Think of torpedoes as an execution tool. First, use scouts or inexpensive ships to reveal the target and identify its support network. Then disable or distract the defenses, line up the torpedo ships, and fire together. The goal is not constant torpedo uptime; it is deleting the correct target during the correct opening.
Point defense is a multiplier, not a luxury
Point-defense equipment belongs in A-Tier because its value rises sharply when the AI begins mixing missiles, fighters, and small attack craft into a planet’s defenses. A fleet with strong damage but no protection can lose its expensive ships before they reach their effective range. A fleet with slightly less damage and a proper defensive screen often wins while taking dramatically fewer losses.
Do not scatter defensive ships randomly. Place them where they cover the units that actually matter: command ships, missile platforms, and fragile specialist vessels. The best protection is layered. One screen absorbs or intercepts the first wave, while mobile ships finish anything that leaks through.
Why some powerful weapons fall to B-Tier
Short-range brawling gear has a brutal entry fee
Short-range equipment can produce excellent damage once it is on top of the target, but reaching that target is the entire problem. AI War 2 rewards players who control approach lanes and punish players who simply select the whole fleet and right-click the enemy. A close-range composition needs screening, scouting, and a retreat plan before it becomes reliable.
This equipment is strongest in narrow situations: a defended chokepoint, a planet where the enemy cannot kite you, or an assault where disabling effects have already removed the main threats. It is much weaker on open maps with multiple firing lanes. If you like aggressive play, combine a small brawling group with longer-range weapons instead of making every ship charge.
Specialized anti-target weapons are excellent—but not universal
Some equipment is designed to answer one defensive problem. That can make it feel incredible during a specific mission and disappointing everywhere else. A specialist that destroys a particular enemy class should be brought when intelligence confirms that class is present, not automatically added to every fleet.
This is where scouting pays for itself. Use the map, fleet information, and expendable units to identify what is actually protecting the target. Then tailor the loadout. The difference between a good and bad equipment choice is often one minute of reconnaissance.
Best fleet equipment combinations by campaign stage
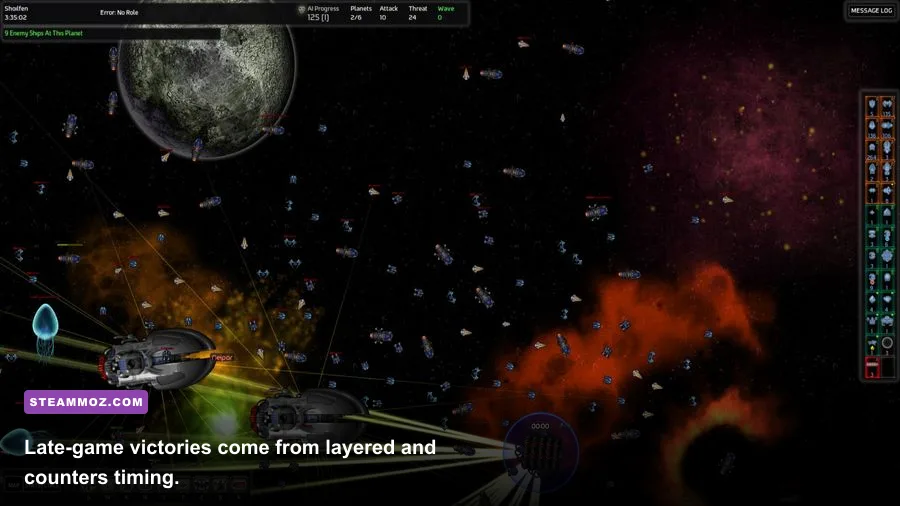
Your ranking should change as your campaign develops. Early on, command points and available hulls limit experimentation. Later, the problem becomes specialization: you have enough options, but every fleet must remain focused and cheap enough to replace.
| Campaign stage | Recommended weapon core | Support equipment | What to avoid |
|---|---|---|---|
| Early game | Kinetic-focused escorts with a few beam ships | Scouts, basic screens, one disabling option | Overbuilding expensive torpedo platforms |
| Mid game | Kinetic and beam mix with missile support | Point defense, hacking, mobile repair or protection | Entering planets without target information |
| Late game | Specialized strike group with torpedoes and beams | Layered screens, disabling tools, emergency escape options | Using one fleet for every objective |
| Command-station assault | Concentrated burst package, not a generic patrol fleet | Scouts, control effects, anti-defense support | Fighting every nearby structure at once |
For beginners, the strongest practical setup is a balanced escort fleet: kinetic ships for dependable damage, beam ships for mobile threats, missile platforms behind the formation, and at least one support element that can interrupt or disable a priority target. That composition is less glamorous than a gimmick build, but it survives mistakes and scales into the mid game.
Keep your fleets separated by purpose. A raiding fleet should be fast and disposable enough to hit exposed targets. A defensive fleet should have screens and endurance. A command-station strike force can be slower and more specialized because it exists to win one decisive engagement. Trying to make one fleet perform all three jobs usually creates a costly, awkward compromise.
How to rank equipment by real battlefield value
Raw listed damage is only the first question. Ask how often the weapon can fire, whether it can reach the target, how long the ship survives, and whether the weapon helps you reduce threat instead of merely reducing hit points. A gun that fires constantly from a safe position can outperform a larger gun that spends half the battle repositioning.
Range is the first practical filter. Long-range weapons give you more time to react and let your fleet begin damage before the enemy enters its preferred engagement zone. Accuracy and target access come next. If a weapon struggles against fast units, pair it with beams or mobile escorts rather than calling it useless. Finally, consider opportunity cost. Every specialist ship occupies command capacity and fleet space that could have gone toward scouting, protection, or another damage source.
Use a simple combat test before committing to a major assault. Send a small group to reveal the target, watch which defenses acquire them first, and measure how quickly your ships can disengage. If your weapons cannot maintain contact without taking crippling damage, the answer is not always “bring more damage.” It may be a different range profile, a control ability, or a second approach angle.
That mindset connects with the wider Steamoz strategy library. Players who enjoy deliberate planning can also check our Door Kickers raid tips, while anyone tuning an older PC may find useful habits in our Filament settings guide. The games differ, but the lesson is familiar: information and positioning often outperform brute force.
Final ranking and the mistakes that cost the most fleets
If you want the short version, build around kinetic or beam weapons, use missiles when distance matters, reserve torpedoes for high-value slow targets, and treat disabling equipment as a force multiplier. Kinetics are the best blind pick. Beams are the best precision pick. Missiles are the best safe-pressure pick. Torpedoes are the best execution pick. Point defense and hacking are the equipment choices that quietly make every other tier perform better.
The most common mistake is over-specialization before scouting. The second is sending fragile damage ships ahead of their screens. The third is staying in a fight after the objective has changed from “destroy the target” to “save the fleet.” AI War 2 rewards retreating early, preserving veteran ships, and returning with a better answer.
Also remember that threat management is part of equipment value. A weapon may win the local battle while creating a much bigger strategic problem elsewhere. Clear only what you need, avoid waking unnecessary defenses, and do not confuse a spectacular victory with an efficient one. The best gear is the gear that completes the objective while leaving you ready for the next planet.
For more campaign planning, compare this approach with our Dariusburst starter-build guide and these Clone Drone survival tips. Different genres, same core principle: build for the threats in front of you, not for a tier-list label. In AI War 2, that flexibility is what turns a fragile fleet into a force capable of reaching the AI command station.