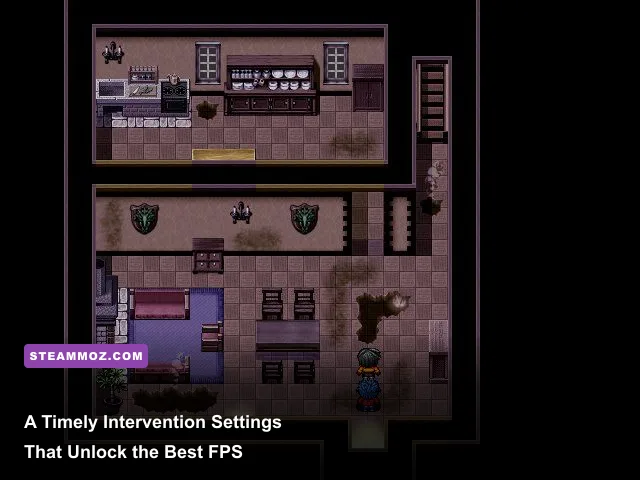
For the best A Timely Intervention performance, start at native 1080p, disable V-Sync, cap the frame rate just below your monitor's refresh rate, and lower shadows, effects, post-processing, and view distance before touching textures. That profile gives most mid-range PCs the strongest FPS improvement while keeping the game sharp. If your GPU still struggles, use the game's resolution scale or upscaling option at 85–90 percent rather than dropping straight to a blurry 720p image.
A Timely Intervention isn't the sort of game that needs every slider pushed to maximum. The expensive settings are the ones that redraw the world, simulate lighting, or add layers of blur and particle effects. Textures are usually much kinder to frame rate when your graphics card has enough VRAM, while shadows and ambient effects can create sudden dips whenever several objects or characters appear together. The goal here is not simply a high average number. It is a stable frame time, clean motion, and enough headroom to prevent a busy scene from turning into a slideshow.
Before changing anything, check the game's current build on the official Steam listing. Patches can rename options, add an upscaler, or alter default values. The profiles below are designed as practical starting points for 1080p, 1440p, and handheld play, with the reasoning behind every major choice.
The best A Timely Intervention settings for max FPS

Use the table below as the fastest route to a strong competitive-performance profile. “High” does not always mean maximum; where a game offers both High and Ultra, High is normally the smarter ceiling. Ultra settings often consume a large amount of GPU time for changes that are difficult to notice during movement.
| Setting | Recommended Value | FPS Impact | Visual Trade-Off |
|---|---|---|---|
| Display Mode | Fullscreen or Borderless Fullscreen | Low | Fullscreen can reduce background interference; borderless is easier for multitasking. |
| Resolution | Native 1920×1080 | Very High | Lowering resolution is powerful but softens the entire image. |
| Frame Rate Limit | Refresh rate minus 2–3 FPS | None | Improves frame pacing and prevents needless GPU load. |
| V-Sync | Off, unless you see tearing | Low | Reduces latency when disabled; enable it for a tear-free locked presentation. |
| Texture Quality | High on 6GB+ VRAM, Medium on 4GB | Low to Medium | Higher texture detail improves surfaces but may increase VRAM stutter. |
| Shadow Quality | Low or Medium | High | Shadows become softer and less detailed, but busy scenes run much better. |
| Effects Quality | Medium | High | Reduces particle density and expensive combat or environmental effects. |
| Post-Processing | Low | Medium to High | Less bloom, blur, depth of field, and screen-space processing. |
| View Distance | Medium | Medium | More distant objects may use lower detail or appear later. |
| Anti-Aliasing | Medium or the lightest temporal option | Medium | Very low AA creates shimmer; very high AA can blur or cost substantial GPU time. |
| Ambient Occlusion | Low or Off | Medium | Contact shadows lose depth, especially around corners and object intersections. |
| Motion Blur | Off | Small | Sharper camera movement and a clearer view during rapid turns. |
Start with shadows, effects, and post-processing. Those three options are the usual performance anchors. If the FPS counter barely moves after reducing textures, that is expected: texture quality mostly affects memory usage, not raw shader workload. The important exception is a card with limited VRAM. When the game runs out of video memory, you may see hitching when moving between areas, delayed texture loading, or pauses that look like a CPU problem.
Why the frame-rate cap matters
A frame-rate cap is more useful than many players realize. If your monitor runs at 60Hz, try 58 or 59 FPS. For 120Hz, use 117–118 FPS; for 144Hz, use 141–142 FPS. This gives the GPU a small reserve instead of forcing it to operate at 99–100 percent constantly. That reserve helps absorb short spikes from new effects, streaming assets, or a crowded encounter.
If the game offers an in-game limiter, test it first. An external limiter through your graphics driver can also work, but stacking two caps may create inconsistent pacing. Choose one. With adaptive-sync displays, keep V-Sync disabled in the game and use the monitor's variable-refresh feature, unless your driver configuration specifically recommends otherwise.

🎮 A Timely Intervention
Looking to experience this game? Grab your digital key directly on our store for $0.59.
View on Steammoz Store →Best 1080p, 1440p, and low-end PC presets
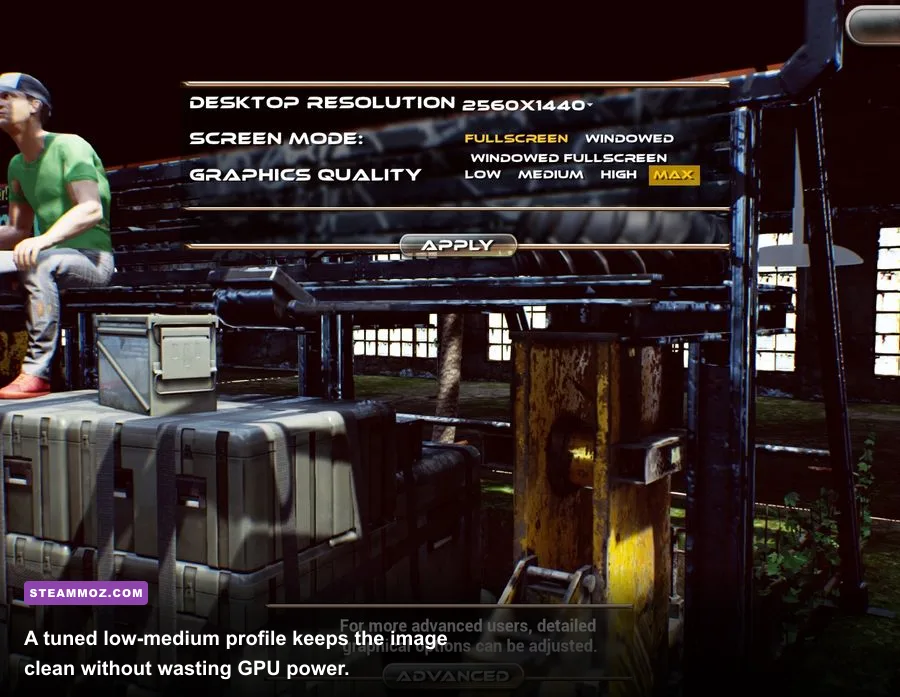
There is no single “best” profile for every PC. A desktop with a modern six-core processor and a 12GB graphics card can preserve image quality that a four-core laptop cannot. Pick the closest preset below, then adjust one setting at a time. Changing the entire menu at once makes it impossible to identify the option responsible for a gain or a new visual problem.
| Target | Resolution Profile | Key Settings | Expected Result |
|---|---|---|---|
| 1080p High FPS | Native 1920×1080 | Textures High, shadows Low, effects Medium, post-processing Low | Best balance for 60–144Hz monitors and mid-range GPUs. |
| 1440p Balanced | Native 2560×1440 | Textures High, shadows Medium, effects Medium, scale 90–100% | Sharper image with a sensible reduction in expensive effects. |
| 1080p Budget | Native 1920×1080 or 90% scale | Textures Medium, shadows Low, effects Low, AO Off | Targets stable 60 FPS on older GPUs and integrated graphics. |
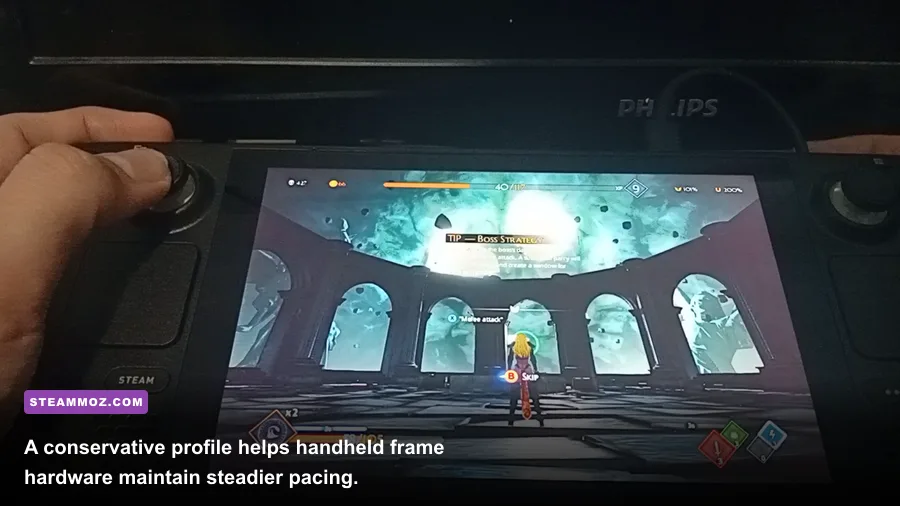
| Handheld Profile | 1280×800 or device native | Textures Medium, shadows Low, effects Low, cap 30 or 40 FPS | More consistent frame pacing and lower power draw. |
| Maximum Visual Quality | Native display resolution | Textures High, shadows High, effects High, post-processing Medium | Better lighting and detail, but the largest frame-time spikes. |
For a budget PC, do not immediately set every option to Low. Keep textures at Medium if the image looks too muddy, then turn off ambient occlusion and reduce effects. Those changes usually preserve readability better than aggressively reducing texture detail. On integrated graphics, a 90 percent resolution scale can be a surprisingly good compromise: it lowers pixel workload while retaining the correct display proportions.
At 1440p, resolution is often the first bottleneck. Moving from 1080p to 1440p increases the number of rendered pixels by roughly 78 percent. If your GPU is already close to full utilization at 1080p, lowering shadows alone will not restore the missing performance. Try 90 percent scale, then 85 percent if necessary. Keep textures at High when VRAM allows it, because they are not tied directly to pixel count.
Texture quality versus VRAM
Texture quality is where players frequently make the wrong sacrifice. A 6GB graphics card can generally handle High textures at 1080p, but background applications, high-resolution desktop modes, and other games may reduce the available memory. If you notice stutter rather than a consistently low FPS number, test Medium textures. A smooth 60 FPS with slightly simpler surfaces feels much better than an unstable 75 FPS that pauses whenever the camera enters a new space.
Close browser tabs, recording software, and unnecessary launchers before testing. The Steamoz PC requirements guide for another lightweight title explains why available memory and background processes still matter even when a game appears undemanding.
Which settings cause stutter and frame-time spikes
Average FPS can hide the real problem. A counter showing 80 FPS may still feel rough if individual frames arrive at 8ms, 10ms, 40ms, and 12ms intervals. That uneven delivery is frame-time stutter. In A Timely Intervention, the first suspects should be asset streaming, shadows, effects, and background CPU load rather than texture sharpness alone.
Watch the performance graph while moving through the busiest section you can reach, not an empty menu or quiet room. Repeat the same route after every change. If the GPU sits near 99 percent and the frame time improves when you lower resolution or effects, you are GPU-bound. If GPU usage falls well below full utilization while the FPS remains low, the processor, asset streaming, or an external program may be limiting performance.
| Symptom | Likely Cause | First Fix | What Not to Change First |
|---|---|---|---|
| Low FPS everywhere | GPU-bound rendering | Reduce resolution scale, shadows, and effects | Texture quality |
| Brief hitch entering new areas | Asset streaming or VRAM pressure | Lower textures one step and close background apps | Frame-rate cap |
| Stutter during heavy effects | Particle and post-processing load | Set effects and post-processing to Low | View distance alone |
| FPS drops with many characters | CPU simulation or draw calls | Reduce view distance and crowd-related options if available | Anti-aliasing |
| Tearing with otherwise high FPS | Refresh mismatch | Enable adaptive sync or V-Sync | Texture quality |
| Sharp drops after alt-tabbing | Borderless or driver interaction | Test exclusive fullscreen and update the driver | Every setting at once |
Shader compilation is another possible source of early-session hitching. After a driver update or game patch, the first trip through an area may be less smooth while shaders are prepared. Give the game a few minutes, then repeat the route. If the stutter continues on every pass, it is probably not a one-time shader cache event.
Use a tool such as NVIDIA FrameView or AMD's performance overlay to monitor FPS, GPU load, VRAM, and frame time. The Steamoz ELEX performance fixes cover the same diagnostic mindset: identify whether the problem is rendering, memory, drivers, or the CPU before applying random tweaks.
Settings that improve clarity without costing much FPS
Performance tuning shouldn't leave A Timely Intervention looking like a muddy early-access build. Several small changes improve clarity for little or no measurable cost. Turn motion blur off first. It does not usually deliver a huge FPS increase, but it makes camera movement and combat feedback much easier to read. Disable chromatic aberration and film grain if those options are present. They add a stylistic filter, not useful detail.
Keep anti-aliasing at Medium or use the lightest temporal option that removes obvious stair-stepping. Turning AA completely off can create shimmering on thin geometry, foliage, and distant edges. If the game offers sharpening, use a modest value rather than pushing it to maximum. Excessive sharpening creates bright halos around objects and can make compression artifacts more obvious.
Bloom is mostly a personal preference. If bright effects smear across the screen, reduce it or disable it. Depth of field is worth turning off for a clearer image during movement, especially if the game uses a strong cinematic blur. Ambient occlusion is more expensive than its subtle visual effect suggests; Low is a good compromise, while Off is one of the safest cuts for low-end hardware.
Lighting quality deserves a little more care. Dropping it from High to Low can remove atmosphere and make scenes look flat, so try Medium first. Shadows are usually the better target: Low shadows still communicate object placement, but they avoid the long, soft shadow calculations that can drag down performance across a wide view.
Upscaling and resolution scale
If A Timely Intervention includes AMD FSR, Intel XeSS, or another resolution-scaling mode, Quality is the first setting to test. Balanced can rescue performance at 1440p, but it may introduce shimmering or ghosting around moving objects. Avoid combining an aggressive upscaler with very low anti-aliasing; the result can look unstable even when the FPS number is excellent.
Use the built-in resolution scale only after recording your native-resolution baseline. At 90 percent, the performance gain is often visible while the image remains respectable. At 75 percent, the game may become noticeably soft, particularly on a 1080p monitor. Sharpening can help, but it cannot recreate detail that was never rendered.
CPU, GPU, drivers, and Windows tweaks that actually help
Graphics settings are only half the performance story. Install the latest stable graphics driver for your GPU, reboot after the installation, and let shader caches rebuild. Avoid switching between experimental driver branches while troubleshooting; consistency makes your tests meaningful. Verify the game files through Steam if textures fail to load, settings refuse to save, or a recent update caused crashes.
Set Windows to a power mode that does not aggressively downclock the processor during play. On laptops, test while connected to AC power and confirm that the system is using the dedicated GPU rather than integrated graphics. Laptop manufacturer control software can silently apply a quiet or battery profile that caps clocks, fans, and frame rate.
| Component | Minimum Practical Target | Recommended Target | Performance Profile |
|---|---|---|---|
| Operating System | Supported 64-bit Windows version | Fully updated Windows 10 or 11 | Use Game Mode and avoid heavy background scans during testing. |
| System RAM | 8GB | 16GB dual-channel | Dual-channel memory helps reduce CPU-side hitching on weaker systems. |
| Graphics Memory | 4GB | 6GB or more | Keep textures at Medium or High depending on VRAM headroom. |
| Storage | Modern hard drive | SSD | An SSD can improve loading and asset streaming consistency. |
| CPU | Four modern cores | Six cores or better | Useful for crowded scenes and background simulation. |
| Display | 60Hz | 120Hz or higher with adaptive sync | Cap FPS below refresh for steadier frame delivery. |
Do not use dubious launch commands copied from unrelated games. A flag that helped an older DirectX title can do nothing—or cause instability—in a newer engine. The official Steam troubleshooting guidance is a safer place to start for file verification and launch problems.
Disable overlays one at a time if you are chasing unexplained stutter. Steam Overlay, Discord, GPU recording tools, RGB utilities, and monitoring software can all hook into the render pipeline. You don't need to ban every overlay permanently; simply test a clean launch so you know whether the game or an external layer is responsible.
My final A Timely Intervention performance profile
For most players, this is the profile I'd use first: native resolution, fullscreen or borderless fullscreen, V-Sync off, a cap three frames below refresh, High textures, Low shadows, Medium effects, Low post-processing, Medium view distance, Medium anti-aliasing, Low ambient occlusion, and motion blur off. It protects image quality where your eyes notice it and cuts the settings that quietly consume GPU time.
If the game still misses your target, reduce resolution scale to 90 percent. If that isn't enough, move effects to Low and ambient occlusion to Off. Only then lower textures, unless your VRAM usage is clearly causing stutter. This order matters because it avoids turning the whole scene into a blurry, flat mess for a problem caused by one expensive setting.
For 60 FPS, prioritize consistency over a peak number. A locked 60 feels better than a range that bounces between 48 and 82. For a 120Hz or 144Hz display, use the highest cap the busiest scene can sustain, not the number shown while staring at the floor. If your system can only hold 70 FPS, a stable 60 cap is often the better experience.
Players dealing with older engines can also compare the troubleshooting approach in our Far Cry 2 PC performance guide, while space-game fans may find the asset-streaming advice in our Everspace 2 FPS and crashing fixes useful. The hardware changes from game to game, but the method stays the same: measure a repeatable scene, change one variable, and watch frame time rather than trusting average FPS alone.
A Timely Intervention rewards a restrained settings approach. Keep the details that define the image, remove the effects that punish your GPU, and leave enough performance headroom for the game's busiest moments. That combination delivers the smoothest movement, fewer distracting spikes, and the best chance of maintaining a genuinely stable frame rate throughout a full session.