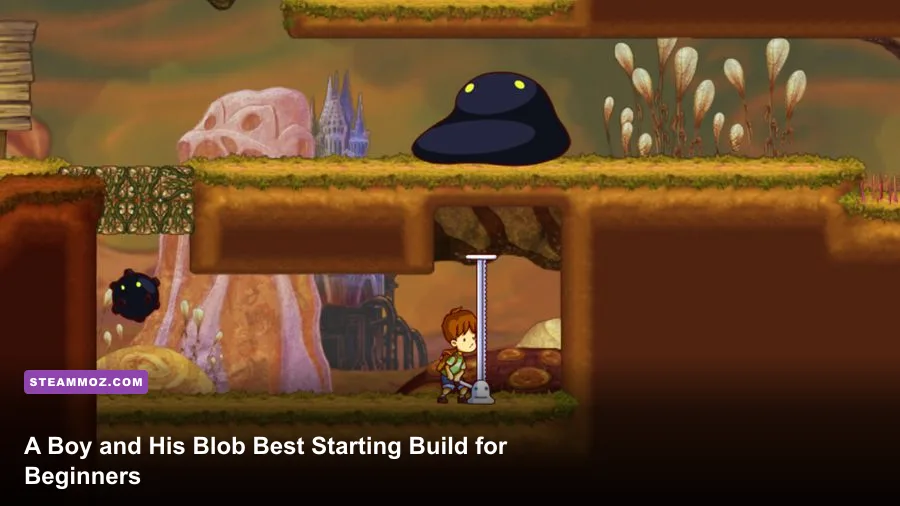
The best beginner build in A Boy and His Blob is a utility-focused candy loadout: prioritize Hole, Ladder, Trampoline, and Block, then add Cannon or Anvil when a stage demands more power. This is not a stat-based RPG build, because WayForward's 2009 Wii adventure and its Steam release have no character levels, weapon rarity, armor, or damage attributes. Your real build is the order of Blob transformations you carry into each puzzle, and the safest setup gives you answers for height, gaps, hidden passages, and emergency landings.
That distinction matters. New players often burn every candy as soon as they find a vaguely useful object, then reach the next screen without the transformation that actually solves it. The game rewards planning, careful positioning, and learning what each candy does far more than fast button presses. Think of Blob as a living toolbelt. The Boy scouts the route, Blob changes shape, and your job is to keep the two together without wasting the one tool the room is built around.
This guide focuses on the Steam version of A Boy and His Blob on Steam, while the same core advice applies to the Wii original. For broader puzzle-game route planning, Steamoz's Botanicula time-saving tips are also worth a look.
The Best Beginner Build at a Glance

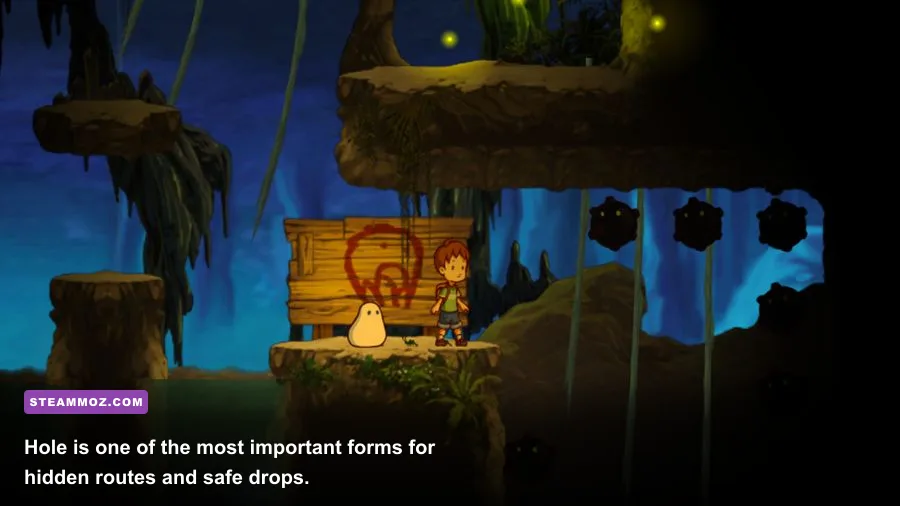
Your first-choice setup should be built around four transformations. Hole gives you safe access to lower routes and concealed areas. Ladder handles vertical movement. Trampoline covers long jumps and recovery. Block creates a stable object for stopping hazards, reaching ledges, or manipulating switches. These forms are useful in more situations than the flashy offensive transformations, so they should be the foundation of a beginner run.
There is no permanent inventory screen where you lock in a class. Instead, each area presents candy and expects you to remember which flavor produces which form. The practical approach is to treat your candy choices as a flexible four-slot loadout. Keep the core tools whenever the level allows it, and replace only the form that has already done its job.
| Build Slot | Recommended Form | Primary Job | Beginner Value |
|---|---|---|---|
| Vertical movement | Ladder | Reach ledges and climb shafts | S-Tier |
| Route access | Hole | Open lower paths and bypass barriers | S-Tier |
| Gap crossing | Trampoline | Launch the Boy over hazards | S-Tier |
| Positioning | Block | Create a platform or hold space | A-Tier |
| Combat or obstacle removal | Cannon | Fire Blob as a projectile | A-Tier |
| Emergency protection | Shield | Absorb or avoid dangerous contact | B-Tier |
The key idea is consistency. A perfect speedrunner route may use aggressive Cannon launches and precise Blob throws, but beginners get more value from keeping a recovery option available. If a room contains a bottomless pit, Trampoline is usually more valuable than an extra offensive form. If a room is packed with switches and narrow ledges, Block and Ladder beat raw firepower.

🎮 A Boy and His Blob
Looking to experience this game? Grab your digital key directly on our store for $3.49.
View on Steammoz Store →How Blob's Transformations Actually Work

Blob does not transform because you select a skill from a menu. The Boy feeds Blob a specific jellybean, and Blob immediately changes into the corresponding form. The timing is therefore part of the puzzle. You need to stand close enough for Blob to eat the candy safely, then place him where the new shape will be useful. Throwing candy from the wrong side of a platform can turn an easy solution into an awkward recovery attempt.
Blob's position is just as important as his form. A Ladder placed one step too far from a ledge can leave the Boy short of the jump. A Trampoline positioned beneath a low ceiling may launch him into danger instead of progress. A Hole can be perfect for bypassing a wall but disastrous if Blob is left behind on the other side. Before feeding a jellybean, pause and read the room: identify the destination, identify the landing zone, and then choose where Blob needs to stand.
The game's friendly art can hide serious danger. The Boy can fall, get separated from Blob, or collide with environmental hazards, and many rooms are designed to punish improvisation. Blob is usually more durable and flexible than the Boy, so don't treat him like a disposable projectile. Your safest rhythm is scout, transform, test, then commit.
Transformation priority for a first playthrough
Ladder is the most forgiving vertical tool. It gives you a predictable route upward and is easier to read than a chain of jumps. Hole is the best exploration form because it changes the shape of the route itself, letting Blob create a passage or interact with lower terrain. Trampoline is your answer to distance, though its launch arc demands more attention. Block is less glamorous but extremely reliable for controlling space.
Cannon becomes more valuable once you understand Blob's trajectory. It can propel him toward switches or distant targets, but the setup is less forgiving because you must line up both the Boy and the intended impact point. Anvil is similarly situational: useful when weight and downward force matter, but rarely the first form a new player should preserve.
Build Breakdown: What to Carry and When
Use the following build as a decision-making framework rather than a rigid checklist. The game frequently controls which candies are available, and a room may intentionally remove your preferred option. When that happens, don't assume the puzzle is unfair. Look for the transformation's alternate purpose. A form that normally crosses a gap may also activate a switch, block a hazard, or create a safe landing.
| Form | Keep It When | Replace It When | Common Mistake |
|---|---|---|---|
| Hole | The stage has walls, tunnels, or hidden lower routes | The area is completely open and vertical | Leaving Blob on the wrong side of the passage |
| Ladder | You see stacked ledges or a tall shaft | The room is built around horizontal distance | Placing it just outside the Boy's jump range |
| Trampoline | There are wide gaps or bounce-based routes | The ceiling is low or hazards sit above the jump | Launching before checking the landing zone |
| Block | Switches, ramps, enemies, or movable objects need control | The puzzle has no manipulable surfaces | Using it as decoration instead of a positioning tool |
| Cannon | A target requires a long, direct Blob launch | You still need a safe recovery tool | Firing without confirming where Blob will land |
| Anvil | A puzzle needs weight or a vertical drop | Mobility is more important than force | Transforming too early and losing access to a route |
For most early stages, the practical priority is Ladder plus Trampoline, with Hole as the third choice and Block as the fourth. That combination covers the game's basic movement language. Once you reach a section with obvious targets or pressure mechanisms, swap Block or Trampoline for Cannon only if the room clearly asks for it.
Don't chase every collectible at the cost of the objective. The game's collectible items and hidden routes are fun, but beginners often turn a clean puzzle into a dangerous backtrack because they spotted a collectible above the intended exit. Mark the location mentally, finish the room, and return only if the route remains safe. This same “secure the objective first” principle works well in other puzzle adventures, including Steamoz's Children of Silentown beginner guide.
A Reliable Room-by-Room Combat and Puzzle Rotation

A Boy and His Blob is primarily a puzzle platformer, so “combat rotation” really means the sequence you use to solve a room without wasting Blob's position. Start by moving the Boy to a safe observation point. Next, identify any hazard cycle, switch, ledge, or gap. Then feed Blob the least committal transformation that creates progress. Only use an offensive form after you know where the transformed Blob needs to finish.
The four-step beginner rotation
- Scout: Walk the Boy to the nearest safe edge and inspect the entire visible route. Look above and below, not just directly ahead.
- Anchor Blob: Keep Blob on solid ground or beside the next important interaction. Don't send him across a gap until the route is confirmed.
- Transform: Use Ladder for height, Hole for route access, Trampoline for distance, or Block for control. Feed the candy only when both characters are positioned.
- Recover: After the Boy reaches the next platform, immediately check whether Blob can follow. A solution that strands Blob is usually only half a solution.
For hazards, watch the environment before moving. Many threats have readable timing: moving objects travel along fixed paths, dangerous surfaces occupy predictable lanes, and launch puzzles telegraph their intended direction through placement. If you fail, change one variable at a time. Move Blob closer, alter the launch angle, or wait through one hazard cycle. Randomly feeding candy after a mistake teaches you nothing.
The Boy's movement is deliberately simple, which makes positioning more important than advanced execution. Approach narrow ledges with controlled taps instead of sprinting. When using Trampoline, line up the Boy before the bounce rather than trying to steer wildly during the launch. If Blob becomes difficult to see against the background, stop moving for a moment; the camera and colorful scenery can make a bad landing look like a timing error when the real issue is alignment.
Early-Game Progression Without Wasting Candy
The early game teaches transformations in a gentle curve, but it still expects you to learn from repetition. Treat each new candy as a permanent addition to your mental build. The first time a transformation appears, experiment in a safe room and observe its full behavior. How does it occupy space? Can the Boy stand on it? Does it create height, momentum, protection, or access? That information is more valuable than rushing toward the next checkpoint.
| Progression Stage | Primary Lesson | Preferred Forms | What to Practice |
|---|---|---|---|
| Opening areas | Keep Boy and Blob together | Ladder, Trampoline | Basic placement and safe jumps |
| First layered rooms | Read routes above and below | Hole, Ladder | Using alternate paths without separation |
| Switch-heavy rooms | Control space and timing | Block, Hole, Ladder | Setting Blob before activating mechanisms |
| Long traversal rooms | Plan the complete route first | Trampoline, Cannon | Launch direction and recovery |
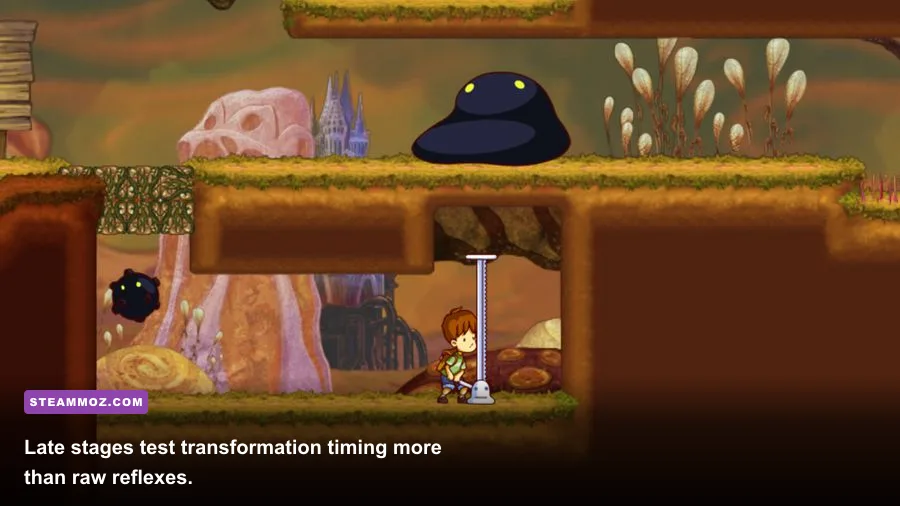
| Late challenge rooms | Combine forms under pressure | Flexible utility loadout | Waiting for safe hazard cycles |
Save your experimentation for stable ground. Feeding Blob near a pit, enemy, or moving hazard can trigger an irreversible mistake before you understand the result. If a room gives you multiple candies, don't automatically consume them in the order collected. The correct order is usually dictated by the route: solve the obstacle that controls access first, then spend the movement tool that carries you forward.
There is also no reason to force a speedrun mindset into a first playthrough. The game's charm comes from seeing how Blob's forms interact with its hand-built rooms. If you're coming from a game with conventional upgrades, Steamoz's Cryptmaster gear guide is a useful reminder that not every game treats progression as a hunt for stronger equipment. Here, understanding beats upgrading.
Common Beginner Traps and the Fix for Each
Spending the only movement form immediately is the most common error. Players see a Trampoline, use it to reach a nearby ledge, and then discover that the real gap is one screen later. Before transforming Blob, scan for the next two obstacles. You don't need to memorize the whole stage, but you should know whether the current candy is solving a small problem or unlocking the actual route.
Throwing Blob before checking the landing zone creates another avoidable failure. Cannon and other launch-oriented solutions look spectacular, but the destination matters more than the launch. If Blob lands behind a wall, below a hazard, or outside the Boy's reach, the puzzle may become impossible until you restart the room.
Leaving Blob behind is especially dangerous. The Boy may reach a collectible or checkpoint while Blob remains trapped on the previous platform. Whenever the camera scrolls, stop and verify that Blob is following. If not, backtrack while the route is still obvious instead of pushing forward and hoping the game teleports him.
Ignoring the level's visual language also costs time. A conspicuously empty shaft usually wants Ladder. A suspicious wall or low tunnel points toward Hole. A broad gap with a clear landing platform signals Trampoline. A switch placed away from the normal path may require Block, Cannon, or a carefully timed Blob launch. WayForward's level design is readable once you stop looking for hidden stats and start looking for physical verbs.
Recommended Settings and Controls for a Smoother Run
This is a forgiving 2D game, so performance tuning is straightforward. A stable frame rate matters mainly because precise jumps and Blob placement feel worse when input arrives inconsistently. On PC, start with a locked 60 frames per second if your display and system support it. Use native resolution, enable fullscreen or borderless according to your preference, and lower post-processing or effects only if you notice stutter.
| Setting or Setup | Recommended Value | Gameplay Impact | Why It Helps |
|---|---|---|---|
| Frame rate | Stable 60 FPS | Cleaner timing | Makes jumps and launches easier to judge |
| Resolution | Native display resolution | Sharper scenery | Improves visibility of ledges and hazards |
| Display mode | Fullscreen or borderless | Minimal input disruption | Choose whichever avoids desktop stutter |
| Controller | Gamepad preferred | More consistent movement | Analog control helps with narrow ledges |
| Vibration | Personal preference | No meaningful performance change | Disable it if feedback distracts you |
A controller is usually the most comfortable option because gentle analog movement gives you better control near edges. Keyboard play is perfectly workable, but bind movement and the relevant interaction buttons somewhere easy to reach. Don't change controls repeatedly while learning a room; muscle memory is useful when a transformation requires quick feeding, positioning, and jumping in sequence. For more PC-focused optimization advice, see Steamoz's PC settings guide for Cricket Through the Ages and Darklands performance tips.
When to Break the Standard Beginner Build
The utility build is a starting point, not a rule. Replace Ladder when the room has no meaningful vertical route. Replace Trampoline when every gap is short and the stage is dominated by switches. Keep Cannon when the level repeatedly places distant targets in direct sight. Choose Anvil when the puzzle clearly communicates that weight or a downward impact is the answer.
The best players aren't carrying the strongest transformations; they're carrying the transformations that answer the room's actual questions. If the screen asks “How do I get higher?” choose Ladder. If it asks “How do I reach the other side?” choose Trampoline. If it asks “How do I get through this space?” choose Hole. If it asks “How do I hold or activate that object?” choose Block. That simple translation turns the game's candy system from trial and error into a readable strategy.
For a first complete run, build around utility, keep Blob close, and resist the urge to spend candy just because you can. The Boy and Blob pairing becomes far more powerful once every transformation has a job. Master those four core forms, add Cannon or Anvil only when the level demands them, and the game's trickier rooms stop feeling like coin flips. They become what they were designed to be: clever, colorful puzzles with a dependable answer waiting in your jellybean stash.
For more information about the developer and the original release, visit WayForward's official website and the game's official Nintendo listing. If you're comparing versions before buying, check the official Steam page for the current PC release details.