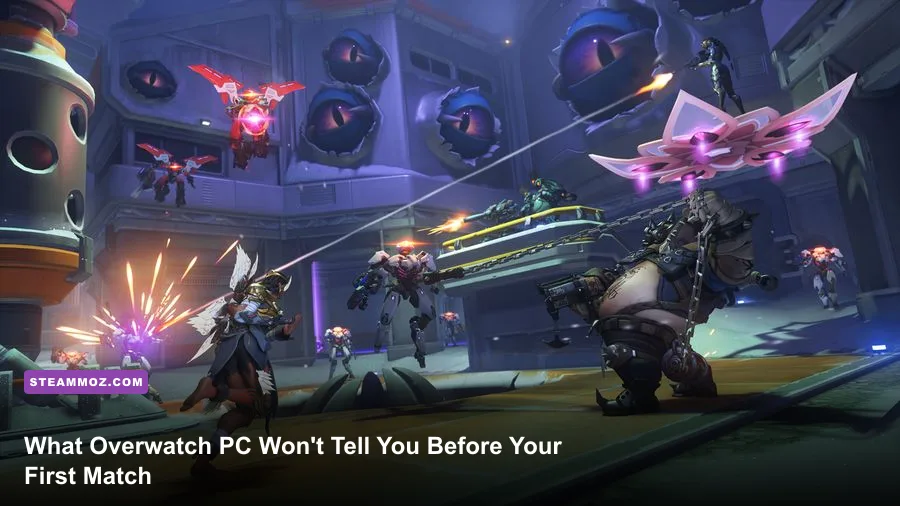
Jumping into Overwatch on PC isn't like queuing for a traditional tactical shooter where holding an angle and clicking heads guarantees a win. While raw aim matters, this game is fundamentally an ultra-fast battle of cooldown tracking, resource management, and geometric positioning wrapped in intense visual chaos. If you treat it like a standard deathmatch, you'll spend half your match staring at the respawn timer. Getting up to speed demands dialing in specific PC input parameters, understanding how the 5v5 architecture places the entire weight of map control on a single frontline, and knowing why dumping your ultimate into a lost fight destroys your team's momentum before the next round even begins.
Dialing In PC Settings and Crushing Latency
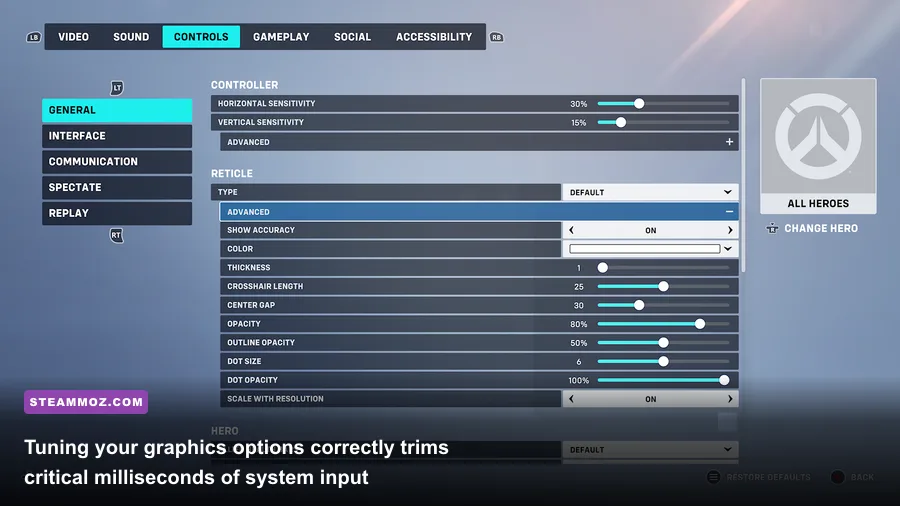
Before you ever touch competitive matchmaking, your client settings need an overhaul. Overwatch's engine, built for breakneck movement speeds and instant verticality, heavily punishes input latency. Out-of-the-box defaults prioritize visual fidelity over responsiveness, leaving you with floaty mouse tracking that ruins hitscan heroes like Cassidy, Ashe, and Widowmaker. Your first stop must be the Video and Gameplay tabs to eliminate systemic input lag. Much like stripping down background bottlenecks in our Far Cry 6 settings guide for max FPS, competitive shooters require ruthless hardware efficiency.
Begin by setting your Display Mode to Fullscreen—Borderless Windowed introduces measurable display buffer delay. Turn off V-Sync and Triple Buffering immediately. In the advanced performance options, toggle NVIDIA Reflex to "Enabled + Boost" if your GPU supports it; this keeps GPU clock speeds high even in CPU-bound team fights, slashing frame queue times. Next, adjust your mouse sensitivity. A common beginner blunder is running an absurdly high sensitivity like 1600 DPI at 15 in-game sens. Pro hitscan players generally sit in the 3,200 to 4,800 eDPI range (eDPI = DPI multiplied by in-game sensitivity). For example, 800 DPI with a 4.5 in-game sensitivity yields an eDPI of 3,600, giving you the precision to track an evasive Tracer or flick onto an aerial Pharah without overshooting.
| Setting | Recommended Value | FPS & Latency Impact | Competitive Advantage |
|---|---|---|---|
| Display Mode | Fullscreen | Cuts 5–15ms input delay | Direct hardware scanout prevents micro-stutter |
| Render Scale | Custom (100%) | Massive stability boost | Stops dynamic scaling from blurring distant enemy heads |
| NVIDIA Reflex | Enabled + Boost | Reduces render queue lag | Keeps frame delivery instant during heavy ultimate spam |
| Effects Detail | Low | +12–18% FPS in fights | Clears particle smoke from Hanzo dragons and explosions |
| Local Fog / Reflections | Low / Off | +8–14% frame uplift | Eliminates visual bloat that obscures snipers on high ground |
Lock your Frame Rate Cap manually to match your monitor's refresh rate plus 10 frames (e.g., 154 FPS on a 144Hz panel, or 250 on a 240Hz screen) if you encounter thermal throttling, or leave it set to 300+ custom if your rig handles sustained thermals. Unstable framerates introduce jitter to your muscle memory. If you've ever had to fine-tune graphics to prevent hardware drops in our Filament settings for higher FPS walkthrough, you'll know that a rock-solid framerate is the single best gift you can give your tracking aim.
The 5v5 Dynamic: Respecting the Solitary Tank
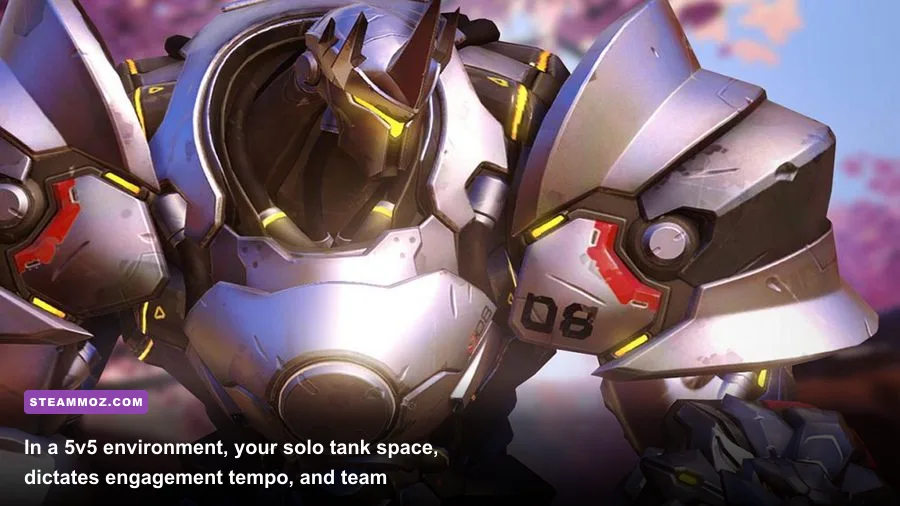
Original Overwatch players had the luxury of a two-tank frontline: a Main Tank to absorb choke damage and an Off-Tank to peel for vulnerable supports. Overwatch on modern PC operates under a cutthroat 5v5 format with exactly one tank per side. This single structural shift completely rewrites match flow. The solo tank is not merely a bullet sponge; they are the gravitational anchor of your entire squad. When a tank moves forward, your team gains map control; when they fall, the team fight is lost roughly 90% of the time.
New players frequently suffer from "Tank Blindness." If you pick damage or support, running ahead of your tank's frontline presence gets you instantly punished by crossfire. Tanks boast massive health pools, CC mitigation, and unique role passives that grant them 30% knockback resistance and reduce enemy ultimate generation by 25% when taking damage. If you try to challenge a corner without your tank initiating, a single Cassidy grenade or Hanzo arrow will send you back to spawn. For official details on hero roles and baseline kits, check out Blizzard's official Overwatch portal.
The golden rule here is avoiding the "stagger." If your tank dies at the start of an objective push, immediately stop committing your abilities. Don't pop an ultimate, don't peek for chip damage, and don't linger on the point trying to be a hero. Either back out to regroup with your team or jump off a map hazard to reset your spawn timer quickly. Staggering—trickling in one by one—is the number one reason teams spend four minutes failing to capture the first point on maps like King's Row or Circuit Royal. Much like tactical weapon synergy in our Blood Dragon weapon tier guide, raw firepower is useless without proper structural timing.
The Hidden Math Behind Armor, Shields, and Health Pools
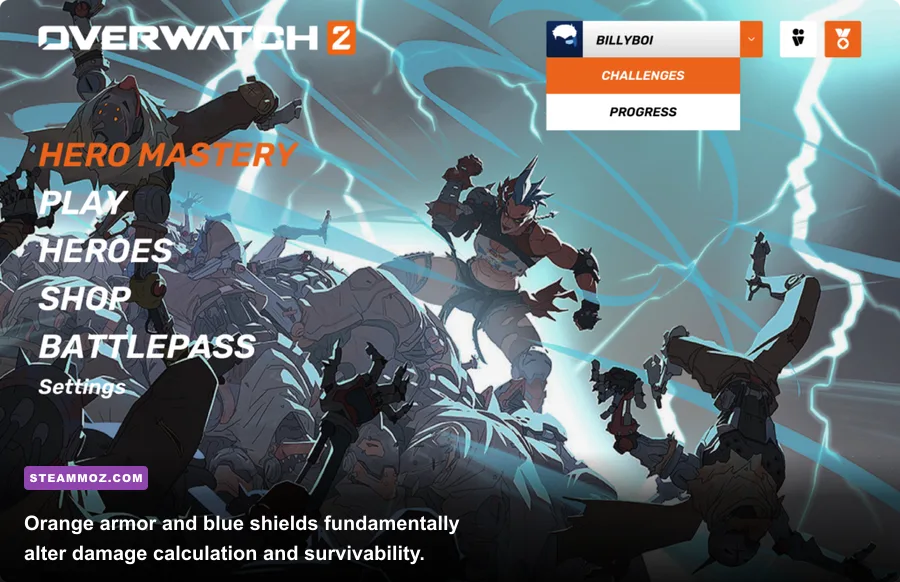
Glance at a hero's health bar in Overwatch, and you'll see a collection of distinct colors. These aren't cosmetic flair; they represent vastly different mechanical damage calculations that dictate who you should shoot and what weapons you should swap to. Understanding these differences stops you from wasting ammo on targets who shrug off your attacks.
There are four distinct health types in the game:
- White Health: Standard baseline HP. It possesses zero inherent damage mitigation and doesn't regenerate naturally unless you are playing the Support role, which activates self-healing after 2.5 seconds out of combat.
- Orange Armor: The nightmare of rapid-fire weapons. Armor reduces all incoming damage by 5 points per individual damage instance, up to a maximum reduction of 50%. This means a shotgun hero like Reaper or a rapid-fire specialist like Tracer has their damage output cut nearly in half against armor. However, single-hit burst damage—like a Widowmaker sniper shot (120 baseline) or a Pharah rocket (120 impact)—only loses a flat 5 damage, making burst heroes the definitive counter to armored tanks like Reinhardt, Winston, and D.Va.
- Blue Shields: Found on heroes like Zenyatta, Symmetra, and Sigma. Shields take standard unmitigated damage, but they automatically regenerate at 30 points per second after avoiding damage for 3 seconds. Heroes with heavy shield pools can take aggressive poke duels, duck behind a pillar, and return to full combat readiness without pulling healing resources away from their supports.
- Green Overhealth: Temporary health provided by abilities like Lucio's Sound Barrier, Junker Queen's Commanding Shout, or Doomfist's passive. Overhealth absorbs damage first, decays over a set duration, and critically awards attackers zero ultimate charge when damaged.
Knowing this math tells you how to prioritize targets mid-fight. Pumping Tracer rounds into an armored D.Va's chest is inefficient tickle damage. Instead, burn down targets with naked white health pools, strip armor using high burst-damage cooldowns, and wait out defensive Overhealth cycles before blowing high-value damage resources.
Ultimate Economy and the Trap of Team Fight Q-Dumping
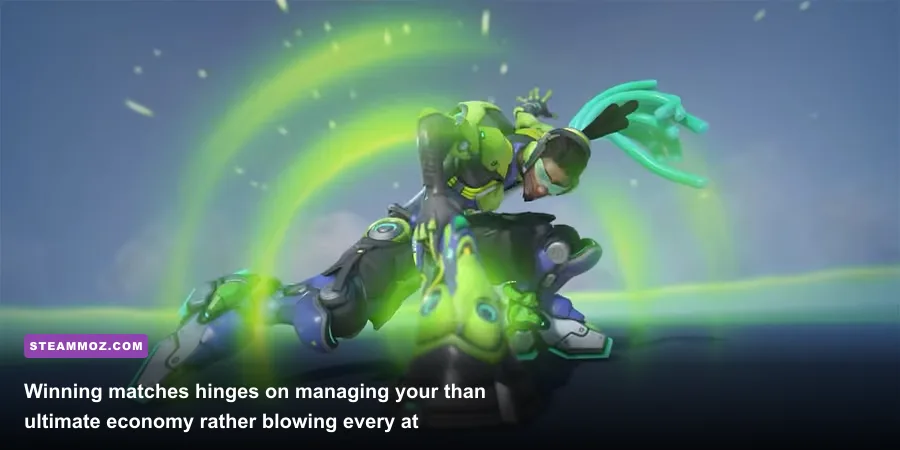
In low-to-mid rank PC lobbies, the team that manages ultimate economy better will win, regardless of mechanical aim discrepancies. Ultimates are round-defining super-abilities charged by dealing damage, restoring health, and passive time generation. The single biggest strategic blunder rookies commit is "Q-dumping"—pressing the ultimate key in panic or dumping three to four game-ending abilities into an encounter that was already won.
Consider the basic ultimate hierarchy: Ultimates fall into initiation (like Reinhardt's Earthshatter or Sombra's EMP), defensive counters (Lucio's Sound Barrier or Zenyatta's Transcendence), and zone denial/cleanup (Hanzo's Dragonstrike or D.Va's Self-Destruct). To dive deep into exact numerical energy thresholds, reference the community data across the Overwatch community wiki.
| Hero & Ultimate | Ultimate Role | Direct Defensive Counter | Economy Rule to Remember |
|---|---|---|---|
| Genji (Dragonblade) | Fight Finisher / Wipe | Transcendence / Sound Barrier / Sleep Dart | Never activate without tracking enemy crowd-control cooldowns. |
| Zenyatta (Transcendence) | Defensive Sustain (300 HPS) | Ana (Biotic Grenade) / Instant One-Shots | Save exclusively for sustained area-of-effect team wipes. |
| Reinhardt (Earthshatter) | Choke Initiation / Knockdown | Enemy Barriers / Kiriko (Protection Suzu) | Bait the enemy tank's defensive barrier before hitting the key. |
| Sombra (EMP) | Disruption & Shield Removal | Spread Positioning / Immediate Clean Cleansing | Coordinate with a follow-up damage dealer; EMP alone rarely finishes kills. |
| Lucio (Sound Barrier) | Burst Mitigation (Overhealth) | Sombra (EMP strips all barrier instantly) | Account for cast-time drop delay; if you die mid-air, charge resets to 0%. |
The rule of thumb for climbing on PC is "two ultimates max per won fight." If your Zarya lands a Graviton Surge and your Tracer sticks a Pulse Bomb that kills both enemy supports, the fight is over. Do not cast Hanzo's Dragonstrike or soldier on with a Nano Boost. Keep those resources banked for the next skirmish. If the enemy responds by burning three of their own ultimates to clutch the round back, let them have that single checkpoint; they've exhausted their ultimate economy, leaving them completely bankrupt for the decisive final point fight. Tracking these game-state loops mirrors resource-heavy leveling grinds like our Dragon Ball Z Kakarot Zeni and XP guide: discipline and patience always beat reckless expenditure.
Weaponizing Role Passives and Directional Audio Cues
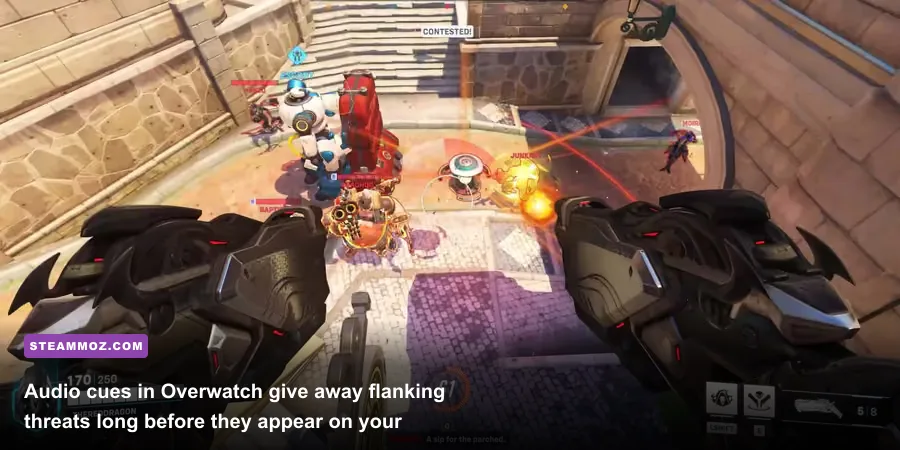
Overwatch arms each archetype with built-in role passives that alter encounter rules. As noted, Tanks gain knockback reduction and bleed less ultimate charge. Supports regenerate their own health pools passively over time, freeing them from burning self-healing abilities like Baptiste's Regenerative Burst when out of active danger. But the most disruptive tool belongs to the Damage role: the Damage Passive applies an active healing reduction debuff (up to 20%) to any target they damage for two seconds.
If you're playing DPS, spreading your chip damage across multiple enemies suppresses their support line's output. A Tank taking focus fire while debuffed by the Damage passive melts twice as fast. Conversely, if you're piloting Support, you must recognize when your frontline has the healing reduction icon active over their health bar. Dumping healing resources into a debuffed target is often like trying to fill a bucket with a hole in the bottom; wait out the two-second window or utilize hard cleanse abilities like Kiriko's Protection Suzu to purge the debuff.
Just as vital on PC is the game's extraordinary sound engine. Enable Dolby Atmos for Headphones in the game's sound options. Overwatch features a dynamic audio priority system that artificially boosts the footsteps, ability winding sounds, and weapon reloads of threats based on their danger level to your character. An enemy Reaper teleporting behind you or a flanking McCree stomping on a wooden floor sounds significantly louder and bass-heavy compared to friendly footsteps. If you play with background music or low-quality audio, you are giving up free tactical wallhacks. The moment you hear the clatter of spurs or mechanical footsteps on high ground, you should already be turning to pre-fire the corner.
High Ground Positioning Beats God-Tier Mechanical Aim
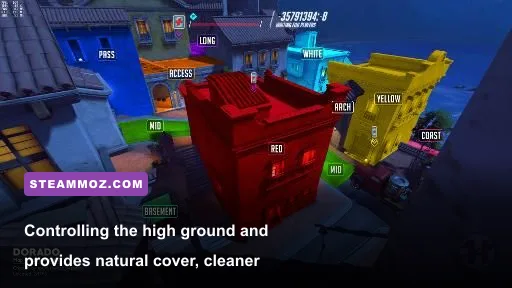
New players on PC frequently glue themselves to the payload or sprint down the center lane of the map. This is suicidal. Map architecture in Overwatch—especially across competitive hybrid and escort maps like Numbani, Watchpoint: Gibraltar, and Dorado—is engineered around vertical real estate. High ground provides three overwhelming advantages that mechanical aim alone cannot overcome:
First, high ground provides innate, indestructible cover. By simply stepping two paces backward away from the ledge, your entire hitbox vanishes from the enemy's line of sight below. You control when engagements start and stop. Players caught on the low ground must expend mobility cooldowns (like Winston's Jump Pack, D.Va's Boosters, or Genji's Wall Climb) to contest you, leaving them stranded without exit options if the duel goes sour.
Second, the headshot angle from above is heavily favored. When shooting down at targets, their head hitboxes sit prominently on top of their torsos, making critical hits remarkably easy to land with hitscan weapons. Conversely, shooting upward forces you to fire into the enemy's legs and lower torso, drastically reducing critical hit probability.
Third, holding vertical structures forces the attacking team to split their focus. If your team sets up on the bridge overlooking the payload, attackers must choose between pushing the cart out in the open or taking a miserable, claustrophobic staircase to flush you out. To examine how professional teams set up defensive holds and rotations across specific maps, study top-tier competitive playbooks archived on Liquipedia's Overwatch esports database. Treat high ground as an unyielding shield: make the enemy burn their cooldowns to reach you, drop down when they commit, and use your own mobility to retake the elevation once they've exhausted their options.
Mastering Overwatch on PC isn't about landing montage-worthy trick shots on day one. It's about respecting the engine's responsiveness, staying disciplined with your cooldowns, and respecting the macro game. Keep your input latency near zero, play around your lone tank's pacing, manage your team's ultimate bank, and maintain the high ground. Do that, and you'll climb past struggling lobbies while other beginners are still trying to figure out why their crosshairs feel floaty.