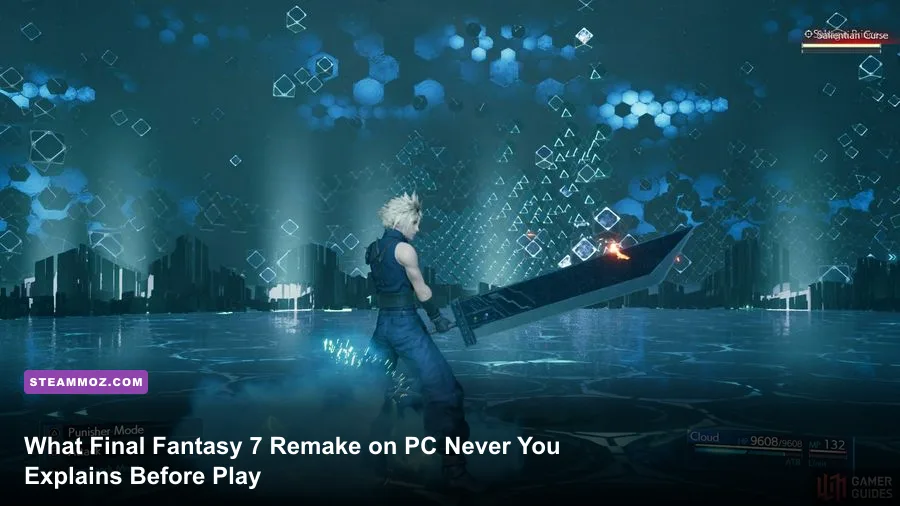
Jumping into Midgar on PC without knowing how Square Enix restructured its battle engine and graphics pipeline is a fast track to frustration. Final Fantasy VII Remake Intergrade on Steam disguises itself as a fast-paced character action title like Devil May Cry, but it strictly runs on the tactical blood of an active-time turn-based RPG. If you treat regular slashes like your primary damage source, ignore the staggered damage multiplier math, or run the PC port on default settings without disabling forced dynamic scaling, your early hours in the slums will feel clunky and unnecessarily punishing. Here is the technical and tactical playbook you need to master Midgar from the moment the train doors blow off in Sector 1.
Tame the PC Port First: Killing the Notorious Micro-Stutter
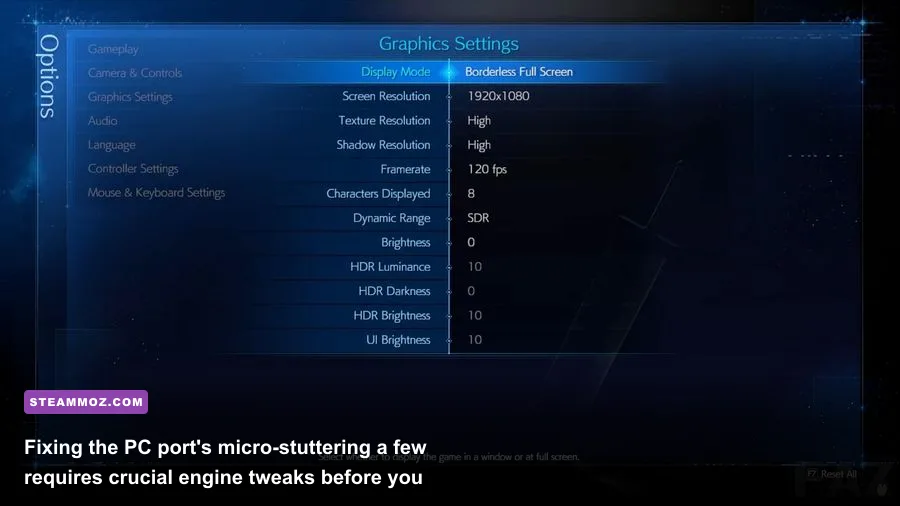
Before you take a single swing with Cloud's oversized broadsword, you need to address the PC version's most glaring technical flaw: forced dynamic resolution scaling (DRS). Square Enix shipped the PC release on Unreal Engine 4 with an aggressive background DRS system enabled by default under DirectX 12. Whenever your GPU encounters complex particle assets—such as Mako fumes or intense combat spells—the game frantically drops internal rendering resolution to maintain target frames, producing sudden frame-time spikes that look and feel like horrible micro-stutters.
You can bypass this frustration easily. Head to your Steam library, right-click the game, navigate to Properties, and enter -dx11 into the Launch Options field. Forcing the executable to run under DirectX 11 bypasses the broken DX12 shader compilation pipeline on many hardware configurations. Similar to our troubleshooting steps in Elex PC fixes that stop crashes and rescue your FPS, stabilizing background draw calls makes a massive difference in gameplay fluidity. Alternatively, if you want full control over your visuals, download the community-made FFVIIHook mod from the FFVII Remake Nexus community, drop it into your root binaries folder, and manually disable dynamic resolution in the engine configuration files.
| Setting / Launch Parameter | Recommended Value | Impact on Performance | Visual & Frame Timing Effect |
|---|---|---|---|
| Launch Command | -dx11 | Zero FPS Loss | Eliminates DX12 shader micro-stuttering on most GPUs |
| Texture Resolution | High (Requires 8GB+ VRAM) | Low (VRAM heavy) | Keeps Midgar environmental textures crisp without popping |
| Shadow Quality | Low or Medium | Moderate (+8-12% FPS) | Softens edge shadows; negligible visual loss in motion |
| Character Display Count | High | CPU Intensive | Maintains crowd density in Wall Market and Sector 7 |
| In-Game Framerate Cap | Match Display (60 or 120) | Stabilizes Frametimes | Prevents engine desync; pair with external GPU driver v-sync |
Fine-tuning these display dials upfront prevents the engine from choking during cinematic set pieces, letting you focus entirely on your combat rotations rather than hitching camera pans. For more baseline optimization approaches, check out our guide on Far Cry 6 GOTY settings for max FPS to see how adjusting background geometry loads smooths out modern ports.
Ditch the Hack-and-Slash Mindset: How Combat Actually Works
The biggest trap for beginners is mashing the basic attack button expecting enemies to stagger from standard combo strings. In this game, basic attacks are not designed to kill threats quickly; they are ATB (Active Time Battle) generators. Your standard attacks deal negligible chip damage against heavily armored Shinra security units, mechanical Sweepers, and flying drones. Their true value lies in filling the blue ATB bars sitting right below your health meter.
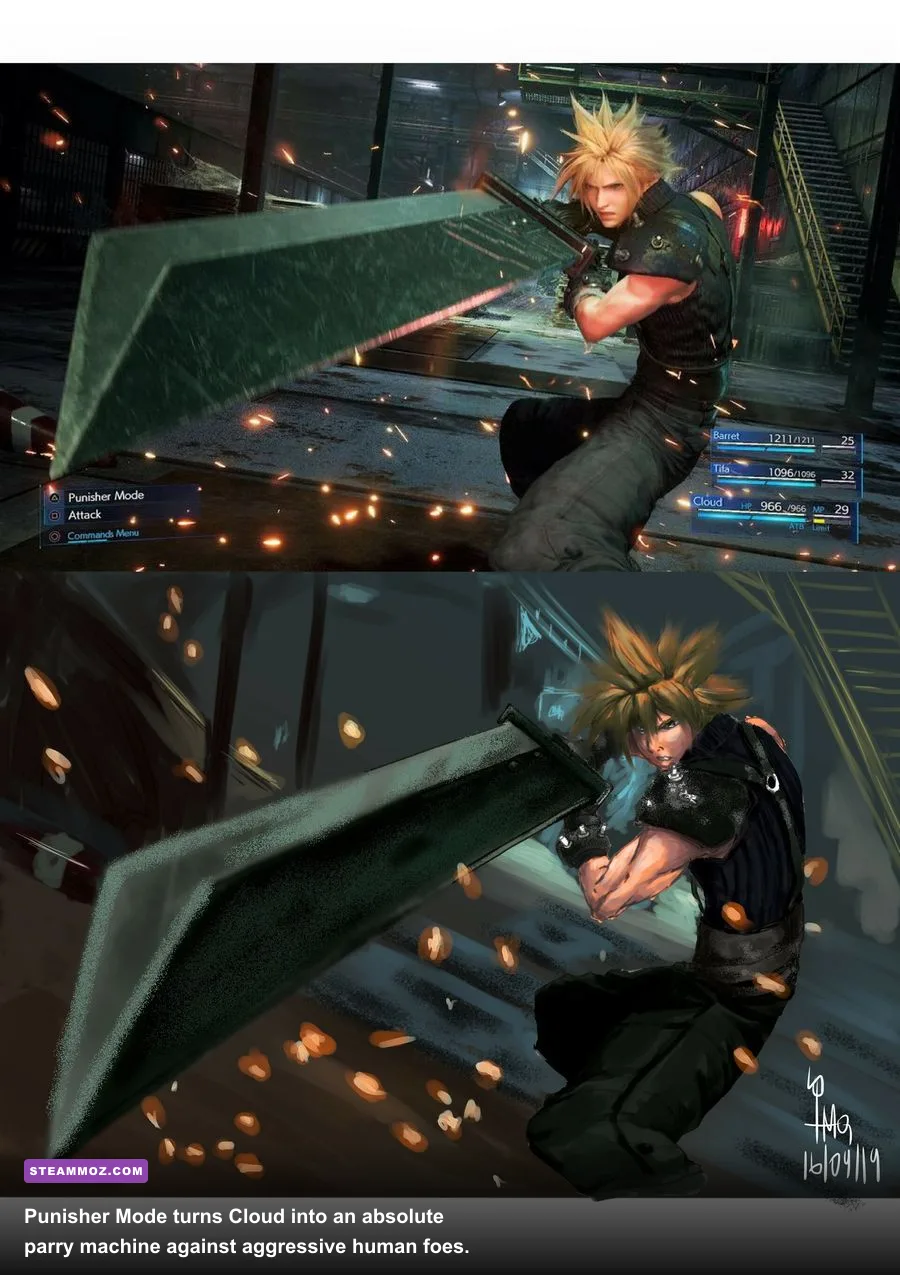
Abilities, spells, and tactical item consumption are your real tools of destruction. Every time you open the Command Menu with the slow-motion tactical pause, time slows to a crawl, letting you survey incoming enemy telegraphs and queue up decisive strikes. Cloud’s baseline stance is Operator Mode, which offers decent mobility and quick slashes. Tapping Triangle shifts Cloud into Punisher Mode. In Punisher Mode, your movement speed crawls, your standard combo turns into savage high-impact strikes, and, crucially, holding the guard button executes an automatic counter-attack against any incoming physical melee swing. When facing swift, aggressive human enemies like Roche or Shock-Troopers, holding your ground in Punisher Mode completely neutralizes their offense.
Never sleep on tactical positioning. While setting up offensive loops, building a balanced starter party behaves a lot like setting up your loadouts in our Far Cry 6 best beginner build breakdown: you need tools that pierce defense, build momentum, and keep resources flowing.
The Stagger Engine: Pressure Mechanics and Damage Multipliers
Boss fights in Final Fantasy 7 Remake are endurance trials centered around a single gameplay loop: Pressure, Stagger, and Burst. Underneath every enemy's health bar rests an orange focus gauge. Emptying an enemy's hidden poise meter puts them into a "Pressured" state, making their stagger bar rapidly vulnerable to specific abilities.
Not all abilities fill the stagger bar equally. Cloud’s Focused Thrust, Barret’s Focused Shot, and Tifa’s Focused Strike have terrible raw damage scaling, but they contain astronomical stagger multipliers when unleashed on a Pressured target. Blasting a standard mob with Focused Thrust won't accomplish much, but launching it the exact second "Pressured" flashes across their body will shove the orange gauge straight toward maximum.
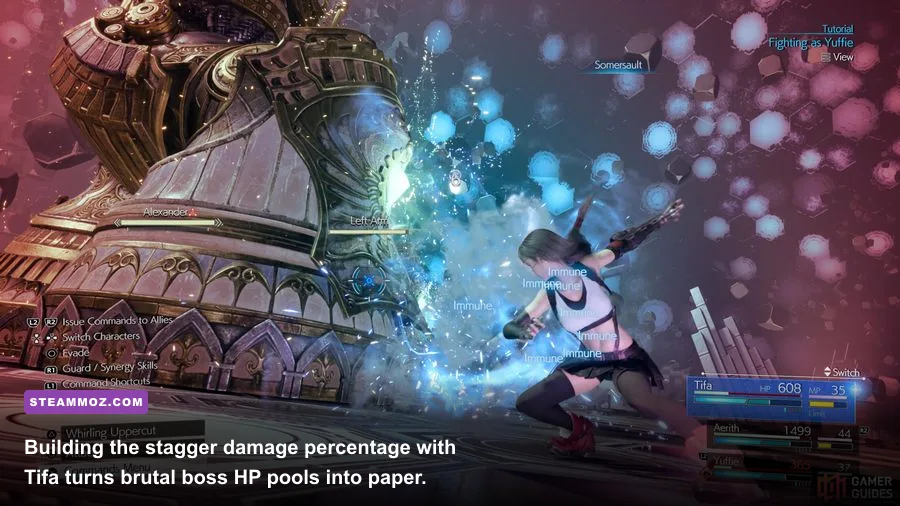
Once an enemy reaches 100% stagger, they collapse, remaining completely incapacitated for a set duration while an innate 160% damage multiplier activates. This is where Tifa Lockhart transforms from an agile brawler into the deadliest asset on your squad. Tifa's unique combat abilities—such as Whirling Uppercut, Omnistrike, and later True Strike—directly escalate that stagger multiplier from 160% all the way up to 250% or 300%. While Tifa jacks up the multiplier, Cloud should cash in high-cost ATB finishers like Braver or Infinity's End, while Aerith drops amplified tier-three magic to shred hundreds of thousands of hit points within seconds.
Weapon Progression: Why You Never Throw Away the Buster Sword
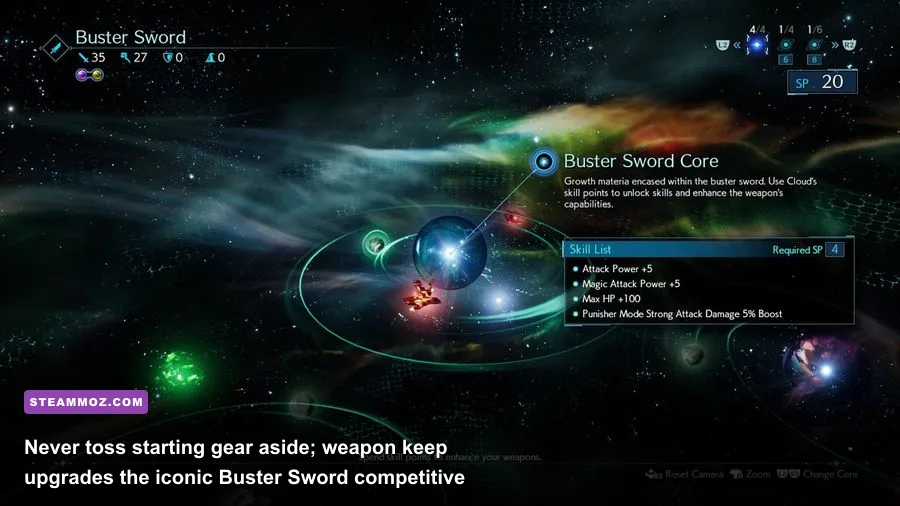
A common mistake RPG veterans make is assuming that the next sword or gun you buy from a Wall Market vendor makes your old equipment obsolete. That is not how weapon systems function in the official Final Fantasy VII Remake Intergrade framework. Every single weapon Cloud, Barret, Tifa, and Aerith obtain remains fully viable through the final chapter and Hard Mode playthroughs due to the Weapon Upgrade core system.
Whenever characters level up, every weapon in their inventory receives equal amounts of SP (Skill Points). You can invest these points into passive stat nodes, such as bonus attack power, additional Materia slots, increased critical rates, or Reprieve (which leaves you with 1 HP upon taking fatal damage). The starting Buster Sword is a pristine, balanced hybrid weapon with massive physical and magical survivability. In contrast, the Hardedge leans purely into raw physical beatdowns, while the Mythril Saber turns Cloud into a glass-cannon elemental mage. Choosing your loadout comes down to structural specialization, much like evaluating gear viability in our Everspace weapon tier analysis.
Furthermore, every weapon possesses a dedicated weapon ability. By executing that ability in combat and completing its unique tactical requirement, you earn Weapon Proficiency. Once proficiency hits 100%, that ability is permanently unlocked for that character, regardless of which weapon they hold. Pick up every weapon you stumble across, equip it immediately until its ability is mastered, and only then return to your preferred stat-scaling gear.
Chadley and Materia Synergies You Cannot Afford to Ignore
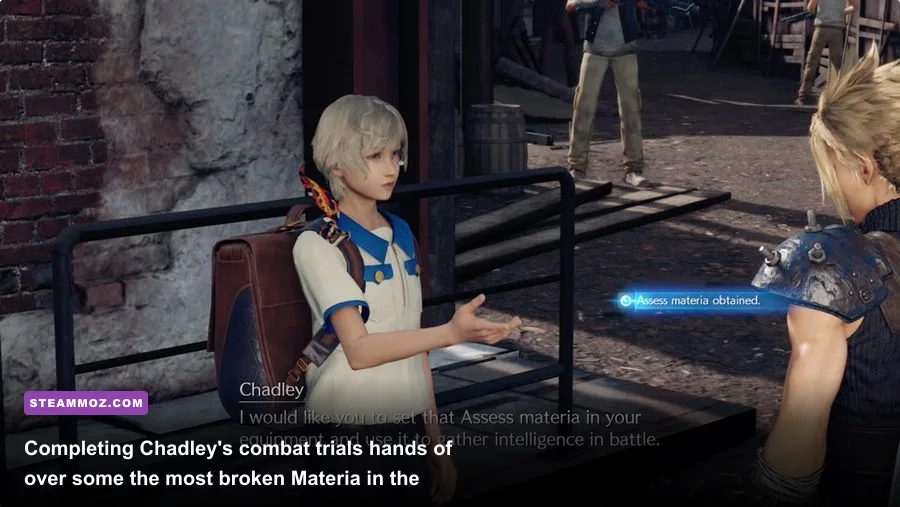
Shortly after landing in Sector 7, you encounter a rogue Shinra research intern named Chadley. Do not walk past this kid. Chadley handles Battle Intel reports, which serve as your primary avenue for unlocking elite Materia, including world-shattering summon orbs like Shiva, Fat Chocobo, and Leviathan. Much like grinding trials in our Kakarot fast leveling and resource guide, clearing Chadley's combat challenges early on accelerates your party's progression curve exponentially.
To clear Chadley's missions, your first non-negotiable step is slotting the yellow Assess Materia onto your point character. Scanning every enemy reveals their elemental weaknesses, stagger thresholds, and stealable items. Shinra mechanical units uniformly crumble against Lightning; biological beasts melt under Fire; subterranean and human threats hate Ice; and aerial flyers drop instantly against Wind spells like Aero. If you run into battle blind without assessing targets, you will constantly cast spells against shielded resistances, wasting valuable ATB charges and MP pools.
| Character Archetype | Primary Combat Role | Top Stagger Tool | Crucial Materia Pairing |
|---|---|---|---|
| Cloud Strife | Versatile Melee & Counter Burst | Focused Thrust | First Strike + Deadly Dodge |
| Barret Wallace | Long-Range Tank & ATB Battery | Focused Shot | HP Up + Steelskin / Lifesaver |
| Tifa Lockhart | Stagger Multiplier & High-Speed DPS | Focused Strike | Parry + ATB Stagger / Luck Up |
| Aerith Gainsborough | Magical Artillery & Party Sustenance | Ray of Judgment | Magnify + Healing / Arcane Ward |
Keep a sharp eye out for the singular Magnify Materia obtained in Chapter 9. Linking Magnify to a green magic Materia casts that spell across all targets simultaneously. Linking Magnify to Healing Materia provides instant party-wide Curaga for emergencies, while linking it to an offensive element lets you wipe out entire packs of Shinra riflemen with a single casting of Thundaga. Manage your Materia links deliberately, keep your weapons upgraded, and respect Midgar's stagger math, and you will turn this ambitious PC port into one of the most rewarding action-RPG experiences in your Steam library.