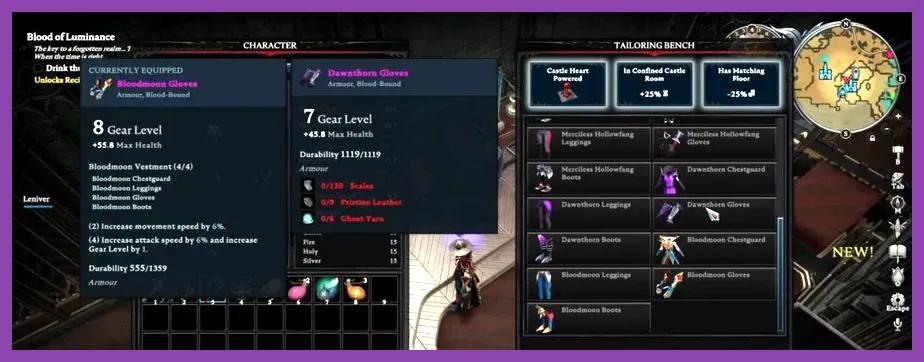
In V Rising, leveling up quickly isn't about grinding traditional character experience points—your level is strictly determined by your Gear Score. To level up fast in V Rising, you must rapidly unlock higher craftable gear tiers by defeating specific V Blood bosses, building specialized castle rooms to discount crafting costs, and acquiring high-purity blood types to punch above your gear level. Skipping unnecessary side-crafting and following an optimized boss-slaying path allows you to jump from Gear Score 1 to 80+ in a fraction of the normal playthrough time.
1. Understand the Gear Score System: Why Character XP Doesn't Exist
Progression in V Rising is fundamentally different from standard action RPGs. You do not accumulate experience points by slaying normal mobs or completing quests. Instead, your total combat level is calculated as the sum of your four main equipment slots: Weapon, Chest, Legs, Boots, Gloves, and Magic Amulet (Magic Source).
When fighting enemies, your level relative to the target dictates dynamic damage scaling. If a V Blood boss is 5 levels above your current Gear Score, you take significantly increased incoming damage and deal drastically reduced physical and spell damage. Therefore, raising your Gear Score is the single most important objective for survival and zone progression. Similar to mastering progression speed in other titles like our Dragon Ball Sparking Zero leveling guide, efficiency in V Rising comes from knowing exact stat thresholds rather than aimless grinding.
To progress smoothly, your equipment upgrade pathway follows strict material tiers: Boneguard (Tier 1) -> Copper & Plated Boneguard (Tier 1.5) -> Mercenary & Iron (Tier 2) -> Hollowfang & Dark Silver (Tier 3) -> Dawnthorn (Tier 3.5) -> Bloodmoon & Sanguine/Ancestral (Tier 4). Attempting to skip whole tiers without defeating key gating bosses will stall your castle development.
2. Early Game Speedrun: Boneguard to Copper Tier Progression
When starting fresh in Farbane Woods, avoid spending excessive time building large decorative stone castles. Focus entirely on harvesting raw Plant Fiber, Animal Hides, and Stone to forge basic Bone tools and Boneguard Armor set. Equipping full Boneguard along with a Bone Sword or Spear quickly pushes your Gear Score to 10.
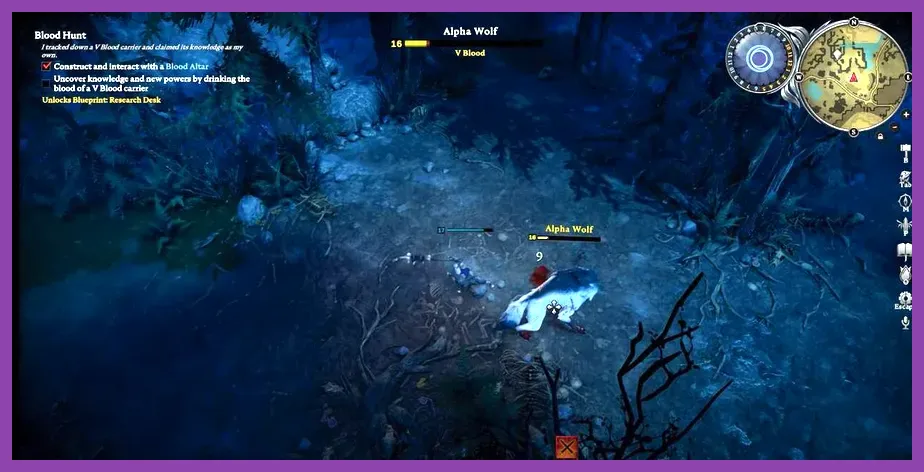
Next, construct the Simple Workbench immediately. Upgrade your Bone tools to Reinforced Bone variants to push your Gear Score to 15, which unlocks your ability to hunt your first essential V Blood target: Alpha Wolf (Level 16). Defeating Alpha Wolf grants Wolf Form, drastically increasing your movement speed across the map and shaving hours off resource gathering runs.
Crucial Early V Blood Targets (Gear Level 15-30)
- Keely the Frost Archer (Level 20): Unlocks the Tannery. Crafting Leather is mandatory to convert Boneguard into Plated Boneguard Armor (Gear Score 30).
- Errol the Stonebreaker (Level 20): Unlocks the Big Blacksmith Workbench upgrade path and grants major mining speed improvements.
- Rufus the Foreman (Level 20): Unlocks the Woodworking Bench and Crossbow crafting, essential for safe ranged kite tactics.
- Clive the Firestarter (Level 30): Unlocks the Alchemy Table and Alchemy recipes like Minor Explosive Boxes, required to break down stone gates into the Haunted Iron Mine.
By prioritizing these four targets, you can craft a full set of Plated Boneguard Armor and Copper Weapons within your first two to three hours of play, sitting comfortably at Gear Score 30 to 35.
3. Mid Game Progression: Rushing Iron Gear and Hollowfang Armor
Transitioning from Farbane Woods to Dunley Farmlands represents the largest early-game difficulty spike. To enter this zone safely, your target is to unlock Iron Weapons and Hollowfang Armor, raising your score past 50.
First, slay Quincey the Bandit King (Level 37) in the Bandit Stronghold at northern Farbane Woods. To open his stronghold doors, place a Minor Explosive Box crafted at your Alchemy Table against his iron gates. Beating Quincey unlocks the Smithy, Iron Weapons, and Iron Ingot refining recipes.
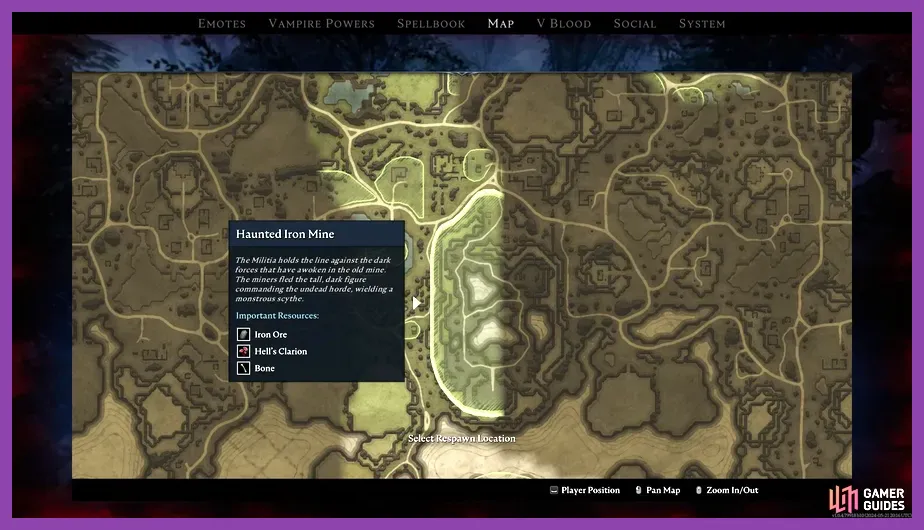
Once Quincey is down, immediately head to the Haunted Iron Mine located in southern Dunley Farmlands. While collecting crafting ingredients feels akin to gathering Minecraft best crafting materials or hunting Monster Hunter Wilds crafting materials, Iron Ore nodes inside this mine yield massive quantities per node. Watch out for Undead Commander patrols inside the mine; collect at least 1,500 to 2,000 Iron Ore in a single run.
Transitioning to Hollowfang Armor
To craft Tier 2 Hollowfang Armor (Gear Score 46+), you must slay Nicholas the Fallen (Level 37) for the Study workbench recipe, and Leandra the Shadow Priestess (Level 47) to unlock Scourgestones and the Shadow Priestess ring. Scourgestones combined with Copper/Iron form early Magic Amulets, which provide crucial +4 to +6 boosts to overall Gear Score.
4. Advanced Upgrades: Dark Silver, Dawnthorn, and Schematics
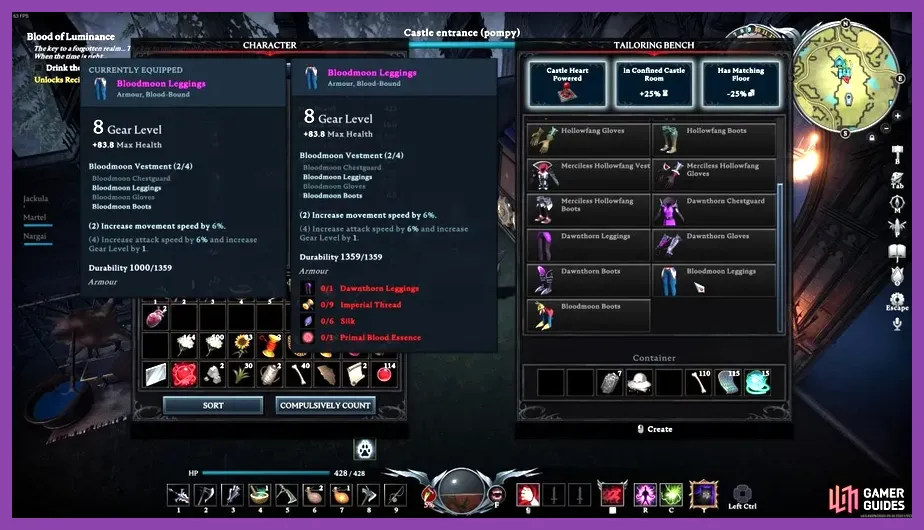
Entering the late-game regions of Gloomrot and Silverlight Hills requires scaling past Gear Score 60. At this point, basic smelting isn't enough; you need Dark Silver Weapons and Dawnthorn Armor, processed using advanced castle technology created by developer Stunlock Studios.
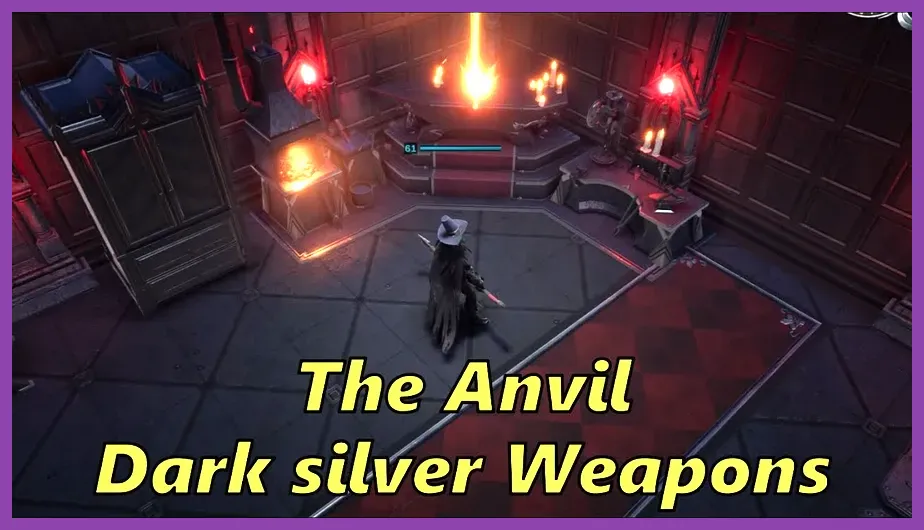
Target Octavian the Captain (Level 58) in the Bastion of Dunley. Defeating Octavian grants access to the Anvil, which allows you to turn Silver Ore and Dark Metal into Dark Silver Weapons. Because raw Silver Ore causes damage to vampires over time, carry Silver Resistance Potions (unlocked via Polora the Feywalker) before mining in Silverlight Hills.
Optimizing Castle Flooring for 25% Material Efficiency
Crafting higher-tier gear requires hundreds of Greater Blood Essences, Cotton Yarns, and Pristine Hides. You can save hours of grinding by setting up enclosed rooms with specialized flooring:
- Forge Flooring: Reduces Iron and Dark Silver Ingot smelting costs by 25%.
- Tailoring Flooring: Reduces Cloth, Ghost Yarn, and Leather costs for Dawnthorn armor by 25%.
- Alchemy Flooring: Reduces Blood Essence and Potion refining material costs by 25%.
If you need to adjust your build strategy or combat spells for these mid-to-late game boss fights, much like studying how to respec skill points in Escape from Tarkov, swap your blood magic spells at any time outside combat without penalty.
5. End Game Gear Score 90+: Sanguine Armor and Ancestral Weapons
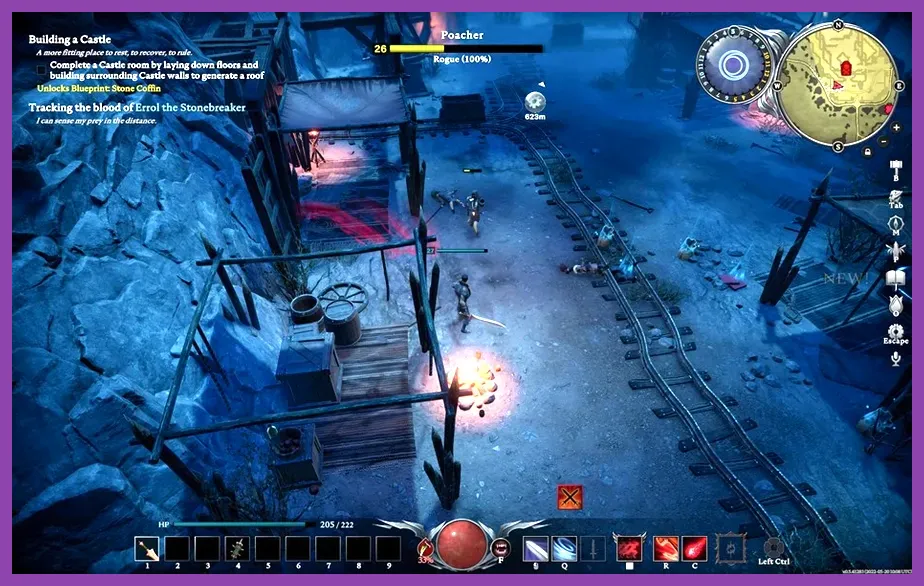
Reaching maximum Gear Score (90+) requires conquering the toughest V Blood carriers in Vardoran. End-game progression shifts from basic metals to Bloodmoon/Sanguine gear sets and Legendary Shattered Weapons restored at the Forge of the Ancients.
Check the V Rising Official Wiki for exact spawn schedules of high-tier boss encounters. Your main late-game targets include:
- Voltatia the Power Master (Level 77): Unlocks power conduits and advanced Gloomrot crafting tech.
- Styx the Lord of Vampires (Level 76): Unlocks Onyx Tears, a key reagent required to upgrade Dark Silver weapons into Sanguine weapons.
- Solarus the Immaculate (Level 80+): The primary holy boss whose defeat yields high-tier endgame rewards and blood essence buffs.
For players entering high-stakes late-game combat, our Marvel Rivals beginner tips offer fundamental spatial positioning concepts that apply well when dodging Solarus's devastating light rays and holy blades.
6. Vital Buffs to Boost Your Gear Score and Progression Speed
While physical gear sets dictate base score, your Blood Type purity acts as a massive stat multiplier, allowing you to defeat V Blood bosses up to 8 levels above your current Gear Score. Hunting high-purity prisoners for your Castle Dungeon is essential for fast progression.
Best Blood Types for Fast Boss Slaying
- Rogue Blood (90-100% Purity): Grants up to +20% Critical Strike Chance, +12% Movement Speed, and guaranteed critical hits on dash attacks. Ideal for physical weapon builds using Greatswords or Pistols.
- Scholar Blood (90-100% Purity): Grants +25% Spell Power, +15% Spell Cooldown Reduction, and spell leech. Essential for magic-heavy boss bursting strategies.
- Brute Blood (90-100% Purity): Grants attack speed, primary attack life drain, and movement speed boosts when taking damage, making high-level armor checks far easier.
Additionally, always consume **Brew of Ferocity** (+8 Physical Power) or **Potent Spell Brew** (+8 Spell Power) before challenging gated bosses. Combining 100% Rogue Blood with specialized resistance potions lets you take down high-level bosses long before grinding out their recommended gear tier, effectively skipping tens of hours of resource farming.