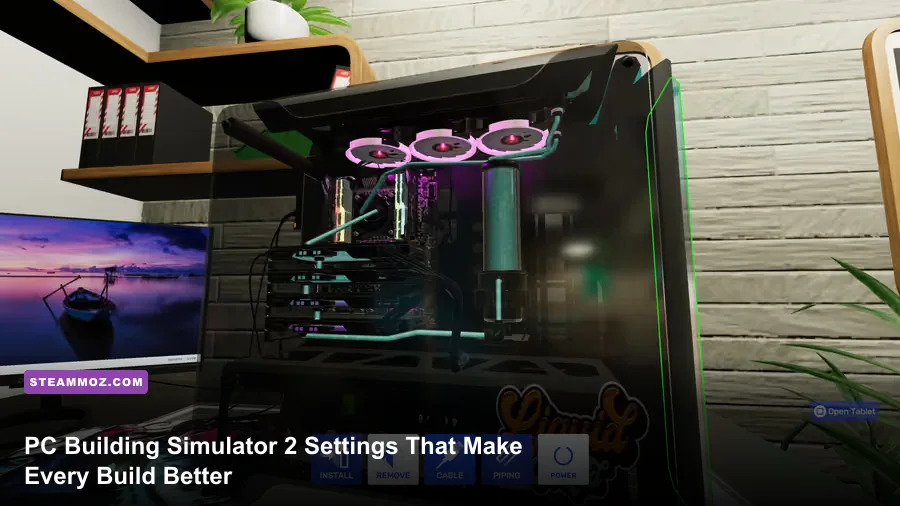
The best PC Building Simulator 2 setup is a stable 60 FPS profile at your monitor’s native resolution, paired with sensible Windows scaling, accurate display calibration, and a repeatable testing routine. Use borderless windowed mode for convenience, drop shadows and volumetrics before texture quality when performance dips, cap the frame rate just below your monitor’s refresh rate, and never overclock a customer machine until temperatures, power limits, and benchmark results all agree. That approach keeps the workshop responsive while making every repair and custom build easier to read.
PC Building Simulator 2 is not a twitch shooter, but poor frame pacing still makes the game feel clumsy. It also creates a practical problem: small motherboard sockets, cable routes, and tool prompts become harder to inspect when the image stutters or the UI is scaled badly. This guide covers the best graphics profile, monitor calibration, Windows tweaks, hardware targets, benchmark workflow, and the mistakes that quietly ruin Career Mode jobs.
If you’re troubleshooting the game alongside other demanding PC titles, Steamoz’s ELEX PC fixes and EscapeVR performance guide cover the same broad Windows problems: outdated drivers, unstable overlays, and background applications fighting for resources.

Best PC Building Simulator 2 graphics settings
Begin with your display’s native resolution. Running 1080p on a 1440p monitor makes text and component edges look soft, while forcing 4K on a modest GPU can turn a calm workshop into a stuttery slideshow. PC Building Simulator 2 benefits more from consistent frame pacing than from maximum cinematic effects, so target a locked 60 FPS first. A 120Hz or 144Hz monitor can use a 90 or 120 FPS cap if your system holds it without large dips, but there’s little value in chasing triple-digit numbers during a menu-heavy repair.
Use fullscreen if you want the lowest possible overhead and don’t switch applications often. Borderless windowed is the better everyday option because it makes browser references, Discord, and hardware manuals easier to access. If you notice hitching after alt-tabbing, test exclusive fullscreen before changing image quality. That symptom usually points to Windows presentation behavior or an overlay, not a weak graphics card.
| Setting | Recommended value | FPS impact | Visual note |
|---|---|---|---|
| Resolution | Native monitor resolution | Very high | Keep native for sharp component labels and menus |
| Display mode | Borderless windowed | Low | Use fullscreen if alt-tab stutter appears |
| Texture quality | High | Low to medium | Worth keeping high if VRAM allows it |
| Shadows | Medium | Medium to high | First major quality cut for weaker GPUs |
| Effects and volumetrics | Medium | Medium | Reduces haze and workshop lighting cost |
| Anti-aliasing | High or the highest stable option | Medium | Helps thin cables and component edges |
| Motion blur | Off | Negligible | Improves clarity when rotating around the bench |
| V-Sync | Off with VRR; On without VRR | Low | Avoid tearing while preventing unnecessary latency |
Textures are usually the safest setting to preserve because they affect surface detail without constantly multiplying scene work. Shadows are different. The workshop contains many light sources, reflective surfaces, and dense objects, so high shadow quality can cost more than its visual improvement suggests. Set shadows to Medium, then raise them only if your minimum frame rate remains comfortable.
Turn motion blur off. It does nothing useful for a game built around inspecting parts, and it can smear text when you pan around the case. Keep anti-aliasing high enough to stop RAM sticks, PCIe slots, and fan blades from shimmering. If your frame rate is unstable, reduce volumetric effects before textures or anti-aliasing.
🎮 PC Building Simulator 2
Looking to experience this game? Grab your digital key directly on our store for $24.99.
View on Steammoz Store →Calibrate your monitor and Windows desktop
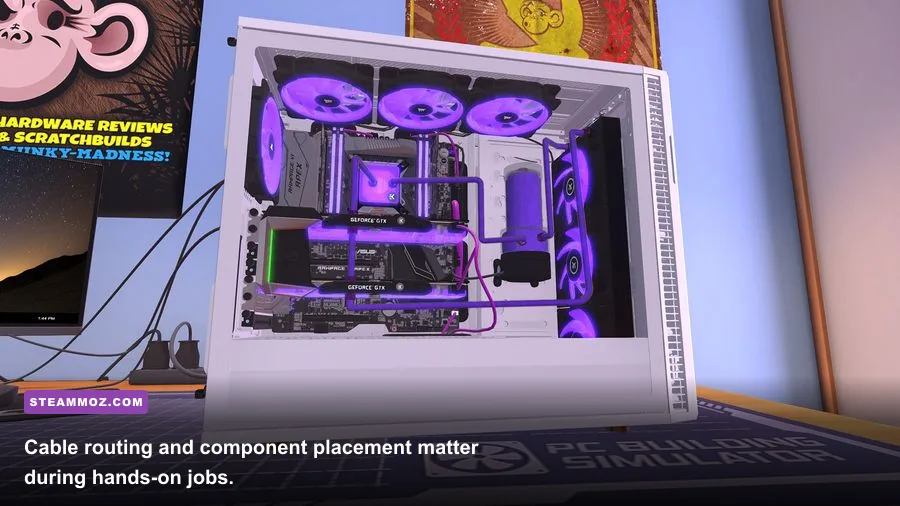
Calibration matters here because PC Building Simulator 2 uses dark interiors, black cables, metallic heatsinks, and subtle warning colors. A monitor that is too bright makes every build look washed out; one that is too dark hides screws and panel edges. Reset your display to its Standard, sRGB, or Custom mode first. Disable Dynamic Contrast, Black Equalizer boosts, artificial sharpening, and any “game” preset that crushes shadow detail.
For a practical baseline, set brightness so a dark gray test patch is visible without turning black into gray. Use the Windows Display Color Calibration tool, then confirm that the monitor is running at its maximum supported refresh rate in Settings > System > Display > Advanced display. A 144Hz panel stuck at 60Hz will feel noticeably less responsive even when the game reports a steady frame rate.
HDR is worth testing rather than blindly enabling. If your monitor has weak local dimming or low peak brightness, HDR can make the workshop look flatter and can complicate screenshots. Use SDR for predictable color while building. On a genuinely strong HDR display, enable Windows HDR, calibrate with Microsoft’s HDR Calibration app, and compare the case interior, white labels, and bright desk lights before keeping it active.
Windows scaling also affects comfort. At 1080p, 100 percent scaling is normally clean. At 1440p, 100 or 125 percent works depending on viewing distance; at 4K, 150 percent is often the sensible choice. Scaling doesn’t directly improve FPS, but it changes how easily you can read job objectives and component descriptions. Disable Night Light while calibrating, then re-enable it later if you play at night because it changes color temperature.
Finally, turn off overlays you don’t need. Steam, Xbox Game Bar, GeForce Experience, Radeon Software, and motherboard utilities can all add hooks or notifications. Keep one monitoring tool active, not five. If a game refuses to hold its refresh rate, Steam’s official PC Building Simulator 2 Steam page is the right place to verify current system requirements and update notes.
Hardware targets for smooth workshop performance
PC Building Simulator 2 is easier to run than a modern open-world game, but its recommended target deserves attention because simulation scenes can produce uneven frame times. The Steam listing identifies Windows 10 64-bit as the operating system baseline, with an Intel Core i5-10400 or AMD Ryzen 5 3600-class processor, 16GB of RAM, and a GeForce GTX 1660 or Radeon RX 5600-class graphics card in the recommended tier. The minimum tier is substantially lower, but it is aimed at entry-level play rather than a perfect high-refresh experience.
Six CPU cores and 16GB of system memory are the comfortable floor for Career Mode, especially if you keep a browser open for part references. More RAM won’t magically raise average FPS, but it reduces the chance of Windows paging when the game, Discord, browser tabs, and launcher are open together. An SSD is strongly preferred. Loading jobs and moving between menus feels much cleaner from solid-state storage than from an older mechanical drive.
| Target | CPU and RAM | GPU class | Practical profile |
|---|---|---|---|
| Minimum play | Core i5-3570-class, 8GB | GTX 960-class | 1080p Low, 30–60 FPS depending on scene |
| Recommended | Core i5-10400 or Ryzen 5 3600, 16GB | GTX 1660 or RX 5600-class | 1080p High, stable 60 FPS target |
| 1440p comfort | Modern six-core CPU, 16GB | RTX 3060 or RX 6600-class | 1440p High with sensible shadow settings |
| 4K headroom | Modern six-core CPU, 32GB preferred | RTX 4070 or RX 7800 XT-class | 4K Medium/High; cap FPS for consistency |
The CPU matters most when the workshop is full of objects and interactive systems, while the GPU decides how expensive high resolution, shadows, and effects become. If lowering resolution barely changes your frame rate, you’re probably CPU-limited. If resolution scaling produces a large FPS jump, reduce GPU-heavy settings first and leave the CPU workload alone.
Install the game on an SSD with at least 20GB of free space beyond the installation itself. Free space gives Windows and the shader pipeline room to work. Keep your graphics driver current, but avoid updating immediately before an important Career session unless you have a backup save. Driver changes can reset profiles, shader caches, and color settings. For broader hardware troubleshooting, our PC requirements explainer shows how to read minimum and recommended specifications without treating them as guaranteed FPS promises.
Build a reliable in-game testing routine
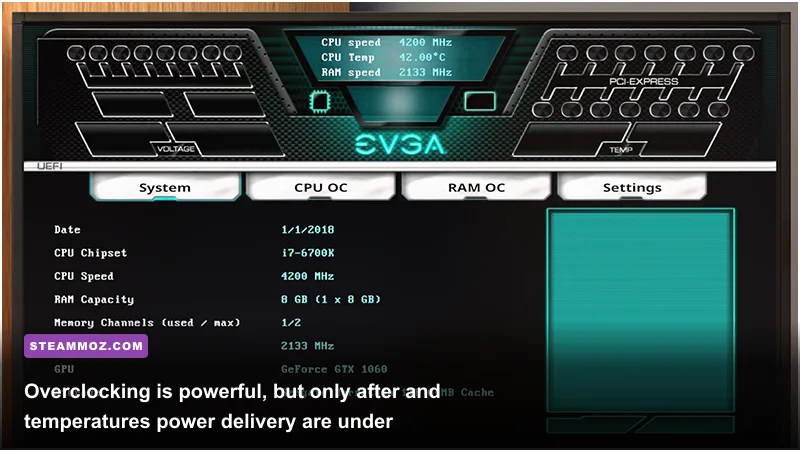
The fastest players in Career Mode don’t guess. They isolate the fault, make one change, and test the result. Start every repair by reading the customer brief carefully. If the objective says the machine overheats, don’t immediately replace the CPU cooler. Boot the system, check temperatures, inspect fan placement, confirm that the cooler is mounted, and look for dust or a missing thermal-paste application. The game rewards correct diagnosis, not expensive improvisation.
Once the PC posts, install the required operating system and benchmark utilities. PC Building Simulator 2’s testing loop is built around recognizable tools such as 3DMark and PCMark-style workloads. Run a baseline before overclocking, record the score and temperatures, then change only one variable. A higher clock that produces a lower benchmark score, crashes, or severe thermal throttling is not an upgrade.
- Check compatibility first. Confirm the motherboard socket, RAM type, cooler support, case clearance, PSU wattage, and GPU length. A part can be individually powerful and still be wrong for the customer’s platform.
- Install the essentials. Seat the CPU, apply thermal paste, mount the cooler, install memory in the correct slots, connect motherboard power, and fit the GPU before closing the case.
- Boot and inspect. Enter BIOS, verify that the CPU and full memory capacity are detected, and check idle temperatures before installing software.
- Run a stock benchmark. Save the result. This is your control sample and makes later instability obvious.
- Tune cooling. Add intake and exhaust fans, adjust fan curves, and only then consider an overclock.
- Stress-test again. Run the requested benchmark and check whether temperatures remain reasonable under sustained load.
Use the benchmark score as evidence, not as the only goal. A machine may technically pass a workload while its CPU reaches a temperature ceiling and drops clocks. In a customer job, that can still fail the requested objective. A balanced build with a slightly lower score but stable temperatures is usually the safer path to a five-star result.
Overclocking, cooling, and power without wrecking the build
Overclocking in PC Building Simulator 2 is most useful when a job explicitly requests extra performance. It’s also the easiest place to turn a working computer into a failed delivery. Start with the CPU or GPU—not both at once—and take small frequency steps. After every change, boot, run a benchmark, and inspect temperatures. If the game offers voltage controls, avoid adding voltage until a modest frequency increase proves stable; voltage raises heat much faster than many new players expect.
Memory profiles such as XMP or EXPO are a different category from a manual CPU overclock. Enable them when the motherboard and memory support the profile, then confirm the full rated capacity and speed. If a job requires a specific RAM speed, a profile can be the cleanest solution. Don’t assume that a high advertised kit is automatically stable on every processor and board combination.
Cooling is a system, not a single part. A front-mounted radiator can improve CPU temperatures but may warm the GPU if it feeds heated air into the case. A top-mounted radiator usually exhausts heat more naturally, while front intake fans should bring cool air across the graphics card. In a simple air-cooled build, use front or bottom intake and rear or top exhaust. Match fan direction carefully; adding six fans that fight one another is worse than using three correctly oriented fans.
| Problem | Likely cause | Best fix | What to verify |
|---|---|---|---|
| CPU overheats | Bad cooler, paste, or airflow | Remount cooler and add exhaust | Lower sustained temperature and no throttling |
| GPU overheats | Restricted intake or poor case layout | Improve front intake and cable clearance | GPU temperature during 3DMark load |
| System crashes after tuning | Too much frequency or insufficient voltage | Return the last change and retest | Repeatable benchmark completion |
| PC won’t post | Loose power cable or incompatible part | Check 24-pin, CPU EPS, RAM, and socket | BIOS detects CPU and memory |
| Low benchmark score | Thermal throttling or wrong profile | Check clocks, cooling, and memory speed | Stable clocks throughout the run |
Power supply selection deserves the same discipline. Don’t calculate only the GPU’s listed draw. Leave headroom for the CPU, storage, fans, and transient spikes, then verify that the unit has the connectors the build needs. If a Career objective asks for a stronger PSU, replacing a barely adequate unit with a reputable higher-wattage model can solve both stability and upgrade requirements.
For a second opinion on balancing parts and avoiding wasted credits, see Steamoz’s upgrade-value guide. The principle carries over: the most expensive component isn’t automatically the best purchase for the job.
Career Mode and Free Build optimization tips
Career Mode is where a disciplined setup pays off. Read every objective before touching the machine because a job can require a repair, a specific replacement, a benchmark score, an operating-system installation, or a visual change such as removing dust. Completing the wrong work can cost money and time. Keep a mental checklist: diagnosis, compatibility, installation, boot, software, benchmark, temperature check, and final delivery.
Free Build is your laboratory. Use it to learn how cases, motherboards, coolers, and graphics cards interact before risking a customer’s budget. Test a compact case with a large GPU, compare air cooling with an all-in-one radiator, and deliberately create a bad fan layout so you understand how the simulation responds. Free Build also makes it easier to test overclocking because a failed experiment doesn’t threaten a deadline.
Spend early Career income on tools that remove repetitive work and improve your workshop rather than chasing flashy parts. Faster diagnostics and better workstations compound across jobs. When a customer asks for a target benchmark, buy the least expensive compatible component that reaches it. Overspending on a flagship GPU can erase the profit from several successful jobs.
Keep save files and settings stable. Avoid mods during a serious Career run until you’ve confirmed they work with the current game version, and don’t use third-party trainers that alter job state. For official information on updates and supported features, check the developer’s PC Building Simulator 2 page and the official store listing.
Before delivery, perform one final pass: confirm every requested part is installed, remove dust if the job requires it, verify the side panels, check that the operating system boots, run the requested benchmark, and review temperatures. That last minute catches the classic failures—an unplugged EPS cable, an unmounted cooler, an incorrect RAM profile, or a part that technically fits but doesn’t satisfy the brief.
The best profile for your monitor and hardware
For most players, the winning preset is simple: native 1080p or 1440p, High textures, Medium shadows, Medium effects, motion blur off, and a frame cap matched to the display. Use VRR such as FreeSync or G-SYNC if your monitor supports it, and cap a few frames below the maximum refresh rate—for example, 141 FPS on a 144Hz display or 117 FPS on a 120Hz panel. If the game cannot sustain that target, lock it to 60 rather than allowing constant swings between 45 and 90.
Low-end systems should keep resolution native where possible, reduce shadows and effects first, and close browsers before lowering texture quality. Mid-range systems can comfortably use High textures and anti-aliasing at 1080p. High-end systems should raise resolution or image quality only after confirming that the frame-time graph stays smooth in a busy workshop. Your goal isn’t a screenshot-friendly number in an empty room; it’s a stable experience while rotating around a packed case and navigating a long job.
That combination—calibrated display, clean Windows environment, sensible graphics profile, stock benchmark, and cautious tuning—turns PC Building Simulator 2 from a fiddly parts puzzle into a precise, satisfying workshop. Build for the objective, test every meaningful change, and spend performance where your eyes and the simulation actually benefit.