If you want the strongest loadout in Just Die Already, start with the Rocket Launcher, then add a Katana or Shotgun for close-range emergencies and a mobility tool such as the Grappling Hook. The Rocket Launcher is the best all-purpose weapon because it clears groups, breaks momentum, and interacts brutally well with the game's physics. The Katana is the better pick for controlled melee, while traps and novelty gadgets are powerful only when the environment is doing half the work.
This ranking focuses on practical performance across the Retirement Home, Downtown, and Industrial Area rather than novelty value. The game does not present a conventional damage spreadsheet, and weapon behavior can change slightly between updates and platforms. That makes a mechanics-based tier list more useful than pretending every item has a clean, official DPS number. For the game's current feature set, check the official Steam page and the developer's game page before assuming a community trick still works.
Just Die Already weapon tier list at a glance
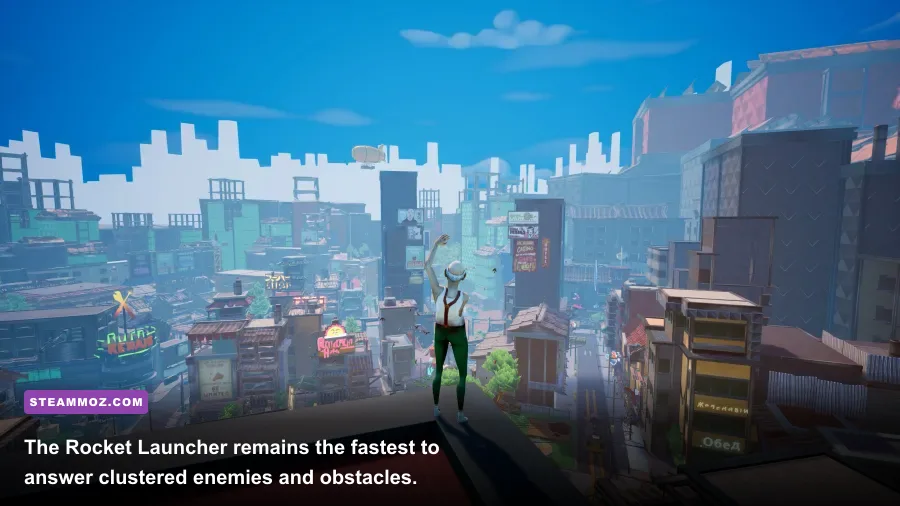
The key distinction is consistency. A weapon that launches an enemy into a wall, severs an obstacle, or creates space is more valuable than one that occasionally produces a hilarious physics clip. S-Tier equipment works in open streets and cramped interiors. A-Tier choices are excellent but ask you to manage range, ammunition, or positioning. B-Tier tools can still complete challenges, but they are less dependable when multiple hazards arrive at once.
| Tier | Weapons and equipment | Why they rank here | Best use |
|---|---|---|---|
| S-Tier | Rocket Launcher, Grappling Hook, Katana | High control, strong utility, reliable emergency value | Open combat, traversal, difficult objectives |
| A-Tier | Shotgun, Crossbow, Nail Gun, Flamethrower | Excellent in the right range or terrain | Picking targets, corridors, crowd pressure |
| B-Tier | Baseball Bat, Pitchfork, Taser, Boomerang | Useful but limited by reach, timing, or recovery | Early exploration and opportunistic attacks |
| C-Tier | Broom, novelty throwables, situational props | Funny and interactive, but inconsistent in combat | Challenges, experimentation, role-playing chaos |
For comparison, our Breakpoint weapon tier list is built around damage and handling. Just Die Already is different: momentum, body damage, ragdoll physics, and the ability to escape a bad situation matter more than a traditional damage-per-second stat.

🎮 Just Die Already
Looking to experience this game? Grab your digital key directly on our store for $2.24.
View on Steammoz Store →S-Tier weapons that solve almost every problem
Rocket Launcher
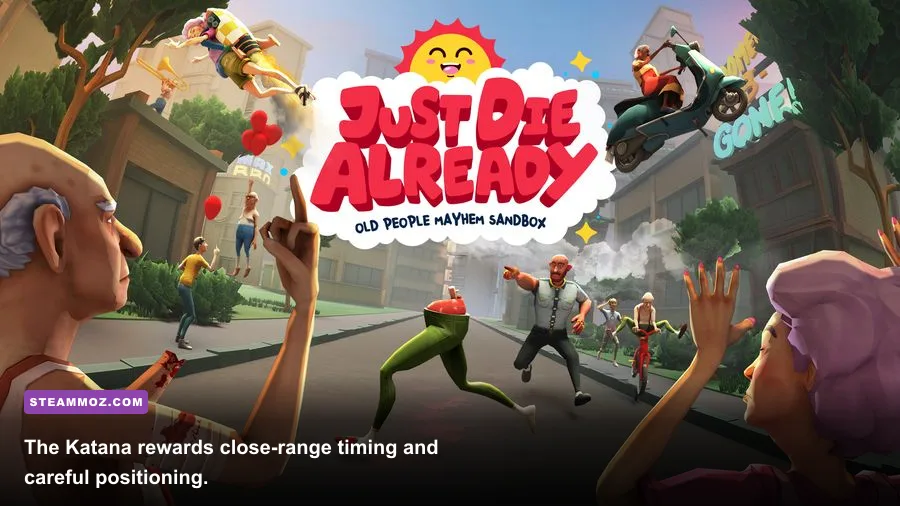
The Rocket Launcher is the obvious S-Tier centerpiece. Its splash damage can hit several targets, and the blast force is often more valuable than the direct hit itself. Fire at the ground beside a cluster rather than obsessing over a perfect center-mass shot. The explosion can throw hostile NPCs away from a doorway, clear a path through a packed street, or send your own elderly character over an obstacle when used recklessly.
That last point is the warning: the Rocket Launcher is not a free win. Its splash radius punishes short-range firing, and the recoil can destroy your positioning near ledges, traffic, fire, or machinery. Back into open space before firing. If you're completing a collection objective, use it to create breathing room, then switch weapons rather than wasting every projectile on disposable targets.
Grappling Hook
The Grappling Hook is technically equipment, but it belongs on this list because movement is combat in this game. It lets you bypass crowds, reach rooftops, recover from awkward ragdolls, and approach collectibles from angles the level clearly expects you to discover. It also makes the Industrial Area far less frustrating when a normal route is blocked by enemies or moving hazards.
Its limitation is accuracy. The hook needs a convincing surface and can leave you swinging into another hazard if you fire without checking the landing path. Aim at solid architecture, not small props. Use it before you are critically injured, because a bad swing while bleeding can turn a recoverable mistake into a full-body wipeout.
Katana
The Katana is the best S-Tier melee weapon. It has the reach and cutting power to deal with isolated threats without forcing you into the tiny contact range of a Broom or Baseball Bat. More importantly, it lets you attack from the side and retreat before a crowd collapses on you. Don't mash directly into a group; circle, strike the nearest target, and keep an escape lane open.
The Katana loses value in busy streets where multiple enemies can interrupt your approach. That is when the Rocket Launcher or Shotgun should take over. Treat it as a precision tool, not a substitute for crowd control.
A-Tier gear for safer, more specialized runs
Shotgun
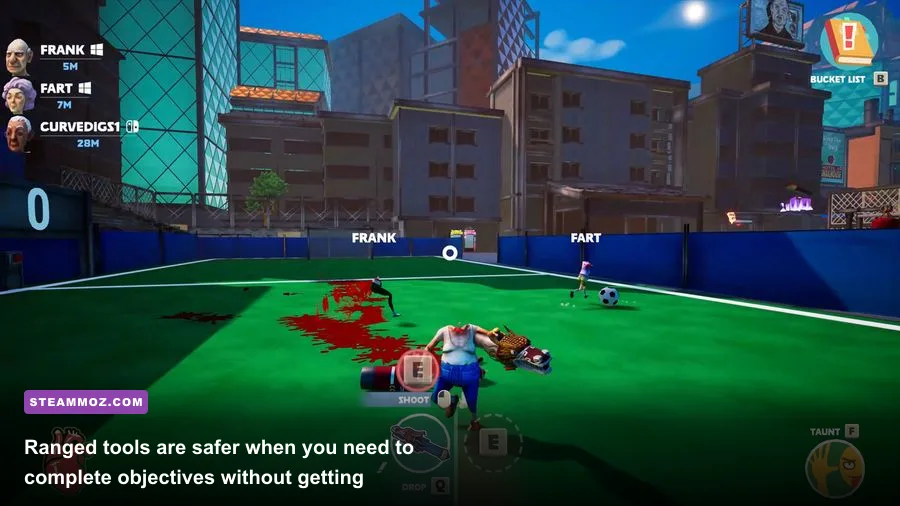
The Shotgun is the most forgiving firearm after the Rocket Launcher. Its spread covers mistakes, and a close-range blast can stagger or throw an enemy long enough for you to sprint away. It shines in interiors, especially when a doorway prevents enemies from surrounding you. The trade-off is range: damage and control fall off quickly, so firing down a long street is usually a waste.
Crossbow
The Crossbow earns A-Tier status through safe, deliberate damage. It is ideal for pulling one enemy away from a group or dealing with a dangerous target before you enter a puzzle area. Its slower cadence means every shot matters. Take a second to line up the shot, then relocate immediately; staying in the same spot invites a second enemy to close the gap.
Nail Gun
The Nail Gun is less explosive than the Crossbow but more comfortable for repeated ranged pressure. It works best when you can stand on a roof, behind a railing, or across a narrow gap. The weapon's value comes from keeping threats at a distance, not deleting them instantly. If an enemy survives, don't keep tunneling on it while another hazard approaches.
Flamethrower
The Flamethrower is superb in corridors and around clustered targets, but its damage-over-time behavior requires patience. Sweep across several enemies instead of holding the stream on one target. Fire, retreat, and let the burning effect do its job. It drops to B-Tier in areas with flammable scenery, cramped geometry, or poor visibility because accidental environmental damage can create a much bigger problem than the original enemy.
| Item | Tier | Strength | Biggest drawback |
|---|---|---|---|
| Shotgun | A | Reliable close-range stagger and spread | Weak at long range |
| Crossbow | A | Quiet, deliberate single-target pressure | Slow follow-up shots |
| Nail Gun | A | Safe repeated fire from cover | Needs distance and sustained aim |
| Flamethrower | A | Area denial and damage over time | Can make hazards and visibility worse |
B-Tier tools and when they suddenly become great

B-Tier does not mean useless. These tools are weaker in a blind loadout but can become excellent when a challenge, route, or environmental setup matches them.
Baseball Bat and Pitchfork
The Baseball Bat is a dependable knockback tool. Use it near walls, railings, and ledges where displacement matters more than raw damage. The Pitchfork has better thematic appeal and can interact aggressively with ragdoll bodies, but its narrow attack makes missed swings costly. Both are fine in the Retirement Home while learning routes; neither should be your only answer in a crowded Downtown encounter.
Taser
The Taser is strongest as a reset button. Stun a close threat, move past it, and resist the temptation to stand still for a second attack. It is especially helpful when an objective requires interaction with a nearby object and you need a brief window to press the prompt. Its limited reach and temporary effect keep it below the Shotgun.
Boomerang and traps
The Boomerang rewards open spaces but is awkward around corners and busy geometry. Bear Traps and Landmines are better than their tier suggests when you can pre-plan a route. Place them beside a doorway, lure an enemy through, then use the opening to grab the objective or escape. They are poor emergency equipment because deployment takes time and the game's physics can make placement unpredictable.
Our guide to equipment that isn't technically a weapon makes the same point: utility wins when the level itself becomes part of your attack.
Best loadouts for exploration, challenges, and survival
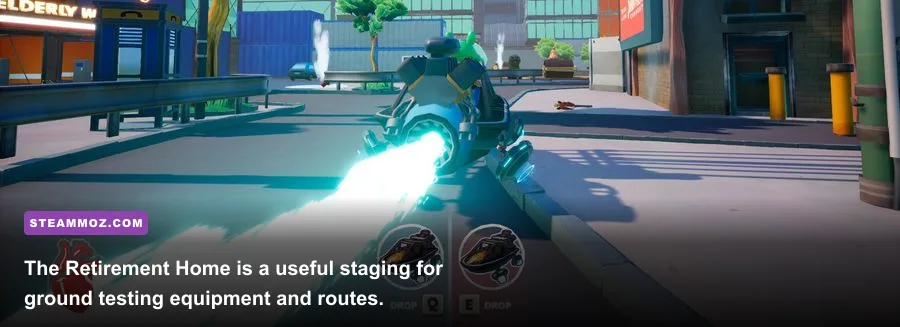
There is no permanent character build in Just Die Already, so your “build” is the three-tool combination you carry and the route you choose. Swap equipment at pickup points instead of forcing one favorite weapon through every objective.
| Loadout | Primary tool | Secondary tool | Best situation |
|---|---|---|---|
| Safe explorer | Rocket Launcher | Grappling Hook | Open streets, collectibles, crowded routes |
| Close-quarters survivor | Katana | Shotgun | Retirement Home interiors and narrow corridors |
| Ranged objective runner | Crossbow | Nail Gun | Pulling enemies apart before interacting with objects |
| Trap specialist | Bear Trap | Landmine | Defended doorways and repeatable enemy paths |
For general exploration, carry the Rocket Launcher and Grappling Hook, then use the third slot for the challenge at hand. For a melee-only objective, choose Katana over Baseball Bat unless the level has obvious ledges or walls. For ranged objectives, Crossbow is safer than Nail Gun when targets are isolated, while Nail Gun is better when several enemies approach through a predictable lane.
Performance and physics tips
Weapon behavior is tied to the game's physics, so stable performance matters. On PC, prioritize a steady frame rate over maximum visual effects when explosions and ragdolls fill the screen. If your system stutters during large encounters, lower shadows and effects first, then test the same weapon in the same area. Don't confuse a missed frame with a missed shot.
Our sharp graphics and maximum FPS settings guide covers the broader PC approach, while this stutter-fixing checklist is useful if background apps or unstable frame pacing are getting in the way.
The short version is simple: start with Rocket Launcher, add Grappling Hook for movement, and choose Katana or Shotgun based on the map. Use the Crossbow and Nail Gun when distance is safe, reserve traps for planned routes, and treat every B-Tier item as a situational tool rather than dead weight. In Just Die Already, the best equipment isn't always the one with the biggest blast; it's the tool that keeps your ancient troublemaker moving when the whole map wants to throw them into traffic.
For patch notes, platform information, and community updates, follow the official Steam listing, the DoubleMoose site, and the game's official Steam community hub.