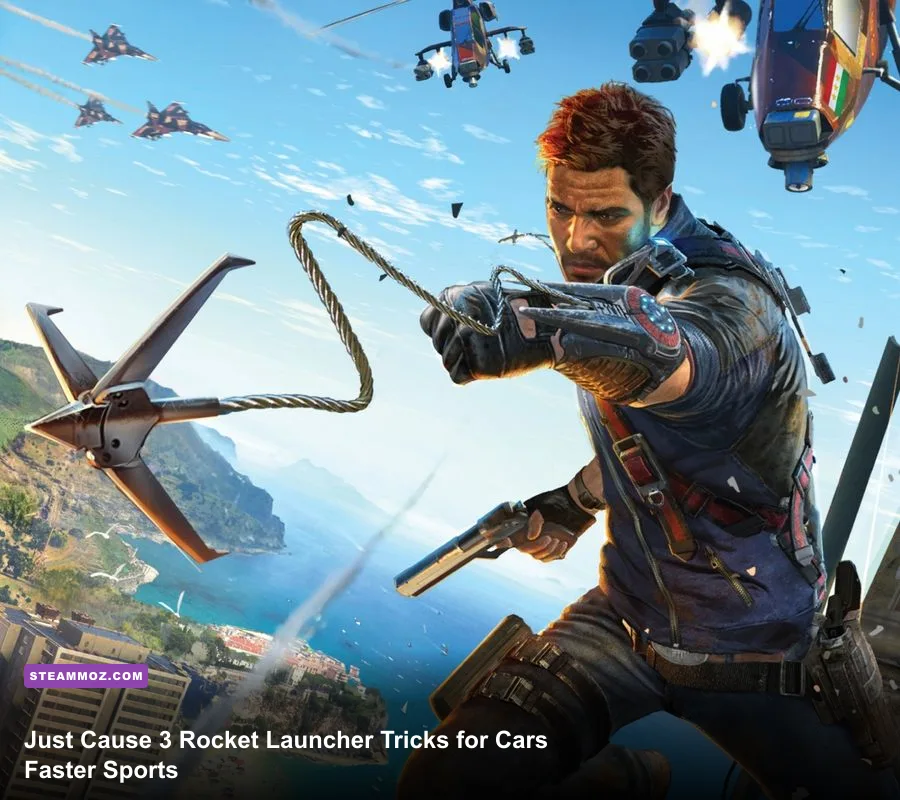
If you’re new to Just Cause 3, the rocket launcher and a fast sports car are your best tools for turning a clean getaway into a ridiculous stunt. Use the launcher to remove roadblocks, trigger fuel tanks, and create ramps; use the car’s nitrous, handbrake, and Rico Rodriguez’s grappling hook to control the launch instead of simply flooring the accelerator. These ten tips explain the timing, vehicle choices, Gear Mods, and common mistakes that make the combo work.
The game rewards improvisation more than perfect driving lines. That’s why these ideas still hold up whether you’re liberating a military base, escaping Di Ravello’s soldiers, or just trying to get a Mugello Furia airborne without landing upside down.

1. Choose the right sports car first

Not every fast car is equally useful. A low, stable sports car gives you speed but can become unpredictable after a rocket blast. The Mugello Furia is a strong beginner choice because it accelerates quickly, turns sharply, and feels controllable when you hit the handbrake. It’s better for roads, bridges, and city streets than rough mountain terrain.
Before experimenting, call the car through Rebel Drop rather than stealing one randomly. That gives you a repeatable starting point and lets you pair it with the weapons you actually want. You can read more about the game’s broader progression on the official Steam page for Just Cause 3.
| Vehicle choice | Best use | Why it works | Main warning |
|---|---|---|---|
| Mugello Furia | Road escapes and stunt jumps | Fast acceleration and responsive steering | Low clearance makes rough ground dangerous |
| Sports cars with rear-wheel-drive feel | Handbrake turns | Easy to rotate around tight corners | Throttle control matters after a spin |
| Armored or heavy vehicles | Base attacks | Survive more gunfire and explosions | Too heavy for clean grappling stunts |
🎮 Just Cause 3 - Rocket Launcher Sports Car
Looking to experience this game? Grab your digital key directly on our store for $0.59.
View on Steammoz Store →2. Unlock Nitrous Boost before chasing big stunts
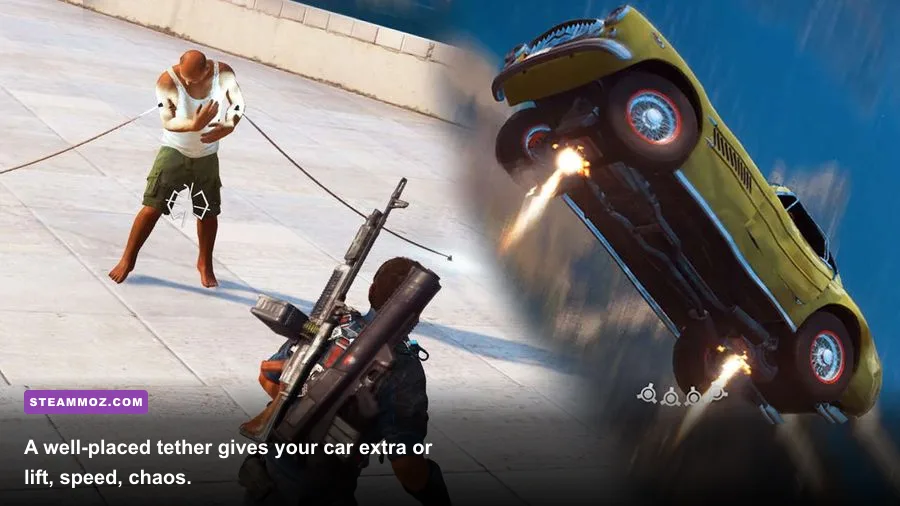
The Vehicle Gear Mods are the difference between a lucky jump and a repeatable one. Prioritize Nitrous Boost early. It gives a short acceleration burst, but the important detail is timing: activate it just before a ramp, not halfway through the approach. You want the boost carrying speed into the front wheels as the car leaves the ground.
Use the handbrake only for rotation. A quick tap makes the car pivot; holding it too long scrubs off speed and turns a clean jump into a sideways tumble. For a reliable launch, approach straight, hold the accelerator, tap nitrous at the ramp’s base, and release the handbrake before the front wheels lift.
Gear Mods are unlocked by completing challenges, so don’t ignore races and destruction activities. The same principle applies to the Grappling Hook, Parachute, and Wingsuit upgrades: each makes movement safer, but only if you practice the input before a high-pressure escape. Steamoz’s performance-settings guide is also useful if your system struggles during large explosions, where frame drops can make vehicle control feel much worse.
3. Treat the rocket launcher as a terrain tool
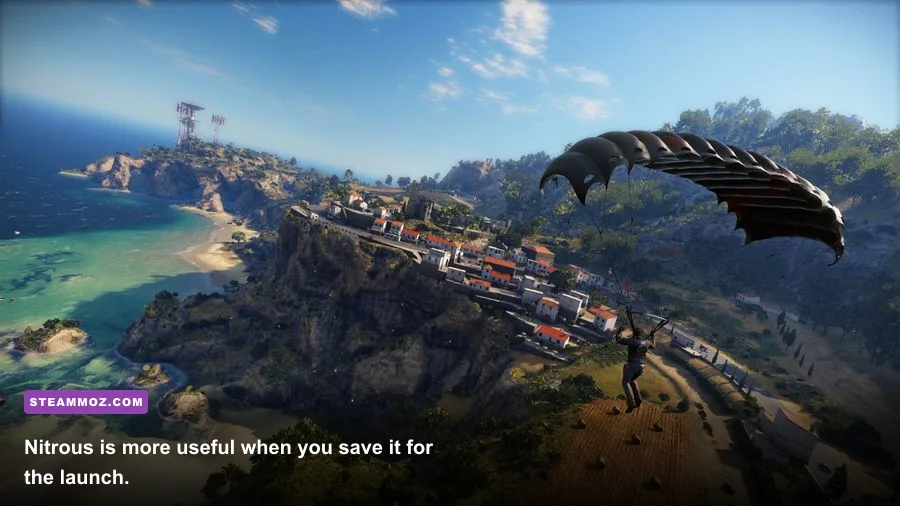
The rocket launcher is not just for shooting soldiers. Its real value is changing the space around your car. Fire at explosive barrels, fuel tanks, radar dishes, or roadblock vehicles to open a route before you arrive. This is safer than stopping in front of a checkpoint and trying to shoot while surrounded.
Keep the crosshair away from your own hood. The projectile’s explosion can damage or flip your vehicle, especially when fired from a low sports car. The safest angle is from the driver’s side window while moving past the target. Fire, steer away, and let the blast happen behind you.
For base liberation, use rockets on fixed military hardware first. Chaos objects such as transformers, propaganda speakers, and radar installations are easier to destroy with explosives than with machine-gun fire. Save several shots for the exit route. A cleared road is more valuable than one extra destroyed turret when you’re carrying a wanted level.
| Target | Rocket timing | Driving response | Reason |
|---|---|---|---|
| Fuel tank | Fire while passing its side | Keep accelerating away | Creates a large blast behind the car |
| Roadblock vehicle | Shoot before reaching the blockade | Use the opening immediately | Prevents a full stop and ambush |
| Radar dish | Fire from medium distance | Turn onto the next road | Reduces lock-on pressure and chaos delay |
| Armored enemy | Use rockets only when exposed | Break line of sight after firing | Stops return fire from pinning you down |
4. Master the three-tether sports-car launch
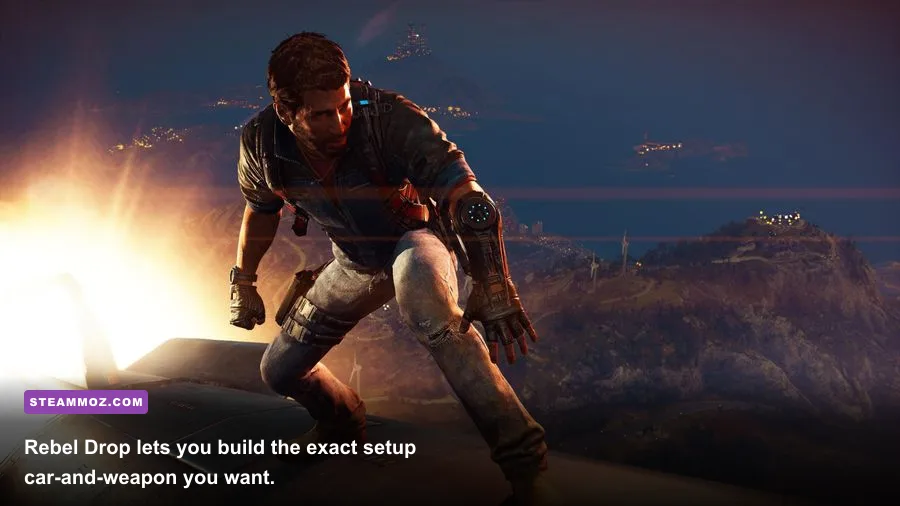
Rico’s grappling hook is the secret weapon in this entire setup. Fire one tether from the car’s front bumper to a fixed object, then attach a second tether from the rear or side to a different anchor. Retract one line while slackening the other. This lets you rotate the car without relying entirely on the handbrake.
For a simple ramp effect, tether the front of the car to a low wall or roadside barrier, then drive forward while retracting. The cable pulls the nose upward. Release the tether as the front wheels climb, activate nitrous, and the car can clear obstacles that would normally stop it. Don’t try this beside civilians or explosive props until you’re comfortable; the car may swing sideways into traffic.
The rocket launcher adds another option. Tether the car to a sturdy object, exit, fire a rocket at a nearby explosive target, and re-enter as the blast clears the route. It sounds slower than driving through, but it’s much safer at a base entrance because Rico isn’t trapped in the car when the first explosion lands.
5. Fire rockets from cover, not from the driver’s seat

New players often keep firing while driving, then wonder why the car flips or why Rico gets thrown into enemy fire. The launcher is most accurate when Rico is standing still, and the best way to exploit that is to use the sports car as temporary cover. Stop behind the engine block, lean out, fire one or two rockets, then move.
This matters against military helicopters and armored response vehicles. A sports car won’t protect you forever, but it can block small-arms fire long enough to destroy the immediate threat. After firing, grapple to the roof or dive into the driver’s seat rather than running in a straight line.
If the car catches fire, leave instantly. The visual flames are not cosmetic; the vehicle is about to become another explosion. Grapple to a nearby roof, deploy the parachute, and call a replacement through Rebel Drop once the area cools down.
6. Use the handbrake to control rocket shockwaves
Explosions can push a sports car in ways normal traction can’t correct. The handbrake gives you a fast way to rotate the vehicle into the direction of the blast. If a rocket detonates on the passenger side, tap the handbrake and steer into the push rather than fighting it with full throttle.
There’s a useful rhythm here: accelerate into the approach, release the throttle at the instant of impact, tap the handbrake, then accelerate again once the car is facing the escape route. Holding the accelerator during the blast makes the front wheels spin while the chassis slides, which is why beginners often drift straight into a wall.
7. Pick safe places to practice
Practice away from missions and civilians. The open roads around Insula Fonte are ideal for learning handbrake turns, while the wider countryside around Insula Dracon gives you room to test grapples and parachute recoveries. Avoid practicing beside fuel depots until you understand blast radius and vehicle damage.
Disable or liberate a small outpost first, then use its cleared yard as a test arena. That gives you explosive props, walls, and ramps without an immediate stream of armored reinforcements. If you want a broader approach to planning a run, Steamoz’s survival-run tips cover the same useful habit: establish a safe fallback before you start spending resources.
8. Build the right weapon and vehicle loadout
Use Rebel Drop to combine a rocket launcher with a weapon that handles close targets. The launcher is excellent against vehicles and structures, but its reload and ammunition limits make it a poor answer to every soldier. Pair it with an assault rifle or shotgun, then keep a grenade or C4 option available for clustered enemies.
| Loadout element | Recommended choice | Best situation | Why |
|---|---|---|---|
| Explosive weapon | Rocket launcher | Roadblocks, vehicles, structures | Instantly changes the battlefield |
| Primary firearm | Assault rifle | Infantry and exposed gunners | Reliable at medium range |
| Vehicle Mod | Nitrous Boost | Escapes and jumps | Converts stored speed into distance |
| Traversal tool | Grappling Hook | Recovery and repositioning | Prevents a failed stunt from becoming a death |
9. Don’t waste ammo on every police response
Wanted pressure escalates quickly when you destroy military assets, but not every response needs a rocket. Use the launcher on the first armored vehicle or helicopter that blocks your route; use speed and line-of-sight breaks against ordinary patrol cars. Driving under bridges, through tunnels, and around dense city blocks can interrupt pursuit more efficiently than shooting everything behind you.
Once the alert begins fading, stop firing. Continued explosions refresh the danger and keep reinforcements arriving. This is where the sports car earns its place: leave the fight, create distance, and return later with a fresh Rebel Drop instead of turning every chase into a war.
10. Turn liberation into your best training mode
Every liberated settlement teaches a different part of the combo. Use a roadside town to practice explosive targets, a military base to practice cover and escape routes, and a bridge or mountain road to practice nitrous launches. Before starting, identify one safe landing zone and one alternate route.
Track what went wrong after each attempt. If the car flips, your launch angle or handbrake timing was probably the issue. If you lose the car before the jump, you fired too close to the hood. If the escape fails, you probably spent rockets on minor targets instead of clearing the route. That small post-run diagnosis improves your results faster than blindly repeating the same stunt.
For more game-specific progression advice, compare the approach with Steamoz’s beginner-build breakdown and its PC performance troubleshooting guide. On the official side, Avalanche Studios’ Just Cause 3 game page remains the best reference for the developers’ sandbox design, while the Square Enix game listing provides official publisher information.
The winning formula is simple: choose a controllable sports car, unlock Nitrous Boost, clear the route with the rocket launcher, and keep the grappling hook ready for every mistake. Just Cause 3 becomes much easier once you stop treating explosions as hazards and start using them as movement tools. The best stunt isn’t the biggest one—it’s the one you can set up, survive, and repeat.