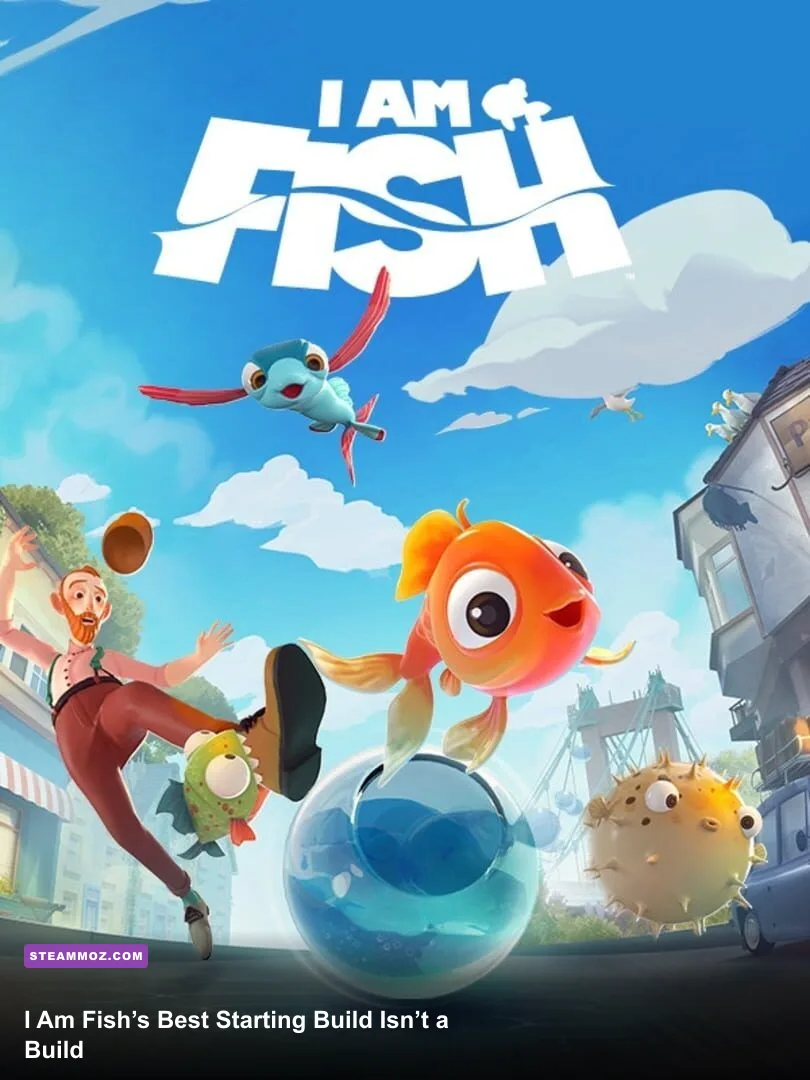
The best I Am Fish starting build for beginners is a movement-first route: master the Goldfish, learn momentum control, then apply the same survival habits to the Pufferfish, Flying Fish, and Piranha. There are no upgrade trees, weapons, armor sets, skill points, or stat allocations in Bossa Studios’ chaotic adventure. Your “build” is really a character order, control setup, and ability strategy. Start with the Goldfish, keep the camera predictable, protect your container, and treat every checkpoint as a practice lab rather than a finish line.
That distinction matters. Searching for an RPG-style build in I Am Fish can send a new player toward completely invented advice about health stats or unlockable perks. The game does not work that way. It gives four fish different movement identities and asks you to survive physics-heavy routes through Barnardshire after the friends are separated. Your progression is measured by better decisions, cleaner landings, and fewer frantic inputs—not bigger numbers on a character sheet.
If you want a quick technical reference before starting, the official Steam page for I Am Fish is the right place to confirm the platform version and current store details. For broader PC optimization ideas, our guides to settings that maximize FPS and reading PC requirements correctly are useful companions.
The Best Beginner Build Is a Character Order
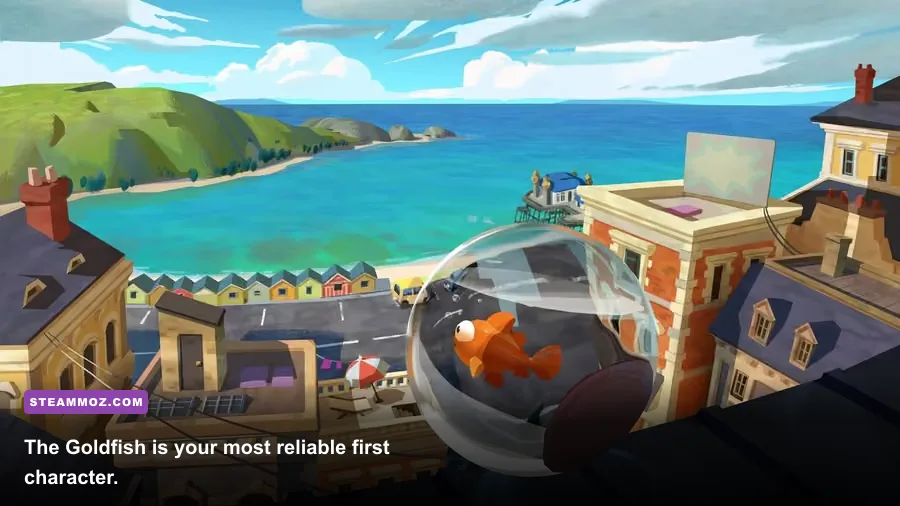
Think of the campaign as four movement courses rather than four classes. The Goldfish teaches rolling, swimming, balance, and container awareness. The Pufferfish introduces inflation and burst movement. The Flying Fish asks you to combine swimming with short airborne glides. The Piranha is the most aggressive of the group, using its bite to interact with certain barriers and objects.
You don’t freely choose a permanent loadout at the start of every level. The game places you in the fish and environment designed for that chapter. That means the strongest beginner plan is to build habits in the order the campaign presents them. Don’t restart because your fish feels slow or awkward; the awkwardness is the lesson. A route that looks impossible with the Goldfish usually becomes readable once you understand how momentum carries through slopes, water, glass, and drops.
| Fish | Core ability | Beginner strength | Main danger |
|---|---|---|---|
| Goldfish | Swimming and container movement | Best teacher for momentum and camera control | Glass containers can break after hard impacts |
| Pufferfish | Inflation for movement and interaction | Can create space and reach awkward areas | Overcorrecting sends the fish into hazards |
| Flying Fish | Swimming combined with gliding | Can cross gaps that punish ground movement | Bad landings waste height and positioning |
| Piranha | Biting and swimming | More direct interaction with environmental objects | Attacking at the wrong angle ruins your line |
Why the Goldfish belongs at the center of your plan
The Goldfish is not necessarily the easiest fish in every individual section, but it teaches the game’s most transferable skill: preserving momentum. Whether you’re rolling a bowl down a road, swimming through a narrow channel, or pushing through a precarious transition, the goal is rarely to move as fast as possible. The goal is to arrive with enough control to stop.
That’s the beginner “stat priority”: control first, speed second. Hold inputs in short taps instead of leaning constantly in one direction. Let the container settle before committing to the next slope. If the camera swings around a corner, stop moving for a moment and re-center your view. This sounds cautious, but I Am Fish punishes panic far more harshly than hesitation.

🎮 I Am Fish
Looking to experience this game? Grab your digital key directly on our store for $3.99.
View on Steammoz Store →Goldfish Setup and Movement Routine
Your first practical setup should be simple. Use a controller if analog movement feels more natural, or lower mouse sensitivity until camera corrections stop feeling twitchy. Keep vibration on if you like physical feedback when the bowl hits a surface, but turn it off if the rumble makes you overreact. There’s no magical sensitivity number because controller sticks, mouse DPI, and display settings vary, so the correct test is a repeatable one: you should be able to turn, stop, and look behind the fish without losing your line.
Before each dangerous section, identify three points: the launch surface, the landing surface, and the reset point. The launch surface is where momentum begins. The landing surface is where you expect to regain control. The reset point is the nearest safe area or checkpoint if the attempt goes wrong. This mental map prevents the classic beginner mistake of improvising after the bowl is already airborne.
The Goldfish rotation
Here’s the movement loop that works across the early campaign:
- Scout. Rotate the camera while stationary. Look for slopes, rails, water entrances, breakable objects, and narrow openings.
- Build a small amount of momentum. Don’t start with a full-speed charge unless the route clearly demands it.
- Release early. Your container continues carrying momentum after you stop pushing, so braking begins before the landing.
- Correct in small taps. Long holds create wide, unpredictable swings. Short inputs keep the bowl aligned.
- Stabilize before interacting. If a prompt, ramp, or opening requires a precise angle, settle first instead of forcing it.
The most important hidden mechanic is momentum retention. A downhill roll can make a later turn much harder than it looks, while a gentle approach gives you time to rotate the bowl into position. If you repeatedly miss the same landing, don’t simply try faster. Approach slower, change the launch angle, or wait for the container to stop rocking.
| Situation | What beginners usually do | Better response | Why it works |
|---|---|---|---|
| Steep downhill slope | Hold forward continuously | Use brief taps, then release before the turn | Preserves turning control |
| Narrow ledge | Correct constantly | Make one alignment input and wait | Stops oscillation and oversteer |
| High drop | Commit immediately | Check the landing angle and reduce speed | Limits impact and container damage |
| Water transition | Keep rolling as long as possible | Enter with the bowl centered | Avoids awkward camera and physics changes |
Container damage is also part of the route strategy. A glass bowl may survive a small bump but fail after a chain of impacts. When you reach a safe area, stop treating the next obstacle as a speedrun. Give the physics a clean reset. The few seconds you spend lining up are cheaper than replaying a long section.
Pufferfish, Flying Fish, and Piranha Builds
Once the campaign moves beyond the Goldfish, don’t abandon the beginner plan—translate it. Each fish has a different tool, but the same rotation still applies: scout, commit, release, correct, stabilize. The ability changes the shape of the route; it doesn’t remove the need for timing.
Pufferfish: use inflation as a controlled pulse
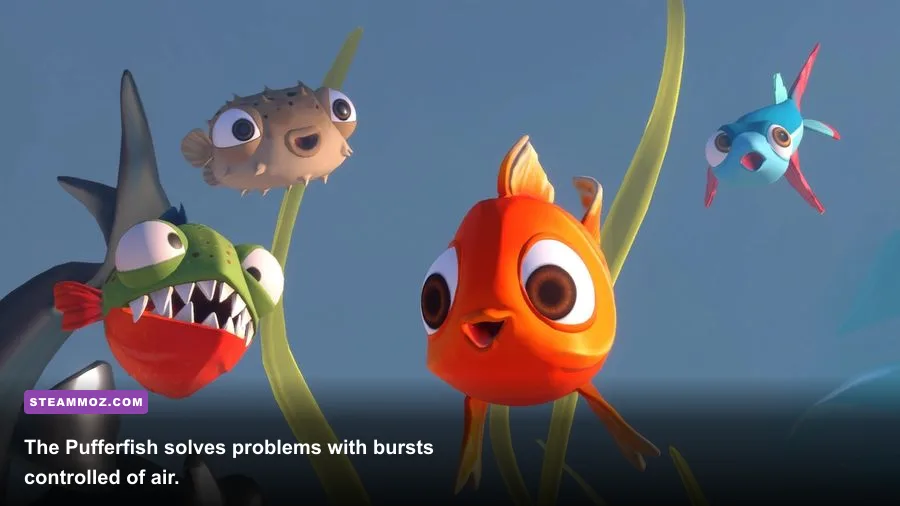
The Pufferfish’s defining trick is inflation. New players often treat it like a permanent speed button, holding the ability whenever they feel stuck. That usually creates the opposite result: the fish expands at the wrong moment, clips a hazard, or launches away from the intended line.
Use inflation in short, deliberate bursts. First place the Pufferfish near the direction you want to travel. Then activate the ability when the surrounding space is clear, and immediately prepare for the landing rather than staring at the burst itself. Inflation is most valuable when it changes your position, clears a small gap, or helps you interact with an object. It is less useful when you’re already moving too quickly to aim.
Flying Fish: spend height like a limited resource
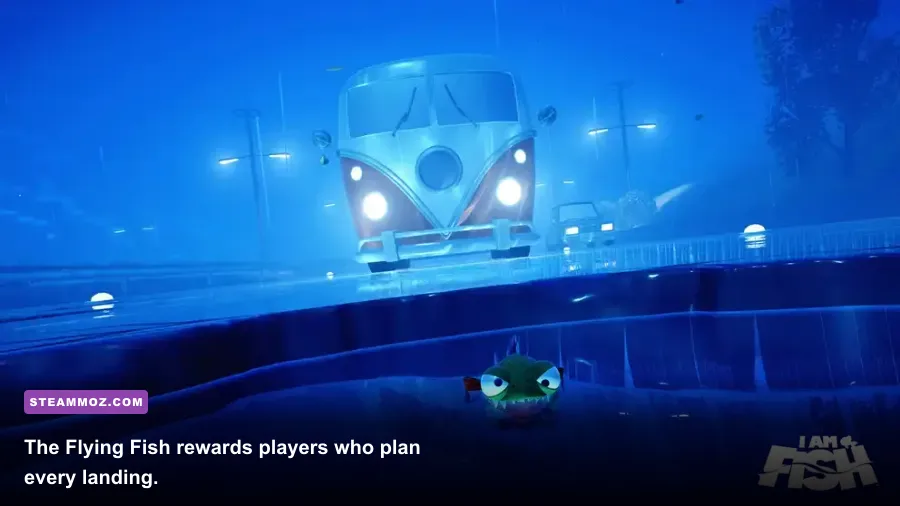
The Flying Fish rewards route planning more than reflexes. Its glide can bypass ground hazards and cross gaps, but every jump has a cost: once you lose altitude or land badly, you may not have enough space to recover. Treat height as a resource. Don’t glide simply because you can.
Swim into a jump with a clean angle, then use the glide to extend the route toward a clearly identified landing. Aim for broad surfaces first. Narrow ledges are tempting, but a safe platform lets you reorient the camera and prepare the next launch. If you miss, resist the urge to spam movement. A calm correction can turn a bad descent into a survivable landing.
Piranha: bite only when the route demands it
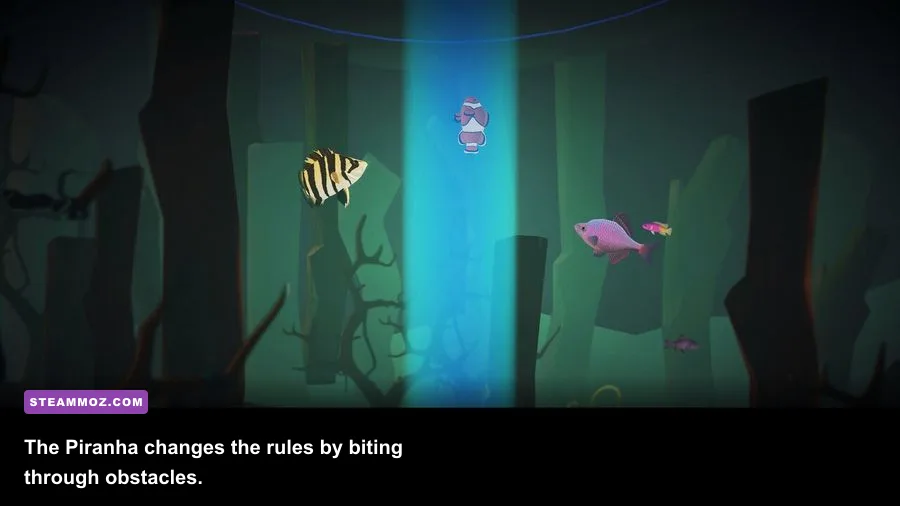
The Piranha feels more active because biting gives it a direct way to interact with parts of the environment. That doesn’t make it a combat build. There’s no damage rotation to memorize and no enemy stat chart to exploit. The bite is a movement and puzzle tool, so use it to open or manipulate the intended obstacle, then return to positioning.
Approach interactable objects from a stable angle. If you bite while drifting past, the fish can end up facing away from the next section. Think of the action as a door handle, not a melee attack: line up, interact, pause, and reassess the newly opened route.
| Chapter tool | Best use | Beginner mistake | Correction |
|---|---|---|---|
| Goldfish movement | Building and preserving a controllable line | Maximum speed everywhere | Release earlier and brake before turns |
| Pufferfish inflation | Short repositioning bursts and gap solutions | Holding the ability continuously | Pulse only in open space |
| Flying Fish glide | Crossing gaps and bypassing ground hazards | Gliding without a landing plan | Choose the landing before takeoff |
| Piranha bite | Environmental interaction | Biting while drifting past an object | Stop, align, interact, then re-scout |
How to Read Hazards and Checkpoints
I Am Fish is less about enemy telegraphs and more about environmental telegraphs. The game rarely gives you a traditional boss encounter with phases, cooldowns, or attack patterns. Instead, danger announces itself through narrow geometry, moving traffic, drops, water currents, fragile surfaces, and objects that turn a clean line into a physics disaster.
Look for visual clues before moving. A sloped surface tells you acceleration is coming. A narrow gap tells you the camera must be positioned before entry. A high ledge suggests you should slow down before the drop, not after it. Water often changes how quickly you can correct, so enter with the fish or container already pointed toward the exit whenever possible.
Use checkpoints as laboratories
When a checkpoint appears, deliberately test the next hazard once. Learn how much momentum the surface gives you, where the camera catches, and which collision ends the attempt. Then reset your approach. This is faster than treating every failure as a mystery.
Don’t restart the entire level after one mistake unless your position is genuinely unrecoverable. Many sections are designed around recovery. A fish can land awkwardly and still continue; a damaged container can sometimes reach safety. Beginners lose more time by abandoning imperfect attempts than by learning to rescue them.
| Hazard type | Telegraph | Safe response | Recovery priority |
|---|---|---|---|
| Moving traffic or machinery | Repeating motion or audible cycle | Watch one full cycle before crossing | High: wait for a predictable opening |
| Fragile container sections | Hard surfaces and steep drops | Reduce speed and avoid side impacts | Very high: protect the container first |
| Narrow platform | Little room on either side | Center the camera before entry | Medium: stabilize before the next input |
| Water current | Visible flow and forced direction | Enter aligned with the exit | High: avoid fighting the current at an angle |
For a useful comparison, the discipline here is similar to the reset mindset in our Bounty Train survival tips: protect the run you have instead of chasing a flashy play that can erase ten minutes of progress. I Am Fish is gentler than a roguelike, but the mental habit transfers perfectly.
Best PC Settings for a Stable Beginner Run

A stable image matters in a physics platformer because small visual delays make landings feel inconsistent. You don’t need an expensive rig to play I Am Fish, but you do want consistent frame pacing. Start at 1080p if your system handles it, then lower resolution or heavy effects before sacrificing control responsiveness.
The official Bossa Studios game page is the best developer source for the title, while the official Steam Community hub can help you check version-specific reports. Avoid blindly copying ultra settings from screenshots: reflections and shadows can cost performance without improving your ability to read a route.
| Setting | Recommended beginner value | FPS impact | Visual note |
|---|---|---|---|
| Resolution | Native 1080p, or 900p on weaker hardware | High | Keep native resolution if frame pacing is stable |
| Textures | High if VRAM allows; Medium otherwise | Low to medium | Mostly affects surface detail |
| Shadows | Medium | Medium to high | Lower values improve consistency near busy scenes |
| Effects | Medium | Medium | Preserves water and environmental readability |
| Anti-aliasing | Medium or the default stable option | Low to medium | Reduce only if GPU load is high |
| Frame limit | Match your monitor’s stable refresh target | Can improve pacing | A locked 60 FPS is better than unstable peaks |
Cap the frame rate at a value your PC can hold during the busiest outdoor sections. A locked 60 FPS generally feels better than bouncing between 45 and 90, especially when you’re making tiny corrections on a ledge. If you still see stutter, close overlays, update your graphics driver, and test fullscreen versus borderless mode. Our PC fixes for crashes and low FPS cover the same basic troubleshooting workflow.
The Beginner Build Checklist That Actually Works
Before launching a new section, run through this compact checklist. It sounds basic, but it turns the game’s messy physics into a repeatable routine:
- Know the fish. Goldfish means momentum, Pufferfish means controlled inflation, Flying Fish means altitude, and Piranha means precise interaction.
- Scout while stationary. Find the next safe surface before the camera and fish are already moving.
- Choose control over speed. Short inputs and early releases are more valuable than constant acceleration.
- Protect the container. Avoid hard side impacts, especially after a long downhill roll.
- Use abilities once per problem. Don’t spam inflation, glide without a landing, or bite while misaligned.
- Practice one transition. If a jump fails, change the launch angle or speed instead of repeating the same attempt.
- Keep settings stable. Consistent frame pacing makes physics timing much easier to read.
The biggest beginner trap is assuming every failure means you need a faster reaction. Usually, the failure happened two seconds earlier: you entered the slope too quickly, aimed before the camera settled, or used an ability without a landing plan. Fix the setup and the final correction becomes easy.
There’s also a useful emotional trick here. I Am Fish wants you to laugh at spectacular failures, but it rewards calm repetition. Let the first attempt reveal the route. Let the second attempt test one adjustment. By the third, you’ll often have a clean line. That loop is the closest thing the game has to progression, and it’s far more satisfying than a fictional skill tree would be.
So, if you’re looking for the best starting build, choose the Goldfish mindset: controlled momentum, cautious scouting, and deliberate ability use. Master that foundation, and the Pufferfish, Flying Fish, and Piranha stop feeling like random difficulty spikes. They become variations on a route-reading skill you’ve already built.