To fix GTA 6 crashing on PC, start with a clean GPU-driver installation, remove overclocks, verify the game files, and use conservative graphics settings. However, Rockstar has not officially announced a PC version, PC system requirements, or a PC launch date for Grand Theft Auto VI. The official release information currently lists PlayStation 5 and Xbox Series X|S. That means any current “GTA 6 PC crash fix” claiming confirmed settings, files, or launch commands is speculation. The steps below are a safe preparation checklist for the eventual PC release and a troubleshooting guide for genuine Rockstar PC builds when they become available.
Do not download unofficial GTA 6 PC executables, cracked launchers, “performance patches,” or DLL files. They are not legitimate fixes and can contain malware, steal Rockstar Games account credentials, or damage Windows. Bookmark the official GTA VI page and check Rockstar Support for verified PC information.
Confirm the GTA 6 PC Version First
Before changing Windows files, confirm that your copy comes from an official source. GTA 6 currently has no confirmed Steam, Epic Games Store, or Rockstar Games Launcher PC listing. If a website offers a “GTA 6 PC beta,” it is not an official retail build. Avoid entering your Social Club or Rockstar Games login on third-party pages.
When Rockstar publishes PC requirements, compare your hardware against four numbers: CPU model, GPU model, system RAM, and available SSD space. Pay particular attention to video memory. A modern open-world game can crash when texture streaming exhausts VRAM, even if average frame rate looks acceptable. A six-core processor, 16 GB of RAM, and an SSD may become a practical baseline, but those are not GTA 6 requirements and should not be treated as confirmed specifications.
Also check whether your operating system is supported. Windows 11 64-bit is the most likely target for a new PC release, while outdated Windows 10 installations may lack current DirectX, security, and driver components. Use Steamoz's open-world optimization guide for general streaming and storage preparation, but do not apply Steam Deck-specific settings to a desktop without testing them.
Clean-Install Your Graphics Driver
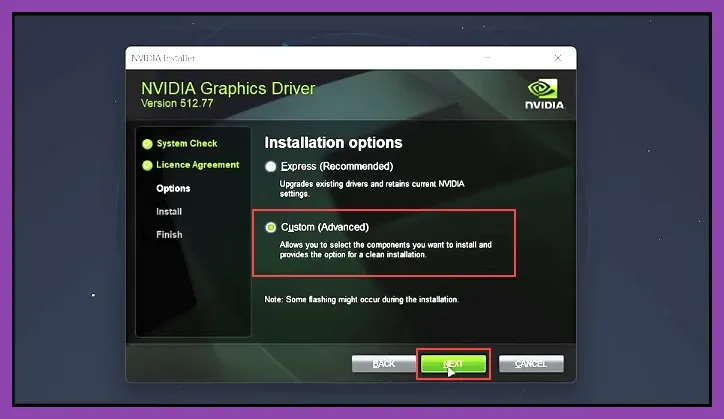
A corrupted or conflicting driver is the first software issue to eliminate after a crash. Download the latest stable driver directly from NVIDIA or AMD Support. Do not rely on a random driver mirror.
- Download the current WHQL driver for your exact GPU.
- Disconnect from the internet temporarily if Windows repeatedly replaces drivers automatically.
- Use Display Driver Uninstaller in Windows Safe Mode if a normal installation does not solve the crash.
- Install only the graphics driver and essential components. Skip overlays, recording tools, and optional beta features during testing.
- Restart Windows, reconnect to the internet, and test the game before reinstalling tuning utilities.
Disable overlays one at a time: Discord, Xbox Game Bar, NVIDIA App or GeForce Experience, AMD Adrenalin overlay, MSI Afterburner, RivaTuner Statistics Server, and RGB monitoring software. These tools hook into the rendering pipeline and can cause a crash during shader compilation or rapid area streaming. Once the game is stable, re-enable them individually.
Return every GPU setting to stock. Remove undervolts, overclocks, custom fan curves, and aggressive memory timings. A profile that is stable in Cyberpunk 2077 or Red Dead Redemption 2 can still fail under a different shader workload.
Repair Files and Reset Configuration Data
If the official PC build uses Rockstar Games Launcher, Steam, or Epic Games Store, use that platform's repair or verification command before deleting anything manually. Verification replaces missing or damaged files while preserving the installation. If Rockstar provides a launcher repair option, run it with the launcher closed and then restart Windows.
Do not download replacement DLL files from search results. Missing files such as DirectX or Microsoft Visual C++ components should be repaired using official installers from Microsoft's Visual C++ downloads page and the official DirectX runtime documentation.
After backing up save data, reset the game's configuration folder if Rockstar Support identifies its location. A damaged configuration can force an invalid resolution, unsupported ray-tracing mode, or broken shader cache before the main menu appears. Rename the folder rather than deleting it. This preserves a rollback copy and lets the game generate clean settings at the next launch.
Launch once with cloud saves disabled only if corrupted configuration or save synchronization is suspected. Do not repeatedly overwrite cloud data while troubleshooting. If the crash happens after loading one particular save but not a new game, preserve that save and report it to Rockstar instead of repeatedly forcing the load.
Use a Safe GTA 6 Graphics Profile
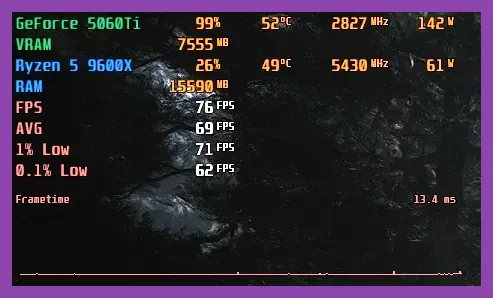
Because Rockstar has not published GTA 6 PC graphics options, the following is a starting profile, not confirmed game data. Apply it only after the PC version exists and exposes equivalent settings.
- Display mode: Borderless windowed.
- Resolution: Native monitor resolution, reduced to 1920×1080 for diagnosis.
- Textures: High only when available VRAM remains comfortably below the GPU limit; otherwise Medium.
- Shadows: Medium.
- Reflections: Medium.
- Volumetrics and water: Medium or Low during stability testing.
- Ray tracing: Off.
- Upscaling: DLSS or FSR Quality, if supported; disable frame generation initially.
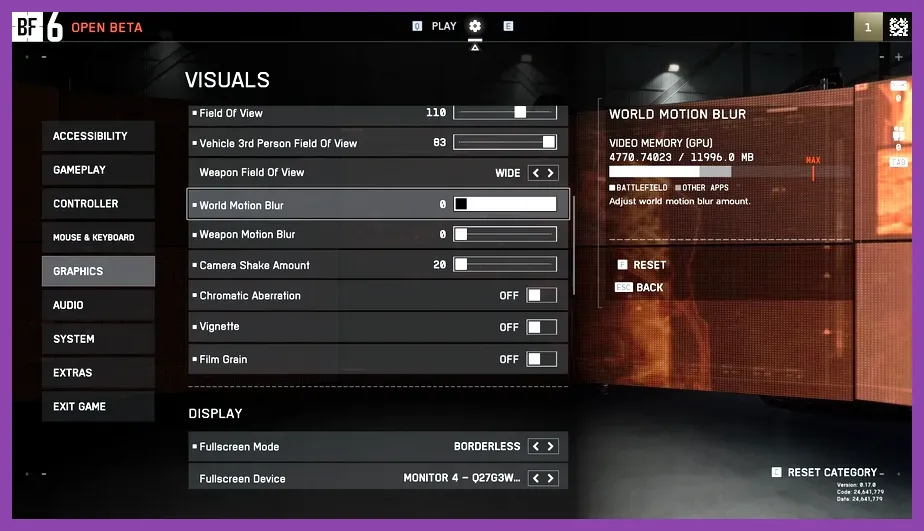
- Motion blur: Off.
- VSync: On for the first test, then adjust after stability is confirmed.
- Frame limit: 60 FPS.
Restart the game after major changes. Lowering every option at once hides the setting that caused the failure, so test in groups: ray tracing and frame generation first, then reflections and volumetrics, then textures. If crashes stop after reducing textures, monitor VRAM rather than immediately raising other settings. For broader low-end optimization principles, see this Steamoz PC optimization guide.
Check Heat, Memory, and Windows Stability
Crashes that occur after 10 to 30 minutes often indicate heat, unstable memory, or power delivery rather than a damaged game file. Monitor GPU temperature, hotspot temperature, CPU temperature, VRAM usage, RAM usage, and clock speeds with a non-injected hardware monitor. Stop testing if the GPU reaches its manufacturer's thermal limit or the CPU repeatedly throttles.
Temporarily disable XMP or EXPO in the motherboard firmware if the game crashes with an “out of memory,” “device removed,” or graphics-driver timeout error. Memory profiles can be stable in normal desktop use but fail under sustained open-world asset streaming. Run Windows Memory Diagnostic or MemTest86 before blaming the game.
Install the game on an SSD with at least the officially required free space plus additional room for updates. Keep the Windows page file system-managed on the SSD. Do not use aggressive cleanup tools that delete shader caches while the game is running. If the drive reports errors, replace it or repair the installation before further testing.
Finally, record the exact crash pattern: mission or location, time before failure, resolution, graphics preset, driver version, GPU temperature, and whether an error code appears. Submit that information through Rockstar's technical support channel. Include crash logs only through the official ticket process.
Use a Controlled Testing Order
- Verify that the PC build is official and fully patched.
- Update Windows and install a clean WHQL GPU driver.
- Return CPU, GPU, and RAM settings to stock.
- Disable all overlays and background capture software.
- Verify game files and regenerate configuration data.
- Use 1080p, Medium settings, ray tracing Off, Quality upscaling, and a 60 FPS cap.
- Test for 20 to 30 minutes in the same area before changing one setting.
If GTA 6 still crashes after this sequence, avoid registry cleaners, unofficial launch arguments, and DLL downloads. Preserve logs and submit a detailed report. Rockstar's eventual PC support documentation will be more reliable than pre-release fixes, while Steamoz's troubleshooting coverage can help with general performance monitoring rather than GTA 6-specific requirements.