The fastest Gundam Breaker 4 leveling and gold farming route is simple: push Story until repeatable higher-difficulty missions unlock, build a fast area-damage Gunpla, dismantle or sell low-value drops in batches, and spend GP on targeted synthesis instead of upgrading every shiny part. The biggest mistake is farming the first mission that feels easy. Your real profit comes from the best stage you can clear quickly without burning through recovery items or restarting after a failed boss fight.
This guide focuses on the practical loop: unlock the next difficulty, make your build efficient, target high-density missions, and convert the enormous pile of duplicate Gunpla parts into useful power. The advice applies to solo play and online co-op, with a special emphasis on keeping clear times low rather than chasing theoretical maximum damage.
Before farming seriously, check the game's official Steam page for platform updates and controller notes. Gundam Breaker 4 is built around experimentation, so your best route will change as new mission tiers and better parts become available.

What actually gives you levels and GP fastest

Gundam Breaker 4 doesn't reward every activity equally. Story missions are best for opening the progression ladder, while repeatable Quest missions become the better farming target once their enemy level and reward quality catch up with your Gunpla. A mission's headline reward matters, but so do enemy density, boss downtime, loading time, and how many parts you can collect before returning to the hub.
There are three resources to track. Your progression level determines which content you can comfortably enter. GP is the money used for purchases and upgrades. Parts and materials are the long-term economy: duplicates feed synthesis, while unwanted equipment can be sold or dismantled depending on the menu options available in your current progression state.
Don't confuse a higher item level with a better part. A fresh drop can have a larger base number, while an older part may carry a more useful EX Action, Option Skill, passive ability, or weapon trait. Keep anything that supports your build, then liquidate genuine duplicates after locking favourites.
| Activity | Best use | GP value | When to move on |
|---|---|---|---|
| Story missions | Unlocking systems and difficulties | Low to moderate | Once the next repeatable tier opens |
| Quest missions | Repeatable parts, XP, and GP | Moderate to high | When a harder stage is faster per minute |
| Online co-op | Fast clears and safer boss fights | High if the lobby is coordinated | When matchmaking downtime exceeds solo time |
| Free experimentation | Testing builds and collecting visuals | Poor | Use it only for practice or fun |
The most important measurement is GP per minute, not GP per mission. A four-minute clear that pays 8,000 GP beats a ten-minute clear that pays 14,000 GP. Record three runs, include menu and loading time, and use the faster route unless the slower mission drops dramatically better parts.
🎮 GUNDAM BREAKER 4
Looking to experience this game? Grab your digital key directly on our store for $19.79.
View on Steammoz Store →Build a farming Gunpla before chasing rare drops
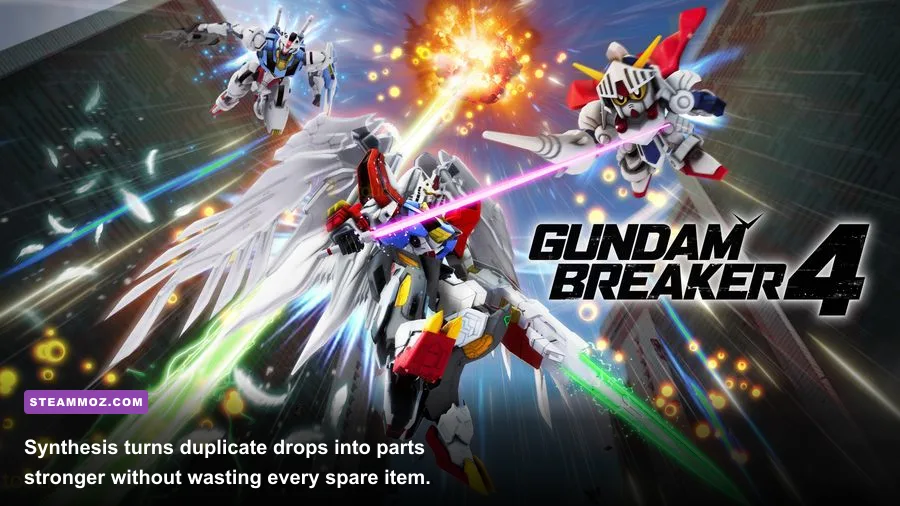
A farming build should kill groups quickly, stagger large targets, and stay mobile during boss attacks. It doesn't need to be your prettiest Gunpla. Make a separate loadout and name it something obvious, such as “GP Farm,” so you don't accidentally dismantle the parts powering it.
Prioritize clear speed over cosmetic perfection
Start with weapons that let you attack several targets without standing directly in front of them. Large melee weapons can hit brutally hard, but their recovery animations punish missed swings. Dual blades, firearms, and other quick weapons are generally easier for repeated missions because they let you cancel pressure, reposition, and keep attacking while a boss is changing phases.
Use one dependable ranged or area option to open encounters, then switch to melee when enemies are staggered. Your EX Actions should cover three jobs: a group opener, a single-target damage tool, and an emergency defensive or mobility option. Option Skills fill gaps between EX cooldowns, while Burst Actions are best saved for elite groups or bosses rather than fired on the first grunt wave.
Part levels matter, but skill quality matters just as much. A high-level torso with weak or mismatched abilities won't necessarily outperform a slightly lower-level torso that supports your rotation. Keep your best parts, raise their rarity when the synthesis system allows it, and feed unsuitable duplicates into upgrades rather than spending GP on every temporary replacement.
| Build slot | Farming priority | Why it matters | Common mistake |
|---|---|---|---|
| Main weapon | Fast attacks and reliable stagger | Controls clear time and boss openings | Choosing damage with huge recovery frames |
| Sub weapon | Ranged pressure or crowd control | Tags enemies before they surround you | Ignoring ammo, cooldown, or lock-on range |
| EX Actions | One AoE, one burst, one escape | Keeps every encounter covered | Equipping four similar damage skills |
| Option Skills | Repeatable damage between cooldowns | Improves sustained output | Using skills that cannot reach your target |
| Defensive parts | Survivability without slow movement | Prevents failed runs and resets | Stacking health while ignoring telegraphs |
For early farming, don't overinvest in a part you expect to replace after the next Story chapter. Upgrade your weapon first, then the torso and legs if they improve your survivability. Head, arms, and backpack upgrades are worth the GP when they add a skill you actively use, not merely because their level is higher.
Build advice from other action RPGs can help with general resource discipline; our Dragonkin starter-build guide covers the same principle: specialize early, then branch out after your core loop is stable.
The best farming loop from early game to endgame
Step 1: Push Story until the game stops introducing new systems
Run Story missions first instead of repeating the opening stages. Story clears unlock additional missions, parts, vendors, and difficulty access, and the first clear rewards help you assemble a functional loadout. Pick up every usable part, but don't stop after each mission to optimize ten tiny stat changes. That habit destroys momentum.
Step 2: Find your first repeatable Quest stage
Once Quest content becomes available, test missions with compact layouts and frequent enemy groups. A good route starts with several ordinary Gunpla, includes one or two tougher encounters, and ends with a boss that has short, readable phases. Avoid stages where the objective forces you to defend a slow target or spend half the run waiting for dialogue and doors.
Step 3: Upgrade only the bottleneck
After two or three runs, identify what actually slows you down. If ordinary enemies die instantly but the boss survives a full rotation, upgrade your single-target weapon or EX Action. If you die before the boss, improve mobility, defensive skills, or healing access. If inventory management takes longer than combat, stop picking up worthless duplicates and clear your storage more aggressively.
Step 4: Move difficulty as soon as the clear is repeatable
Higher difficulty is not automatically better. Move up when you can clear the current stage three times in a row with no emergency spending and no dependence on a perfect drop. A harder mission that takes twice as long can be a downgrade. The sweet spot is usually one tier below your absolute limit, where enemies still die quickly and mistakes are survivable.
Step 5: Sell and synthesize in batches
Return to the hub after a deliberate run block rather than after every battle. Lock parts you want to keep, mark your build favourites, and then process the rest. Use duplicates to strengthen the equipment you actually use. Sell surplus items when you need GP for a focused upgrade, but don't convert every material immediately: synthesis costs and requirements change as you reach better gear tiers.
The loop is deliberately boring, and that's a compliment. A predictable route makes your income measurable. Our EMBR farming guide makes the same case from a different genre: the reliable route beats the flashy route when you're repeating it for an hour.
How to make synthesis and inventory management pay off
Synthesis is where most players either accelerate or waste their entire bankroll. Use it to create a stronger core build, not to raise every part by one small increment. Pick one main weapon, one torso, and the parts that provide your most important skills. Feed lower-value duplicates into those targets and compare the result before confirming a large batch.
Rarity upgrades deserve special attention. A part's rarity can affect its growth potential and the number or quality of abilities you can develop, but raising rarity on a bad base part doesn't magically make its skill package good. Keep a part if its abilities support your rotation; replace it if the only attraction is a slightly higher number.
Sort your storage by part type and inspect duplicates before selling. Two visually identical parts can carry different skills. Check EX Actions, Option Skills, passive bonuses, and any effects that improve cooldowns, burst generation, damage against staggered targets, or survivability. If you play online, preserve at least one spare functional loadout so a co-op mistake doesn't leave you rebuilding from scratch.
| Drop type | Keep it when | Use it for | Discard it when |
|---|---|---|---|
| Duplicate weapon | It has a better skill package | Synthesis or alternate loadout | It is weaker in every relevant trait |
| Part with a useful EX Action | The skill fits your rotation | Core build or co-op setup | You never activate it in combat |
| High-level visual part | You want it for a custom design | Diorama or fashion build | You have saved the appearance elsewhere |
| Low-level duplicate | It is needed as synthesis material | Targeted upgrade batch | Your chosen part has reached its practical role |
Use the game's official Bandai Namco game page for patch information before committing to a long farming plan. Balance changes can alter which skills, weapons, or mission tiers feel efficient.
Bosses, co-op, and the runs that quietly waste GP
Bosses are where a fast farming build proves its value. Don't dump every EX Action into an invulnerable transition or a shielded target. Watch the telegraph, evade the commitment, and spend your burst during the recovery window. Large enemies often expose a limb or weapon before their most dangerous attack; breaking that component can reduce pressure and produce extra part drops, but only pursue it when the break doesn't add a full minute to the run.
Lock-on discipline matters. Keep the camera on the active threat during a boss phase, then use wide attacks when ordinary enemies join the arena. If you get surrounded, dodge through the group instead of backpedaling into a wall. A failed run costs more than the lost reward: you also lose loading time, consumables, and the chance to complete another successful mission.
Co-op is excellent when players enter with complementary roles. One player can stagger or group enemies while another unloads burst damage. It is less efficient when everyone brings a slow, single-target build and the lobby spends several minutes waiting for a fourth player. If matchmaking is quiet, launch solo immediately and use the AI as extra distraction rather than treating it as your damage plan.
| Run problem | Warning sign | Fix | Profit impact |
|---|---|---|---|
| Overleveled mission | Frequent deaths or long boss phases | Drop one difficulty tier | Higher GP per minute |
| Weak crowd control | Grunts surround you repeatedly | Add AoE or mobility EX Action | Fewer resets and faster waves |
| Inventory clutter | More time sorting than fighting | Lock favourites and batch sell | More missions per hour |
| Co-op downtime | Long matchmaking queues | Run the route solo | Consistent hourly income |
For a useful contrast, see our Bounty Train survival tips. Different game, same lesson: the run that stays alive and keeps moving is usually the run that makes the most money.
Endgame farming priorities and mistakes to avoid
Once you reach the upper difficulty tiers, stop treating GP as the only objective. Your priorities should be a strong weapon, the exact EX Actions that make your rotation work, and parts with passives that improve your chosen style. GP remains useful, but a single perfect drop can save more future farming time than several ordinary reward screens.
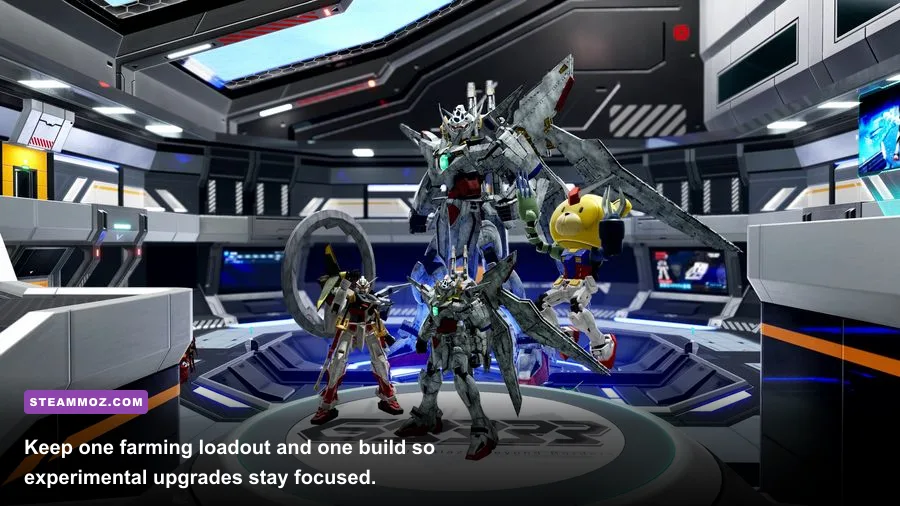
Use a two-loadout system. Your farm build should maximize safe clears with familiar skills. Your test build can explore new weapons, aesthetic combinations, and unusual abilities. Never dismantle the farm build's only copy of a part while experimenting. Gundam Breaker 4 encourages constant rebuilding, but that freedom becomes expensive when you have no stable baseline.
These are the traps that slow progression the most:
- Repeating the first easy mission: comfort is not efficiency. Test the next tier.
- Upgrading everything: focus GP and synthesis materials on your active weapon and essential skills.
- Chasing every part break: target breaks only when the extra drop is worth the time.
- Ignoring cooldown rhythm: four powerful skills are useless if they all recover together.
- Farming while underpowered: a safer lower tier produces better hourly results than repeated failed clears.
- Selling before checking skills: lock valuable abilities first, then clear the genuine junk.
For broader performance and PC tuning habits, our Back 4 Blood FPS settings guide is worth a look, especially if large Gundam Breaker 4 battles cause frame-rate dips. Stable frame pacing helps you read boss telegraphs and land melee timing; a nominally higher average FPS won't help if the game stutters during particle-heavy Burst Actions.
The short version is ruthless but useful: push Story, unlock the strongest repeatable mission you can clear comfortably, measure GP per minute, and upgrade only the parts that shorten the run. Then sell or synthesize in batches, preserve a dedicated farming Gunpla, and move upward whenever your current route becomes effortless. That cycle turns Gundam Breaker 4's mountain of loot into real progression instead of an inventory-management simulator. For news, updates, and official support, follow the official Gundam Breaker social channels alongside the game's Steam announcements.