
The best Dragonkin: The Banished starting build for beginners is a defensive Barbarian built around consistent melee damage, Fury management, and enough mobility to escape danger. Start with the Barbarian, take attacks that clear groups rather than stacking flashy single-target damage, spend early Dragon-Glyph points on survivability and resource efficiency, and treat gear affixes as more important than raw item level. This setup will not produce the biggest damage number on day one, but it is dramatically more forgiving while you learn Dragonkin’s telegraphs, procedural maps, and layered progression systems.
Dragonkin is an action RPG with a deliberately busy combat loop. Enemies surround you, elite modifiers punish autopilot play, and every expedition asks whether you can keep pushing without wasting your defensive tools. That makes the Barbarian the sensible first character. The Oracle and Witch can become excellent once you understand positioning and cooldown timing, while the Mercenary rewards a more deliberate ranged-and-trap style. The Barbarian, by contrast, lets you make a mistake, recover, and keep swinging.
This guide focuses on the early campaign rather than a late-game leaderboard setup. Balance patches can change individual skill values and item affixes, so the reliable part of the plan is the structure: wide-area attacks, one movement tool, one panic button, and gear that keeps you alive long enough to use your damage skills repeatedly.

Why the Barbarian Is the Best First Character
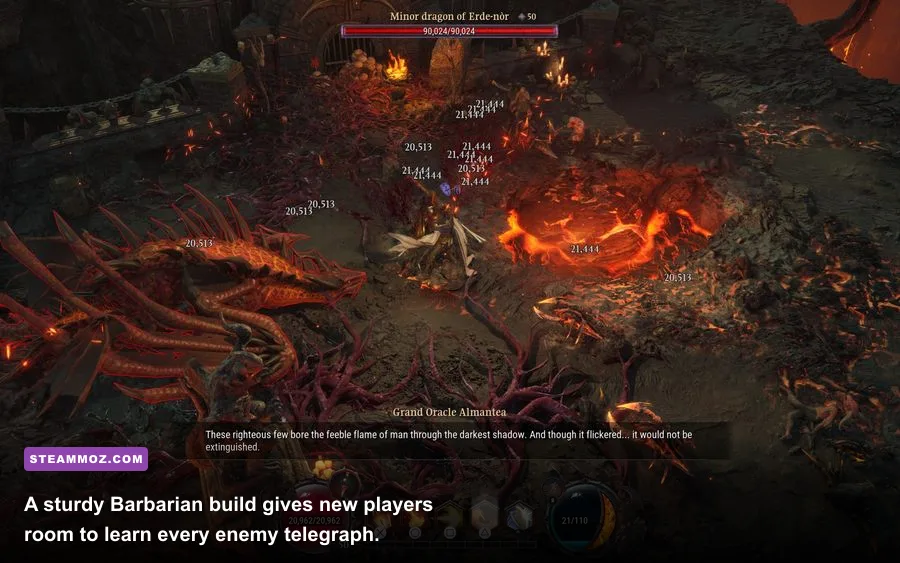
The Barbarian’s biggest beginner advantage is not simply high damage. It is the ability to convert imperfect positioning into a recoverable situation. Melee characters are exposed, but the Barbarian’s close-range kit is designed around controlling the space immediately around you. That matters in Dragonkin because ordinary enemies often become dangerous through numbers rather than individual strength.
Choose the Barbarian if you want a straightforward first campaign, reliable crowd control, and a build that does not collapse when a room spawns enemies on both sides. The class also teaches the game’s most important lesson: damage only matters if you can stay in the arena long enough to deliver it.
At the beginning, favor the Barbarian’s broad melee attacks and keep a movement skill available for exits. Do not spend every resource on the first pack you see. A good opening pattern is to hit the edge of a group, pull enemies into a manageable cone, use your area attack, then disengage before ranged units and elites create overlapping hazards.
| Build Element | Beginner Choice | Why It Works | What to Avoid |
|---|---|---|---|
| Hero | Barbarian | High tolerance for close-range mistakes | Starting with a fragile damage-only plan |
| Damage pattern | Wide melee attacks | Clears packs and protects your movement space | Pure single-target damage in every slot |
| Utility | Movement or gap-closing skill | Escapes ground effects and reaches ranged enemies | Four attacks with no repositioning tool |
| Defense | Guard, resistance, or damage reduction option | Gives you a recovery button during elite encounters | Ignoring defense until the first major difficulty spike |
If you usually enjoy experimenting with builds, you may prefer the Witch or Oracle later. For a first run, though, the Barbarian offers cleaner feedback. When a fight goes badly, you can usually identify whether you mistimed an attack, stood in a telegraph, or burned your escape. That clarity is worth more than theoretical damage.
🎮 Banished
Looking to experience this game? Grab your digital key directly on our store for $6.79.
View on Steammoz Store →The Core Skill Setup and Combat Rotation
Build your first hotbar around four jobs: clear, burst, move, and survive. The exact names and available upgrades can vary as you unlock the Barbarian’s progression, but the principle remains stable. Your clearing skill should be the button you press most often. Your burst skill belongs on tougher enemies. Your movement skill should not be treated as bonus damage, and your defensive option should remain available for an emergency.
Whirlwind-style area damage is the natural centerpiece when it appears in your Barbarian progression. It handles the dense packs that make early missions feel chaotic and scales well with upgrades that improve area, duration, or repeated hits. Pair it with a heavy strike such as Hammer-style burst damage for elites and exposed bosses. If your current skill menu offers different names, select the equivalent broad attack and hard-hitting single-target tool rather than forcing a specific ability that has poor synergy with your drops.
Your rotation should look like this:
- Scout first. Walk into a room far enough to reveal the pack, then identify ranged units, elite modifiers, and obvious ground hazards.
- Group the threat. Use a short movement action or controlled footwork to bring melee enemies into the same attack arc without diving through the entire room.
- Clear the pack. Use your wide attack while enemies are clustered. Do not chase one straggler if another group is approaching.
- Spend burst on priority targets. Elites, ranged attackers, summoners, and enemies creating persistent hazards should die before ordinary melee units.
- Exit before the animation traps you. If your main attack roots or slows the Barbarian, stop one cycle earlier than your instincts suggest.
| Hotbar Role | Preferred Skill Type | Use It When | Upgrade Priority |
|---|---|---|---|
| Pack clear | Whirlwind-style area attack | Three or more enemies overlap | Area, duration, repeated-hit consistency |
| Elite damage | Heavy strike or charged attack | An elite is staggered or isolated | Single-target damage and resource efficiency |
| Mobility | Leap, charge, or dash-style skill | A telegraph covers your current position | Cooldown and reliable recovery |
| Defense | Guard, shout, or damage-reduction skill | You must cross a hazard or absorb a burst | Duration, cooldown, and control resistance |
Resource management separates a comfortable Barbarian from a reckless one. Keep enough Fury, rage, or whatever your current resource is called to use either your movement or defensive tool. Emptying the bar for one impressive combo is a poor trade if an elite immediately forces you into a corner. The best rotation is repeatable, not spectacular.
For another example of how to structure an approachable action-RPG character, see Steamoz’s Eldest Souls beginner build guide. The games differ, but the same rule applies: a build needs a dependable answer for damage, movement, and recovery.
Stats, Dragon-Glyphs, and the Right Upgrade Path
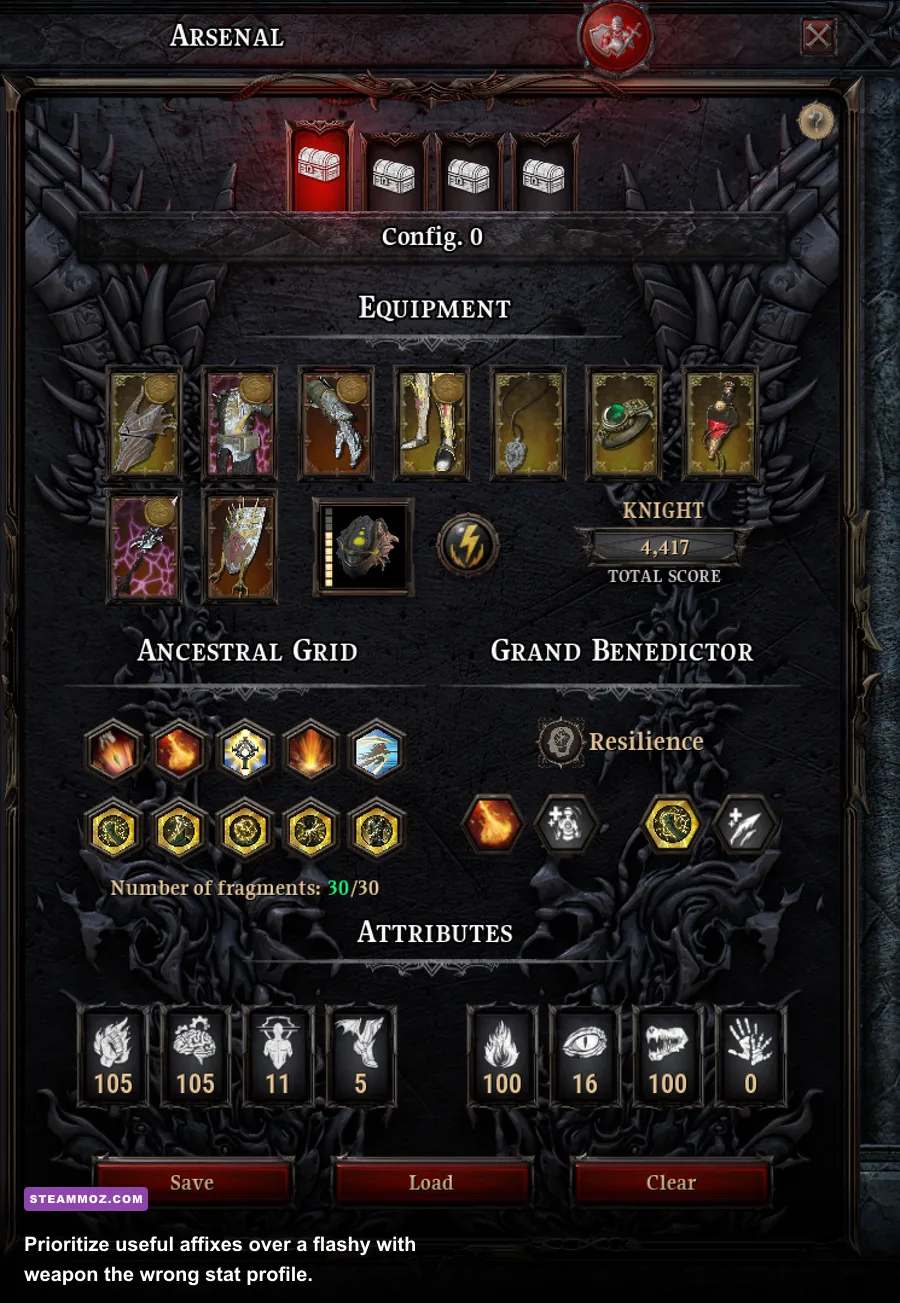
Do not spread every early upgrade evenly. Dragonkin gives you several progression layers, and beginners often dilute their character by taking a little damage, a little health, and a little utility without improving any complete loop. The Barbarian wants a clear order: enough offense to kill ordinary packs quickly, then enough durability to survive elite contact, followed by resource and cooldown improvements.
When a Dragon-Glyph offers a choice between a small damage increase and a defensive or resource benefit, choose based on the problem your character is actually facing. If ordinary enemies survive long enough to surround you, take damage or area improvements. If you kill quickly but lose most of your health to a single elite attack, take life, resistance, mitigation, or recovery. A dead character has zero damage scaling.
Strength-focused upgrades are the obvious offensive direction for a Barbarian, but raw primary-stat growth should not automatically beat a useful secondary effect. Attack speed can improve resource generation and make basic attacks feel less vulnerable. Cooldown reduction can be stronger than another modest damage roll if your survival depends on frequent movement. The correct choice is the one that makes your full rotation available more often.
| Priority | Stat or Effect | Early-Campaign Value | Reason |
|---|---|---|---|
| 1 | Primary physical damage scaling | High | Improves pack clear and shortens dangerous encounters |
| 2 | Maximum health or damage reduction | High | Prevents one mistake from ending a run |
| 3 | Resource generation or cost reduction | Medium-high | Keeps the core rotation active instead of forcing basic attacks |
| 4 | Cooldown reduction | Medium-high | Improves access to movement and defensive tools |
| 5 | Critical or conditional damage | Medium | Strong once the basic survival loop is already stable |
Think of Dragon-Glyphs as a way to solve bottlenecks rather than a checklist. If your Barbarian feels slow, do not blindly select movement speed. Check whether your damage skill is missing enemies, whether your resource is empty, or whether you are repeatedly retreating because the character lacks defense. Fix the cause, not the symptom.
The same approach works with the Hunt Board. Use it to target the type of reward your character lacks instead of repeating the fastest mission forever. Dragonkin’s progression becomes much smoother when you farm with a purpose: weapon upgrades when your clear is weak, defensive pieces when elites are ending runs, and skill-enhancing items when your core ability has become reliable.
Gear Choices That Actually Matter
Dragonkin’s loot is randomized, so there is no single named beginner weapon that beats every drop. That is good news. You can judge gear by what it does for the build rather than chasing a guide-specific item that may not appear in your campaign. Compare the entire item, not just its headline damage.
For weapons, prioritize a comfortable attack pattern, physical damage scaling, and affixes that support your main skill. A slightly weaker weapon that lets you maintain resource generation can outperform a higher-level drop that leaves you waiting between attacks. If two weapons are close, choose the one that improves your area skill or reduces the downtime on your rotation.
Armor should first solve survivability. Maximum life, physical resistance, elemental resistance, and damage reduction are all more valuable than a small conditional damage bonus while you are still learning enemy attacks. Once you can clear a mission without losing most of your health, begin replacing defensive filler with attack speed, cooldown reduction, critical chance, or skill-specific bonuses.
| Slot | Look For First | Replace It When | Red Flag |
|---|---|---|---|
| Weapon | Physical damage and useful Barbarian skill synergy | A new drop improves both damage and rotation uptime | Higher item level but worse resource flow |
| Armor | Life, resistance, and mitigation | You survive elite bursts comfortably | Pure offense on every armor slot |
| Accessories | Cooldown, resource, or conditional damage | The effect no longer supports your chosen skills | Bonuses that require a playstyle you never use |
| Skill bonuses | Core area attack or defensive tool | The bonus is smaller than a major survivability upgrade | Boosting a skill removed from the hotbar |
Salvage aggressively, but do not dismantle every replacement immediately. Keep one alternative piece for missions with heavy elemental pressure and another for physical-heavy maps. That small stash saves time when a mission modifier exposes a weakness in your main setup.
Steamoz’s weapon tier-list breakdown covers a different loot system, but its central lesson applies here: evaluate weapons by their complete combat role, not a single number shown in the inventory.
Mission Tactics, Boss Habits, and Performance Settings
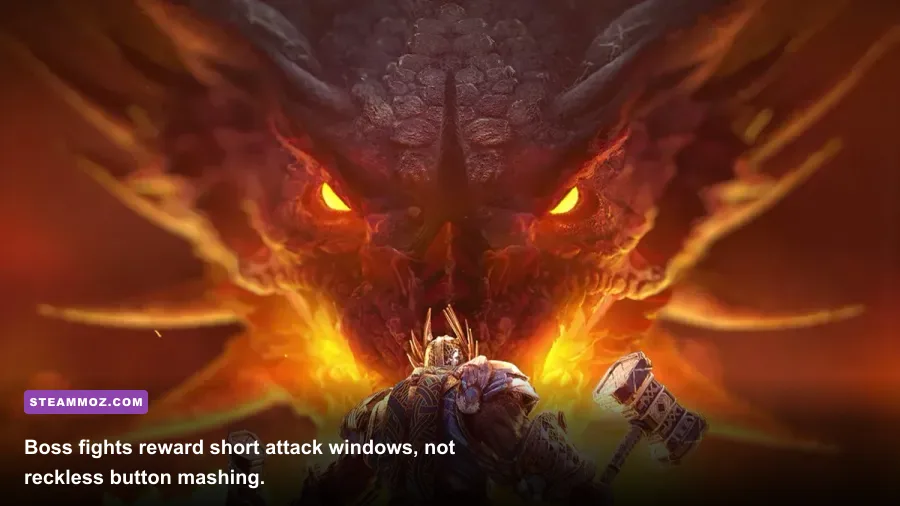
Procedural missions reward patience. Before opening a chest or triggering a new arena, clear nearby enemies and identify where you can retreat. The Barbarian is strong when enemies enter his attack range on your terms. He becomes much less impressive when a ranged pack, an elite, and a floor hazard all activate at once.
Against bosses, never begin with your entire cooldown package. Spend the first cycle watching the telegraph. Most large attacks announce themselves through a wind-up, a ground marker, a directional animation, or a brief change in the boss’s movement. Strike after the attack lands, then leave before the next pattern begins. Your mobility skill is for escaping the attack you have not fully learned yet, not for shaving half a second from travel time.
| Encounter Problem | Danger | Counter Strategy | Best Tool |
|---|---|---|---|
| Dense melee pack | Staggered hits prevent movement | Attack the edge, group enemies, then clear in an arc | Wide area skill |
| Ranged enemies behind melee units | Projectiles force bad retreats | Use mobility to reach the back line, then reset | Charge, leap, or dash |
| Elite with ground hazard | Safe space disappears during long attacks | Shorten your damage window and rotate around the arena | Defensive skill |
| Boss wind-up | Large burst damage or stun | Wait for the attack, punish recovery, disengage early | Movement plus heavy strike |
On PC, prioritize stable frame pacing over maximum visual quality. Dragonkin’s combat is easier to read when telegraphs remain clear and input response stays consistent. Start with the game’s recommended preset, then lower shadows and effects before reducing texture quality. If performance dips during dense fights, cap the frame rate to a value your system can hold instead of allowing unstable peaks and drops.
For troubleshooting habits, Steamoz’s max-FPS settings guide and higher-FPS optimization guide offer useful PC tuning principles. The official Dragonkin: The Banished Steam page is the best place to verify current system requirements and patch notes, while the official Dragonkin website provides developer information and game updates.
The Beginner Build Checklist
Before pushing into harder missions, your Barbarian should pass a simple test. You need a wide attack that clears ordinary enemies without exhausting your resource, a heavy attack for elites, a movement tool that you have not assigned to casual travel, and a defensive button that can survive a bad room. Your gear should contain at least a few meaningful defensive bonuses, and your Dragon-Glyph choices should solve the problems you are actually encountering.
Do not rush difficulty because your weapon’s item level looks impressive. If you are regularly finishing missions with no healing margin, the next tier will magnify every mistake. Farm the Hunt Board, test a different skill upgrade, and replace the weakest defensive item first. Once you can clear several missions while preserving your movement and defensive cooldowns, start adding conditional damage and critical effects.
The Barbarian is not the only strong character in Dragonkin, but it is the best classroom. It teaches spacing, target priority, resource discipline, and the value of a complete rotation without demanding perfect execution. Build for consistency first. When the campaign stops forcing you to panic, you will have the foundation to experiment with more aggressive skills, alternate Dragon-Glyph paths, and the Oracle, Witch, or Mercenary on your next run.