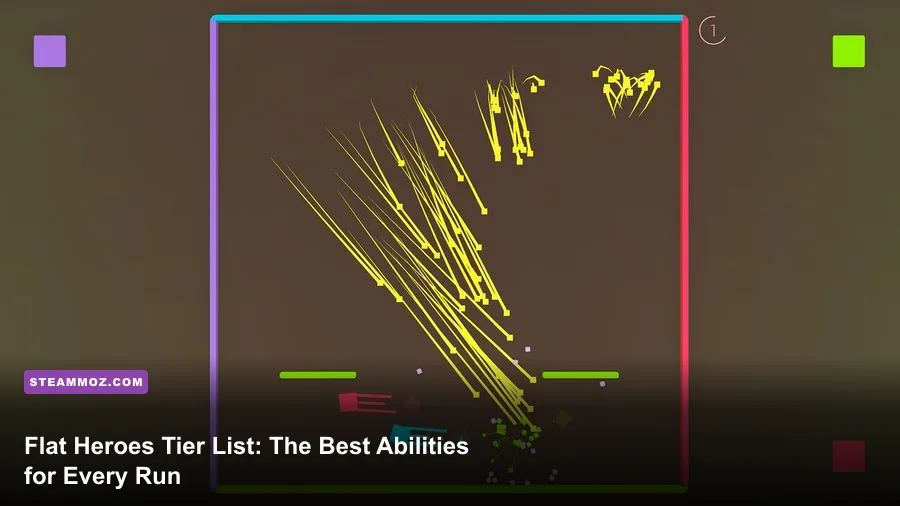
Flat Heroes doesn’t have a traditional weapon inventory or equipment screen. The best “gear” is its movement toolkit: Dash sits firmly in S-Tier, Wall Jump is the strongest route-changing ability, and basic jumping remains more valuable than any flashy attack when a level starts closing in. This ranking treats the game’s abilities and mode tools as equipment, which is the useful way to think about progression in the minimalist platformer.
That distinction matters because a conventional weapon tier list would be misleading. You won’t find swords, rifles, armor stats, damage numbers, or rarity rolls in Flat Heroes. The game is built around a simple geometric avatar, lethal obstacles, tight arenas, and the ability to read space before committing to movement. The official Flat Heroes Steam page describes the focus accurately: movement, abilities, enemies, and hundreds of handcrafted challenges rather than loot grinding.
Flat Heroes weapon tier list at a glance
Here’s the quick ranking for players looking for the best equipment in Flat Heroes. These tiers measure practical value across the main platforming challenges, combat encounters, Survival-style pressure, and local multiplayer. The ranking is based on versatility, recovery potential, and how often an ability saves a failed approach.
| Tier | Ability or tool | Why it ranks here | Best situation |
|---|---|---|---|
| S-Tier | Dash | Fast repositioning, gap crossing, and emergency recovery | Moving hazards, enemy swarms, blind landings |
| A-Tier | Wall Jump | Excellent vertical control and route correction | Shafts, climbing sections, tight escape routes |
| A-Tier | Basic Jump | Reliable, precise, and always available | Standard platforming and measured dodges |
| B-Tier | Offensive contact or attack options | Useful when the arena demands aggression, but less universal | Enemy-focused encounters |
| B-Tier | Shielding or defensive timing | Can stabilize a mistake but doesn’t solve bad positioning | Projectile pressure and crowded rooms |
| C-Tier | Mode-specific gimmicks | Powerful in one challenge, irrelevant in another | Special rules and replay goals |
The important takeaway is that Flat Heroes rewards access and timing, not damage per second. If you’re choosing between a tool that lets you reach a safe platform and one that only helps after an enemy is already close, choose the movement option almost every time.

🎮 Flat Heroes
Looking to experience this game? Grab your digital key directly on our store for $2.99.
View on Steammoz Store →S-Tier: why Dash is Flat Heroes’ best equipment

Dash earns the top spot because it compresses the game’s most important resource: time. A normal jump asks you to commit to an arc and trust the landing. Dash gives you a second decision during that commitment. That extra burst can carry you over a gap, shift you away from a hazard, or turn an almost-missed landing into a clean recovery.
Use it late, not automatically. New players often dash the moment they leave a platform, then discover they’ve spent their correction before the dangerous part of the route. The stronger pattern is jump first, read the next obstacle, then dash across the final stretch. This preserves your ability to react to moving walls, sudden enemy paths, and narrow landing zones.
Dash is also excellent for breaking rhythm. Many Flat Heroes rooms appear to demand a slow sequence of tiny hops, but a dash can skip the most dangerous portion if you launch from the correct edge. Don’t mistake that for permission to rush every room. The ability is strongest when it shortens exposure to danger, not when it replaces observation.
Dash loadout priorities
- Use it for recovery: Save the burst when the landing is uncertain or a hazard is moving into your path.
- Launch from stable ground: A clean takeoff gives you much better control than dashing from a panicked edge.
- Separate movement decisions: Jump, inspect the route, and then dash. Combining both instantly makes your trajectory harder to read.
- Practice the stopping point: The best dash is often one that reaches a safe platform, not the one that travels farthest.
In Survival, Dash becomes even more valuable because enemy pressure steadily removes safe space. It can create breathing room, but it won’t rescue a player who repeatedly corners themselves. Keep the center or a known escape lane available whenever the arena allows it.
A-Tier movement tools: Wall Jump and Basic Jump

Wall Jump is the best route-changing ability in the game. It doesn’t have Dash’s instant horizontal rescue value, but it turns vertical walls into launch points and gives you repeated opportunities to correct your position. In a narrow shaft, Wall Jump can be more important than any offensive option because it lets you control the height of the next engagement.
The common mistake is bouncing too quickly. Treat each wall contact as a setup, not a command to immediately jump again. Watch the next hazard, decide whether you need height or lateral distance, and then leave the wall. This slower cadence is especially useful in rooms where a ceiling hazard punishes over-jumping.
Basic Jump ranks alongside Wall Jump because it’s dependable and has no complicated setup. It’s the tool you use to learn every room’s timing. Short hops are ideal for low hazards and small corrections; full committed jumps are better when the next platform is clearly safe. If you can’t complete a section with basic movement, adding speed usually hides the real problem instead of fixing it.
| Tool | Primary strength | Main weakness | Execution tip |
|---|---|---|---|
| Dash | Emergency horizontal movement | Wasted early, it removes your correction option | Delay it until the route becomes dangerous |
| Wall Jump | Vertical control and repeated route correction | Requires a usable wall and deliberate rhythm | Pause at contact before choosing the next angle |
| Basic Jump | Precise, repeatable movement | Cannot cover mistakes as dramatically | Use short hops to control landing position |
For a deeper practice mindset, the same principle applies in other precision-heavy games: learn the route before chasing speed. Our Hero’s Hour weapon tier list makes a similar distinction between theoretical power and tools that consistently win runs.
B-Tier attacks and defensive equipment

Flat Heroes’ offensive and defensive options are useful, but they rank below movement because they’re situational. An attack can remove an enemy or open space, yet it rarely helps if the player is standing in the wrong place. A defensive option can absorb pressure or buy a moment, but it can’t substitute for reading a hazard cycle.
Think of attacks as route-clearing tools. Use them before entering a cramped area, not after an enemy has already forced you against a wall. If the room has a clean alternate path, movement is normally safer than stopping to fight. Attacks become more attractive when enemies block the only exit, when a projectile pattern leaves no open lane, or when eliminating one target prevents a chain reaction.
Defensive timing works best against predictable threats. Don’t activate protection simply because an enemy is visible. Wait for the attack telegraph or the moment the hazard crosses your escape line. That way, you’re spending the defensive window on actual danger instead of empty space.
How to rank combat tools correctly
- Ask whether the tool creates space. If it only deals damage without changing your position, it’s rarely a top-tier pick.
- Check the recovery value. The best defensive effect gives you time to reach a platform or reset your route.
- Test it under pressure. A tool that feels strong in a quiet room may be awkward when enemies and moving hazards overlap.
- Pair it with movement. Attack while approaching a safe lane, then use Dash or a jump to finish the escape.
That’s why the B-Tier label isn’t an insult. These tools can be the correct answer in an enemy-heavy challenge. They simply don’t carry the same universal value as Dash, Wall Jump, or disciplined jumping.
Best equipment by Flat Heroes game mode

The best ability changes with the rules of the room. A tier list is useful for a starting point, but mode-specific priorities are what improve your clear rate. Flat Heroes includes solo challenges, cooperative play, and pressure-focused formats where the same mistake has very different consequences.
| Mode or challenge type | Top-ranked tool | Secondary choice | What to prioritize |
|---|---|---|---|
| Standard solo platforming | Basic Jump | Dash | Landing accuracy and hazard timing |
| Vertical rooms | Wall Jump | Dash | Controlled height and wall-contact rhythm |
| Enemy arenas | Dash | Attack option | Keep an escape lane open |
| Survival pressure | Dash | Wall Jump | Never let the arena remove every exit |
| Local co-op | Basic Jump | Wall Jump | Spacing, communication, and shared routes |
Solo platforming is where Basic Jump earns its A-Tier reputation. You’re usually better off learning the exact rhythm than forcing a fast skip. Vertical rooms reverse the order: Wall Jump becomes the centerpiece, while Dash is reserved for crossing a dangerous lip or correcting an over-committed launch.
Co-op deserves special attention. Two players can accidentally turn a safe route into a trap by occupying the same landing zone. Call out who is moving first, avoid following directly beneath another player, and don’t spend your recovery option just to keep pace. The strongest co-op “equipment” is spacing.
If you’re coming from a combat-heavy game and keep prioritizing attacks, our Dead Rising 3 beginner build guide covers a very different kind of survival logic. Flat Heroes is harsher about movement mistakes: there’s no bulky build to absorb a bad jump.
How to build a winning Flat Heroes setup
There’s no permanent loadout to grind, so your build is really a decision hierarchy. Start every room by identifying the safest landing, the fastest hazard cycle, and the direction you’ll use if the first attempt goes wrong. Then assign each ability a job before you move.
For most stages, the strongest setup is simple: Basic Jump for the first approach, Wall Jump for vertical correction, and Dash held in reserve for the final gap or emergency escape. Add offensive or defensive actions only when the room’s enemy layout makes them necessary. This keeps your inputs readable and prevents the classic panic sequence of jumping, attacking, and dashing without a clear destination.
Use the game’s level variety as a training curve. Early rooms should teach you to land. Later rooms test whether you can land while tracking enemies, moving barriers, and limited escape space. If a section feels impossible, slow down and isolate the failure: missed height means adjust your jump timing; missed distance means reserve Dash; repeated cornering means change your route before the arena closes.
For performance, prioritize a stable frame rate over cosmetic tweaks. Flat Heroes is visually minimalist, but input timing still matters. Close overlays, use a wired controller if your wireless connection feels inconsistent, and avoid introducing display latency with unnecessary post-processing. Players troubleshooting other PC titles can also check our PC stutter and low-FPS fixes and smooth FPS settings guide.
Finally, use the developer’s official Parallel Circles website and the Flat Heroes Steam news hub for current support information. The game’s design is intentionally lean, and updates or platform differences can matter more than any invented damage chart.
Final ranking: Dash is the best all-purpose equipment, Wall Jump is the specialist pick for vertical control, and Basic Jump is the foundation every successful run depends on. Treat attacks and defensive actions as situational tools rather than automatic upgrades. In Flat Heroes, the player who preserves one escape option usually beats the player chasing the fastest route.