
The best hidden locations and Easter eggs in Final Fantasy 7 Remake PC are scattered across Midgar, from the Angel of the Slums’ secret hideout and Wall Market’s optional challenges to Turtle Paradise posters, Shinra museum references, and Chadley’s brutal Bahamut trial. Most are easy to miss because the game quietly funnels you toward its main objectives. If you explore every side path, revisit unlocked areas, and finish the right side quests before advancing chapters, you’ll uncover extra materia, unique scenes, combat challenges, and callbacks that reward longtime Final Fantasy VII fans.
This guide focuses on secrets that are genuinely worth hunting rather than background clutter you can glance at once and forget. The PC version is the Intergrade release, so the main campaign includes the same hidden content found in the console editions, while the separate Episode INTERmission expansion adds Yuffie’s own secrets. For a useful technical baseline, compare your setup with our PC requirements guide; Remake is far more demanding on streaming-heavy city sections than its linear corridors suggest.
Start with the secrets Midgar hides in plain sight
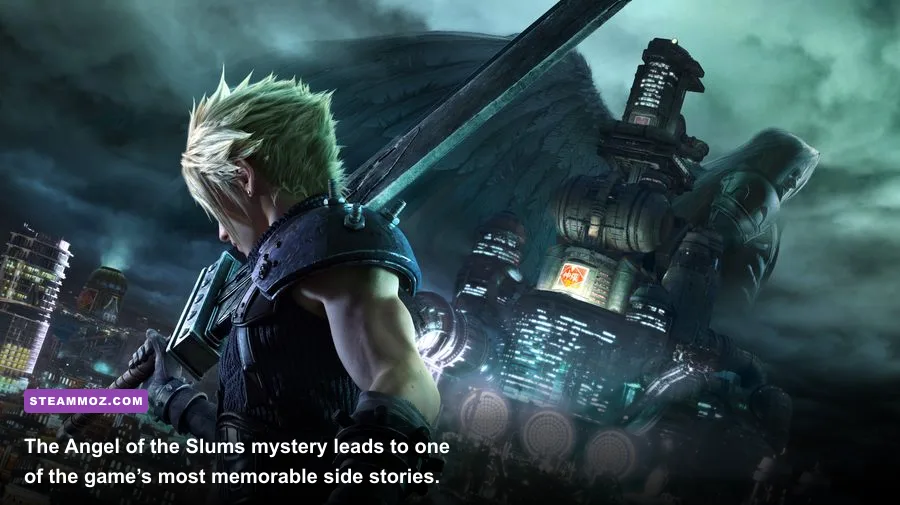
Chapter 8 is where Final Fantasy 7 Remake starts paying serious attention to optional exploration. In the Sector 5 Slums, complete the side-quest chain involving Mireille, Kyrie, and the mysterious Angel of the Slums. The key quest is Corneo’s Secret Stash, which sends you after three stash locations marked by the Guardian Angel’s symbol. You won’t be able to open every stash immediately because Shinra’s diamond-shaped security gates remain locked until you progress the quest.
The reward is more than a few consumables. The stash locations contain useful items such as Moogle Medals, accessories, and materia, while the story reveals that the Angel is actually a local folk hero operating under the name Mireille uses in her newspaper work. The final stash is tied to the Collapsed Expressway, so don’t assume the first two are the whole mission. This is one of the easiest ways to turn an apparently throwaway side quest into a larger piece of Sector 5 world-building.
While you’re in Sector 5, inspect the Children’s Secret Hideout. The hideout is not just a colorful safe zone. It leads to the Kids on Patrol quest, and completing it unlocks the Children’s Secret Stash sequence and the optional ??? combat encounter. The children’s wooden weapons and monster-hunting stories are also a clever echo of the original game’s exaggerated Midgar neighborhoods.
There’s another small but excellent discovery near the Sector 5 church. After the opening sequence, the church becomes a visual anchor for Aerith’s story, but it also rewards players who look behind the obvious route. Check side rooms and upper walkways for items and environmental details, then revisit the area when the story gives you more freedom. Remake uses these revisits to make the slums feel like connected neighborhoods instead of disposable dungeon sets.
| Secret | Where to find it | Best time to collect it | Why it matters |
|---|---|---|---|
| Angel of the Slums stashes | Sector 5 and Collapsed Expressway | Chapter 8 after starting Corneo’s Secret Stash | Extra rewards and important local lore |
| Children’s Secret Hideout | Sector 5 Slums | Chapter 8 during Kids on Patrol | Unlocks an optional monster fight |
| Church side paths | Sector 5 church | Chapters 5, 8, and later revisits | Items, atmosphere, and Aerith callbacks |
| Johnny’s side scenes | Sector 7 and Wall Market | Chapters 3, 9, and 14 | Changes optional dialogue and his later quest |
🎮 1bitHeart
Looking to experience this game? Grab your digital key directly on our store for $2.99.
View on Steammoz Store →Wall Market’s best hidden challenges and callbacks
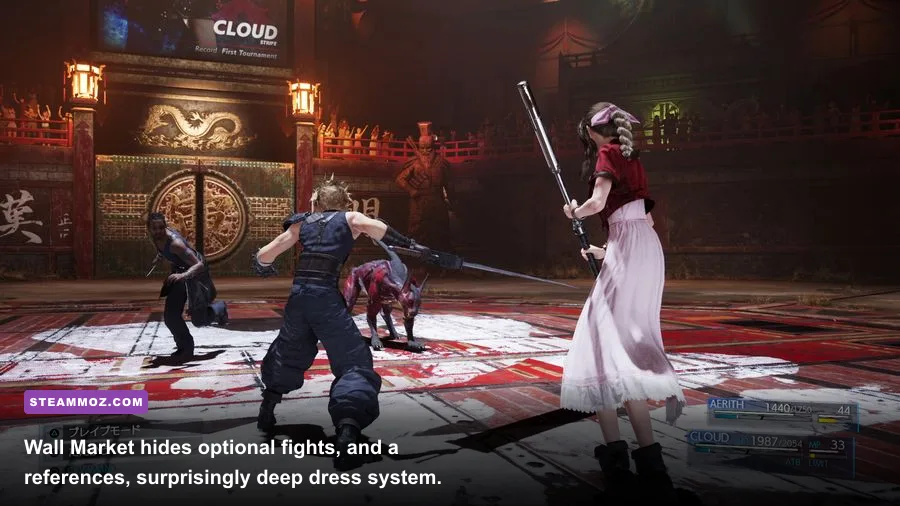
Wall Market is the game’s secret-hunting jackpot. Before leaving Chapter 9, play Squats at the gym and clear the beginner, amateur, and pro levels. The final match against Jay unlocks the Champion Belt, a powerful accessory that increases maximum HP by 10 percent and raises Strength by 5. That is a genuinely useful reward for a minigame, especially on Hard difficulty where the extra health gives Cloud more room to survive a missed guard or delayed dodge.
The trick is to follow the prompts by watching the character’s body rather than staring at the button icons. Cloud’s squat rhythm speeds up after each successful repetition, and a missed input creates a long recovery animation. Keep a steady cadence, use the visual cue of Cloud’s knees, and don’t mash through the final sequence. The Pro round is designed to punish panic, not slow reactions.
Barret and Tifa get their own equivalent in Chapter 14 with the Pull-Ups challenge at the Wall Market gym. Tifa’s three opponents become available through the Burning Thighs side quest. Winning the Pro round awards the Champion Belt if Cloud has not already obtained it through Squats, plus a trophy and bragging rights. Tifa’s timing window feels tighter because the input pattern changes more abruptly, so use the sound and animation rather than trying to memorize a fixed controller sequence.
Wall Market also contains the Corneo Colosseum, which is easy to treat as a mandatory story stop and then forget. Return after the main Chapter 9 event to access additional battles. Several challenges are character-specific, and clearing them unlocks Limit Break manuals for Cloud, Tifa, Aerith, and Barret. Limit manuals raise a character’s Limit Level, adding a second Limit Break option. That matters because Aerith’s Planetary Protection and Cloud’s Ascension serve very different purposes from their basic Limit Breaks.
The dress system is another hidden layer. Your choices during Chapter 3, Chapter 8, and Chapter 9 determine which dresses Cloud, Tifa, and Aerith wear during the Wall Market sequence. Tifa’s dress depends on the answer to her Chapter 3 dialogue, while Aerith’s dress is influenced by how many relevant side quests you complete. Cloud’s dress is tied directly to the Chapter 9 quest route. Replaying chapters through Chapter Select is the cleanest way to see all nine combinations without restarting the game.
For players interested in how Remake handles optional rewards compared with other action RPGs, our hidden rewards guide for Everspace 2 covers the same kind of risk-versus-payoff exploration loop.
Shinra Headquarters is full of Final Fantasy VII history
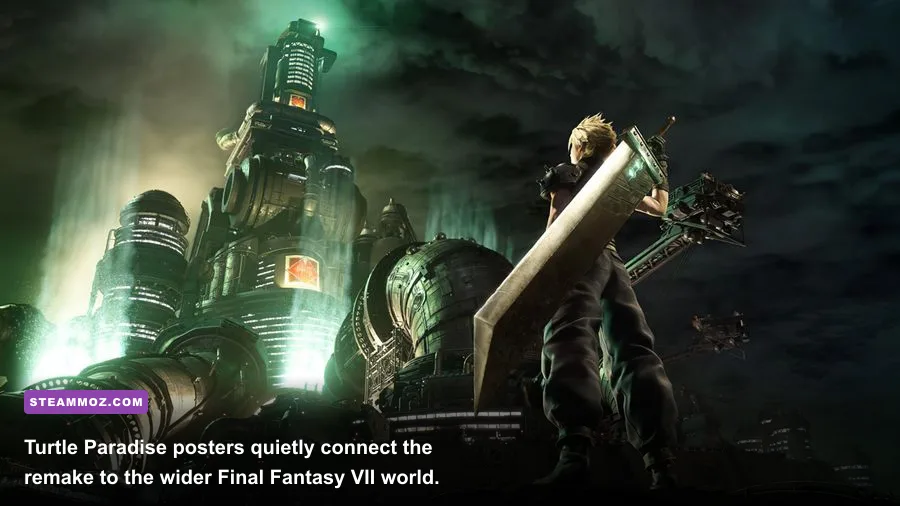
Shinra Headquarters in Chapter 16 is more than a long climb to President Shinra. The building is effectively a museum of the company’s propaganda, and many of its details are easy to miss if you sprint from elevator to elevator. The most obvious callback is Turtle Paradise, the bar from the original Final Fantasy VII and its famous flyer collection. Look for Turtle Paradise advertising inside Shinra’s public-facing spaces. These posters connect the remake to Wutai’s eccentric drinking establishment without stopping the plot for an exposition dump.
The museum-style displays also hide visual references to Shinra’s military power and older Final Fantasy VII locations. Pay attention to the exhibit panels, model displays, and large corporate screens. Some are advertisements, but others quietly establish how Shinra rewrites history for its own audience. The point isn’t that every display contains a collectible; the joke is that the company has turned exploitation into a polished visitor experience.
On the 63rd floor, complete the Intel Gathering activity for Mayor Domino’s office rather than treating the mayor as a one-scene gag. Talk to Hart, find the correct clues, and give him the password Mayor is the best. Hart rewards Cloud with 10,000 gil. The process is intentionally silly, but the scene also references the original game’s Mayor Domino sequence and makes the modern Shinra building feel like a place with internal factions and bureaucratic absurdity.
Don’t skip the combat simulator terminals either. Completing Chadley’s Battle Intel Reports unlocks increasingly dangerous VR fights, including the summon battles for Shiva, Fat Chocobo, Leviathan, and Bahamut. The simulations are technically optional, but they are among the most meaningful secret locations in the game because their rewards change your combat options rather than simply filling the inventory.
| Optional challenge | Unlock condition | Reward | Practical value |
|---|---|---|---|
| Shiva VR mission | Progress Chadley’s Battle Intel reports | Shiva Materia | Strong Ice damage and stagger pressure |
| Fat Chocobo VR mission | Complete the relevant Battle Intel report | Fat Chocobo Materia | Summon with chaotic area attacks |
| Leviathan VR mission | Advance Battle Intel requirements | Leviathan Materia | Excellent water damage in open arenas |
| Bahamut VR mission | Complete all 20 Battle Intel reports | Bahamut Materia | Powerful summon, but a demanding boss fight |
The hardest optional secret is Chadley’s Bahamut fight
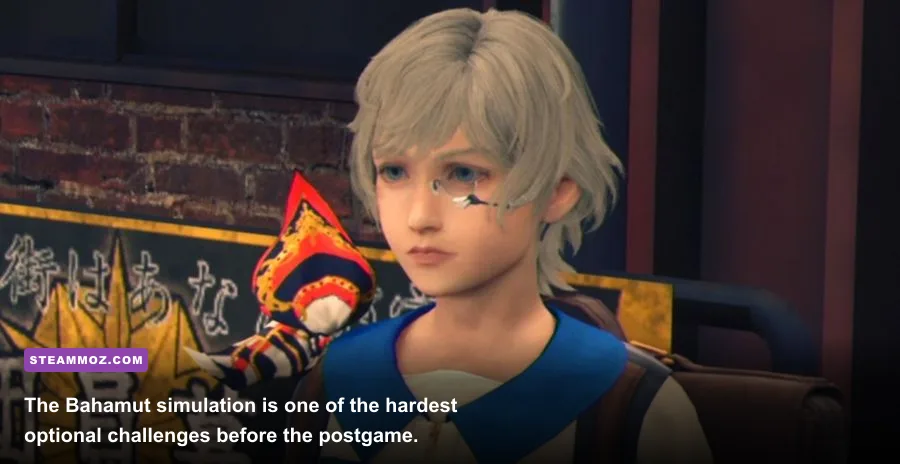
Bahamut is the secret encounter most players technically see but fail to prepare for. Chadley unlocks the fight only after all 20 Battle Intel reports are complete. That includes the less glamorous tasks such as assessing enemies, exploiting weaknesses, and mastering abilities. The battle is available before the end of the campaign, but many players are better off returning after gaining stronger weapons, more materia slots, and Chapter Select access.
Bahamut’s defining mechanic is Countdown. The summon begins counting down from five, then casts Megaflare, a devastating attack that can erase an underprepared party. The safest answer is not simply damage racing. Pressure Bahamut aggressively with stagger-building attacks, interrupt its setup whenever possible, and keep healing materia on more than one character. Cloud’s Focused Strike builds stagger efficiently, Tifa’s Unbridled Strength upgrades improve her normal attack strings, and Barret can maintain pressure while staying outside the boss’s close-range swings.
When Bahamut summons Ifrit, the fight changes immediately. Ifrit’s fire damage can overwhelm a party that has spent all its MP and cooldowns on Bahamut. Equip Fire and Elemental combinations carefully if you have the linked materia slots, and reserve a Limit Break for the transition whenever possible. Aerith’s Arcane Ward is especially valuable because it doubles many offensive spells cast inside the ward, while Manawall from Barrier materia can dramatically reduce the punishment from Megaflare if you have access to it.
Do not burn your summon at the first opportunity. A summon’s arrival is most valuable when Bahamut is close to a dangerous Countdown or when Ifrit appears. The VR arena has no environmental gimmicks, so positioning and resource management decide the battle. Winning grants Bahamut Materia, one of the strongest optional rewards in the main campaign and a perfect capstone for a completionist run.
For PC players, keep an eye on frame pacing during VR missions. Remake can feel responsive at a high average frame rate but still hitch during heavy effects or crowded combat arenas. Our PC crash and FPS fixes are useful general troubleshooting if the game stutters, while this low-FPS guide covers the usual Windows-side checks.
Train Graveyard details and late-game discoveries
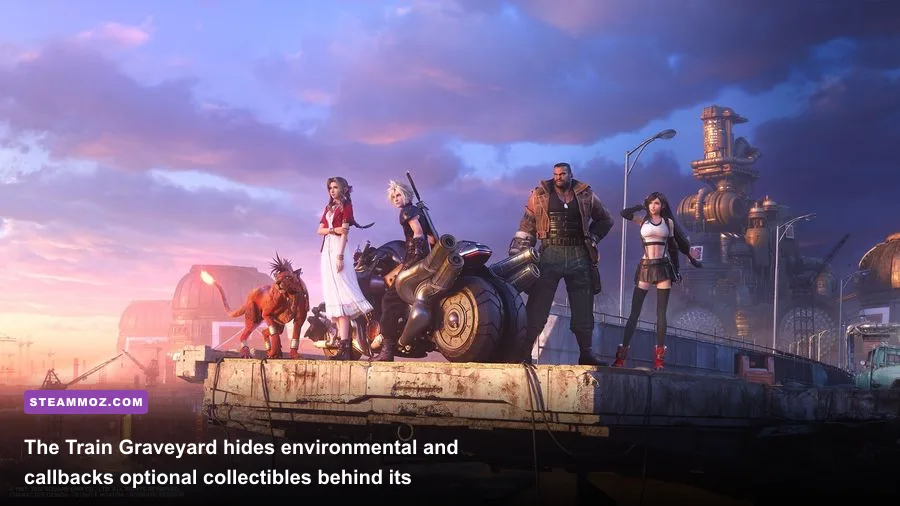
The Train Graveyard in Chapter 11 is built to look like a linear horror set piece, but it contains several details worth slowing down for. Investigate the abandoned carriages and side rooms instead of following Aerith and Tifa immediately. The area’s ghost story draws from the original game while giving the Whispers and the haunted trains a more physical, unsettling presence.
The boss encounter with Eligor also hides a tactical Easter egg for players who notice its elemental pattern. In the first phase, Eligor fights primarily on the ground. During the second phase, it takes to the air and becomes much harder to reach with standard melee attacks. Ice is especially important because Eligor is vulnerable to it, and Blizzard spells can help pressure the boss when it is airborne. In the final phase, its wheels gain a barrier that changes how safely you can approach; use ranged attacks, punish its recovery windows, and avoid standing directly in the path of its charging attacks.
Throughout the campaign, watch for equipment and materia behind apparently pointless detours. Yellow materia often sits just off the critical path, while blue linked slots and purple materia can be hidden behind ladders, gates, or one-way drops. Remake rarely places these rewards randomly: a path that looks too awkward for the story route often exists specifically to reward a player who checks the corner.
Johnny is another long-running Easter egg hiding in plain sight. His repeated appearances in Sector 7, Wall Market, and Chapter 14 are not merely comic interruptions. Complete his related side content and you’ll see how the remake turns a minor original-game character into a recurring thread through Midgar. His quest line also contributes to the Best in the Business trophy, making him one of the few joke characters with a completionist payoff.
Finally, don’t overlook the final chapters’ whispers, murals, and background signage. Remake constantly plants visual reminders of the original Final Fantasy VII, Crisis Core, and the broader Compilation without requiring you to stop and decode every reference. The official Steam listing for Final Fantasy VII Remake Intergrade confirms the PC package and its Intergrade features, while Square Enix’s official Final Fantasy VII portal is a useful place to compare those callbacks with the wider series.
For the most efficient secret-hunting route, finish side quests before leaving Chapters 3, 8, 9, and 14, clear Chadley’s reports whenever a new one appears, and use Chapter Select after the credits for cleanup. That approach avoids replaying the entire campaign while still letting you unlock every dress, optional challenge, summon, stash, and Johnny scene. Midgar’s best secrets don’t require a guide-breaking exploit; they require patience, a willingness to take the long way around, and the instinct to question every door the story doesn’t ask you to open.