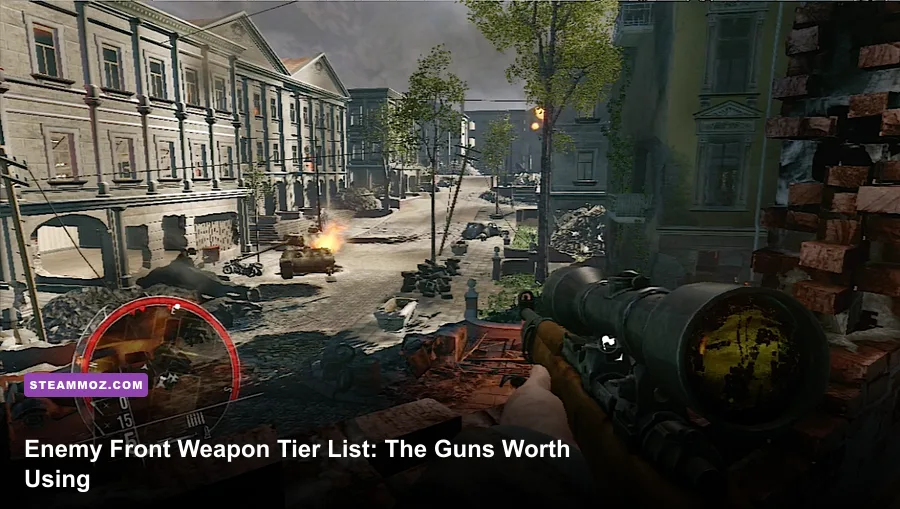
The StG 44 is Enemy Front's best overall weapon, while the Kar98k and Mosin Nagant lead stealth missions, the Thompson owns close quarters, and explosives decide bunker fights. This ranking weighs stopping power, magazine capacity, reload safety, accuracy, recoil, ammunition availability, and how well each weapon fits Enemy Front's stealth-versus-assault mission design.
Enemy Front is built around 1944 resistance operations rather than a modern loadout system. You scavenge weapons from fallen soldiers, swap guns at checkpoints, and often enter missions with a specific tactical problem: a guarded courtyard, a bunker network, a convoy, or a loud escape. That makes the “best” gun situational, but it doesn't make the ranking arbitrary. Some weapons are consistently useful across the campaign, while others are brilliant only when the map gives them room to breathe.
The Enemy Front weapon tier list at a glance
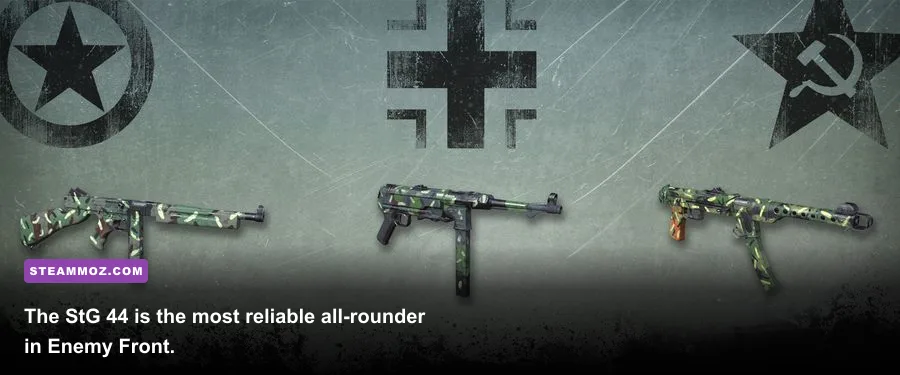
The table below ranks the main firearms by practical battlefield value, not historical fame. Enemy Front doesn't expose a detailed numeric damage screen, so the ratings reflect observable performance: shots needed to drop infantry, recoil during sustained fire, effective range, and how forgiving each weapon feels when a stealth plan collapses.
| Weapon | Tier | Role | Why it ranks here |
|---|---|---|---|
| StG 44 | S | All-round assault rifle | Excellent damage, controllable automatic fire, strong mid-range reach |
| Kar98k | S | Stealth and long range | Highly accurate, hard-hitting, ideal for suppressed headshots and scouting |
| Mosin Nagant | S | Precision rifle | Comparable stopping power with dependable long-range accuracy |
| Thompson | A | Close-range assault | Fast handling and excellent volume of fire, but hungry ammunition use |
| MP40 | A | Controlled SMG | Low recoil and reliable handling, though less forceful at distance |
| PPSh-41 | A | Room clearing | Huge ammunition reserve and terrifying close-range fire rate |
| MP44 variants | A | Mid-range combat | Strong assault performance when available, with manageable recoil |
| M1 Garand | B | Semi-auto rifle | Fast follow-up shots, but less flexible than the StG 44 under pressure |
| Lee-Enfield | B | Precision rifle | Accurate and quick to cycle, but not always easy to keep supplied |
| Karabiner variants | B | General rifle | Solid baseline weapon without the standout strengths of the S-tier picks |
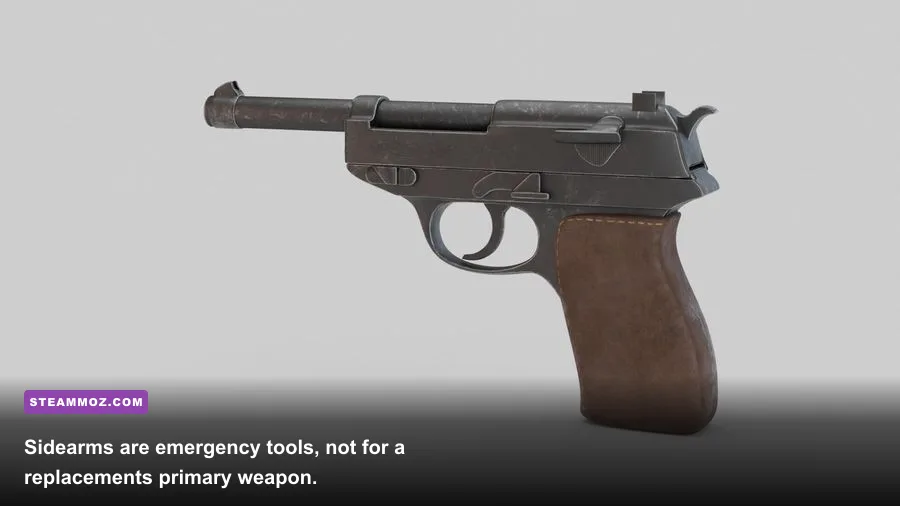
| Walther P38 | C | Emergency sidearm | Useful backup, but weak compared with primary weapons |
| Colt 1911 | C | Emergency sidearm | Good handling and stopping power for a pistol, limited by capacity |
One important caveat: weapon availability changes from mission to mission. The StG 44 isn't something you can casually carry from the opening sequence, and ammunition is never guaranteed. A lower-ranked MP40 with two full magazines is often more valuable than an S-tier rifle with five rounds. Treat the list as a priority guide, not a command to ignore supplies.

🎮 Enemy Front
Looking to experience this game? Grab your digital key directly on our store for $1.99.
View on Steammoz Store →S-tier weapons: the guns that change a mission

StG 44
The StG 44 is the campaign's best compromise between rifle damage and submachine-gun flexibility. Its automatic fire deletes enemies at close and medium range, while its rifle-style accuracy lets you tap targets across streets and courtyards. The trick is to fire in short bursts. Holding the trigger through a full magazine creates unnecessary muzzle climb and burns ammunition that may be difficult to replace.
Use the StG 44 after stealth has broken or when a mission funnels you through German defensive lines. Aim upper chest, fire two- to four-round bursts, then move between cover. It isn't the quietest option, and it doesn't replace a scoped precision rifle, but no other primary handles as many situations with so little fuss.
Kar98k
The Kar98k is the best weapon for players who actually use Enemy Front's stealth systems. Its accuracy is excellent, the bolt-action rhythm is predictable, and a clean headshot lets you remove sentries before an alarm spreads. The five-round internal magazine means every missed shot matters, so don't treat it like a semi-automatic rifle.
Its best range is the distance at which patrols can't instantly triangulate your position. Mark guards with binoculars, wait for a lone target, and relocate after a shot if the area becomes suspicious. The rifle also rewards patience around officers and machine-gun crews: remove the lookout first, then deal with the heavier position using grenades or dynamite.
Mosin Nagant
The Mosin Nagant sits alongside the Kar98k because it delivers the same kind of reliable precision. It feels especially comfortable in missions with open fields, ruined villages, and long lanes between buildings. The bolt cycle slows follow-up shots, but that limitation is useful discipline: Enemy Front is far more forgiving when you make one deliberate kill than when you rush five uncertain shots.
For a stealth-first run, the Mosin Nagant pairs naturally with binocular reconnaissance and suppressed takedowns where available. Keep a compact automatic weapon ready for the moment an enemy reaches your cover. A precision rifle wins the first exchange; it doesn't always win the second.
A-tier guns: excellent specialists for loud firefights
Thompson
The Thompson is the most satisfying close-quarters weapon in the resistance arsenal. It comes up quickly, throws a dense stream of bullets, and is perfect for stairwells, trenches, and interiors where enemies appear at unpredictable angles. Its weakness is ammunition economy. Full-auto fire can empty a magazine before you've finished clearing one room, especially if you aim center mass and let recoil walk upward.
Use controlled bursts at doorway height, reload behind hard cover, and don't challenge a distant machine-gunner with it. The Thompson ranks below the StG 44 because its effective range and supply situation are less comfortable, not because it lacks stopping power.
MP40
The MP40 is the safer SMG pick. Its recoil is easier to manage than the Thompson's, making it practical when you need to sweep a courtyard or defend an objective without wasting every round. It loses effectiveness as range increases, but its predictable kick makes short bursts reliable.
Enemy weapons are also a major source of ammunition. If you're short on rounds, switching to the MP40 after killing German infantry can keep a run alive. That simple scavenging habit matters more than small theoretical damage differences.
PPSh-41
The PPSh-41 is the chaos button. Its enormous ammunition capacity and extremely fast rate of fire make it vicious against groups, particularly during scripted counterattacks. It also encourages bad habits: spraying from the hip, ignoring reload timing, and assuming the magazine will solve every problem.
Use it when enemies are within short range and clustered behind weak cover. At medium distance, burst fire is mandatory. The PPSh-41 is also a poor stealth choice because its noise and ammunition consumption work against a quiet approach.
M1 Garand and Lee-Enfield
Both rifles are dependable B-tier-to-A-tier alternatives depending on the encounter. The M1 Garand gives you faster follow-up shots than a bolt-action rifle, which is valuable when two guards discover you at once. The Lee-Enfield cycles quickly and feels precise, but neither rifle offers the StG 44's automatic flexibility or the Kar98k's clean stealth identity. Pick them confidently when the ammunition is plentiful; don't abandon a well-supplied weapon just to chase a theoretical upgrade.
B-tier firearms and sidearms: useful, but rarely your plan
The M1 Carbine, captured Karabiner rifles, Walther P38, Colt 1911, Luger, and Nagant revolver fill the gaps between major encounters. They aren't useless. They are simply less capable when the game turns a quiet operation into a full alarm.
| Weapon group | Best use | Main limitation | Upgrade decision |
|---|---|---|---|
| M1 Carbine | Medium-range patrols | Less punch than full rifles | Keep until an M1 Garand or StG 44 appears |
| Captured Karabiner | Emergency rifle combat | Average handling and damage profile | Replace when a precision rifle is available |
| Colt 1911 | Last-resort close defense | Small magazine and limited reach | Carry as backup, never as primary |
| Walther P38 or Luger | Quiet repositioning and emergencies | Low sustained damage | Use when primary ammunition is exhausted |
| Nagant revolver | Point-blank backup | Slow reload and modest capacity | Swap if a stronger sidearm is nearby |
Sidearms matter most when you are caught reloading or when a guard reaches your hiding place. They also make sense during stealth sections where you want to avoid attracting every patrol with a long automatic burst. Still, the pistol's role is survival between primary-weapon engagements, not sustained assault.
Best equipment ranking: grenades win the bunker fight
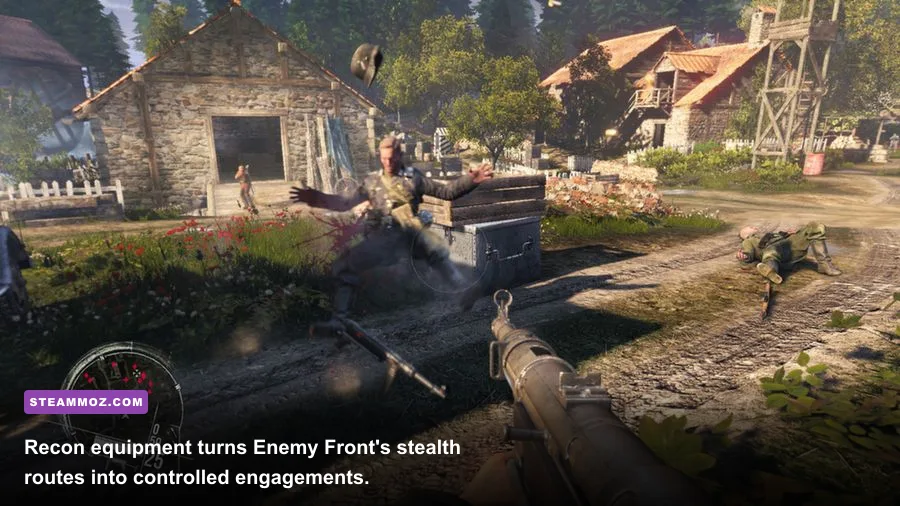
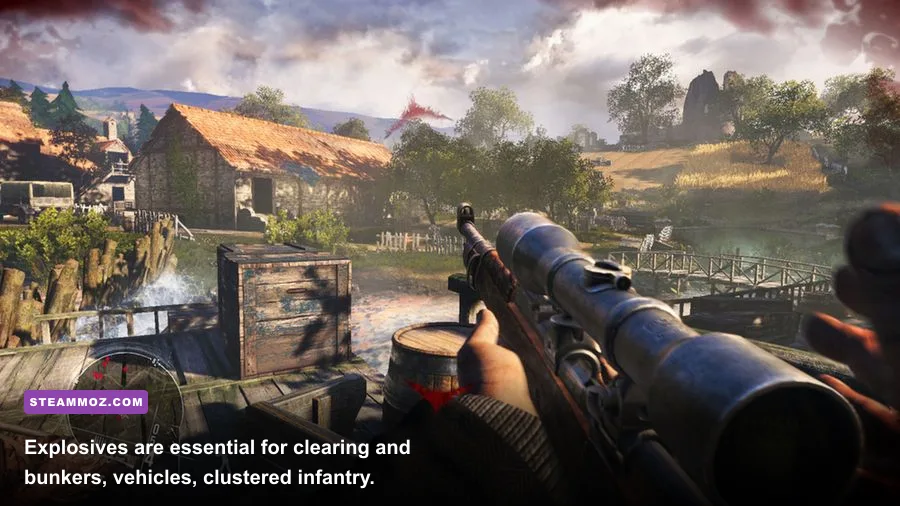
Equipment is where Enemy Front's missions are often won. Firearms kill exposed soldiers; explosives remove the positions that make movement impossible. Standard grenades are the most consistently useful item because they flush enemies from cover, interrupt machine-gun nests, and punish groups packed into rooms.
Dynamite ranks just behind grenades for general use but becomes the best tool against objectives, vehicles, barricades, and fortified emplacements. Place it before triggering an alarm, then use the blast to create a route rather than merely chasing kills. Mines are more situational: they shine during defense sequences and retreats, but they offer little value if you keep pushing forward.
| Equipment | Tier | Best target | Practical advice |
|---|---|---|---|
| Frag grenade | S | Groups, rooms, trenches | Throw through windows and behind sandbags before advancing |
| Dynamite | S | Vehicles, bunkers, objectives | Plant it early and use the blast to open a safe route |
| Satchel or placed explosive | A | Fortified targets | Best when the mission gives you time to prepare |
| Land mine | B | Chokepoints and retreats | Place it where pursuing enemies must pass |
| Binoculars | S | Patrols and defensive layouts | Scout before every stealth approach and mark threats |
Binoculars don't deal damage, but they may be the most valuable piece of equipment in the game. Use them from concealment to identify officers, machine-gun crews, patrol routes, and alternate paths. That information changes which weapon you should carry: a visible bunker demands explosives, while a wide patrol lane favors the Kar98k or Mosin Nagant.
The best loadouts for stealth, assault, and survival
Stealth loadout
Carry the Kar98k or Mosin Nagant, binoculars, and grenades. Scout every guard before moving, prioritize isolated sentries, and avoid firing simply because a target is available. A stealth run is about reducing the number of bodies that can trigger an alarm. When the game offers a suppressed weapon, use it for close sentries and save the precision rifle for longer lanes.
Assault loadout
The StG 44 is the clear choice, backed by grenades and dynamite. Use the rifle in bursts, throw explosives before crossing open ground, and reload only behind solid cover. If the StG 44 isn't available, the Thompson or MP40 is the next-best answer indoors, while the PPSh-41 excels during scripted waves.
Scavenger loadout
Take whichever weapon has ammunition on the ground, then adapt your engagement distance. Enemy Front frequently places German weapons near the enemies you just defeated, so keeping an MP40 or Kar98k can be smarter than clinging to an empty allied rifle. This is also why learning weapon silhouettes and reload behavior matters more than memorizing a rigid “best gun” setup.
For broader stealth and performance-minded play, our Ghost Recon Breakpoint stealth breakdown and PC performance settings guide offer useful complementary ideas, even though their games use different systems.
Enemy Front's strongest loadout is ultimately the one that matches the mission's geometry. Choose the Kar98k or Mosin Nagant when sightlines are long, the Thompson or PPSh-41 when rooms are tight, and the StG 44 whenever you expect the plan to go loud. Keep grenades, dynamite, and binoculars in constant rotation, and you'll spend far less time fighting the weapon system—and far more time dismantling the battlefield.
For the game's official listing, check the Enemy Front Steam page. You can also review the publisher's official Enemy Front page and CI Games official channel for trailers and development material. If you enjoy methodical mission planning, Steamoz's starting build guide for Warhammer 40,000: Inquisitor – Martyr is another worthwhile tactical read.