New players should treat Dying Light Essentials Edition as a parkour survival game first and a zombie brawler second. Stay above street level, unlock safe zones early, save firearms for human enemies, and build your Survivor, Agility, and Power skills around escape rather than flashy kills. These 10 practical tips will get you through Harran with more supplies, fewer broken weapons, and a much better chance of surviving the night.
The Essentials Edition gives you the core Dying Light experience along with substantial extra content, but it does not soften the opening hours. Your first rusty pipe is weak, stamina is limited, and the infected become dramatically more aggressive once the sun disappears. The good news is that Techland's systems reward smart movement and preparation more than raw gear score.

🎮 Get Dying Light Essentials Edition
Ready to dive in? Grab your copy today for just $2.49.
Check OfferMaster Movement Before You Hunt Zombies
1. Stay on rooftops and learn the fastest escape routes
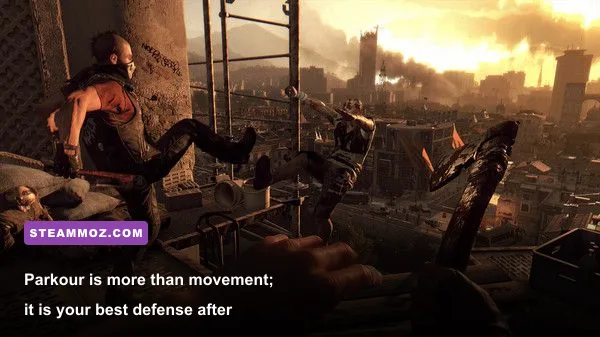
Harran's streets are built to make beginners panic. Biters cluster around cars, Viral infected sprint when they hear noise, and a blocked alley can turn a routine supply run into a death spiral. The rooftops remove most of that pressure. Sprint across flat surfaces, use railings to gain height, and avoid dropping to the ground unless you already know where the next climb is.
Early Agility skills matter more than an early damage upgrade. Dodge lets you sidestep lunges, while Vault allows you to jump over a staggered infected and keep moving. Dropkick, unlocked deeper in the Agility tree, is excellent for clearing a path, but it should not replace movement. Kicking one zombie off a roof is useful; stopping to fight ten of them is how your weapon durability disappears.
2. Use the environment as your first weapon
Exploding gas tanks, electrified water, spike traps, and rooftop ledges can do more work than a machete. Kick enemies toward environmental hazards, then move immediately instead of admiring the result. A drop from a roof usually kills a normal infected, but don't assume every ledge is safe: Volatiles can climb, and Virals recover quickly from falls.
Your Survivor Sense is especially important during exploration. Tap it frequently to highlight loot, climbable routes, plants, and objectives without stopping in the open. If you are carrying valuables, don't test a new shortcut beside a crowd. Dying drops some progress toward your current Survivor-level requirement, so reckless experimentation can slow the most important early skill unlocks.
| Situation | Best response | Why it works |
|---|---|---|
| Small group of Biters | Vault, shove, or use a ledge | Saves durability and stamina |
| Viral starts sprinting | Break line of sight and climb | Virals are dangerous in confined spaces |
| Large street crowd | Throw firecrackers and reroute | Distraction creates a safe path |
| Volatile encounter | Run for UV light or a safe zone | Direct combat is rarely worth the risk |
🎮 Dying Light Essentials Edition
Looking to experience this game? Grab your digital key directly on our store for $2.49.
View on Steammoz Store →Build Progression Around Survival
3. Prioritize Survivor Rank unlocks and blueprints
The Survivor skill tree controls the tools that make Harran manageable. Put early points into Backpacker and crafting-related skills so you can carry more weapons and produce supplies efficiently. Crafting Expertise improves the number of items created from your materials, which is far more valuable than it sounds when every medkit, lockpick, and firecracker matters.
Do side quests, rescue survivors, activate safe zones, and complete quarantine zones to increase Survivor points. The main story pushes you forward, but side content is where your inventory and blueprint collection become reliable. Turn in disaster relief packages to the Quartermaster whenever possible; they are a steady source of Survivor experience, especially before your gear improves.
4. Spend Agility and Power points for different problems
Agility levels through movement, so rooftop routes, slides, vaults, and controlled escapes naturally feed this tree. Its later tools, including the Grappling Hook, radically change traversal. Power levels through combat, but that does not mean you should farm every street fight. Use kicks, environmental hazards, and low-risk takedowns to build Power without burning your best weapons.
For most first playthroughs, a practical order is Agility utility first, Survivor inventory and crafting second, then Power damage skills. Stomp is fantastic against downed enemies, while Ground Pound can create space when surrounded. Don't rush into the Legend system until the base skill trees are doing the work you need; Legend points arrive later and are better spent with a clear playstyle.
| Skill tree | Best early focus | How it levels | Payoff |
|---|---|---|---|
| Survivor | Backpacker, crafting upgrades | Quests, safe zones, relief packages | More supplies and better preparation |
| Agility | Dodge, Vault, movement skills | Parkour actions and escapes | Reliable traversal and crowd control |
| Power | Kicks, Stomp, Ground Pound | Combat actions and takedowns | Better answers when surrounded |
| Legend | Choose damage or stamina later | Late-game progression | Specialized endgame bonuses |
Manage Weapons, Crafting, and Loot
5. Save firearms for Rais's men, not regular infected
Guns are tempting because they solve problems instantly, but every shot creates noise. That noise attracts Virals and can turn a quiet rooftop into a swarm. During the early Slums missions, blunt and edged weapons are safer for ordinary Biters. Use firearms when fighting Rais's soldiers, protecting a position, or dealing with a target that cannot be reached safely with melee attacks.
Weapon damage depends on the item's level, rarity, handling, and modification potential, so don't cling to a familiar pipe just because it has sentimental value. Check the displayed damage and durability before committing resources. A weapon with lower damage but excellent handling can still be useful, especially when your stamina pool is small.
6. Craft medkits, lockpicks, and firecrackers constantly
Search apartment kitchens, ambulances, shops, and abandoned vehicles for alcohol, gauze, metal parts, household supplies, and nails. Medkits use alcohol and gauze, and they are your most important craft because healing is not automatic during combat. Keep several ready before story missions and nighttime objectives.
Lockpicks open more than chests. They give you access to better weapons, money, and crafting materials, so carry a supply rather than ignoring locked containers. Firecrackers are equally important: throw them away from your route, wait for the crowd to move, and then sprint through the gap. Later, elemental throwing stars and upgraded blueprints make combat more flexible, but firecrackers remain useful from the first hour to the last.
7. Check shops and Quartermasters after major missions
Vendors refresh their inventory, and new Survivor ranks unlock better equipment. Sell duplicate weapons rather than filling your backpack with mediocre tools. Keep one fast weapon, one heavy weapon, and a spare with elemental damage if available. Repairs are limited per weapon, so repeatedly fixing a favorite blade will eventually make it unusable. Treat weapons as disposable equipment, not permanent companions.
Blueprints can be more valuable than a rare weapon because they let you convert common materials into dependable tools. The Flares blueprint and UV-related equipment become especially important around nighttime activities. If you enjoy tinkering with performance as much as loadouts, Steamoz's guide to settings for higher FPS offers useful optimization habits that also apply to older PCs running Dying Light.
Make Nighttime and Safe Zones Work for You
8. Activate safe zones before chasing story objectives
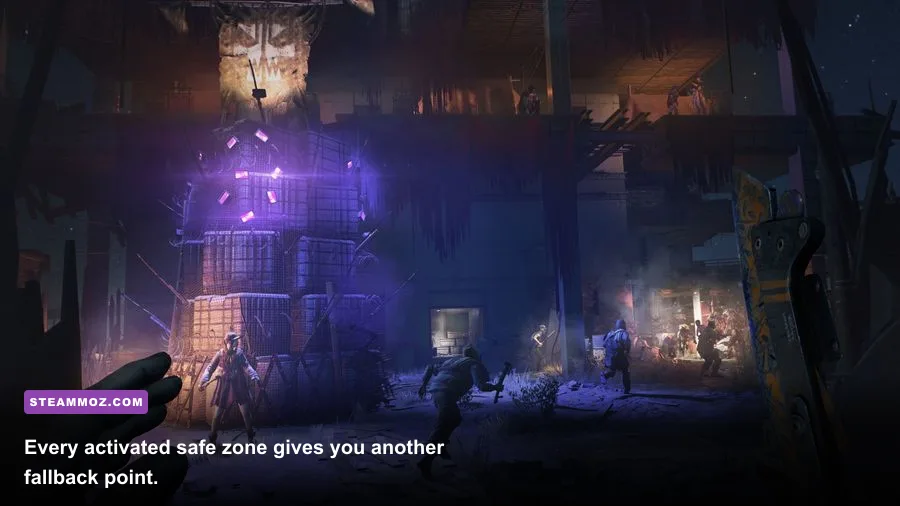
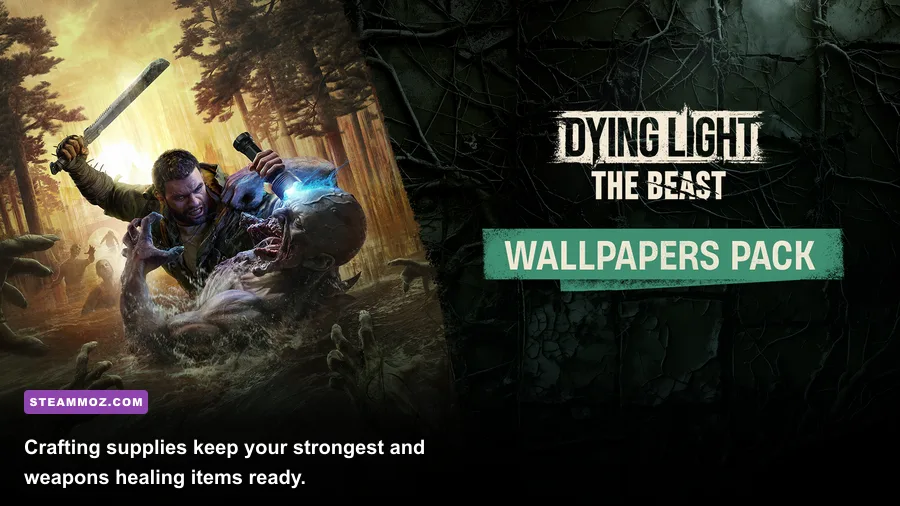
Safe zones are not just convenient respawn points. They create a connected network of UV-lit shelters, crafting access, and emergency destinations. When you enter a new district, look for the nearest zone and clear it before wandering deeper. The usual process is simple: eliminate the infected inside, secure the area, and interact with the gate or control point.
Use the map to plan a chain of safe zones before starting a night quest. If a chase goes bad, you should know exactly which blue-lit shelter is closest. This habit also makes death less punishing because you are not restarting from a distant corner of Harran. Never begin a long nighttime run while carrying unspent valuables and a half-empty inventory.
9. Treat night as a risk-reward event
Night doubles the danger but also increases the reward for surviving. Your Agility and Power experience gains are improved after dark, making short nighttime parkour circuits a smart way to level. Start with a route near a safe zone, collect nearby drops, and return before your UV resources run out. Don't take a story mission deep into the city until you have practiced reading the minimap's pursuit indicators.
Volatiles are fast, durable, and lethal for under-equipped players. UV light interrupts them, while UV flares create temporary pockets of safety. If a chase begins, don't turn around to fight. Break sight around buildings, climb vertically, cross rooftops, and use UV protection when the pursuit meter escalates. The official Steam listing confirms the game's emphasis on day-night survival, but the practical rule is simple: nighttime objectives should always have an exit plan.
Read Enemies and Optimize Your Setup
10. Learn enemy telegraphs and tune performance before combat
Biters raise their arms and lurch before a swing, Virals accelerate into a straight-line charge, and Demolishers telegraph a rock throw with a clear wind-up. Against a Demolisher, keep moving laterally, bait the throw, and attack after the projectile misses. Don't stand directly in front of him: his charge and ground slam punish players who rely on blocking instead of spacing.
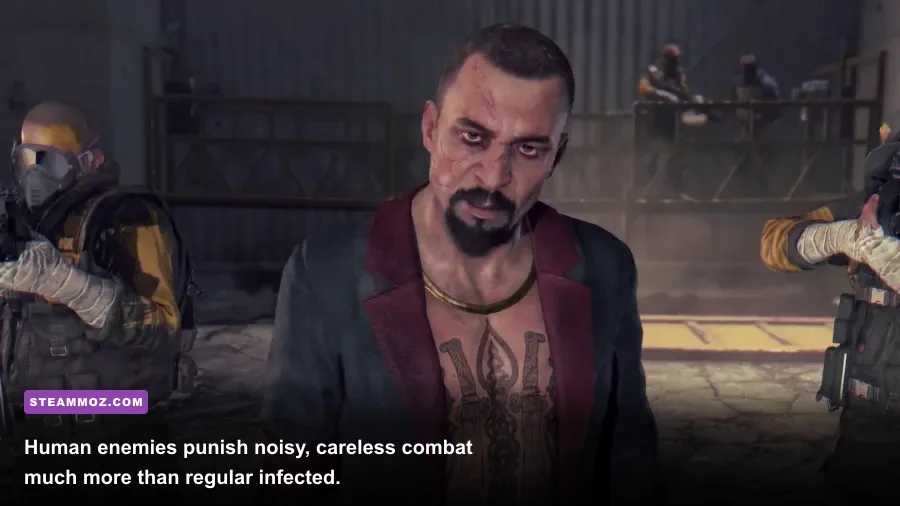
Human enemies are different. Rais's men use firearms, machetes, and thrown weapons, so cover and elevation matter more than crowd control. Break their line of sight, isolate melee fighters, and use dropkicks or environmental hazards before challenging gunmen. In co-op, split angles rather than stacking in one doorway; enemies can stagger-lock a group that refuses to spread out.
On PC, stable frame pacing improves parkour timing more than maximum texture quality. Start with 1080p, keep textures at High if your VRAM allows it, and lower view distance, foliage quality, ambient occlusion, and shadows first. Disable motion blur if you need clearer target tracking. If you are troubleshooting stutter, Steamoz's PC fixes and FPS guide explains the same sensible process of changing one setting at a time.
| PC setting | Recommended starting value | FPS impact | Visual trade-off |
|---|---|---|---|
| Resolution | 1920x1080 | High if increased | Lower resolution is noticeably softer |
| View distance | Medium to High | High | Less distant detail and foliage |
| Shadows | Medium | Medium to High | Less defined lighting |
| Ambient occlusion | Medium or Off | Medium | Flatter corners and contact shadows |
| Textures | High with sufficient VRAM | Low GPU, higher VRAM use | Lower settings blur surfaces |
| Motion blur | Off | Minimal | Cleaner turns and combat tracking |
For official reference, check Techland's Dying Light website and the Dying Light community wiki when you want to verify blueprint locations or mission details. For more survival-game reading, Steamoz's games like Far Cry Primal feature is a good follow-up.
The winning rhythm in Dying Light Essentials Edition is preparation, movement, and restraint. Activate the next safe zone, refill your medkits, carry firecrackers, inspect your weapon durability, and choose the rooftop route before you start swinging. Once those habits become automatic, Harran stops feeling like an endless ambush and starts feeling like a city you can actually master.