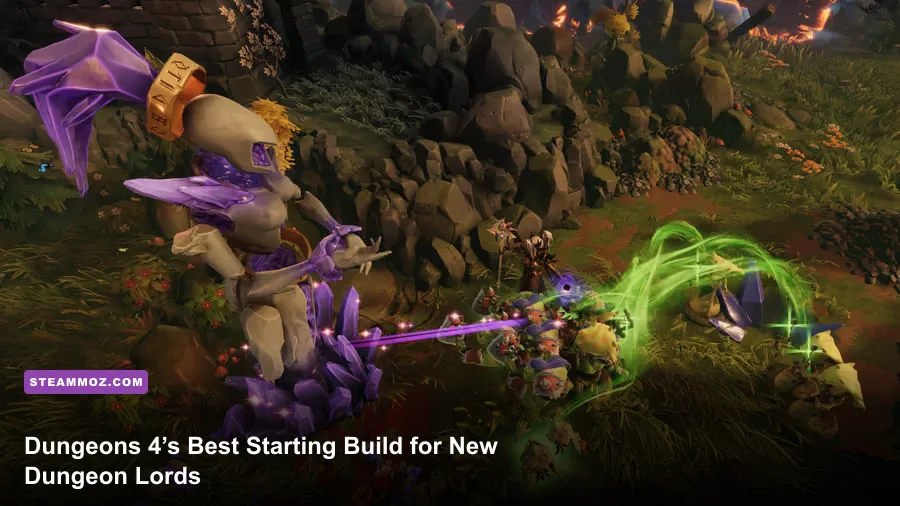
The best beginner build in Dungeons 4 is a compact Horde dungeon built around Orcs, a single guarded entrance, early food production and a fast Training Room. Start with a Treasury, Hatchery and Training Room, recruit Orcs before expanding into demons or undead, and spend your first Evilness on creature durability rather than flashy traps. This opening reaches a reliable fighting force quickly, protects the Dungeon Heart from early hero raids and leaves enough gold to respond when the campaign suddenly opens into the overworld.
Dungeons 4 rewards aggressive planning, but it punishes greed. New players often dig a huge underground complex, unlock every room and discover that their creatures are hungry, undertrained and standing on the wrong side of the map when heroes arrive. The build below avoids that trap. It is designed for the campaign’s early missions and works especially well on Normal difficulty, while still giving you a clean foundation for harder settings.
Before starting, it’s worth checking the official Steam page for Dungeons 4 for current patches and DLC changes. Balance can shift, but the opening logic stays consistent: secure income, produce creatures, create a short defensive route and only then chase map objectives.
The strongest opening build and why it works
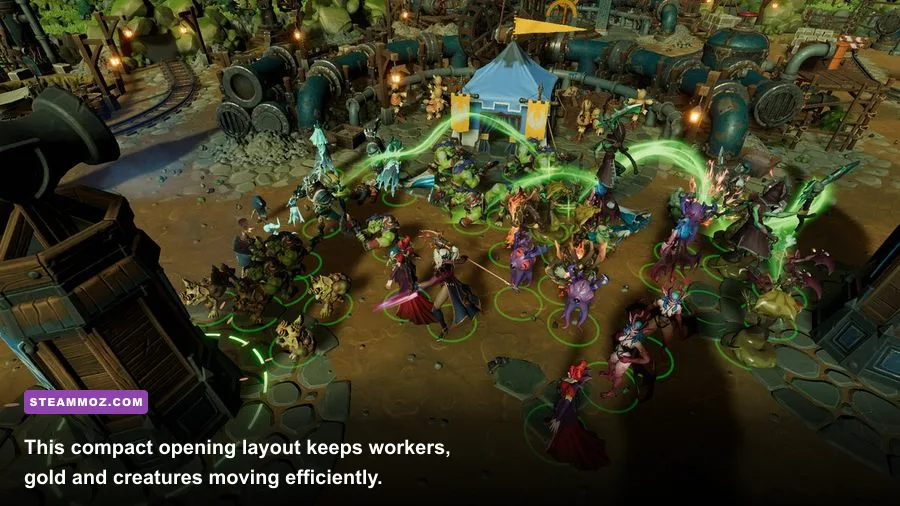
Your first dungeon should be deliberately boring. Digging every visible tile feels productive, but each extra tunnel increases travel time and makes it harder to defend the Heart. Keep the initial rooms close together, with the entrance feeding into one obvious corridor. The Treasury belongs near the dungeon’s central working area, while the Hatchery and Training Room should sit close enough that creatures aren’t spending the first minutes wandering across empty rooms.
The Horde is the safest first faction because Orcs give you a durable frontline before you have access to complicated support interactions. Goblins add useful damage and worker utility, but they shouldn’t replace your first Orc group. Nagas become much more valuable once you can protect them with a proper frontline. The same rule applies to demons and undead: they’re excellent additions, not substitutes for stabilizing the opening.
| Build Element | First Priority | Reason | Beginner Target |
|---|---|---|---|
| Core room | Treasury | Shortens gold delivery routes | One compact room near the Heart |
| Creature production | Hatchery | Supports Horde recruitment and food flow | Build before luxury rooms |
| Army | Orcs first | Reliable health and frontline control | Four to six Orcs before expansion |
| Training | Training Room | Turns early bodies into a dependable force | Place beside the main route |
| Defense | One corridor | Concentrates damage and healing | Keep the first approach short |
| Research | Creature upgrades | Improves every future battle | Delay expensive trap experiments |
For the first ten minutes, think in thresholds rather than a rigid construction script. Have one Treasury operating before opening a second mining direction. Have a Hatchery before recruiting beyond your initial group. Have a Training Room before sending the army into unexplored territory. These checkpoints prevent the familiar beginner spiral where gold disappears into rooms that don’t help you survive the next attack.
The practical room order
After the Dungeon Heart and starting tiles, dig toward the nearest gold seam and place the Treasury where workers can reach it without crossing the creature staging area. Add the Hatchery, then the Training Room. If a campaign mission gives you a prebuilt room, keep it unless its position forces a long route; demolishing useful infrastructure during the opening is usually a worse trade than adapting around it.
Build a Workshop only when the map or mission objective clearly demands traps. A Workshop is powerful once you can defend a corridor, but it doesn’t replace bodies. Likewise, don’t rush the Torture Chamber, Temple or other specialist rooms simply because they are available in the build menu. Your opening gold has one job: turn a small dungeon into a place that can win its first real fight.

🎮 Dungeons 4
Looking to experience this game? Grab your digital key directly on our store for $27.49.
View on Steammoz Store →Skill points, Evilness and creature priorities

The safest skill philosophy is simple: improve the units that fight every battle before investing in abilities that require a perfect setup. Dungeons 4’s skill trees let you shape Evil, creatures and dungeon infrastructure, but a new player gains more from dependable damage and survivability than from a clever late-game combo they can’t yet protect.
Put your early Evilness into the creature branch that improves the Horde’s ability to stay in combat. Favor health, damage and cooldown improvements over niche bonuses that only work against a particular enemy type. Once your Orc frontline is stable, unlock the upgrades that improve recruitment and training efficiency. After that, invest in a defensive option that slows, weakens or redirects heroes inside your kill corridor.
Don’t spend every point the moment it appears. Save enough Evilness to respond to the mission’s next unlock or objective. Some campaign missions introduce a new creature, room or overworld pressure immediately after a story beat. A reserve lets you adapt instead of pausing your entire economy to fund a single upgrade.
| Priority | Skill or System Focus | When to Take It | What It Solves |
|---|---|---|---|
| S-Tier opening | Horde durability and direct damage | First available creature upgrades | Stops early Orcs from collapsing in focus fire |
| S-Tier opening | Training and recruitment support | After your first fighting group | Replaces losses without freezing expansion |
| A-Tier | Corridor control and defensive effects | Before the first serious hero push | Keeps enemies inside your damage zone |
| A-Tier | Worker or gold efficiency | When income begins limiting upgrades | Maintains momentum on larger maps |
| B-Tier early | Specialist creature synergies | After the frontline is established | Improves later compositions, not survival now |
| B-Tier early | Expensive trap chains | Once a corridor is fully defended | Rewards preparation but wastes early tempo |
Keep Orcs in front, Goblins behind or to the side, and fragile specialist units away from the first contact point. The Evil Hand is not just a cursor: use it to pick up injured creatures, move them out of a losing engagement and drop them where your frontline can re-form. That small intervention often saves more gold than another room upgrade.
Food is the quiet limiter on this build. A growing army that outpaces Hatchery capacity becomes an expensive liability. If the creature panel shows a persistent shortage, stop recruiting and fix production before chasing the next objective. Hunger drains the value of every combat upgrade because weakened units reach the battlefield already behind.
Combat rotation for the first hero attacks
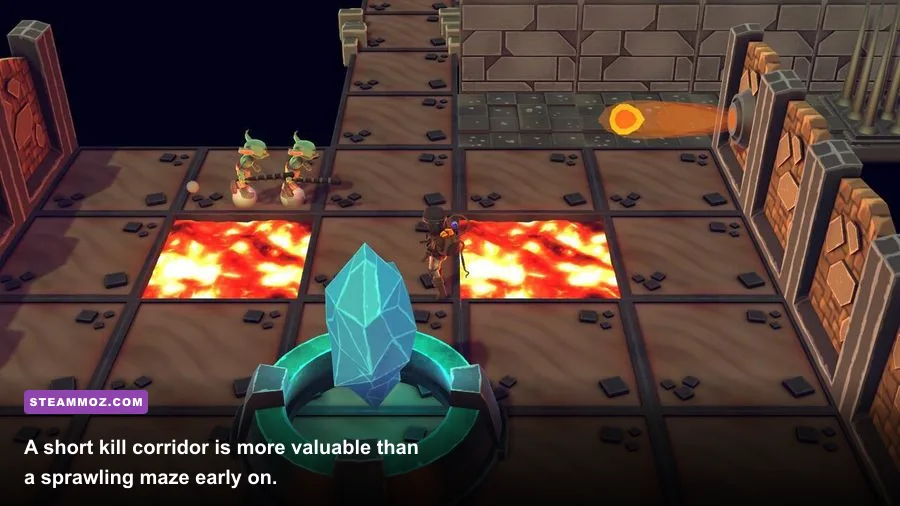
Your first defensive battle should happen on your terms. Keep the Orcs near the corridor entrance, not scattered around the entire dungeon. Let heroes cross into the controlled area, then commit the frontline as one group. Sending two Orcs ahead to “see what happens” is how beginners lose the only units capable of holding the Heart.
Watch enemy movement rather than clicking frantically. Heroes telegraph their approach by entering through the dungeon route, and ranged attackers often become dangerous when your creatures are pinned in a doorway. Drop the Orcs onto the front target, then use the Evil Hand to reposition any unit that is being isolated. Goblins should attack from behind the Orc wall whenever possible.
The basic rotation is gather, pin, focus and reset. Gather the group outside the enemy’s vision or just behind the corridor. Pin the first hero with Orcs. Focus one target until it falls instead of spreading damage across the entire party. Reset injured creatures toward the Heart or a safe room, then re-engage once the enemy formation has broken. Dungeons 4 is an RTS, not a damage race; winning with half your army alive is far better than trading everything for one heroic push.
How to handle common early threats
Against melee-heavy hero groups, shorten the approach and let them collide with your frontline. Against ranged units, don’t allow a long open-room firefight. Use doors, corners and terrain to force the enemy closer before committing. If a raid contains a healer or support hero, focus that target early, but don’t drag your entire army past the frontline to reach it. Maintain formation and use the Evil Hand to pull one or two attackers around the side.
When the enemy retreats, resist the urge to chase blindly. Heal, replace fallen units and check the map for a second entrance. Campaign missions frequently turn a successful defense into an ambush by opening a new route or sending another objective toward the dungeon. The strongest counterattack is a prepared one: full food, trained creatures and a visible escape route back to the Heart.
| Threat | Danger Signal | Counter | Best Tool |
|---|---|---|---|
| Melee hero group | Frontline reaches your room intact | Hold Orcs at the corridor mouth | Short defensive route |
| Ranged attackers | Creatures lose health before contact | Break line of sight and close distance | Corners, doors and Evil Hand repositioning |
| Healer or support hero | First target keeps recovering | Focus support without abandoning formation | Goblins behind Orcs |
| Split raid | Second route appears on the map | Keep a reserve near the Heart | Compact dungeon layout |
For more general survival habits, Steamoz’s new-player survival guide makes a similar point: information and positioning beat panic. The principle carries perfectly into Dungeons 4.
When to expand beyond the starter dungeon

Expand only after three conditions are true: your first entrance is defended, your army can replace casualties and your gold income is no longer consumed by basic construction. A good early benchmark is four to six trained Orcs with supporting Goblins, a functioning Hatchery and enough reserve resources to react to a raid. You don’t need a huge army; you need one that can survive the next five minutes without destroying your economy.
Once that foundation is ready, open a second mining route or claim a nearby strategic room. Keep the original corridor as the Heart’s emergency defense. If you create a second entrance, defend it immediately or block it until you have the resources to do so. An unguarded shortcut gives heroes a direct route through your economy and turns every worker into a potential casualty.
This is also the point where specialist factions start making sense. Add Nagas when you can keep them protected and give them time to contribute. Add demons or undead when the campaign’s research and room access support them, not because a new icon appeared in the menu. A mixed army is stronger than an Orc-only force, but only after the dungeon can feed, train and position that army consistently.
| Expansion Stage | Build Goal | Army Check | Do Not Do Yet |
|---|---|---|---|
| Opening | Treasury, Hatchery, Training Room | Initial Orc group | Digging the whole map |
| Stabilization | Workshop or defensive corridor | Four to six trained Orcs | Chasing distant objectives alone |
| First expansion | Second mining route or key room | Reserve near the Heart | Leaving a new entrance open |
| Mixed roster | Specialist creature support | Frontline remains intact | Replacing Orcs with fragile units |
| Overworld push | Objective-focused tunnels and army route | Food and replacement income stable | Going out during a raid warning |
Overworld expeditions deserve their own discipline. Move the army as a single group, clear objectives in the order the mission suggests and avoid taking a long detour while the dungeon is under pressure. If the map offers a reward that requires abandoning your defensive route, it’s usually better to finish the immediate threat first. Dungeons 4’s campaign is generous with opportunities, but it loves punishing players who split their attention.
If the game starts stuttering when your dungeon fills with creatures, workers and effects, Steamoz’s advice on turning stutter into smooth FPS is useful. In an RTS, stable frame pacing matters more than a handful of extra visual effects because delayed selection and camera movement can ruin a defense.
Performance settings that help you read battles
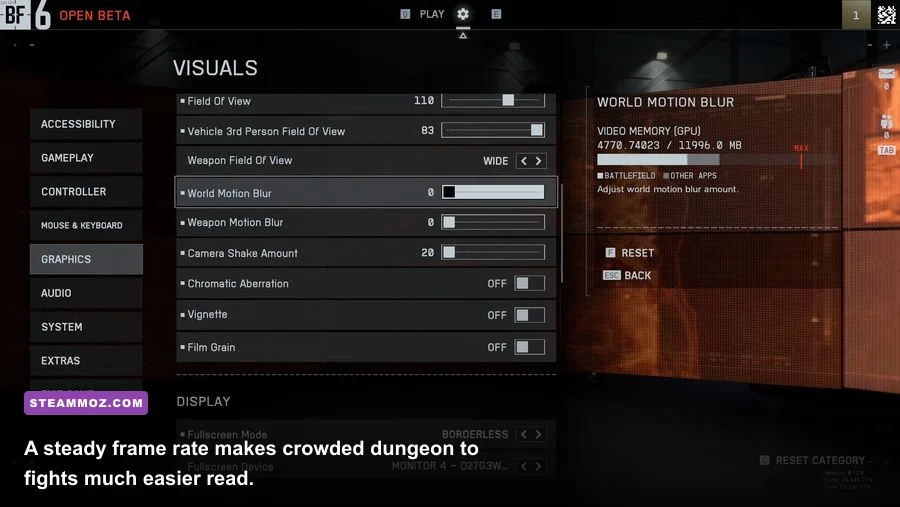
Dungeons 4 can become visually busy once multiple rooms, workers, creatures and spell effects appear together. You don’t need to sacrifice the game’s atmosphere, but a stable frame rate makes unit selection and emergency repositioning much easier. Start with the High preset, then lower the settings that create the most clutter or GPU load. Test in a populated dungeon rather than an empty menu scene.
| Setting | Recommended Beginner Value | Performance Impact | Visual Trade-Off |
|---|---|---|---|
| Resolution | Native monitor resolution | High if reduced | Keep native unless GPU-limited |
| Shadows | Medium | Medium to high | Small loss in room depth, strong FPS gain |
| Effects quality | High or Medium | Medium during battles | Medium preserves spell readability |
| Ambient occlusion | Medium | Medium | Rooms remain convincing without heavy cost |
| Anti-aliasing | High or the second-highest option | Low to medium | Keeps creature outlines clean |
| Motion blur | Off | Small | Sharper camera movement and unit tracking |
| V-Sync | On if tearing appears | System-dependent | May add latency, but steadies presentation |
Use the same practical priority as our PC graphics settings guide: preserve clarity first, then add visual quality until performance dips. If the game runs smoothly while paused but slows during a raid, lower shadows and effects before dropping resolution. If camera movement feels uneven everywhere, cap the frame rate to a level your system can hold consistently rather than chasing a fluctuating maximum.
For a final reference point, the official Dungeons 4 Steam discussions are useful for checking patch-specific bugs, campaign quirks and hardware reports. The developer’s Kalypso Media site is the better place for official announcements.
The winning beginner habit is not a secret room or a perfect skill order. It’s restraint. Build a compact dungeon, let Orcs establish the frontline, train before expanding, and make every new corridor earn its cost. Once your Heart is safe and your economy can replace losses, Dungeons 4 opens up into one of the most satisfying strategy sandboxes on PC. Until then, keep the evil small, fed and ready to fight.