
If you're buying the Deep Rock Galactic Supporter II Upgrade for a faster route to credits or class levels, there's one important catch: it is a cosmetic DLC, not a gameplay booster. The quickest progression comes from targeted Double XP missions, Hazard 4 or 5 clears, and efficient mission selection; the best gold income comes from Pots O' Gold, gold-rich caves, compressed gold, and a lucky Crassus Detonator. Supporter II makes your dwarf look gloriously expensive, but it doesn't multiply mining rewards, XP, or credit payouts.
That distinction matters because plenty of new miners assume the shiny Supporter II package is tied to a secret gold bonus. It isn't. You still earn credits through normal mission rewards, mineral selling, and secondary objectives. The upgrade is worth considering for its gold-themed cosmetic collection and supporter flair, not as a power purchase. Check the Supporter II Steam listing before buying so you know exactly what the bundle contains.

What Supporter II Actually Gives You
Supporter II is an upgrade-style DLC for Deep Rock Galactic. It does not unlock a class, weapon overclock, perk slot, resource multiplier, or special mission type. Your Scout remains just as mobile without it, and your Engineer's sentry still deals the same damage. The package is aimed at players who want a premium visual identity while supporting Ghost Ship Games.
The precise cosmetic contents can be checked on the official Deep Rock Galactic website and the current Steam product page, since DLC listings can change presentation across platforms. In practical terms, the Supporter theme is built around a striking gold-and-black look that can be applied through the usual customization systems. It is especially noticeable on the armor, weapon frameworks, Bosco, and pickaxe elements included in the bundle.
| Supporter II Question | What It Does | What It Does Not Do |
|---|---|---|
| Gold cosmetics | Changes the appearance of supported gear and equipment | Does not increase mined gold or mission credits |
| Supporter status | Adds a premium visual identity and supports the developer | Does not unlock gameplay power |
| Leveling | Leaves normal XP systems unchanged | Does not grant instant levels or bonus XP |
| Gold farming | Lets you look the part while mining | Does not improve gold vein size, spawn rate, or Crassus rewards |
That makes the upgrade a style choice rather than a shortcut. If your goal is a promoted dwarf, save your credits for weapon licenses, gear upgrades, and perk purchases. If your goal is to make every lobby recognize your immaculate golden dwarf, Supporter II delivers that immediately.
🎮 Deep Rock Galactic - Supporter II Upgrade
Looking to experience this game? Grab your digital key directly on our store for $4.49.
View on Steammoz Store →Build a Credit-Farming Run Around Real Gold
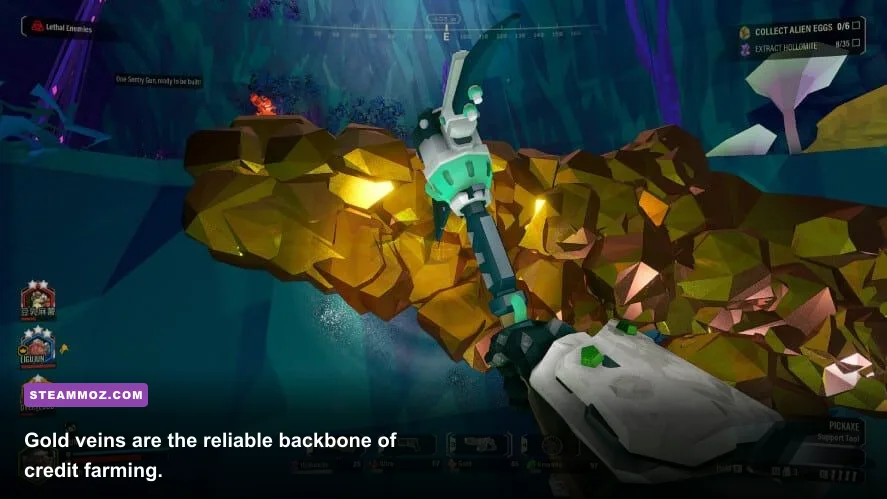
Gold veins are the most consistent source of extra credits. They appear as yellow, metallic patches embedded in cave walls, usually around ledges, pillars, tunnels, and ceiling pockets. Mine the exposed surface with your pickaxe, then look for the darker continuation of the vein rather than stopping after the first visible cluster. A full vein is often worth more than the first few swings suggest.
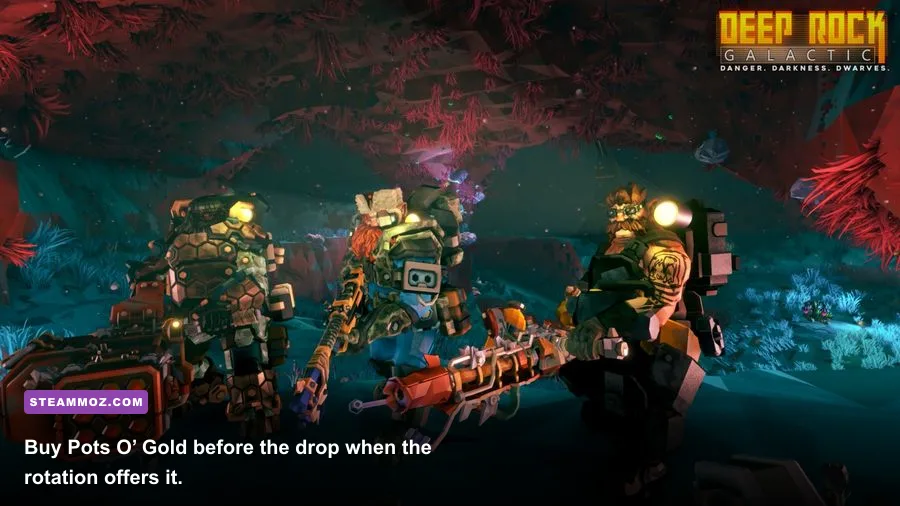
For serious credit farming, drink Pots O' Gold at the Abyss Bar before launching. The beer makes mined gold substantially more valuable for the duration of the mission, but it only helps gold mined with the pickaxe. It does not multiply gold picked up from an objective, increase mission-completion credits, or affect compressed gold deposited from a cave event. Because the beer rotation is random, check the bar before every planned farming session.
The strongest setup is a Scout with Deepcore GK2 or M1000 Classic, a high-mobility grappling hook build, and the Jury-Rigged Boomstick for clearing threats near a vein. Scout reaches ceiling gold faster than any other class, while Engineer can place platforms beneath awkward deposits. A Driller can carve a safe staircase or tunnel, and a Gunner's zipline lets the team mine high walls without gambling on a fall.
| Gold Source | Credit Value Potential | Best Method | Time Efficiency |
|---|---|---|---|
| Gold vein | Reliable extra credits | Mine every visible vein, especially with Pots O' Gold | High in Mining Expedition |
| Compressed gold | Large chunk bonus | Use the Terrain Scanner and deposit the chunk quickly | High when conveniently located |
| Crassus Detonator crater | Potentially enormous | Lead it into a tunnel or open chamber before killing it | Excellent if the spawn cooperates |
| Gold secondary objective | Mission reward plus mined gold | Complete it only when the route stays efficient | Medium |
| Mission payout | Guaranteed completion credits | Finish quickly instead of over-mining empty rooms | Very high |
Mission selection matters more than wandering randomly. Mining Expedition is usually the cleanest gold run because the team follows a predictable tunnel and can inspect side pockets without crossing a sprawling room network. Point Extraction is also strong when the cave is compact, but swarms grow more dangerous the longer you stay, so don't spend twelve minutes chasing one ceiling vein while the Nitra supply runs dry.
Gold is optional, and that word should guide your decisions. If a vein requires a dangerous jump, a long detour, or repeated combat under a swarm, leave it. The credits from completing another mission are often better than the gold you lose while reviving a teammate. For broader performance advice, our Borderlands 2 settings guide covers a similar principle: smooth performance helps more than flashy settings when fights become chaotic.
Turn a Crassus Detonator Into a Gold Payday
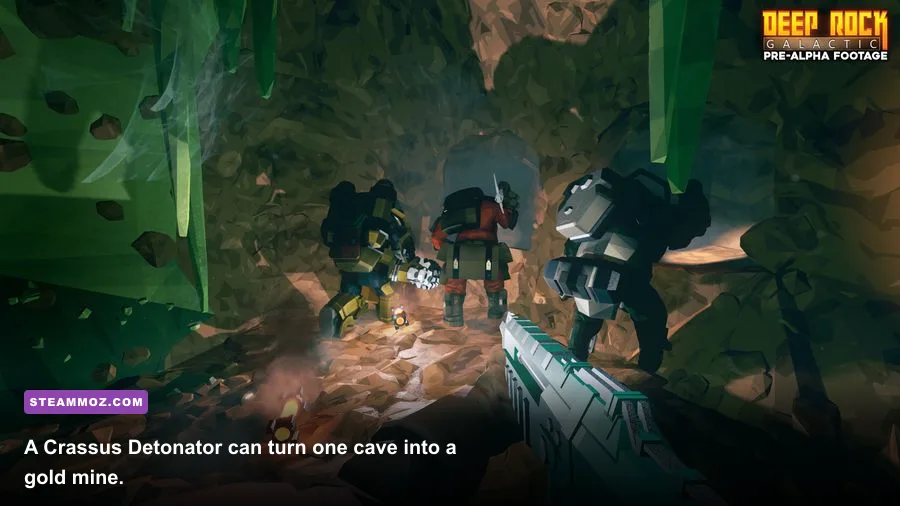
A Crassus Detonator is the jackpot event for gold farming. When it explodes, it coats nearby terrain in gold. The trick is not simply killing it quickly; the trick is controlling where it dies. Lead the Detonator through a narrow tunnel or a large, accessible chamber so the explosion paints surfaces your team can actually reach. Killing it in a vertical shaft or beside an objective can waste much of the coating.
Watch the telegraph. The Detonator glows intensely, emits a distinctive warning sound, and begins its lethal approach. Its explosion is not a normal melee hit you can casually absorb. Keep distance, avoid getting trapped against terrain, and use slow or stagger effects to buy time. The Scout should mark the creature and clear an escape route, while Driller removes blocking terrain before the team commits to the kill zone.
Once the explosion happens, don't immediately deposit and leave. Mine the coated walls systematically. Scout handles the ceiling with the Grappling Hook; Engineer places platforms under high strips; Driller opens cramped corners; Gunner protects the mining line with a shield generator if bugs arrive. If you have Pots O' Gold, this is where the beer can produce its most dramatic return, because the mission may contain many connected gold-coated surfaces.
Compressed gold is different. It normally appears as a large chunk inside a wall and must be mined free before depositing. Ping it with the laser pointer so the whole team sees it, then use the Terrain Scanner to understand the surrounding geometry. The famous “We're Rich!” voice line is fun, but don't let the celebration distract you from a nearby swarm or a falling hazard.
| Event | Danger Signal | Counterplay | Mining Priority |
|---|---|---|---|
| Crassus Detonator | Bright glow, warning audio, lethal explosion | Prepare an escape route and kill it in a mineable chamber | S-Tier when safely accessible |
| Bulk Detonator | Similar pressure but no gold coating | Use distance, terrain, and focused fire | Combat priority only |
| Compressed gold | Chunk embedded in terrain | Ping, free the chunk, deposit it safely | High if near the route |
| Gold vein during swarm | Red swarm warning and rising enemy pressure | Stop mining, fight, then resume | Delay until the room is safe |
Never confuse a Crassus Detonator with a normal Bulk Detonator. Both demand respect, but only the Crassus creates the gold-coated cave. The game's Crassus Detonator reference is useful for checking current behavior and terminology.
Fast Leveling Means Chasing XP, Not Gold
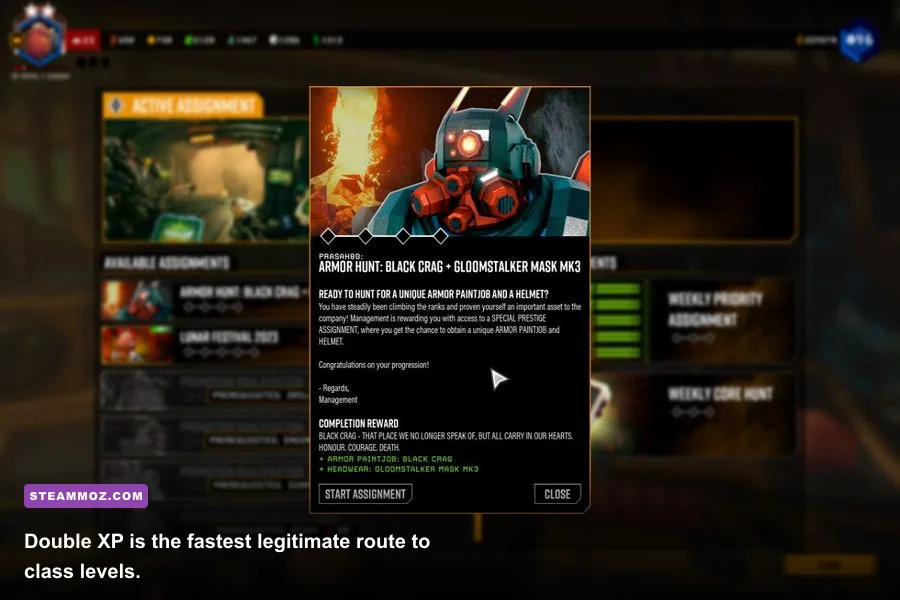
Credits and experience are separate economies. Gold helps pay for upgrades, but it doesn't replace mission XP. If your real target is level 25 and promotion, prioritize the largest XP multipliers and the fastest reliable clears. Start with the mission terminal and look for a Double XP warning. The bonus applies to the mission's earned experience, making it more valuable than a normal gold-heavy cave when leveling is the priority.
For experienced teams, Hazard 4 is the sweet spot. Hazard 5 offers a higher hazard multiplier, but only if your squad can clear it without repeated downs, abandoned objectives, or a failed extraction. A clean Hazard 4 run usually beats a chaotic Hazard 5 disaster. Enemy health, damage, and swarm pressure rise with hazard level, so bring a build you already understand rather than experimenting during a leveling push.
Mission length and complexity also shape the progression curve. Length 2 missions are generally faster to complete than Length 3, while Complexity 1 caves reduce navigation time and unexpected terrain detours. A compact Point Extraction can be exceptionally quick for a coordinated team, but Mining Expedition is more forgiving because the route is easier to read. Elimination can be efficient with a strong squad, though Dreadnought fights consume more ammunition and carry more wipe risk.
| Leveling Target | Recommended Mission Profile | Why It Works | Main Risk |
|---|---|---|---|
| Maximum XP per clear | Double XP, Hazard 4 or 5, Length 2 | Stacks mission bonus with danger and completion multipliers | High failure cost |
| Fast solo leveling | Double XP, Hazard 3, Point Extraction or short Mining Expedition | Steady clears with lower downtime | Lower XP per mission |
| Reliable promotion progress | Hazard 4, Complexity 1, familiar objective | Good XP while preserving completion rate | Less explosive than Hazard 5 |
| Credit and XP hybrid | Mining Expedition with gold secondary objective | Combines payout, minerals, and manageable exploration | Over-mining slows the squad |
Your class level rises from mission XP, not from mining speed alone. Rotate classes if you want account-wide progression, but remember that each dwarf levels independently. A level 25 Scout still needs separate progression on Engineer, Gunner, and Driller before those classes can be promoted. Finish assignments when possible because assignment missions can steer you toward useful unlocks instead of leaving you to repeat random objectives.
For a strong general performance baseline, use the same philosophy found in our smooth FPS settings guide: stable frame pacing matters. Hoxxes gets visually noisy during swarms, and a stutter at the wrong moment can turn a clean XP run into a revive chain.
The Best Class Roles for a Gold-and-XP Squad
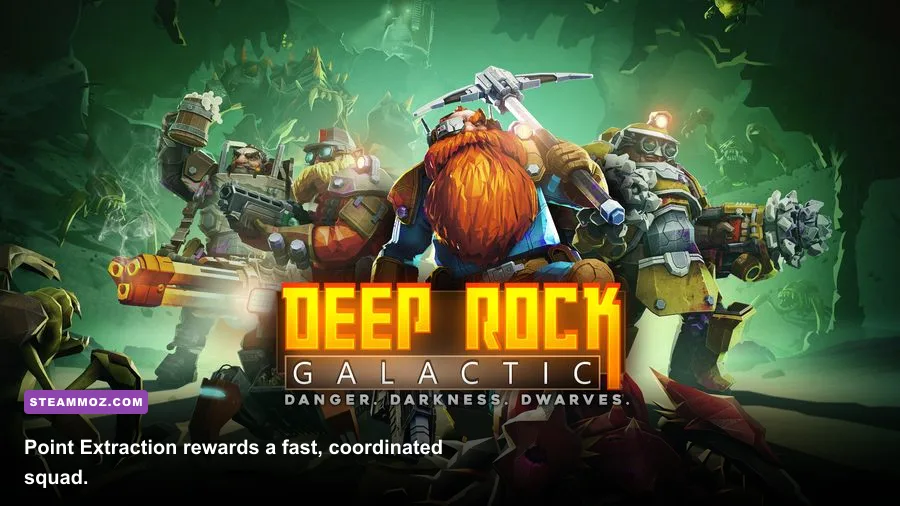
A balanced four-dwarf team farms better than four players independently chasing shiny walls. Scout finds and mines high gold, Engineer creates platforms and locks down approaches, Driller reshapes terrain, and Gunner keeps the team alive when a swarm interrupts the payday. You don't need this exact composition for every mission, but each role solves a different bottleneck.
Scout: Reach the impossible vein
Scout's Grappling Hook is the best gold tool in the game because it turns ceiling deposits from a time sink into a quick detour. Use the flare gun before mining so the team can see threats and terrain. The M1000 Classic rewards weak-point accuracy against priority targets, while the Deepcore GK2 is more forgiving during fast Hazard 4 clears. The Boomstick can erase a Praetorian at close range or provide momentum with a well-timed special powder setup, depending on your build.
Engineer: Make mining safe
Engineer should place platforms under high veins before Scout commits to the grapple. The platform gun also creates safe footing around objective rooms. Build the LMG Gun Platform where it covers the mining route, not in a random corner; the sentry's value is measured by how long it protects the team while they mine. Breach Cutter is superb for swarm control, while the Warthog Auto 210 is dependable when targets reach the platform.
Driller: Carve the route
Driller's Reinforced Power Drills can turn an ugly gold pocket into a straight, safe path. Use the drills before the swarm becomes overwhelming, and don't burn all your fuel on cosmetic detours. The CRSPR Flamethrower handles clustered Glyphids, Cryo Cannon offers strong control, and Corrosive Sludge Pump slows enemies while your team works. Driller is also the emergency specialist for making a direct tunnel to the Drop Pod.
Gunner: Protect the payday
Gunner's Shield Generator is the squad's insurance policy. Drop it when a swarm lands on the team during a Crassus cleanup or when reviving a fallen miner. The Lead Storm Powered Minigun delivers sustained damage, while the Thunderhead Autocannon controls groups with explosive area damage. Save ziplines for high deposits, extraction routes, and dangerous gaps instead of spending every charge on convenience.
| Class | Gold-Farming Job | XP-Run Strength | Key Tool |
|---|---|---|---|
| Scout | Mine ceilings and mark deposits | Rapid target access and flare coverage | Grappling Hook |
| Engineer | Build platforms under deposits | Sentry control during swarms | Platform Gun |
| Driller | Open routes and remove awkward terrain | Excellent crowd control and extraction tunnels | Reinforced Power Drills |
| Gunner | Cover miners and create ziplines | Shield Generator prevents failed clears | Shield Generator |
Communication is the multiplier. Ping gold once, call “gold here,” and keep moving. If nobody responds, don't hold the entire mission hostage. The best teams mine valuable deposits while naturally traveling toward the objective, rather than treating every cave as a museum exhibit.
A Practical Route From Fresh Dwarf to Promotion
Early progression should focus on unlocking a functional kit for each class, not buying every cosmetic the Space Rig offers. Complete the introductory assignments, purchase weapon upgrades that improve ammo or reliability, and use Hazard 2 or 3 until you can consistently finish objectives. Jumping straight into Hazard 5 for the multiplier is not fast leveling if every other mission ends at the failed screen.
Once you have a reliable build, use the following loop. First, check the assignment board and mission terminal for Double XP. Second, select a compact objective with low complexity. Third, drink Pots O' Gold only when the mission is genuinely worth mining. Fourth, complete the primary and secondary objectives without detouring into every side chamber. Finally, call the Drop Pod as soon as the team has secured the required rewards.
- Before launch: inspect the biome, hazard level, mission length, and beer rotation. Equip a build with enough ammunition for the expected enemy pressure.
- At the start: mark Nitra and gold, establish the route, and avoid splitting unless the terrain is safe and the team communicates.
- During exploration: mine gold beside the objective path. Stop mining when a swarm warning appears; surviving preserves more XP than squeezing out one last vein.
- During events: finish machine events, Dreadnoughts, or cargo tasks only when the squad has the ammo and health to do so. Optional rewards aren't worth a failed mission.
- At extraction: use Driller tunnels, Gunner ziplines, Engineer platforms, and Scout flares to prevent the final sprint from becoming a wipe.
Don't forget mineral income. Magnite, Enor Pearl, Jadiz, Croppa, Bismor, and Umanite are used for upgrades and can be sold for credits when your upgrade stockpile is healthy. Mine them when they're directly on route, but don't abandon a primary objective for one awkward Jadiz pocket. The game's official Steam page remains the safest place to verify current systems, editions, and DLC details.
For technical troubleshooting before a serious leveling session, Steamoz's crash and low-FPS fixes offer useful PC maintenance habits, even though the game itself is different. Stable drivers, sensible graphics settings, and a frame rate your system can hold are practical advantages in a cave full of acid spit and exploding bugs.
Spend the Gold You Earn Without Wasting Credits
Every completed mission pays credits, and mined gold adds a welcome bonus, but the most efficient spending order is straightforward. Buy weapon modifications that solve a real weakness, unlock new weapons through assignments, and purchase armor upgrades that improve survivability. Perks and overclocks become increasingly important later, while cosmetics—including Supporter II items—should come after your working loadouts are complete.
Promotion is the major early milestone. A dwarf must reach class level 25, complete the relevant promotion assignment, and pay the promotion cost at the Memorial Hall terminal. Promotion resets that dwarf's class level to 1, but it unlocks deeper progression systems and keeps the long-term loop moving. Don't panic when the number drops; the promotion is the point of the climb, not a punishment.
The cleanest Supporter II strategy is therefore simple: buy the upgrade because you want the gold-themed cosmetics, then farm credits with Pots O' Gold and efficient Mining Expeditions, and level with Double XP missions at the highest hazard you can clear reliably. Mine gold when it fits the route, exploit a safely positioned Crassus Detonator when fortune smiles, and never let shiny walls override mission survival. Rock and Stone.
For official patch notes and developer announcements, follow Ghost Ship Games' news page. The cosmetic upgrade may make your dwarf look like management's favorite miner, but smart routing, disciplined combat, and a successful extraction are still what make a truly rich run.