
The sword ranks first in Deathtrap Dungeon, with the crossbow close behind, while the axe, throwing knives, and firebombs are specialist tools rather than reliable all-purpose upgrades. That is the short version of this Deathtrap Dungeon weapon tier list. The 1998 PC game does not expose modern RPG-style damage numbers, upgrade trees, or item sheets, so this ranking is based on practical combat value: reach, recovery time, ammunition pressure, enemy control, and how safely each weapon handles the dungeon's narrow rooms and trap-heavy routes.
That distinction matters. Deathtrap Dungeon is not a loot-driven action RPG where a purple axe automatically replaces a blue sword. Its equipment is tied to moment-to-moment survival. You collect limited-use tools, switch between close and ranged attacks, and try not to lose health while positioning around hazards. A weapon that looks powerful in an open arena can feel awful beside a moving blade, a collapsing floor, or an enemy that punishes a missed swing.
This guide covers the original Deathtrap Dungeon, not the later Fighting Fantasy adaptations or unrelated dungeon crawlers using the same name. For the current PC release and platform details, check the game's official Steam store page. If you're troubleshooting an older PC port, Steamoz's guide to stopping crashes and low FPS has useful general fixes for legacy games.
Deathtrap Dungeon weapon tier list at a glance
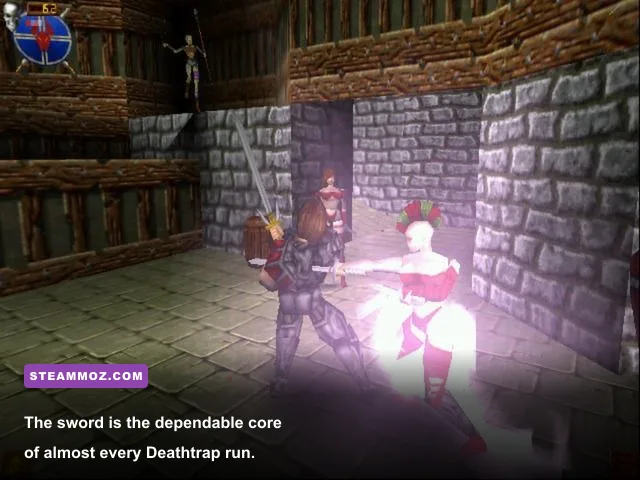
The sword is the only weapon here that consistently performs well in almost every situation. It has the best balance of availability, speed, reach, and control. The crossbow earns S-tier status for safety, but ammunition and firing opportunities keep it from replacing the sword as your default option. The axe is a strong A-tier damage tool when an enemy gives you time to commit, while throwing knives and firebombs belong in B-tier because their value depends heavily on the encounter.
| Rank | Weapon or equipment | Tier | Best quality | Main drawback |
|---|---|---|---|---|
| 1 | Sword | S-Tier | Fast, dependable melee control | Requires close positioning |
| 2 | Crossbow | S-Tier | Safe damage from range | Limited ammunition and firing windows |
| 3 | Axe | A-Tier | Heavy punishment on exposed targets | Slower recovery after an attack |
| 4 | Firebombs | B-Tier | Excellent emergency burst and space control | Consumable and easy to waste |
| 5 | Throwing knives | B-Tier | Quick ranged interruption | Lower impact and limited supply |
There are no officially published weapon damage values for the original game. The interface doesn't show attack power, attack speed, critical chance, or durability, and the PC release does not use a conventional character-stat equipment screen. Any guide claiming that the sword deals a precise number of damage points without testing a specific build or port is inventing precision the game itself never provides.
Instead, use the ranking as a decision tool. If you need a dependable default, use the sword. If the room is crowded or an enemy's attack range makes melee risky, move to the crossbow. Save the axe for deliberate openings. Keep firebombs for moments when killing one target quickly is safer than preserving a consumable.

🎮 Deathtrap Dungeon
Looking to experience this game? Grab your digital key directly on our store for $0.97.
View on Steammoz Store →S-tier equipment: sword and crossbow
1. Sword — the best overall weapon
The sword wins because Deathtrap Dungeon rewards control more than theoretical burst damage. Its attacks come out quickly enough to punish an enemy after a missed strike, and its melee range is forgiving without forcing you to stand directly inside the target's collision space. That makes it the strongest weapon for ordinary dungeon movement, where you may have to fight beside walls, stairs, narrow bridges, or environmental traps.
The best sword rhythm is simple: approach, land a short attack string, then disengage before the enemy's recovery animation ends. Don't mash through every opening. The game becomes much less forgiving when you commit to a long sequence and discover that a second enemy has entered from off-screen. A short exchange also gives you time to turn the camera and read the next hazard.
The sword is especially valuable against enemies that rush directly toward you. Let the target enter your range, strike as it commits, and step away rather than chasing it into an unknown corner. This turns the weapon's speed into a defensive tool. You aren't merely dealing damage; you're shortening the amount of time the enemy has to create pressure.
Its weakness is obvious: you have to get close. The sword cannot solve every room safely, and it loses value when enemies attack from multiple angles or when the floor itself is the real threat. Still, it remains the weapon you should protect as your default because it asks the least from your inventory and positioning.
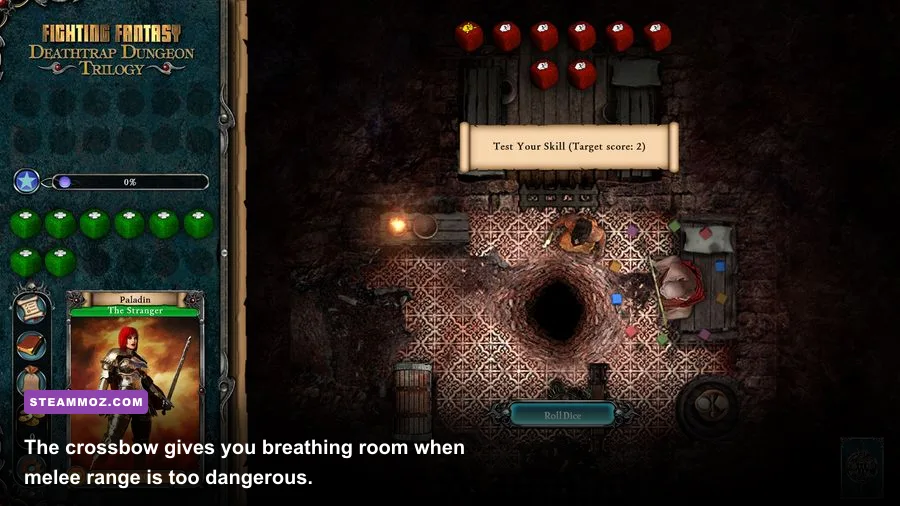
2. Crossbow — the safest high-value option
The crossbow is the best equipment choice when survival matters more than speed. Ranged attacks let you test an enemy's behavior before entering melee, finish a damaged target without gambling on another close exchange, and attack across spaces where a trap makes standing still dangerous. Its value rises sharply in rooms with clean sight lines.
Don't fire the crossbow simply because a target is visible. Line up shots when the enemy has committed to an animation or when you can retreat without backing into a hazard. A projectile that causes no meaningful interruption is often less valuable than a sword strike that ends the encounter immediately. Ammunition is limited, and the weapon's strength comes from safe, intentional use.
The crossbow also works brilliantly as a setup weapon. Fire once to reduce a target's health, switch to the sword, and finish the approach only when the remaining exchange is short. Against a group, use the shot to remove the most aggressive enemy rather than spreading damage across every target. Deathtrap Dungeon's combat gets more manageable when you reduce the number of active threats, not when you make every enemy slightly weaker.
Its lower ranking as a default weapon comes from supply and tempo. It cannot replace the sword in every corridor, and waiting for a clean shot can let another enemy close the distance. Treat it as a precision tool, not a permanent stance.
| Weapon | Range profile | Recovery feel | Inventory pressure | Ideal use |
|---|---|---|---|---|
| Sword | Close | Fast and flexible | Low | Routine enemies and tight spaces |
| Crossbow | Long | Deliberate | High | Opening shots and dangerous targets |
| Axe | Close | Slow commitment | Low | Large openings and isolated enemies |
| Throwing knives | Short to medium | Very quick | Medium | Interruptions and finishing damage |
| Firebombs | Short area effect | Situational | High | Emergency burst and crowded rooms |
A-tier and B-tier weapons ranked
3. Axe — powerful, but less forgiving
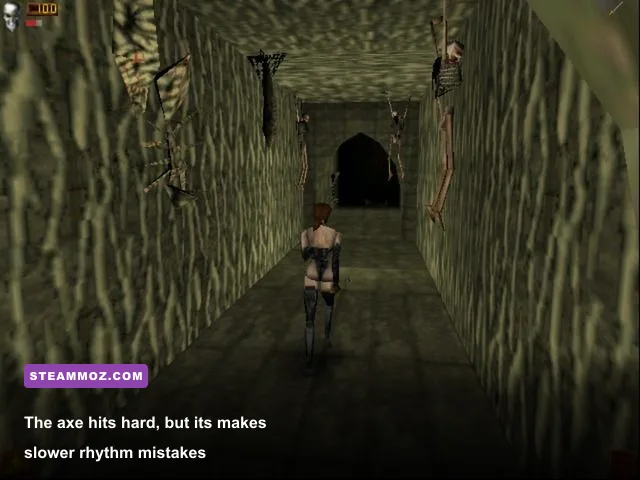
The axe is the classic high-commitment option. It feels stronger when it connects, but the cost is time: a missed attack leaves you committed for longer, and that matters enormously when an enemy can counter before you regain control. It is an A-tier weapon because it can shorten difficult encounters, not because it is safer than the sword.
Use the axe after a clear telegraph. Wait for the enemy to swing, lunge, or finish a movement pattern, then attack during the recovery window. This is where the weapon shines. Do not lead with it against a mobile target that has several possible approach angles. You will spend more time turning, recovering, and correcting your position than actually dealing useful damage.
The axe also becomes awkward in trap corridors. Its commitment can carry you closer to a blade, ledge, or floor hazard than intended. If the environment is doing more damage than the enemy, switch back to the sword. Weapon power means very little if the attack animation forces you to stand on the wrong tile.
4. Firebombs — B-tier emergency equipment
Firebombs are not a general-purpose damage solution. They are emergency equipment for situations where one explosive answer prevents a much larger health loss. Use one when multiple enemies have compressed your movement, when a dangerous target is nearly defeated, or when you need to create a brief opening to escape.
The biggest mistake is throwing a firebomb at the first enemy you see. Deathtrap Dungeon's routes can make the next room more dangerous than the current one, and consumables gain value as your options narrow. A firebomb saved for a crowded encounter can be worth far more than one used to speed up an easy fight.
Watch your spacing. The blast is useful precisely because it covers an area, but that also makes careless close-range use dangerous. Back away, throw from a clean angle, and avoid detonating it beside a wall if the explosion forces you into a trap or blocks your retreat.
5. Throwing knives — quick utility, modest payoff
Throwing knives occupy the bottom of the list because they are useful without being transformative. Their speed makes them good for interrupting a vulnerable target or finishing an enemy that is one clean hit from defeat. They are also handy when approaching a melee target would expose you to an environmental hazard.
Knives struggle when used as a primary damage plan. Their impact is less dramatic than the axe or firebomb, and their supply disappears quickly if you throw them at every target. Keep them for finishing hits and short interruptions. If you have a crossbow shot available and a clear line, the crossbow usually offers better value; if the enemy is already in sword range, the sword is more efficient.
Best equipment by encounter and dungeon situation
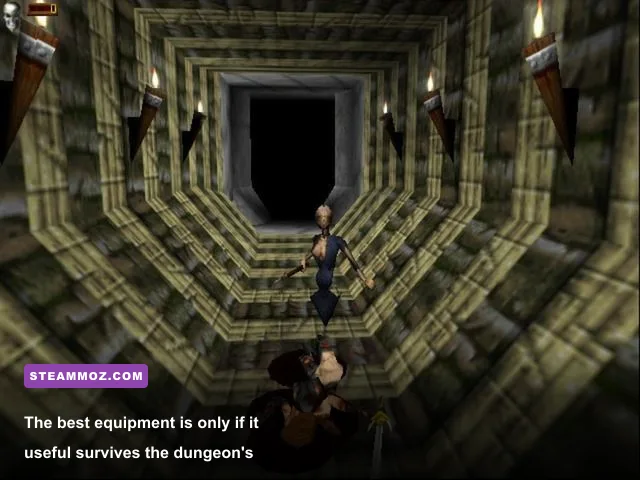
A tier list is useful, but the best weapon changes with the room. Deathtrap Dungeon's difficulty comes from overlapping threats: enemies, camera angles, restricted movement, and traps that punish panic. The right choice is the item that reduces the number of things you must track at once.
| Situation | Best equipment | Why it works | What to avoid |
|---|---|---|---|
| Single enemy in an open room | Sword | Fast exchanges and easy repositioning | Wasting consumables |
| Enemy across a hazard or gap | Crossbow | Deals damage without crossing danger | Forcing a melee approach |
| Large enemy after a missed attack | Axe | Turns long recovery windows into burst damage | Attacking before the telegraph |
| Several enemies closing together | Firebomb | Creates space and removes immediate pressure | Throwing while standing too close |
| Target nearly defeated | Throwing knives | Finishes without another risky approach | Spending crossbow ammunition unnecessarily |
| Trap corridor with limited footing | Sword | Shorter commitments preserve movement control | Long axe swings near hazards |
Against a single enemy, stay with the sword unless there is a strong reason not to. Against a distant target, use the crossbow to make the approach safer. Against a large enemy, the axe is excellent only after the enemy has spent its threat. Against groups, prioritize space rather than damage: retreat toward a known safe area, use a firebomb if the line collapses, and never backpedal blindly.
That last point is more important than any ranking. Deathtrap Dungeon's camera can hide the edge of a platform or the next environmental hazard. Before switching weapons, glance at your escape route. A perfect crossbow shot is a bad trade if it leaves you trapped against a wall. If older PC controls feel slippery, also check Steamoz's legacy PC performance fixes; stable input and consistent frame pacing make weapon timing easier to read.
Best weapon combinations and practical combat rotation
The strongest loadout is not “carry the highest damage weapon.” It is a compact rotation that gives you an answer for close pressure, distant threats, and emergencies. For most players, that means sword as the default, crossbow for controlled openings, and one consumable reserved for a genuine crisis.
The safe all-purpose rotation
Start with the crossbow only when you have a clean line and enough room to retreat. Fire once, watch the enemy's response, then switch to the sword before the target reaches you. After the enemy attacks, step into the recovery window for a short sword exchange. Exit before the next animation begins. This rhythm keeps the ranged weapon from becoming a crutch and the sword from becoming a reckless commitment.
The heavy-target rotation
Against a larger or slower enemy, wait for the attack telegraph rather than trying to interrupt every movement. If you have distance, use the crossbow first. Once the enemy commits and misses, move in with the axe for the high-value punish. Return to the sword if the enemy remains active. The axe should appear during a predictable opening, not stay equipped while you improvise.
The emergency crowd rotation
When two or more enemies compress your space, stop chasing damage. Move toward a route you already know is safe, use a firebomb only if the group threatens to cut off that route, and switch to the sword as soon as one target reaches striking distance. Throwing knives can finish the weakest enemy while you reposition, but don't stand still to throw repeatedly.
Inventory discipline is the hidden stat behind this ranking. Keep track of what you have before entering a dangerous section. If the crossbow is nearly empty, play as though it doesn't exist. If you have one firebomb left, reserve it for a room where escape is genuinely compromised. The game rarely rewards using every tool immediately; it rewards having the right answer when the dungeon stops giving you space.
Players coming from modern roguelites may expect random upgrades or permanent weapon scaling. Deathtrap Dungeon works differently. Your progression is mostly knowledge: learning enemy rhythms, recognizing trap placement, and understanding which attacks leave you vulnerable. Steamoz's hidden-rewards guide offers a useful reminder for this kind of game: exploration is strongest when you know what risk you are taking, not when you blindly sweep every corner.
Final ranking and the equipment verdict
The sword is the clear winner because it delivers the most consistent results with the fewest conditions. The crossbow is arguably the best weapon for cautious players and dangerous rooms, but ammunition keeps it from being a universal replacement. The axe belongs in experienced hands, where its slower commitment becomes deliberate burst rather than a liability. Firebombs and throwing knives are valuable utility items, but neither should define your standard combat plan.
| Final rank | Equipment | Recommended player | Verdict |
|---|---|---|---|
| S1 | Sword | Everyone | Best overall weapon and safest default |
| S2 | Crossbow | Cautious and ranged-focused players | Best for controlled damage and dangerous approaches |
| A1 | Axe | Players who know enemy recovery windows | Excellent punish tool, risky as a default |
| B1 | Firebombs | Players facing crowds or emergencies | Save for moments where space matters more than ammo |
| B2 | Throwing knives | Players who need quick finishing tools | Useful utility, weak as a main damage source |
For a first playthrough, build your habits around the sword, use the crossbow to soften threats across hazards, and treat every consumable as a future problem-solver. That approach fits the original game's design far better than chasing an imaginary max-damage setup. Deathtrap Dungeon is at its best when equipment, movement, and enemy timing work together—and the sword gives you the cleanest foundation for all three.
For a second opinion on the original release, compare the current listing and compatibility notes on the official GOG game page. You can also review the publisher's official game portal for broader catalog and support information. If your wider library includes demanding modern releases, Steamoz's higher-FPS settings guide covers the same practical principle: stable performance helps, but smart equipment choices still win the encounter.