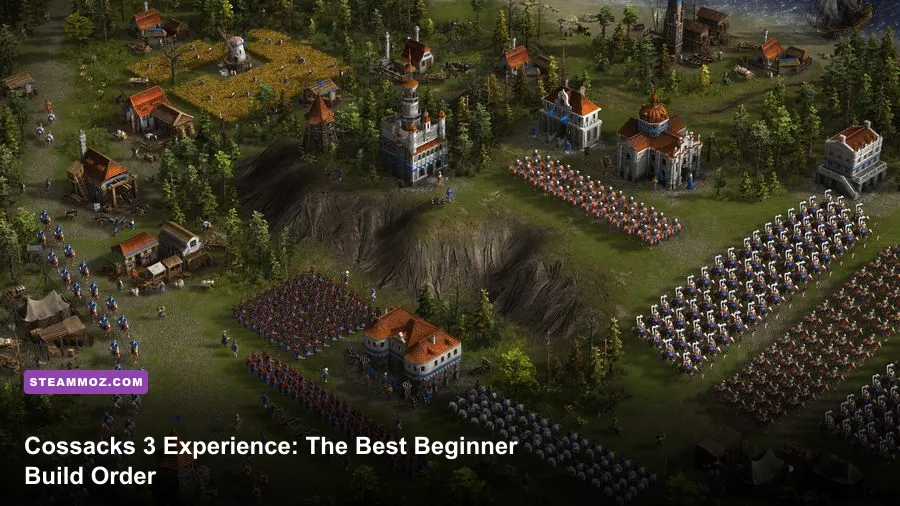
The best Cossacks 3 Experience starting build is a fast food-first opening: add peasants immediately, secure wood, build a Storehouse, then reach a Barracks and field a mixed core of pikemen and musketeers before investing heavily in upgrades. That sequence gives beginners enough economy to recover from mistakes without sitting defenseless, and it scales naturally into cavalry, artillery, or an 18th-century transition.
Cossacks 3 looks simple until the first serious battle. The population cap is generous, formations matter, resource costs arrive in waves, and a player who spends everything on soldiers can still lose because the next batch of peasants never arrives. This guide is built for standard skirmishes and campaign-style missions, including the kind of opening most players mean when they search for a Cossacks 3 Experience best starting build guide for beginners.
The goal isn't a brittle tournament trick. It's a repeatable opening that works on ordinary land maps, teaches the economy, and leaves you with answers to early cavalry, mass infantry, and defensive turtling. Before starting, check the current official Cossacks 3 Steam page for the base game and available content, then use the GSC Game World website for developer information. Balance can vary between nations, scenarios, and map settings, so treat timings as targets rather than laws.
The Opening Build Order That Rarely Fails
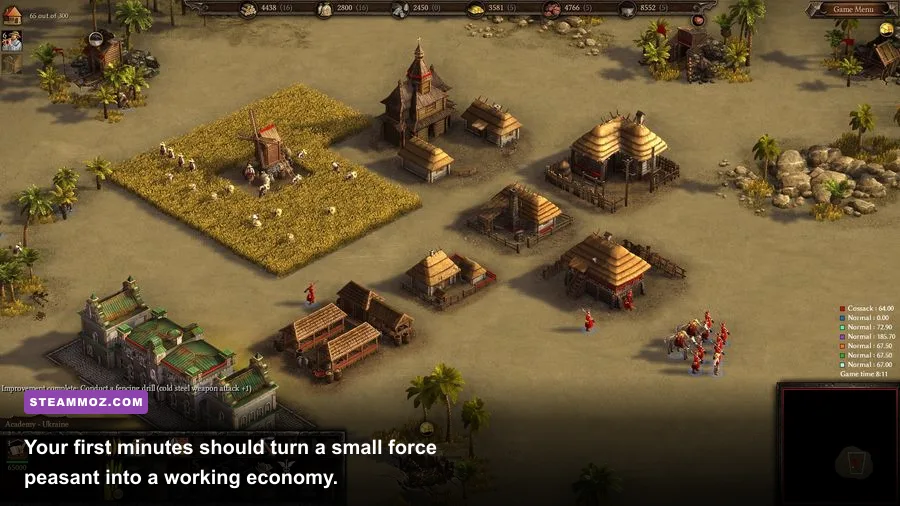
Pause for a few seconds at the beginning and identify three things: your nearest food source, a safe wood line, and the direction an enemy cavalry raid is most likely to use. You don't need perfect scouting yet, but you do need to know whether your first Barracks can sit forward or must be protected behind the Town Hall.
Start by assigning most of your initial peasants to food. In a normal opening, four workers on food and two on wood is a comfortable starting split. Queue peasants continuously from the Town Hall. Idle Town Hall time is one of the quietest ways to lose Cossacks 3: every missed worker delays houses, military buildings, farms, and later upgrades.
- First 20 seconds: keep four peasants on food and send two to wood. Scout with your starting unit or a newly created peasant if the map gives you no military.
- Early wood phase: construct a Storehouse near the wood line, then add another worker to wood once your first peasant queue is safe. Avoid placing the Storehouse so far from the trees that workers waste time walking.
- First military building: build a Barracks as soon as the opening wood requirement is available. Don't rush a Stable before you have a food engine unless the map is extremely open and the faction starts with unusually strong cavalry access.
- Population protection: construct a House before the cap blocks peasant or soldier production. Beginners often remember Houses only after the army is already stuck at maximum population.
- First army: produce pikemen first, then musketeers. The exact queue depends on your faction, but the principle is constant: melee bodies hold ground while ranged infantry supplies damage from behind.
- First expansion: move two or three workers to a second food source. Add stone or iron only when your immediate military and economy can support the extra mining workers.
This build is deliberately conservative. A one-Barracks opening doesn't win every map by itself, but it prevents the classic beginner disaster: a beautiful economy with no army, or a large army that cannot be reinforced. Keep the first force near your base until scouting confirms the opponent is passive. Cossacks 3 rewards decisive attacks, but it punishes blind marching more severely than most modern RTS games.
| Approximate phase | Worker priority | Building or action | Purpose |
|---|---|---|---|
| Opening | Food first, then wood | Town Hall queue and Storehouse | Maintain peasants and unlock production |
| Early military | Food and wood | Barracks, House, pikemen | Stop raids and create a front line |
| First pressure | Food, wood, then iron | Musketeers and a second Barracks | Increase ranged damage and reinforcement speed |
| Mid game | Food, iron, gold, stone as needed | Stable, Blacksmith, Academy or artillery support | Turn a survival army into a winning composition |
For a useful comparison, this opening follows the same economy-first logic as other demanding PC strategy games. Our A Year of Rain settings guide covers performance rather than build orders, but the lesson carries over: remove friction before demanding precision from your army.

🎮 COSSACKS 3 EXPERIENCE
Looking to experience this game? Grab your digital key directly on our store for $12.35.
View on Steammoz Store →How to Spend Food, Wood, Iron, Gold and Stone
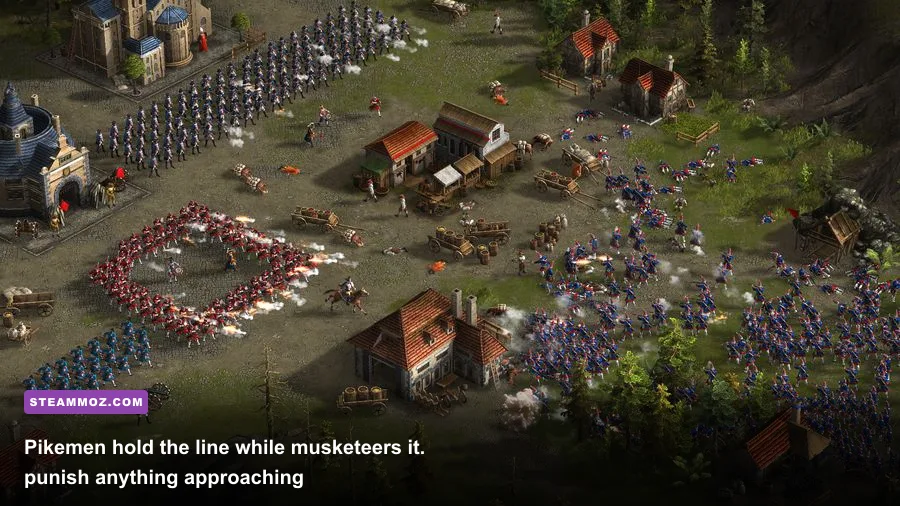
Food is your first resource because it pays for peasants and most early infantry. If food production stalls, the entire build order stalls. Keep workers on reliable food sources rather than scattering them across distant patches. Farms are useful once the opening food supply becomes unsafe or crowded, but rushing farms before the first military building can leave you vulnerable.
Wood is the opening bottleneck. It pays for Storehouses, Houses, Barracks, Farms, and much of your early infrastructure. That is why two woodcutters at the start are more valuable than a premature iron miner. Once the first Barracks is working, add wood workers until you can afford a second House and either another Barracks or a Stable.
Iron and gold become important when you commit to musketeers, cavalry, artillery, and advanced technologies. The trap is mining both too early. A beginner sees an unused iron deposit and assumes it must be exploited immediately; in practice, those workers could be producing food for peasants or wood for a second military building. Resource production should answer a plan, not fill every visible mine.
Stone has a clearer defensive role. It supports walls, towers, and selected infrastructure, making it valuable on chokepoint maps or when the opponent is opening with cavalry. Don't let a stone rush become an excuse to hide. A defensive position works only if it buys time for a growing army.
| Resource | Early priority | What it enables | Common beginner mistake |
|---|---|---|---|
| Food | Highest | Peasants, basic infantry, farms | Stopping Town Hall production to save resources |
| Wood | High | Storehouses, Houses, Barracks, Farms | Mining too early and delaying infrastructure |
| Iron | Medium after first army | Musketeers, cavalry and military upgrades | Over-mining before a production plan exists |
| Gold | Medium after military begins | Advanced troops and technologies | Researching upgrades while unable to replace units |
| Stone | Map-dependent | Walls, towers and defensive positions | Building static defenses instead of scouting |
Use the Market as a pressure valve, not as your economy. Trading excess wood for food can save a timing attack, and exchanging a surplus resource may get a delayed Barracks online. Repeatedly buying everything you need is a losing habit because Market prices shift with your trades. A strong Cossacks 3 player uses the Market to correct a temporary imbalance, then fixes the worker distribution.
The Beginner Army: Pikemen, Musketeers and Cavalry
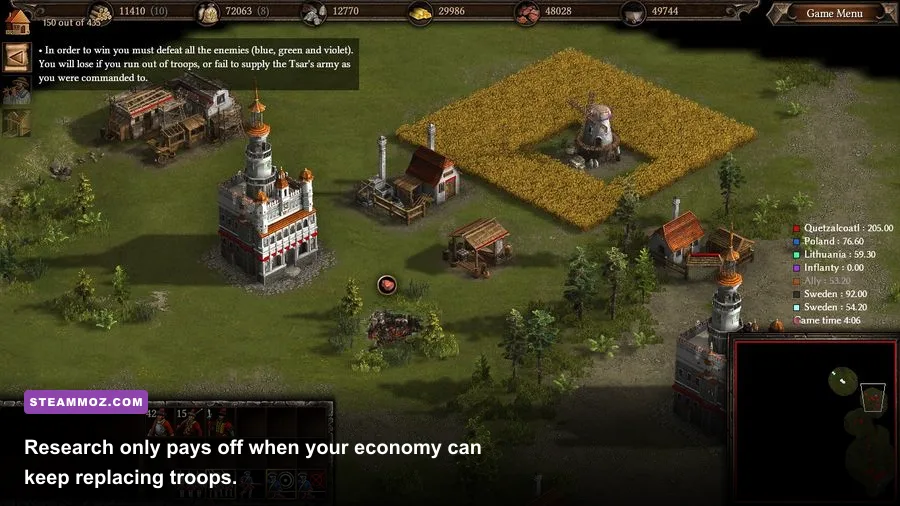
Your first army should be easy to control. Pikemen are the anchor: they occupy space, absorb the initial contact, and make it dangerous for enemy cavalry to dive straight into your ranged line. Musketeers deliver the damage, but they need room and protection. Keep them behind the pikemen and avoid sending them into melee just because an enemy unit is nearly defeated.
Formation discipline matters more than unit-count bravado. Select the infantry together, use a compact formation, and place the musketeers behind the pike line. If the opponent attacks from two directions, split rather than allowing half your army to rotate uselessly. A formation that cannot fire because its units are packed behind buildings is not a real advantage.
Once the first infantry group is stable, choose your follow-up based on scouting. A Stable gives you mobility and map control. Hussars are useful for hunting exposed workers, intercepting reinforcements, and forcing the enemy to stay near defensive structures. Dragoons offer ranged pressure and can punish slow formations, while cuirassiers are more threatening in a direct charge but demand a stronger economy.
Don't treat cavalry as a replacement for infantry. A cavalry-only beginner army often looks impressive and collapses against prepared pikemen, buildings, or concentrated fire. The safer composition is a solid infantry core with cavalry operating on the edges. Attack workers, artillery, isolated houses, and reinforcement routes rather than charging the enemy's strongest formation head-on.
| Unit or group | Early rating | Best role | Weakness to respect |
|---|---|---|---|
| Pikemen | S-Tier frontline | Hold formations and deter cavalry | Low damage against protected ranged targets |
| Musketeers | A-Tier damage core | Fire behind a melee screen | Fragile when surrounded or forced into melee |
| Hussars | A-Tier utility | Raids, scouting and reinforcement hunting | Bad trade into massed pikes or towers |
| Dragoons | A-Tier ranged cavalry | Mobile fire and pressure on slow armies | Expensive and vulnerable when caught |
| Cuirassiers | B-Tier beginner choice | Decisive charge with economic backing | Consumes resources quickly and needs support |
When fighting an enemy rush, pull damaged musketeers backward instead of letting the whole group chase. Focus fire on cavalry that has already committed, then reform the line. Against mass infantry, keep distance, use terrain and buildings to narrow the approach, and bring pikemen around the flank rather than leaving them idle behind the shooters.
Technology, Buildings and the Right Timing
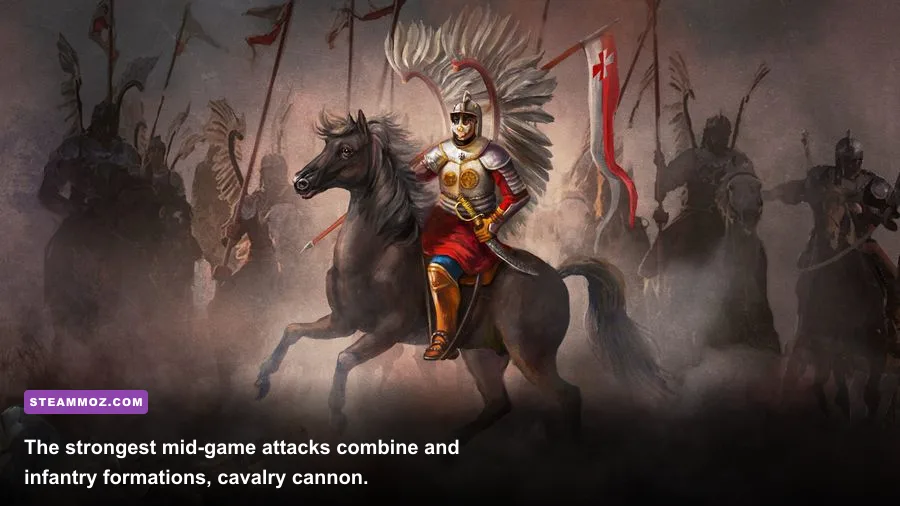
The Blacksmith, Academy, Stable, Artillery Depot, and advanced-age buildings all compete for resources. Your timing should follow army purpose. If you are making musketeers, military upgrades that improve their damage or survivability are more valuable than a random economic technology. If you are still struggling to produce peasants, an expensive upgrade is not progress; it's a queue blocker.
Build a second Barracks when you can support continuous infantry from both buildings. The correct moment is usually after the first House and a stable food income, not immediately after the first Barracks finishes. Two idle Barracks are worse than one active Barracks because they represent wood spent without increasing your army.
The Stable belongs in the build when the map gives you room to maneuver or when scouting reveals exposed resources. On narrow maps, a second infantry building can be stronger. Likewise, artillery is powerful against dense formations and defensive structures, but it requires protection and a dependable economy. A lone cannon pushed ahead of your army is simply an expensive target.
Age advancement changes the shape of the game. Reaching the 18th century can unlock stronger troops and production options, but aging up while your opponent is attacking is dangerous. Aim to advance after establishing a defensible army and enough food income to keep workers coming. If you see an enemy rush, delay the age-up and spend those resources on bodies, Houses, and emergency defenses.
| Decision | Choose it when | Skip or delay it when | What it changes |
|---|---|---|---|
| Second Barracks | Your first Barracks is constantly producing | Food or wood income is unstable | Faster infantry reinforcement |
| Stable | The map has open flanks and exposed workers | Chokepoints make cavalry easy to trap | Scouting, raids and mobile response |
| Blacksmith | You have a committed army composition | You cannot replace basic units | Better trades over repeated battles |
| Academy | Your economy can fund advanced research | An enemy rush is approaching | Access to stronger technology and progression |
| Artillery Depot | Enemy formations or walls are the problem | You lack a frontline screen | Siege pressure and formation-breaking damage |
Keep your production buildings close enough to defend but not so tightly packed that a single attack blocks every rally route. Set rally points behind the army, then adjust them as the front moves. This tiny habit prevents fresh units from walking directly into enemy cavalry.
From First Defense to a Winning Push
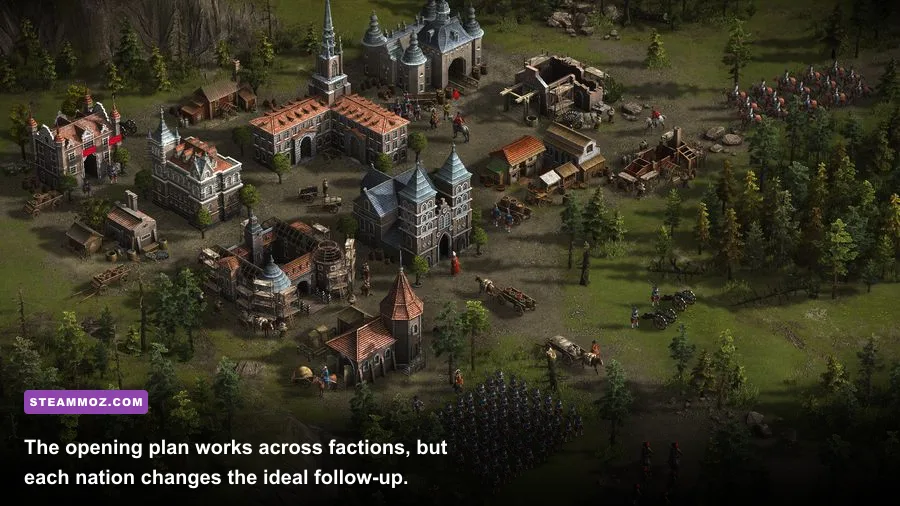
Scout before committing. A single Hussar, Dragoon, or fast-moving starting unit can reveal whether the opponent has one Barracks, multiple Barracks, an early Stable, or a defensive wall. Those details tell you what to produce. More enemy cavalry means more pikemen and tighter formations; mass infantry calls for musketeers, artillery, or a flank; a greedy tech opening invites an earlier attack.
Your first push should have a purpose. Don't march toward the enemy Town Hall simply because the army is assembled. Target an exposed Storehouse, a forward Barracks, a wood line, or the road connecting the enemy's base to a resource expansion. Destroying production is often better than chasing kills because it reduces the opponent's ability to recover.
Move the infantry in formation, keep cavalry on a separate control group, and place artillery behind the main body. Start the fight with the pike line, then focus musketeer volleys on the most dangerous unit type rather than spreading damage across the entire enemy army. Use cavalry to circle around only after the opponent commits. An early flank that arrives before the main engagement simply gets surrounded.
Know when to retreat. Cossacks 3 battles can snowball, but a damaged army is still useful if it survives. Pull back toward towers, walls, or your Town Hall, reinforce, and attack again. Queue replacement units before the retreat ends. The strongest push is often the second one, when your economy is producing continuously and the opponent has spent everything defending the first attack.
| Enemy read | Your response | Battle instruction | Win condition |
|---|---|---|---|
| Early cavalry | Add pikemen and keep workers protected | Never leave musketeers isolated | Trade safely, then counterattack the exposed Stable |
| Mass infantry | Increase musketeers and consider artillery | Fight from narrow terrain and focus the front | Break the formation before it reaches your economy |
| Fast technology | Use one or two Barracks to pressure early | Attack production and resource lines | Force the greedy player to spend on emergency units |
| Heavy defenses | Scout alternate routes and prepare artillery | Don't feed infantry into towers | Cut reinforcements or siege the weakest side |
For players coming from faster games, the biggest adjustment is patience between engagements. Cossacks 3 isn't won by constant clicking; it's won by keeping workers active, maintaining production, and choosing battles where formations can function. Our Clair Obscur beginner build guide is a very different genre, but its core lesson applies here too: a build is only strong when every part supports the next decision.
Common Beginner Mistakes That Ruin Good Openings
The first mistake is chasing a perfect timing down to the second. Map distance, faction bonuses, starting resources, and scenario objectives can all change the clock. Use the order as a priority list: peasants first, wood for infrastructure, one reliable military core, then the resource mix your chosen composition needs.
The second mistake is building every available structure. A Barracks, Stable, Blacksmith, Academy, Artillery Depot, and walls may look like progress, but each one delays troops. Pick one main army and one support tool. Add the next structure only when your economy can keep the current ones busy.
The third mistake is fighting without reinforcement. Before moving out, check that your Barracks are producing and your rally points are safe. A smaller army with a steady stream behind it can beat a larger army that has no replacement units. If the front is far away, create a forward rally route without exposing the production buildings themselves.
Finally, don't ignore the interface. Use control groups for infantry, cavalry, artillery, and workers. Keep the Town Hall selected often enough to catch idle production. Pause briefly after a battle to redistribute workers, rebuild Houses, and check whether your army composition still matches the opponent. Those habits make the Cossacks 3 Experience learning curve far less punishing.
If performance gets in the way of reading formations, lower visual effects before sacrificing clarity. The game is usually more playable with stable frame pacing than with decorative settings pushed beyond what your hardware can comfortably sustain. Our higher-FPS settings guide and PC performance fixes offer broader troubleshooting ideas, while the official Steam Community discussions are useful for checking faction-specific or patch-related problems.
Start with food, establish wood income, build one protected Barracks, and make pikemen and musketeers your first serious army. Then let scouting decide whether the next investment is a second Barracks, Stable, Blacksmith, or artillery. That approach won't produce the flashiest opening replay, but it gives beginners something much more valuable: a build that survives contact with the actual game.