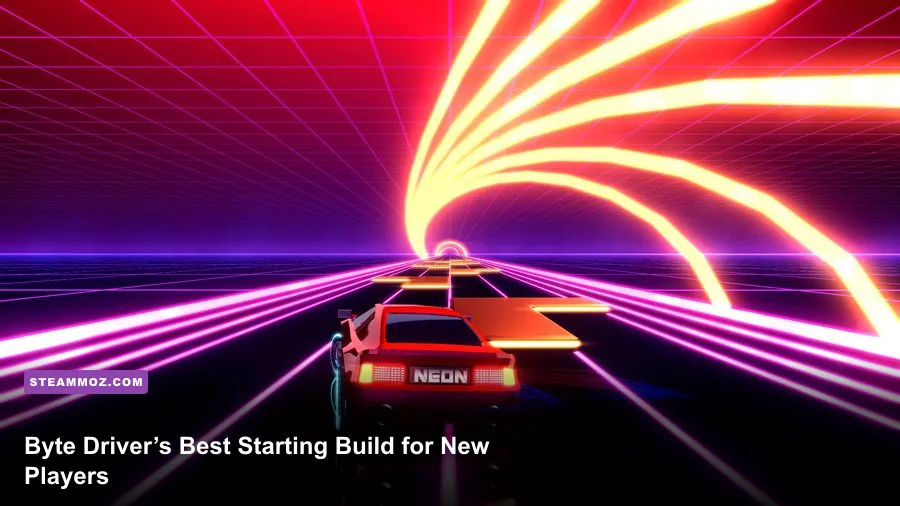
The best beginner build in Byte Driver is a balanced survival setup: take one handling or movement upgrade first, add reliable damage second, then invest in health and shields before chasing specialist bonuses. New players lose runs by building for maximum firepower too early. The game rewards a vehicle that can stay on the road, collect resources safely, and survive the difficulty spike that arrives after the opening section.
This guide focuses on the first several runs, when your upgrade pool is small and every currency decision matters. It also addresses a key point that often gets missed in searches for a “class build”: Byte Driver is not built around traditional RPG classes with fixed skill trees. Your build is created during the run through upgrade choices, weapon improvements, defensive layers, and how aggressively you drive. That makes the opening route flexible, but it also makes poor early spending especially painful.
Before starting, check the game’s current store description and patch notes through the official Steam search page. Balance changes can alter upgrade values, spawn timing, and the strength of individual weapons. Steamoz’s weapon-upgrade guide for Everspace is also useful if you’re familiar with the temptation to spend every early credit on damage.
The safest opening route for your first runs
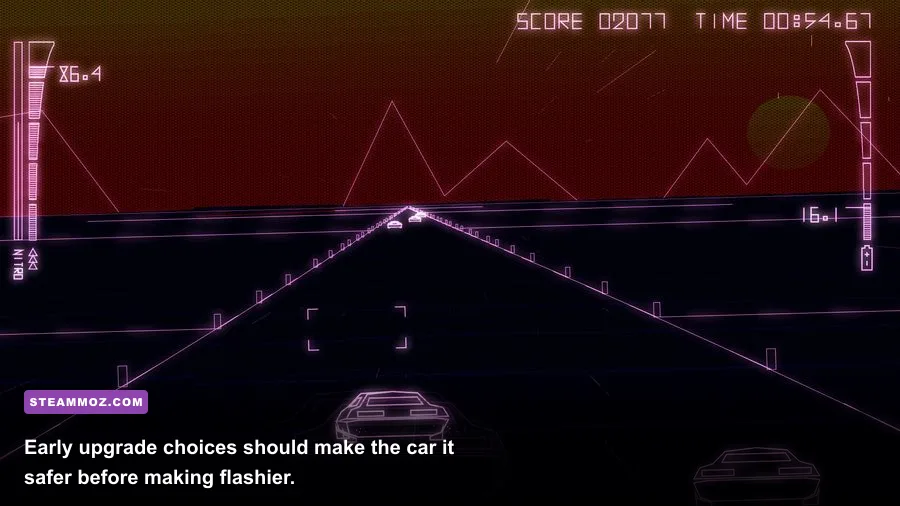
Your first priority is not a perfect damage setup. It’s consistency. Pick an upgrade that improves how often you can avoid collisions, then choose a direct damage option that works without demanding complicated timing. After that, build two layers of protection: one upgrade that increases your effective health and another that helps you recover or avoid damage.
Think of the build as three connected jobs. Mobility keeps you alive when the road fills up. Damage prevents encounters from lasting long enough to become dangerous. Durability gives you permission to make one mistake without throwing away the run. If any one of those jobs is ignored, the other two become less valuable.
| Upgrade Role | First-Run Priority | Why It Matters | When to Delay It |
|---|---|---|---|
| Handling or movement | Highest | Creates escape routes and makes resource collection safer | Only delay it when the offered damage upgrade is dramatically stronger |
| Reliable primary damage | High | Shortens dangerous encounters and clears the lane | Delay specialist damage until your basic weapon already feels dependable |
| Health or shield | High | Turns one collision into a recoverable mistake | Don’t stack defense if your damage cannot clear ordinary threats |
| Economy or pickup range | Medium | Improves long-term upgrade access and reduces risky detours | Skip it during a run where basic survival is already failing |
| Purely situational bonus | Low | Can become powerful after the core build is online | Usually skip it in the opening choices |
A good rule is to ask whether an upgrade helps during the next thirty seconds. If the answer is no, leave it for later. A flashy bonus that only pays off after several stacked upgrades is a trap when you’re still learning road patterns.

🎮 Byte Driver
Looking to experience this game? Grab your digital key directly on our store for $3.99.
View on Steammoz Store →Exact early-game upgrade order
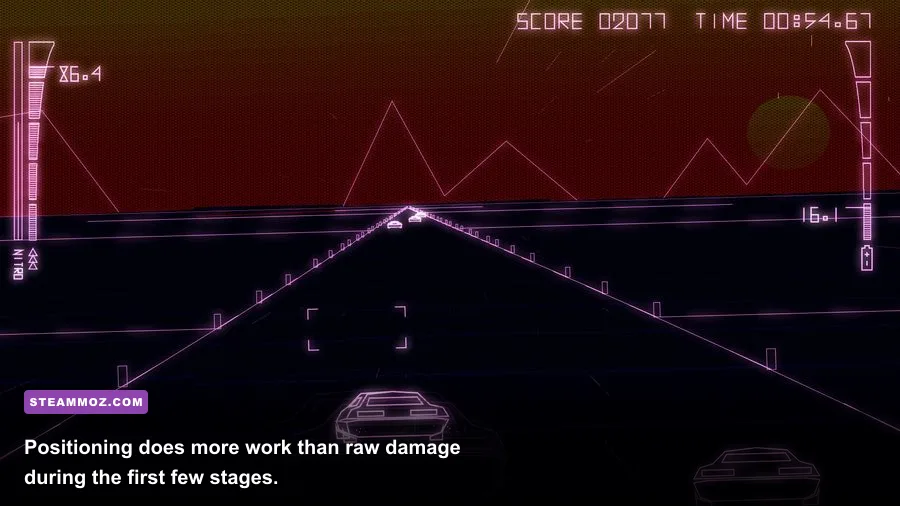
Use this six-step route as your default starting build. It isn’t a rigid script; it’s a safety net for unfamiliar upgrade rolls. The first choice should improve handling, movement speed, dash access, or another option that directly increases your ability to change lanes. The second should improve your main source of damage. The third should be defensive.
- Movement or handling: Take the option that gives you more control over lateral movement, acceleration, braking, or evasive movement. Control upgrades are worth more than they look because they improve both combat and pickups.
- Primary damage: Increase the weapon or attack you can use consistently while driving. Avoid a slow, high-damage option if it forces you to stop controlling the road.
- Maximum health or shield: Add your first defensive layer before the run’s enemy density rises. This is where many new players wait too long.
- Attack uptime: Choose rate of fire, cooldown reduction, ammunition efficiency, or another improvement that keeps your main weapon active.
- Pickup range or resource gain: Once the vehicle can survive ordinary encounters, improve the economy of future choices.
- Second defensive layer: Take healing, shield strength, damage reduction, or collision protection depending on what the run offers.
The important detail is the order between damage and defense. Don’t take three defensive upgrades in a row unless the game is already punishing your health bar. Likewise, don’t take three offensive upgrades while ignoring survivability. The sweet spot for a first clear is usually two mobility or offensive improvements, two defensive improvements, and one economy choice before you start selecting specialized bonuses.
| Choice Number | Recommended Category | Target Result | Common Mistake |
|---|---|---|---|
| 1 | Movement or handling | Reach safer lanes and dodge without panic | Choosing a low-impact damage modifier |
| 2 | Primary weapon damage | Kill standard threats before they crowd the road | Taking a niche effect with no supporting upgrades |
| 3 | Health or shield | Survive one error and continue the run | Assuming perfect driving is realistic |
| 4 | Fire rate or cooldown | Keep damage active while maneuvering | Overcommitting to one giant burst attack |
| 5 | Economy or pickup range | Collect more value without dangerous detours | Taking economy upgrades before damage exists |
| 6 | Second defense | Stabilize the build for later encounters | Ignoring the upgrade because it feels unexciting |
If your first offered upgrades are weak, prioritize control over damage. A weapon that looks stronger on paper won’t help if it makes you drive in a straight line or stare at the firing angle instead of watching the road.
How to combine damage, movement, and defense
The strongest beginner synergy is not a single overpowered item. It’s the interaction between movement and continuous damage. Keep the vehicle moving along a predictable line, let the primary weapon work while you steer, and use burst attacks only when an enemy or obstacle enters a dangerous position. This prevents the classic new-player mistake of stopping to aim.
Prioritize upgrades that improve damage uptime rather than a bonus that only activates under perfect conditions. Rate of fire, projectile coverage, cooldown reduction, and ammunition efficiency are valuable because they remain useful while you dodge. Critical-hit effects and low-health bonuses can be excellent later, but they are unreliable foundations for a first build.
Defense works best when it covers different failure states. Maximum health protects against direct damage. Shields or temporary barriers help absorb sudden contact. Recovery effects matter after the road becomes crowded. Stacking only one type can leave a hole in the build, especially if a later encounter deals burst damage that bypasses your preferred protection.
When to take a risky offensive upgrade
Take a high-risk damage option only when three conditions are met: your vehicle already has a dependable escape tool, your primary attack can clear ordinary threats, and you have enough health or shielding to survive a bad sequence. If one of those conditions is missing, choose the boring upgrade. Boring upgrades are how beginner runs become finished runs.
There’s also a practical targeting rule. Clear the threat that limits your movement first, not necessarily the enemy with the highest health. A slow obstacle that blocks your only safe lane can be more dangerous than a distant attacker. Use your direct damage on what is closest to causing a collision, then spend burst damage on durable targets once your route is open.
Players coming from other vehicle roguelites may find Steamoz’s Everspace 2 hidden-reward guide helpful for the same reason: positioning and route discipline often produce more value than blindly collecting every visible reward.
Driving habits that make the build work
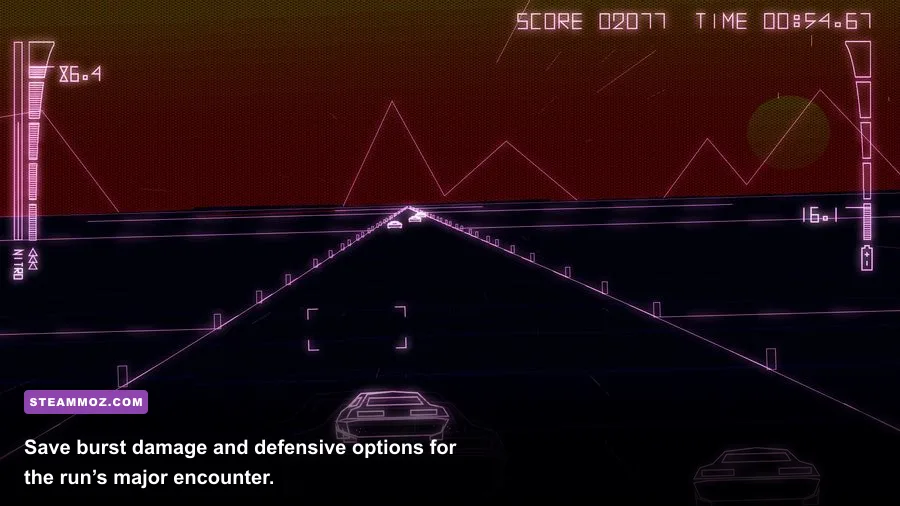
Keep your eyes several seconds ahead of the vehicle. The nearest hazard is often already unavoidable; the useful information is the gap that comes after it. Pick a lane early, make small corrections, and avoid dramatic swerves unless the game gives you no alternative. Large movements create a second problem immediately after the first one.
Don’t hug the edge of the road by default. Edges can look safe because fewer threats approach from one side, but they also remove one of your escape routes. The center or slightly off-center position usually gives you more options. Shift toward an edge only when you’re lining up a pickup, avoiding a telegraphed attack, or creating space for a larger enemy.
Resource collection deserves discipline. Never cross two lanes for a reward unless you’ve already confirmed the landing area is clear. Missing one pickup costs less than taking damage, losing your defensive layer, and then missing several future upgrades because the run ends early. The best economy build is the one that collects safely, not the one that collects everything.
- Before a dense section: move into the lane with the most visible exits.
- During combat: fire while maintaining speed and watch the next obstacle, not just the target.
- After taking damage: stop chasing pickups until you understand the next pattern.
- Before an upgrade choice: decide whether the run currently lacks control, damage, or durability.
- When the screen gets busy: prioritize a clean escape line over perfect aim.
For technical problems that make steering feel inconsistent, Steamoz’s PC crash and FPS troubleshooting guide covers the usual fixes worth trying across demanding PC games.
Boss and late-run preparation
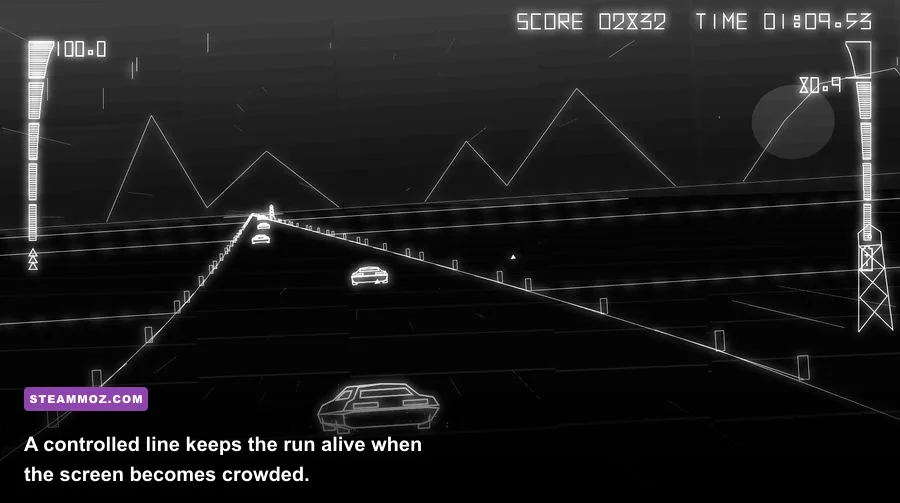
Save at least one defensive option and one burst-damage option for the major encounter at the end of a route. Entering a boss sequence with every cooldown spent on ordinary enemies is one of the easiest ways to lose a promising run. If the game offers a choice between permanent damage and a temporary emergency tool, the emergency tool becomes more valuable as enemy density rises.
During a boss pattern, don’t chase damage at the expense of the road. First identify the attack’s telegraph: a lane closing, a projectile spread, a charging movement, or a hazard appearing in a fixed section. Move into the safe space before activating burst damage. The best time to attack is immediately after the boss commits to its pattern, when your route is clear and its threat is temporarily predictable.
| Late-Run Problem | What It Looks Like | Best Response | Upgrade That Helps |
|---|---|---|---|
| Road saturation | Multiple hazards remove your normal lane | Use movement or emergency defense before the gap disappears | Handling, dash access, or damage reduction |
| Long enemy uptime | Targets survive long enough to surround you | Attack the closest movement-blocking threat first | Fire rate, cooldown, or sustained damage |
| Burst damage | A single mistake removes most of your health | Keep a defensive activation unused until the telegraph appears | Shield strength, max health, or recovery |
| Resource temptation | Valuable pickups appear across dangerous lanes | Skip the pickup unless the exit route is visible | Pickup range or economy upgrades |
Don’t rebuild your entire setup for one boss. A balanced build that handles regular sections is usually stronger than a specialist build that destroys the boss but cannot reach it. The run’s hardest fight is only one part of the difficulty curve.
Performance settings for clearer reactions
Stable frame pacing matters more than maximum image quality in Byte Driver. A sudden hitch during a dense road section can turn a clean dodge into a collision, while a modest reduction in effects quality is barely noticeable during a fast run. Start with the game’s native resolution, then lower expensive effects before reducing resolution.
| Setting Area | Recommended Starting Value | Performance Impact | Visual Trade-Off |
|---|---|---|---|
| Resolution | Native monitor resolution | High if reduced, but improves GPU headroom | Lower values make road details softer |
| Effects quality | Medium | Often high during explosions and crowded sections | Less bloom, particles, and screen effects |
| Shadows | Medium or Low | Medium to high depending on hardware | Fewer soft shadows on the environment |
| Post-processing | Medium | Medium | Reduced glow and visual distortion |
| V-sync | On if tearing is distracting | Can add latency on some systems | Smoother presentation, potentially slower response |
| Frame-rate cap | Stable value your PC can hold | Improves consistency when uncapped performance fluctuates | Lower peak FPS in exchange for steadier input |
Use a cap your system can maintain rather than the highest number it reaches in an empty section. If the game runs at 120 frames per second in calm moments but drops to 65 during combat, a stable 60 FPS profile may feel better. Close overlays, test borderless versus fullscreen, and keep controller polling consistent if your steering occasionally feels delayed.
The finished beginner build and when to change it
For a first serious attempt, aim to finish the early route with movement or handling, primary damage, one health or shield upgrade, one uptime upgrade, a safe economy improvement, and a second defensive layer. Only after those foundations are in place should you chase critical effects, conditional damage, specialist weapons, or risky glass-cannon bonuses.
| Build Stage | Priority | Ideal Outcome | Fallback Choice |
|---|---|---|---|
| Opening | Control first | Vehicle changes lanes without panic | Take reliable damage if no mobility option appears |
| Middle | Damage plus durability | Standard threats die before they close the road | Take defense if collisions are already frequent |
| Late middle | Uptime and economy | More resources arrive without dangerous detours | Take another defensive layer if health is low |
| Final section | Specialization | One strong damage or control synergy is online | Choose consistency over novelty |
Change the plan when the run tells you to change it. If you’re dying with plenty of damage, stop buying offense and repair survivability. If enemies are surrounding you before you can react, improve movement or attack uptime. If you survive comfortably but cannot finish encounters, invest in direct damage instead of another economy perk.
Most importantly, judge a build by completed sections, not by the biggest number on the upgrade screen. Byte Driver rewards calm driving, early defensive discipline, and upgrades that remain useful while you’re making decisions at speed. Build the vehicle that gives you more options, and the flashy high-damage run will eventually follow.
For more beginner-focused route planning, compare this approach with Steamoz’s fast-leveling and farming guide, then check the low-FPS troubleshooting guide if performance is getting in the way of precise reactions.