If Black Friday PC is stuttering, dropping below a playable frame rate, or crashing before you reach the menu, start with a clean baseline: verify the Steam installation, update your GPU driver, disable overlays, run the game from an SSD, and use a capped-FPS performance profile. Then lower shadows, volumetric effects, reflections, and post-processing before touching texture quality. Those steps target the usual causes without turning the whole game into a blurry mess.
The important distinction is between low average FPS and bad frame pacing. A counter showing 60 FPS can still feel awful if one frame takes 8 milliseconds and the next takes 45. Black Friday's traversal, lighting changes, asset streaming, and first-time shader work can create exactly those spikes. The fixes below are ordered from safest to most aggressive, so you can stop as soon as the game becomes stable.
First, Find Out What Is Actually Bottlenecking

Before changing ten settings at once, play the same repeatable section for five minutes. Use an overlay such as NVIDIA's performance overlay, AMD's metrics overlay, or Xbox Game Bar. Record average FPS, 1% lows, GPU usage, GPU memory, system RAM, CPU usage, and frame time. A useful test is to walk through the same busy area, turn the camera quickly, and reload it once. That exposes traversal stutter far better than standing in an empty room.
If the GPU sits around 95–99% while the CPU has room, reduce resolution scale, shadows, volumetrics, reflections, and ambient occlusion. If GPU usage repeatedly falls below 85% while one or two CPU cores are pinned, lower crowd, view-distance, simulation, or physics settings if Black Friday exposes them. If neither is busy but frame time spikes during camera movement, suspect shader compilation, asset streaming, an overlay, or a storage bottleneck.
| Symptom | Likely Cause | Best First Test | Expected Result |
|---|---|---|---|
| GPU at 99%, steady frame time | Rendering load | Lower resolution scale to 90% | Higher average FPS |
| GPU below 85%, one CPU core maxed | CPU or simulation limit | Lower view distance and background detail | Better 1% lows |
| Short freezes when turning camera | Shaders or asset streaming | Play one area twice and disable overlays | Fewer repeated hitches |
| Instant crash on launch | Driver, overlay, or damaged files | Verify files and launch without overlays | More reliable startup |
For a second opinion, compare your hardware with the game's Steam listing and system requirements. If your PC is near the minimum specification, chasing ultra settings is the wrong battle; target a locked 30 or 45 FPS instead of an unstable 60.
Use a Stable Graphics Profile Before Chasing Ultra
Start at your monitor's native resolution, then choose a sensible cap. A 60-Hz display benefits from a 60 FPS cap, while a 120-Hz display often feels smoother with a locked 60 or 90 than with an erratic 120. If Black Friday offers an in-game limiter, use it first. Otherwise, cap the executable through your GPU control panel or RTSS. Avoid stacking multiple limiters, because conflicting caps can add uneven pacing.
Keep textures higher than most other settings if your GPU has enough VRAM. Texture quality mainly affects memory capacity, while shadows and volumetrics tend to hit the GPU every frame. If you see texture pop-in, shimmering, or sudden hitching after raising textures, drop from Ultra to High rather than immediately lowering resolution. On an 8GB graphics card, High textures are usually the safer starting point; on 4GB, Medium can prevent memory thrashing.
| Setting | Recommended Starting Value | FPS Impact | Visual Trade-Off |
|---|---|---|---|
| Resolution scale | 100%; test 90% if GPU-limited | Very high | Lower sharpness below native resolution |
| Textures | High, or Medium under 6GB VRAM | Low to medium | Less surface detail at lower values |
| Shadows | Medium | High | Less contact shadow definition |
| Volumetrics or fog | Low or Medium | High in smoky scenes | Less depth and light scattering |
| Reflections | Low or Medium | Medium to high | Rougher reflective surfaces |
| Ambient occlusion | Medium | Medium | Flatter corners and object contact |
| Motion blur | Off | Small | Cleaner camera movement |
| Anti-aliasing | High or the game's temporal option | Low to medium | Lower values produce jagged edges |
For a low-end profile, use 1080p, 90% resolution scale, Medium textures, Low shadows, Low volumetrics, Low reflections, Medium anti-aliasing, and a 30 or 45 FPS cap. For a mid-range profile, keep native resolution, High textures, Medium shadows, Medium volumetrics, and a 60 FPS cap. If you own a modern upscaler, test its Quality mode first. Performance mode can improve FPS, but its softer image is rarely worth using before the game's heavier effects have been reduced.
Stop Stutters Caused by Drivers, Shaders, and Overlays
Shader stutter is often front-loaded: the first visit to a location or the first time a visual effect appears may hitch while the game compiles or loads data. Let Black Friday sit at the main menu for several minutes after a driver update, then replay the same route. Do not repeatedly delete shader caches as a default fix. Clearing them can make the next launch worse because every shader must compile again.
Update your graphics driver from the official NVIDIA driver page or AMD support page. If the problem began immediately after an update, roll back to the previous stable driver instead of blindly installing the newest package. During installation, choose a clean installation where available. Intel Arc users should use the current package from Intel's Download Center.
Disable Steam Overlay, Discord Overlay, Xbox Game Bar capture, NVIDIA Instant Replay, AMD recording, MSI Afterburner OSD, and RGB monitoring software for one test session. These tools aren't automatically bad, but each hooks into the rendering pipeline. If the stutter disappears, re-enable them one at a time. Steam's own shader pre-caching documentation is also worth checking when shader behavior changes after a driver update.
Windows power management matters too. Set the active power mode to Best Performance while testing, plug in a laptop, and make sure Black Friday uses the dedicated GPU rather than integrated graphics. Turn off background recording, close browser tabs with hardware-accelerated video, and avoid benchmarking while Windows Update or cloud synchronization is consuming disk bandwidth.
Fix Crashes Without Guessing at Random Settings
Start with Steam's file check: right-click Black Friday in your library, select Properties, open Installed Files, and choose Verify integrity of game files. Let it finish, then restart the PC. Missing or corrupted archives can cause menu crashes, infinite loading, or crashes only in a particular location. If Steam reacquires files repeatedly, check the drive's health and available space; keep at least 15 percent free on the installation drive so temporary shader and patch data have room.
Next, remove launch options unless the developer specifically recommends them. Old commands copied from another game can disable modern rendering paths or force unsupported APIs. Test the default renderer first. If the game supports DirectX 11 and DirectX 12, try the alternative only as a controlled experiment, changing one option and recording whether the crash happens at launch, during loading, or after entering gameplay.
For access violations or crashes that persist after verification, temporarily disable overclocks and undervolts. That includes GPU tuning, CPU curve adjustments, XMP or EXPO memory profiles, and aggressive laptop performance modes. A system can pass a desktop stress test and still fail when Black Friday combines shader compilation with asset streaming. If stock settings solve it, lower the overclock or memory profile rather than blaming the game alone.
| Crash Pattern | Most Probable Area | Action | Do Not Do First |
|---|---|---|---|
| Crash before main menu | Driver, overlay, renderer | Clean driver install and disable overlays | Delete random system files |
| Crash during loading | Corrupt files or memory pressure | Verify files and lower textures | Raise the page-file limit blindly |
| Crash after 20–30 minutes | Heat, unstable tuning, RAM | Check temperatures and return to stock | Increase GPU voltage without testing |
| Crash in one repeated area | Asset or shader issue | Replay after cache rebuild or patch | Assume the whole PC is failing |
If Windows reports a graphics timeout, check Event Viewer under Windows Logs and Application for the failing executable or module. A driver DLL points toward the graphics stack; a game executable points more toward files, memory, or an in-game bug. Screenshot the timestamp and error name before contacting the developer through its Steam Support troubleshooting portal.
Storage, Memory, and Heat Can Look Like Bad Optimization
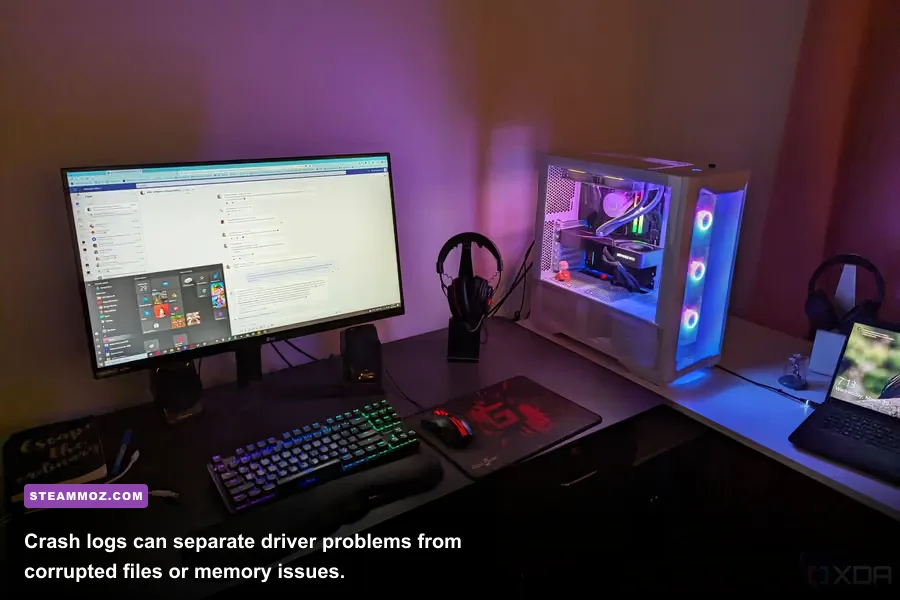
Install Black Friday on an SSD whenever possible. A hard drive may maintain an acceptable average frame rate but still produce painful traversal pauses as new assets stream in. Keep the Windows page file system-managed on the fastest drive, and don't disable it to “save SSD space.” With 8GB of RAM, close browsers and launchers before playing. With 16GB, avoid running browser video, recording software, and mod tools in the background. If memory usage approaches the system limit, Windows begins paging, which feels like random freezing rather than ordinary low FPS.
Monitor temperatures during a repeatable test. A GPU that reaches its thermal limit may reduce clock speed, while a CPU that hits its limit can cause sudden frame-time spikes. Clean blocked laptop vents, use a sensible fan curve, and don't test performance on battery power. If FPS drops gradually after ten minutes, heat is more suspicious than a graphics preset. If it is bad immediately and stays consistent, focus on settings, drivers, or the CPU/GPU bottleneck.
Steamoz has related troubleshooting references for crashes and FPS recovery in ELEX, low FPS and crashing in EscapeVR: The Basement, and graphics settings for Filament: Marmalade Edition. The games differ, but the diagnostic logic is the same: measure frame time, isolate the bottleneck, and change one variable at a time.
The Best Order of Operations for a Smooth Session
Use this sequence rather than applying every internet fix at once. First, restart the PC and close capture software. Second, verify Black Friday's files. Third, update or clean-install the GPU driver. Fourth, move the game to an SSD and confirm the dedicated GPU is selected. Fifth, apply the Medium shadows, Low volumetrics, and capped-FPS profile above. Sixth, test a repeatable route while watching GPU usage, VRAM, RAM, temperatures, and 1% lows. Only after that should you experiment with an alternative renderer or upscaling mode.
For competitive-feeling responsiveness, prioritize a stable cap over a flashy peak. A locked 45 FPS with consistent frame times is much better than swinging between 70 and 35. For a slower single-player experience, 30 FPS can be perfectly valid if it stays locked and the image remains sharp. Keep textures as high as your VRAM allows, cut the expensive lighting effects first, and restore settings one at a time after the game becomes reliable.
If none of this works, collect your GPU and CPU models, RAM amount, driver version, resolution, graphics preset, crash timing, and a short frame-time capture. Include the Steam build number and whether the issue happens in every area or only one. That evidence gives the developer something actionable—and saves you from spending another evening toggling settings that were never causing the problem.