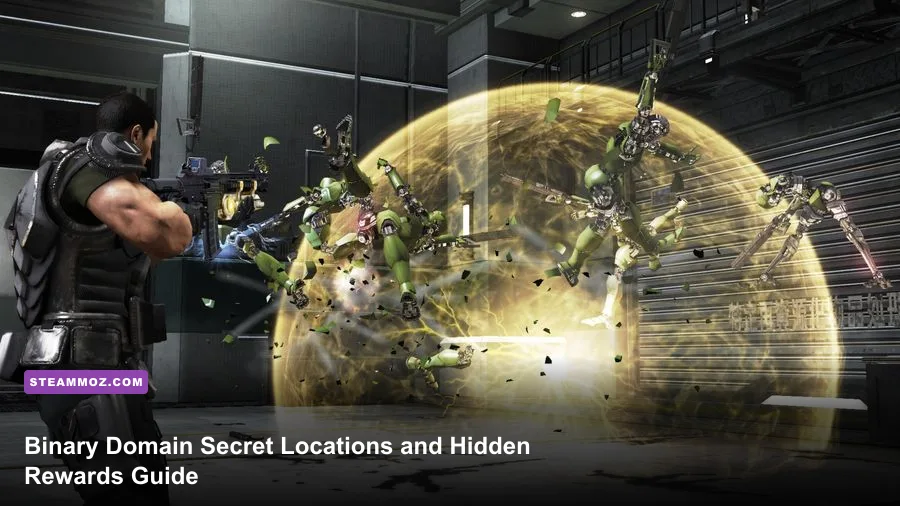
If you want every hidden reward in Binary Domain, search the campaign by chapter and sweep each arena’s side paths before triggering the next objective. The important pickups are hidden items and video logs, with the best rewards coming from weapon upgrades, credits, ammunition, and collection-related achievements rather than a separate treasure chest system. This route covers the easy-to-miss locations, the backtracking traps, and the safest way to clean up anything you missed.
First, a useful clarification: Binary Domain doesn’t use a giant map covered in icons. Its collectibles are tucked into linear combat stages, often behind a waist-high barrier, inside a side room, or on a platform you can only reach before your squad advances. The game also uses chapter checkpoints, so collecting something and then dying before the next autosave can force you to pick it up again.
For the official PC version, keep the Binary Domain Steam page bookmarked for platform details, and check SEGA’s official publisher site for support information. If you’re also hunting secrets in other shooters, Steamoz’s Earth Defense Force 5 hidden rewards guide uses a similar chapter-by-chapter cleanup approach.
How Binary Domain’s hidden collectibles work
There are two things worth tracking during a collection run. Hidden items are the physical pickups placed around the level, while video logs are optional story records tied to the campaign’s world-building. The game’s achievement tracking is less generous than a modern checklist: it tells you that you’ve made progress, but it doesn’t always identify the exact chapter or object you missed.
That makes route discipline more important than rushing. Before crossing a clearly marked bridge, entering a lift, climbing a ladder, or walking through a door that seals behind the squad, turn around and inspect the previous space. A good rule is to sweep left, center, and right after every major battle. Many pickups sit in the direction you just came from because the designers expect players to push forward immediately.
| Collectible type | Where it usually appears | Typical reward | Best search cue |
|---|---|---|---|
| Hidden item | Side rooms, cover pockets, platforms | Credits, ammunition, upgrade value | Look behind crates and machinery |
| Video log | Dead-end rooms and consoles | Story information and collection progress | Inspect rooms away from the objective marker |
| Weapon pickup | Combat arenas or optional routes | New weapon or improved firepower | Check elevated paths after enemy waves |
| Upgrade resource | Maintenance areas and side corridors | Weapon or squad improvement | Listen for a quieter route beyond combat |
Play on Normal for the cleanest first collection run. Easy is safer if you’re learning the campaign, but Normal gives the fights enough pressure to teach you the enemy patterns without turning every pickup detour into a resource crisis. Use chapter select only after finishing the story once; that way you’ll know which doors and set pieces are permanent progression triggers.

🎮 Binary Domain Collection
Looking to experience this game? Grab your digital key directly on our store for $3.19.
View on Steammoz Store →Prologue and Shibuya secret locations
1. The opening underground route
During the first underground section, don’t follow the squad through the first obvious passage immediately after the opening robot encounter. Check the recessed side of the tunnel near the abandoned equipment and broken concrete. The hidden item is positioned low, close to the wall, and can blend into the gray environment when the area is filled with muzzle flashes.
Collect it before climbing toward the next scripted encounter. If you advance far enough for the squad to regroup at the next checkpoint, the route behind you is closed. This is one of the easiest pickups to miss because the objective arrow points straight through the tunnel and the game provides no reason to look back.
2. The first ruined street
When the squad reaches the ruined Shibuya street, clear the first group of mechanical enemies and search the storefront side before taking the route toward the open intersection. Move behind the wrecked vehicle and inspect the narrow space between the vehicle and the collapsed façade. A pickup is tucked into that pocket, outside the normal combat line.
Don’t sprint into the intersection until you’ve checked both sides of the street. The next trigger starts a heavier battle and subtly redirects your companions toward the onward route. Once the fight begins, the surrounding debris becomes harder to read and the pickup is easy to overlook.
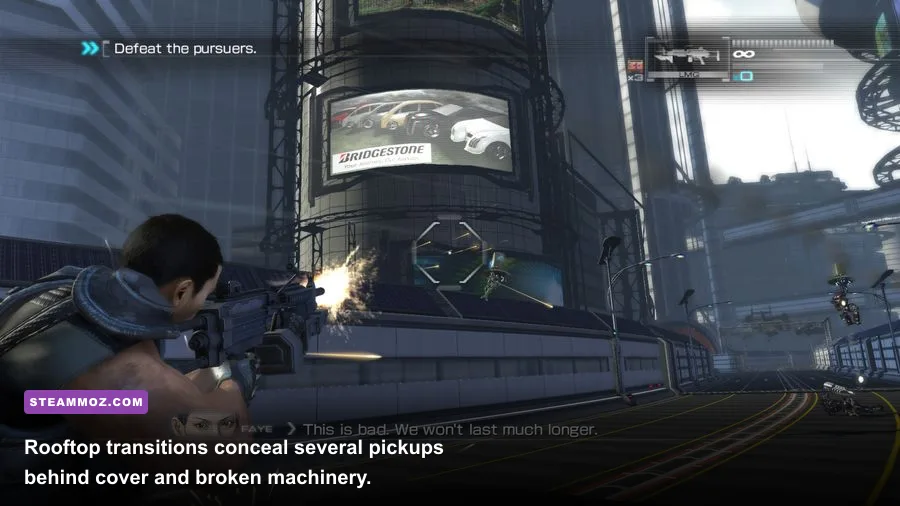
3. The first rooftop transition
After the squad moves through the upper section and reaches a rooftop or elevated exterior path, look for a broken stair access beside the route forward. Walk toward the dead end rather than following the teammate who calls you onward. The hidden item sits near the damaged railing and is especially easy to miss if you stay in cover during the preceding fight.
This is a classic Binary Domain placement: the reward isn’t deep inside a secret room. It’s in a short branch that looks decorative until you physically walk into it. Always investigate broken staircases, balconies, and maintenance ledges before stepping across a major gap.
Mid-campaign secrets in the city and factory
4. The flooded or damaged city section
In the city route where water, rubble, and broken vehicles narrow the playable space, search the area immediately after the first major enemy wave. Before entering the next building, move along the outer edge of the arena and check behind the largest wreck. The pickup is positioned away from the central cover line, so players who hug the squad’s route usually walk past it.
Clear enemies first, then collect. Binary Domain’s robots can flank aggressively, and trying to loot while a shielded unit or crawler is active is a needless way to lose health. If your squad has pushed through the building entrance, you’ve gone too far; reload the previous checkpoint rather than expecting the area to remain open.
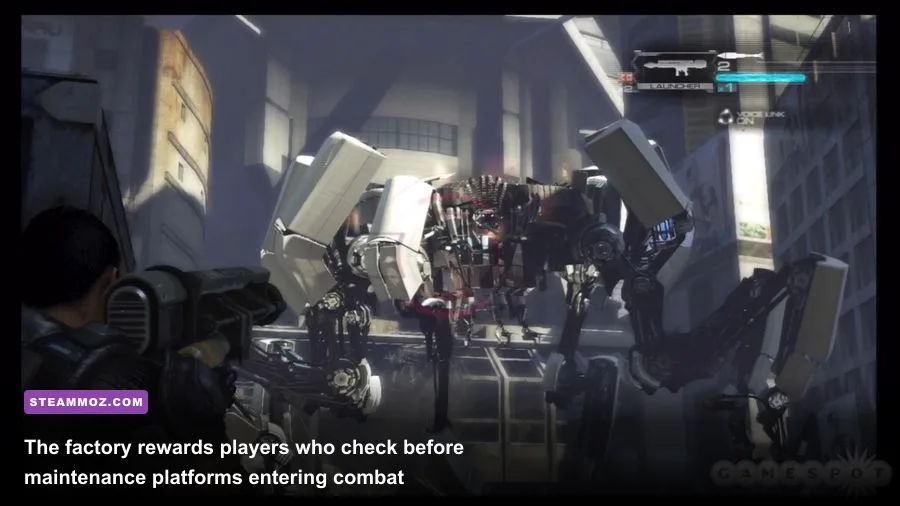
5. The factory maintenance platform
The factory is one of the most valuable chapters for a careful sweep. After the first interior combat arena, look for a side platform or maintenance walkway near the machinery. The main route keeps you at floor level, while the hidden reward is placed on the slightly elevated path. Check around railings, control cabinets, and the backs of large industrial units.
Watch for enemies that appear when you approach the far end. Collect the item only after the arena is quiet, then return to the squad’s route. This detour is also a good place to spend credits or ammunition if you’re low, but don’t burn rare explosives on standard armored robots. Save those for the larger machines that expose their weak points only briefly.
6. The factory side room
Later in the factory, you’ll move through tighter corridors with doors and equipment rooms branching away from the objective. Enter the first optional room that doesn’t contain a combat trigger and search behind the interior machinery. The hidden item is placed in the back half of the room rather than beside the entrance, which makes a quick glance ineffective.
Use your reticle as a detector: rotate slowly and watch for the pickup prompt or the reflective outline of an interactable object. If you’re playing on a high-resolution monitor, lowering excessive post-processing can make these objects easier to distinguish from the background rather than harder.
| Chapter area | Missable route | What blocks access | Recommended action |
|---|---|---|---|
| Underground opening | Recessed tunnel edge | Checkpoint after the climb | Search before climbing upward |
| Ruined street | Wrecked vehicle pocket | Intersection battle trigger | Clear the first wave, then sweep storefronts |
| Rooftop route | Broken stair access | Crossing the elevated gap | Inspect the dead end before advancing |
| Flooded city | Outer arena behind wreckage | Building entrance transition | Loot after the first wave is defeated |
| Factory | Elevated maintenance platform | Next machinery arena | Check railings and control cabinets |
The Hive and late-game hidden rewards
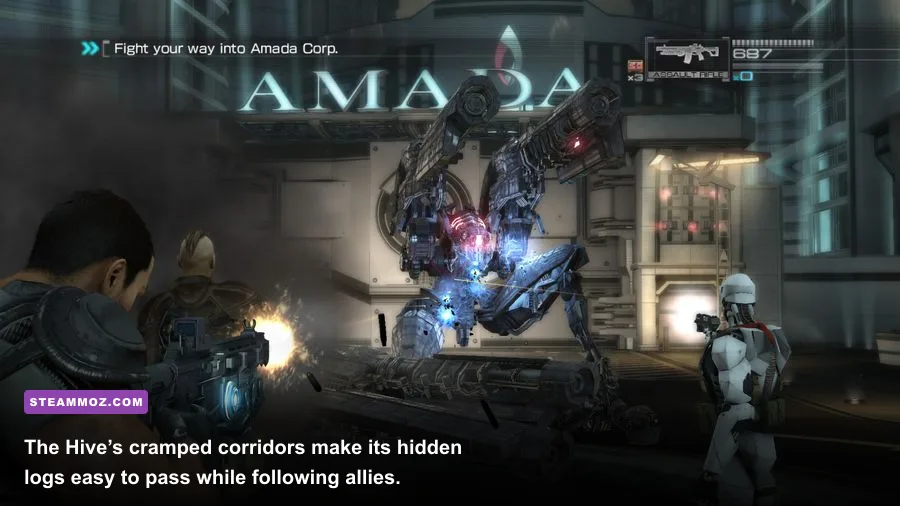
7. The Hive corridor detour
The Hive’s narrow layout makes it feel as if every corridor is mandatory, but one of the most useful search habits here is to check behind your squad after a door opens. When the team enters a larger industrial chamber, turn around and inspect the side of the doorway you just passed. A hidden pickup is placed away from the forward-facing camera angle.
Don’t confuse a temporary combat retreat with a collectible route. If the squad begins calling out a new objective or the screen prepares for a set-piece transition, stop searching and take the reward before crossing the next threshold. The Hive is full of visual noise, so use short movements and scan the floor around consoles rather than only looking at eye level.
8. The Hive video log
For the optional video log, search the quieter side room adjacent to the main corridor after the major enemy encounter. The log is not on the direct path and can be missed if you follow the objective marker without checking every open doorway. Interact with the terminal or recording device until the collection notification appears; simply standing near it is not enough.
Video logs are worth prioritizing because they provide story context that explains the political and technological background of the world. They also count separately from ordinary resource pickups, so collecting every item while ignoring the terminals won’t complete the archive-related progress.
9. The late industrial arena
In the late industrial section, search the perimeter after the large robot encounter. The reward is positioned near cover on the far side of the arena, usually opposite the route used by your squad. Wait until the heavy unit is down, then circle the room before moving through the exit.
This pickup is more than a completionist tick. Late-game ammunition is valuable, particularly if you’re using the Rocket Launcher or a high-damage rifle against armored targets. Grab the resource before the next checkpoint so you can enter the final sequence with a full reserve rather than relying on pistol ammunition.
Final Core secrets and the last cleanup sweep
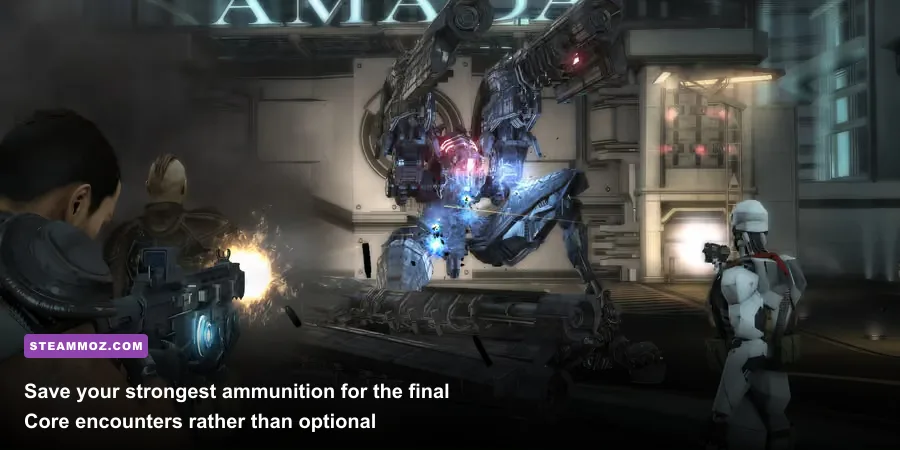
10. The Core approach
Before the final Core approach locks you into the endgame sequence, inspect the last side platform and any control-room recesses. The hidden reward is placed away from the obvious central path, near the industrial structure that frames the objective. This is the final safe opportunity to collect resources before the most demanding encounters.
Make a manual save if you’re playing a version that allows it, or at least wait for the autosave indicator before starting the final confrontation. Binary Domain’s chapter progression can make late cleanup awkward, and a final-area pickup collected immediately before a death may need to be claimed again.
11. The final video log
The last log is found by checking the side of the Core route before the final major door. Look for an optional terminal or recording device in a room that doesn’t contain the objective marker. If the squad has already entered the final boss arena, reload the previous checkpoint; the log is not something you can safely assume will remain accessible during the fight.
After collecting it, finish the chapter rather than quitting instantly. Collection progress usually registers immediately, but completing the checkpoint gives you a safer confirmation and prevents confusion when the post-mission results screen appears.
Best weapons and upgrades for a collection run
There isn’t a dedicated “treasure hunter” build in Binary Domain. Your best setup is a flexible campaign loadout that lets you clear a room quickly, conserve ammunition, and survive the detours required to search. The Assault Rifle is the safest all-rounder because it handles exposed robot cores and standard enemies without forcing you to spend scarce heavy ammunition.
The Shotgun is excellent when a pickup sits near a close-range ambush, while the Sniper Rifle rewards players who want to remove shielded or weak-point enemies before exploring. Keep the Rocket Launcher for bosses and large mechanical targets. A collection run becomes much less comfortable if you spend rockets on regular enemies and reach the Core with only rifles and a pistol.
| Weapon choice | Collection-run value | Best target | Ammo advice |
|---|---|---|---|
| Assault Rifle | S-Tier versatility | Exposed cores and standard robots | Use controlled bursts, not panic sprays |
| Shotgun | A-Tier close defense | Flankers and cramped corridors | Save shells for ambushes |
| Sniper Rifle | A-Tier precision | Weak points and distant gunners | Ideal before entering a side route |
| Rocket Launcher | B-Tier reserve weapon | Bosses and heavy machines | Never waste rockets on basic units |
| Pistol | B-Tier emergency backup | Damaged enemies and cleanup | Useful when searching after a battle |
For squad skills, prioritize upgrades that improve survivability and damage consistency. Rachel, Faye, Cain, and Big Bo each bring different combat strengths, but no relationship choice replaces careful positioning. Use team commands to keep allies focused on dangerous targets, and don’t sprint into a new arena just because a companion moves forward. The AI often advances before you’ve finished checking the room.
How to replay chapters without missing anything
Chapter select is the fastest cleanup tool, but use it methodically. Start at the earliest chapter you suspect, collect every hidden item and log in one continuous run, and allow the next checkpoint to save before quitting. Keep a written checklist with three columns: item, video log, and confirmed checkpoint. That prevents the common mistake of remembering a pickup visually but forgetting whether the game registered it.
When replaying, don’t rush fights on Easy. The faster you move, the more likely you are to trigger a transition before searching. Clear the arena, reload if necessary, and sweep the edges in a fixed clockwise pattern. Check behind the spawn area, then the left wall, far wall, right wall, and exit route. This simple habit catches most hidden items without requiring a pixel-by-pixel search.
Controller users should also interact with every suspicious terminal, equipment case, and isolated object. Some locations look like ordinary scenery until you get close enough for the prompt to appear. If you’re playing on PC, the Steamoz settings guide for Darklands offers useful general advice for making older PC games easier to read on modern displays, while the Drizzlepath: Glass performance guide covers similar frame-rate tuning habits.
Final checklist for every secret location
Before calling the collection complete, verify that you’ve searched the underground opening, ruined street, rooftop transition, flooded city arena, factory platforms, Hive corridors, late industrial arena, and both Core approach routes. Confirm that every video terminal was actively interacted with, not merely discovered. Then complete the chapter so your progress is safely recorded.
The biggest trap is assuming that a linear shooter has linear collectibles. Binary Domain constantly places rewards just outside the squad’s marching line, especially after a battle when the screen is still full of smoke and debris. Slow down at every checkpoint boundary, turn around before every door, and save heavy ammunition for the enemies that genuinely require it. Follow that rhythm and the collection achievements, hidden resources, and optional story logs become a clean campaign sweep instead of a frustrating second playthrough.
For another guide focused on carefully verifying secret content rather than relying on rumor, see Steamoz’s Chionophile secret locations guide. And if you’re moving between several older PC games, Cricket Through the Ages PC settings is a handy reference for keeping legacy titles stable while you chase 100 percent completion.