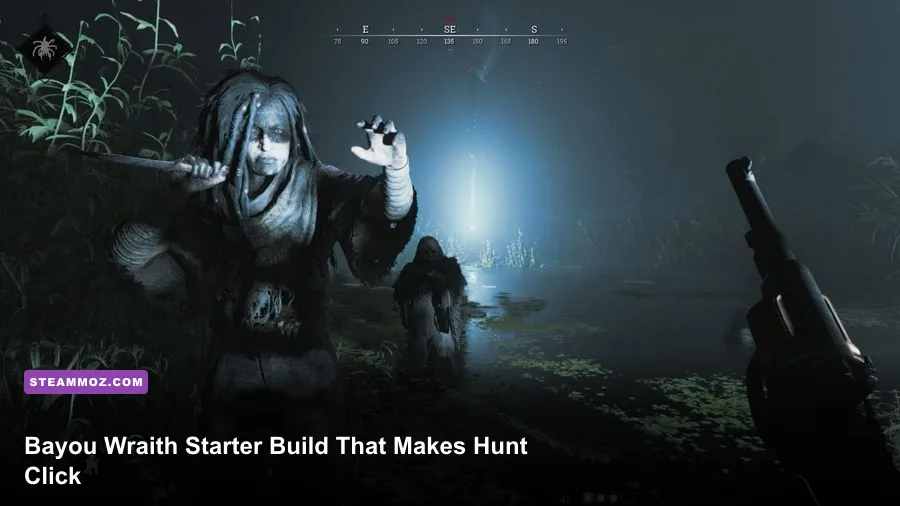
The best beginner build for Bayou Wraith is a Vetterli 71 Karabiner, Caldwell Conversion Pistol, knife, medkit, choke bombs, and inexpensive healing. Spend early upgrade points on Greyhound, Physician, and Determination, then add Doctor or Necromancer when your roster allows it. This setup teaches the fundamentals of Hunt: Showdown 1896—sound discipline, deliberate peeking, medium-range aim, and smart extraction—without demanding expensive ammunition or a specialist weapon.
First, an important clarification: Bayou Wraith is a Legendary Hunter skin, not a class with hidden bonuses. The skin does not change health, weapon handling, movement speed, hitbox rules, or trait access. You can confirm the broader hunter and recruitment systems through the official Hunt: Showdown 1896 Steam page. The build below is therefore a practical identity for the skin: stealthy enough for the swamp, flexible enough for compounds, and cheap enough that a beginner can learn without fearing every lost loadout.

The Bayou Wraith starter loadout
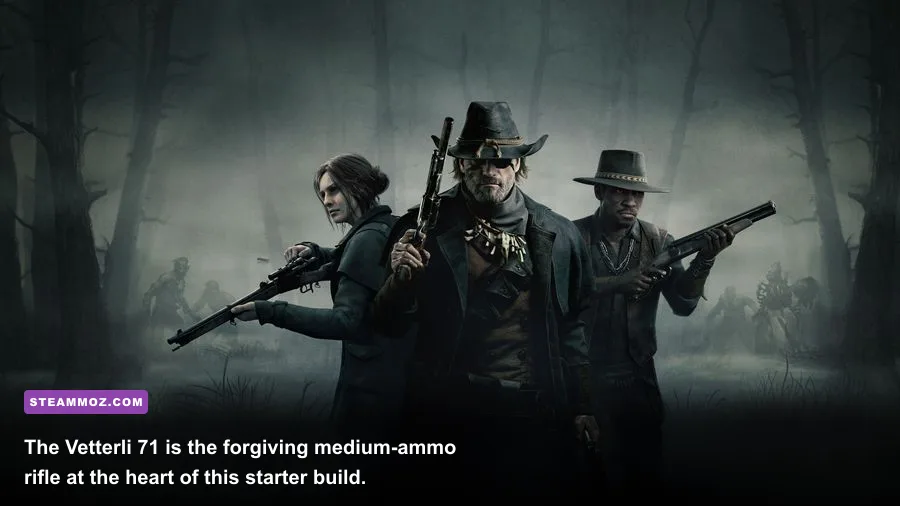
The Vetterli 71 Karabiner is the right first rifle because it sits between forgiving damage and manageable recoil. It uses medium ammo, carries six rounds internally, and gives you a useful balance of velocity, range, and follow-up shots. It is less punishing than a single-shot rifle and less specialized than a shotgun. You can tag a hunter crossing a road, pressure a window, and still defend yourself when the fight collapses indoors.
Pair it with the Caldwell Conversion Pistol. Its six-round cylinder and low cost make it dependable rather than flashy. The pistol is not your primary dueling weapon at rifle range; it is your backup when a reload would get you killed, when you are climbing a ladder, or when a teammate needs a close-range angle covered. Standard ammunition is enough while learning. Save special ammo experimentation for later prestige levels.
| Slot | Recommended item | Why it belongs | Beginner substitution |
|---|---|---|---|
| Primary | Vetterli 71 Karabiner | Six-round medium-ammo rifle with forgiving reach and follow-up shots | Winfield M1873C for cheaper close-to-mid-range practice |
| Secondary | Caldwell Conversion Pistol | Reliable emergency sidearm with a six-round cylinder | Nagant M1895 if cash is extremely tight |
| Melee | Knife | Silent AI kills and emergency stamina-efficient defense | Dusters if armored targets are your main problem |
| Medical | First Aid Kit | Required for restoring lost health chunks during a fight | Never skip this slot; replace another item instead |
| Utility | Choke Bombs | Stops burning teammates and controls fire at a doorway | Choke Beetle only after you understand its risk |
| Consumables | Vitality Shot, Stamina Shot | Emergency healing plus reliable sprint and melee stamina | Weak Vitality Shot and weak Stamina Shot to reduce cost |
Bring a First Aid Kit every match. That sounds obvious, but new players often spend the slot on another explosive and then lose a fight because they cannot restore a burned or damaged health bar. Take a Vitality Shot for serious engagements, not casual healing after every scratch. A Stamina Shot is particularly valuable while learning because it keeps sprinting, climbing, and knife attacks available during rotations.
If your budget is thin, drop the full-strength shots before dropping the rifle or medkit. A weak Vitality Shot still teaches the correct habit—heal before re-peeking—while the Vetterli gives you a much larger improvement in real fighting power than an expensive consumable.
🎮 Hunt: Showdown 1896 - Bayou Wraith
Looking to experience this game? Grab your digital key directly on our store for $3.49.
View on Steammoz Store →Why this build works for new hunters
Hunt rewards the player who creates a good fight before firing. The Vetterli lets you hold a 30-to-80-meter lane while the Conversion keeps you functional once the opponent reaches a doorway. That range spread matters because beginners often choose either a shotgun that cannot influence an outdoor approach or a long rifle they cannot reload safely indoors.
The rifle’s medium ammunition also makes missed shots less economically painful than high-end long-ammo packages. You still need to respect bullet drop and velocity, but the weapon gives you time to learn leading targets without turning every match into a financial disaster. Fire one accurate round, relocate, and listen. Do not stand in the same window waiting for a second chance.
The central combat loop is simple:
- Scan with sound first. Stop sprinting near compounds and identify crows, horses, doors, footsteps, and distant gunfire.
- Take the first shot from cover. Aim for the upper chest or head, and avoid shooting through heavy cover unless the angle is certain.
- Relocate after a miss or hit. The Vetterli’s strength is repeatable pressure, not sitting in one predictable window.
- Heal behind hard cover. A medkit animation is not a safe pause; walls, terrain, and teammate crossfire make it safe.
- Swap to the Conversion indoors. If the enemy is already inside melee distance, the pistol is faster than forcing a rifle reload.
That rhythm is more valuable than any “meta” gun. For broader loadout thinking, compare it with our starting-build approach for Street Fighter 6: establish a repeatable core before adding complicated options. Hunt is less forgiving, but the principle is identical.
Trait order and the first ten upgrade points
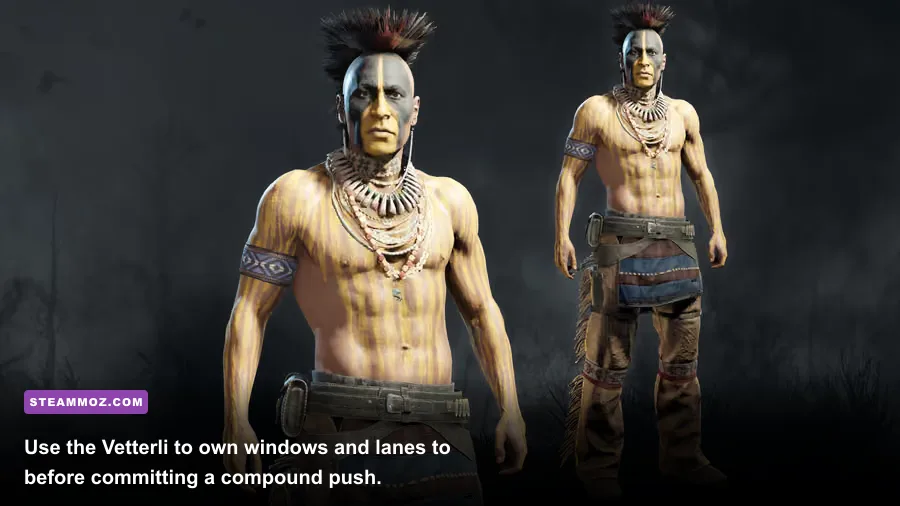
Bayou Wraith has no special trait package, so your first purchased traits should solve the problems that kill inexperienced hunters: running out of stamina, taking too long to heal, and losing the ability to recover after a down.
| Priority | Trait | What it changes | When to buy it |
|---|---|---|---|
| S-Tier | Greyhound | Extends sprint duration, making rotations and disengagements safer | First priority when available |
| S-Tier | Physician | Makes First Aid Kit healing substantially faster | Buy before chasing combat traits |
| A-Tier | Determination | Improves stamina recovery after it is depleted | Excellent for long compounds and AI clearing |
| A-Tier | Doctor | Increases the healing value of First Aid Kits | Take after Physician if you expect extended matches |
| A-Tier | Necromancer | Allows a downed teammate to be revived from range at a cost | High value in duos and trios; learn the danger first |
| B-Tier | Packmule | Improves item pickup value and helps sustain utility | Good economy pick after core survival traits |
| B-Tier | Lightfoot | Reduces noise from certain movement actions | Buy once you understand which sounds matter |
Greyhound plus Determination is the movement package. You can rotate around a compound, cross open ground between stamina windows, and escape a bad angle without stopping every few seconds. Physician plus Doctor is the sustain package. Together, they make a small First Aid Kit meaningfully more useful, which matters because health chunks are a resource—not just a number on the screen.
Necromancer is excellent but should not become an automatic button. A remote revive creates sound, drains health, and can expose you to a waiting enemy. Use it when your teammate is behind cover and you have information about the opposing angle. Do not Necromancer beside a corpse that the enemy is obviously holding.
Traits such as Levering, Fanning, and Iron Eye can be powerful, but they are not required for this beginner route. Fanning changes the Conversion into a close-range bullet hose; that is fun, expensive in stamina, and inaccurate beyond short distance. Learn normal pistol control first. You can explore more specialized combinations later, much like the deliberate skill paths in Steamoz’s Valheim skill guide.
How to fight with the Vetterli and Conversion
At long and medium range
Do not treat the Vetterli like a sniper rifle. Its job is to punish crossings, hold a compound window, and force an enemy to heal or move. Peek from a new position after each shot whenever possible. If you land a body shot and hear frantic movement, resist the urge to sprint forward immediately. The enemy may be baiting a revive, a flank, or a shotgun ambush.
Use iron sights with a steady cadence. Beginners often fire again before the sight picture returns, then blame recoil for a miss that was really impatience. A body hit should usually be followed by repositioning, not panic. If the opponent is wounded and trapped, your teammate can pressure the second angle while you deny the exit.
Inside compounds
The Conversion is a bailout tool, not a declaration that every doorway is yours. Keep the rifle ready while holding a long hallway, but swap before entering a cramped room where a fast follow-up shot matters more than reach. Listen for metal doors, stairs, and vaulting. A hunter climbing toward you cannot shoot until the animation finishes, but that window disappears quickly—pre-aim the landing rather than chasing the sound blindly.
Choke Bombs have two jobs in this build. They extinguish a burning teammate, and they create temporary denial around fire or a doorway. They can also make noise, so do not throw one simply because it is available. If your teammate is down and burning, choke first, revive second, and expect the enemy to push while the smoke and audio mask your movement.
Against common AI threats
Use the knife for Hives, Grunts, and armored enemies when the route is quiet, but never tunnel-vision on an AI kill near an enemy compound. Hellhounds are the exception: their speed and hitbox make a firearm safer unless you have clean spacing. Immolators should be punched with blunt damage, not shot or stabbed, because bleeding and fire can ruin your health bars before the real fight begins. The official Hunt website and official Steam community hub are useful places to check current event and system updates, since balance details can change between patches.
Graphics, sound, and performance for a fair fight
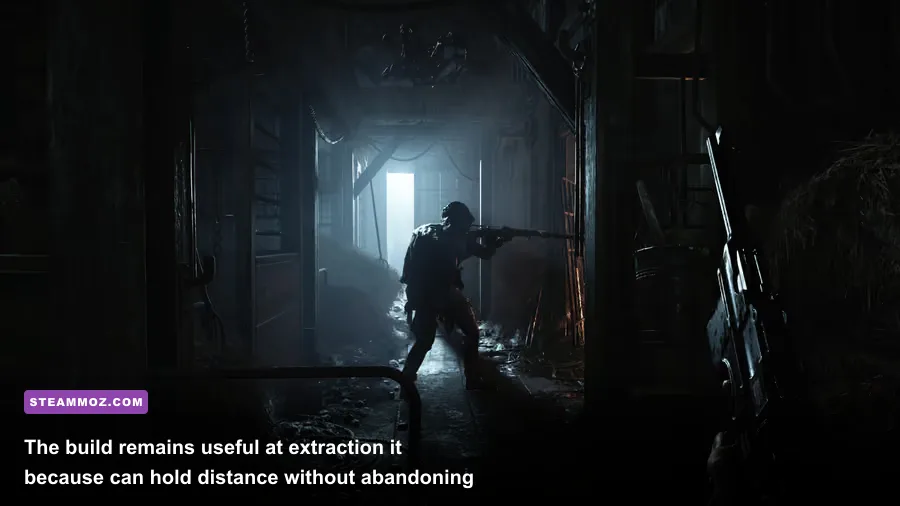
Hunt’s atmosphere is gorgeous, but a beginner should protect frame-time consistency before chasing ultra settings. A stable 90 frames per second with clean visibility is more useful than a fluctuating 140 that collapses during a compound fight. Keep the game on an SSD if possible; streaming stutter at the wrong moment can turn a correct peek into a missed shot.
| Setting | Recommended value | Performance impact | Gameplay reason |
|---|---|---|---|
| Resolution | Native monitor resolution | High if reduced | Preserves iron-sight clarity and distant target visibility |
| Object Quality | Medium | Medium | Good balance for compound detail and stable frame-time |
| Texture Quality | High if VRAM allows | Low to medium | Improves surface clarity without heavily taxing the GPU |
| Lighting Quality | Low or Medium | Medium to high | Reduces expensive shadow and lighting work |
| Effects Quality | Low | Medium | Helps during smoke, fire, explosions, and bounty fights |
| Anti-Aliasing | Use the clearest stable option | Medium | Excessive blur makes distant hunters harder to read |
| Motion Blur | Off | Small | Keeps fast turns and target tracking readable |
| V-Sync | Off for low latency | Variable | Use a frame cap if tearing becomes distracting |
Do not copy a sensitivity number from a streamer and assume it is correct. Start low enough to track a walking hunter without overcorrecting, then use the training area or low-risk matches to test a full 180-degree turn. Keep mouse acceleration off if your operating system or mouse software adds it. Audio deserves equal attention: stereo headphones, a sensible master volume, and no aggressive virtual surround filter will give you more trustworthy footsteps than a dramatic “gaming” preset.
Match plan, mistakes to avoid, and upgrades
Spawn quietly, collect nearby clues without sprinting through every sound trap, and stop at the edge of the first compound to read the situation. If another team is already fighting the boss, do not automatically rush. Take an outside angle, identify exits, and wait for a sound cue that tells you where the fight is moving. The Vetterli rewards patience because a single clean hit can change the entire compound geometry.
After banishing, do not burn every consumable just because extraction is next. Check your health chunks, reload both weapons, refill from boxes, and decide which route gives you hard cover. The most common beginner mistake is extracting through the obvious road while carrying bounty. A longer route through trees or buildings is often safer than the straight line everyone expects.
Here are the mistakes this build is specifically designed to prevent:
- Buying flashy weapons too early: expensive gear cannot fix poor positioning.
- Standing still after a shot: the enemy now knows your window, cover, and likely head height.
- Ignoring health chunks: a burned bar permanently reduces your margin for the next exchange until restored.
- Using Necromancer without information: a fast revive is worthless if it feeds the enemy another kill.
- Carrying no fire answer: Choke Bombs save teammates and prevent a dead hunter from becoming a permanent problem.
Once the Vetterli feels natural, upgrade based on the range you actually lose fights at. Choose a Romero 77 if enemies consistently breach your building and you want decisive close-range damage. Choose a Winfield M1873C if your fights happen mostly inside 40 meters and you want faster handling. Move toward the Sparks LRR or a long-ammo rifle only after you can consistently land opening shots and reposition without panic. Our weapon tier-list format is useful for thinking about strengths, but Hunt has no universally best gun—only the weapon that matches your engagement distance.
For more practical mistake prevention, see Steamoz’s mistakes guide and performance-focused graphics settings guide. The key lesson carries over: build a reliable baseline, then change one variable at a time.
Final Bayou Wraith verdict
Bayou Wraith works best as a calm, information-first hunter. The Vetterli 71 Karabiner gives beginners enough reach to learn positioning, while the Caldwell Conversion prevents the loadout from falling apart when combat gets personal. Greyhound, Physician, and Determination make the first few matches more forgiving without hiding Hunt’s harsh lessons.
Run the build for at least five matches before judging it. Track where you died, not just how many kills you earned. If you were caught crossing, improve sound discipline and rotation timing. If you lost at a doorway, swap earlier to the Conversion. If you ran out of stamina, buy the movement traits before chasing a damage gimmick. That feedback loop turns Bayou Wraith from a cool legendary skin into a dependable training platform for the entire game.