
If you want fast levels and reliable gold in Architect Life: A House Design Simulator, treat the Architect’s Home Office as a production hub rather than a decorative room: build a compact functional setup, complete short contracts with overlapping objectives, collect every reward before returning home, and reinvest only in upgrades that improve your next job. The strongest early loop is simple—plan at the office, accept the highest-value compatible contract, finish its required rooms quickly, then repeat without spending your profits on showroom furniture.
This approach works because Architect Life rewards completed project objectives and career progress, not just pretty screenshots. A huge office can look fantastic while quietly draining the budget. A small office with the required work objects, clear walking space, and sensible lighting gets you back into contracts faster. Before changing your layout, check the game’s official Steam page for current patches, screenshots, and feature notes.
Build the Home Office for speed, not screenshots
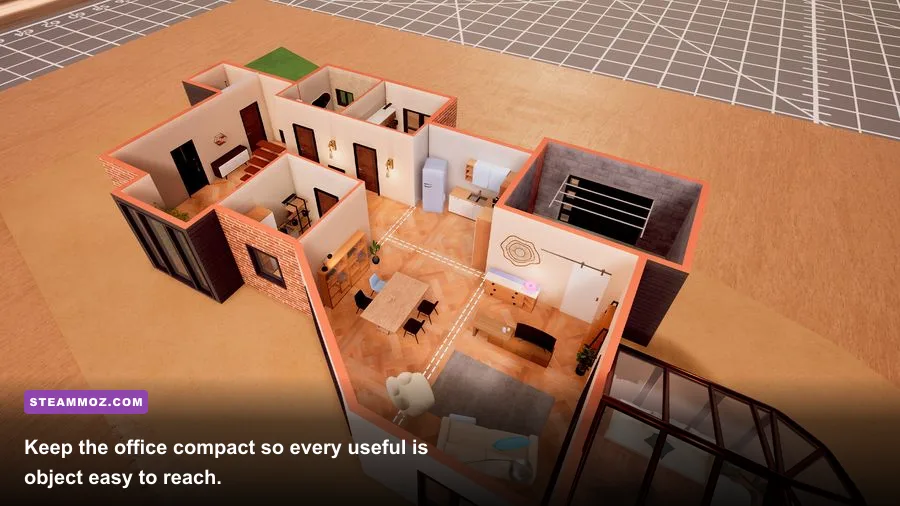
Your first goal is not a magazine-ready office. It’s a room that removes friction from every work cycle. Put the main desk or workstation against a wall, leave a clear one-tile approach to its usable side, and keep storage and frequently selected objects within the same compact footprint. The exact shape matters less than access: if the character has to walk around a chair, lamp, or decorative partition every time you interact with the office, that wasted movement adds up across a long career session.
Start with the cheapest functional furniture available. Prioritize the computer or design workstation, a chair if the game requires one for interaction, basic storage, and a light source. Add expensive decor only after your contract income is stable. Decorative objects can help complete visual requirements, but they rarely deserve priority over an item that supports an interaction or prevents a room from feeling unfinished.
Use a rectangular room instead of an oversized square. A narrow layout lets you place the desk, storage, and lighting along two walls while preserving a clean central path. Don’t bury the entrance behind a large object, either. You want a short route from the door to the workstation and back to the rest of the house. This is especially useful when you’re checking objectives, switching rooms, or fixing a missing requirement before submitting a project.
| Office element | Early priority | Why it matters | When to upgrade |
|---|---|---|---|
| Desk or workstation | S-Tier | Enables the core office interaction and keeps the career loop moving | As soon as a better functional model pays for itself |
| Chair | A-Tier | Supports access and may satisfy office furnishing requirements | Only when the current chair blocks movement or fails a brief |
| Storage | A-Tier | Keeps the room practical and helps meet organization-focused objectives | After the primary workstation is functional |
| Lighting | B-Tier | Improves presentation and room completeness without driving income alone | When a contract explicitly values lighting or finish quality |
| Premium decoration | C-Tier | Consumes gold without reliably increasing early contract speed | After unlocking better-paying work |
The one-minute office inspection
Before accepting work, walk through the room once. Confirm that the workstation can be used from the intended side, that doors open fully, that no object clips into the interaction zone, and that the room’s required items are actually registered by the game. If an object looks placed correctly but the objective stays incomplete, pick it up and place it again with a little extra clearance. Architect Life can be forgiving visually while remaining strict about usable placement.
For performance, keep reflections, shadows, and view distance conservative if your PC struggles in furnished interiors. Building games often lose frames when many small objects are visible at once. Stable performance is more valuable than a sharper reflection on a desk. Steamoz’s Architect Life crashing and low-FPS fixes are worth checking before you start a long farming session.
🎮 Architect Life - Architect's Home Office
Looking to experience this game? Grab your digital key directly on our store for $2.09.
View on Steammoz Store →Use contract overlap to level faster

The fastest leveling method is not blindly selecting the largest available project. It’s stacking contracts whose requirements overlap with rooms you already know how to build. If one project asks for a bedroom, bathroom, and living area while another emphasizes similar furniture categories, you can use the same planning rhythm and reduce the number of corrective visits. That matters because each restart, catalog trip, and unnecessary redesign cuts into your gold per minute.
Read the entire brief before spending. Identify three things: the mandatory room types, the quality or furnishing requirements, and the reward. Then estimate whether the reward covers the materials you’ll need. A contract with a larger payout can still be a bad farming job if it demands expensive items that you haven’t unlocked or requires extensive demolition.
Early in the career, favor short jobs with predictable layouts. They provide a smoother stream of completion rewards and reputation than ambitious projects that leave you with a half-finished room and a depleted wallet. Once a higher-value contract becomes affordable without borrowing from your office-upgrade fund, switch to it. The point is to climb the reward curve, not remain trapped farming the cheapest job forever.
| Contract type | Leveling value | Gold efficiency | Best use |
|---|---|---|---|
| Small single-room brief | Good | High early | Build initial cash and learn objective registration |
| Two-room renovation | Very good | Very high when requirements overlap | Core early-to-midgame farming route |
| Large multi-room project | Excellent | Variable | Use after unlocking the required catalog and tools |
| Decoration-heavy brief | Moderate | Low if premium items are required | Accept only when the reward clearly beats material costs |
Objective order that prevents backtracking
Build in this order: structural changes first, utilities and access second, large furniture third, small furniture fourth, and decoration last. Never begin with wall art or plants when the floor plan is still changing. Large objects can invalidate a path, cover an interaction point, or force you to reposition several smaller items. Once the room is structurally correct, place the biggest required object, then fill the remaining gaps with cheaper pieces.
Keep a small reserve of gold after every contract. A safe rule is to retain enough for one functional workstation replacement plus the cheapest essential room items. That reserve protects you from a failed brief, a required object you forgot to buy, or a sudden unlock that would otherwise force you back into low-paying work.
Spend gold where it accelerates the next job
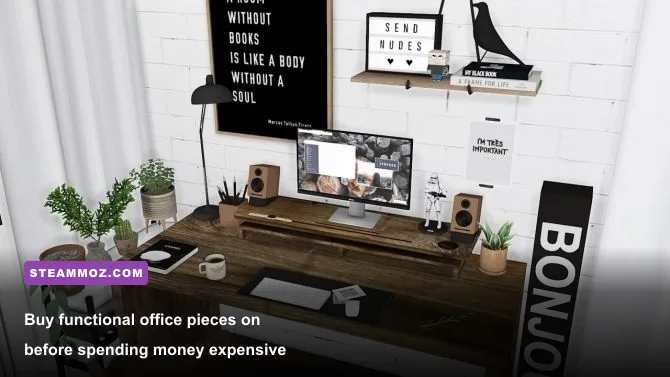
Gold farming collapses when every payout disappears into decoration. Your spending order should be functional unlocks, tools that reduce placement or renovation friction, contract-enabling furniture, and only then visual upgrades. The home office is useful because it gives you a central place to organize this progression, but it doesn’t turn every purchase into passive income. You still need profitable project completions.
Use the catalog’s preview and price information before committing. Compare the cheapest item that satisfies the brief with the premium version. If both register the same objective, buy the cheaper one. Upgrade only when the more expensive item improves a measurable part of your workflow, unlocks a better contract, or helps you satisfy a recurring quality requirement across several projects.
Do not demolish a working office just to chase a small visual improvement. Renovation costs and replacement purchases can erase the profit from multiple short contracts. Save a second layout only when you have enough money to rebuild without touching your reserve. The most efficient office is usually the one you stop redesigning while your career is still growing.
A practical reinvestment ladder
First, stabilize access to the workstation and ensure the room can be used without collisions. Second, buy the cheapest objects that repeatedly appear in contract requirements. Third, improve the tools or catalog access that lets you take more lucrative work. Fourth, upgrade presentation items after your average contract payout has clearly exceeded your normal material bill. This order feels less glamorous than a designer showcase, but it produces a much stronger gold curve.
There’s also a hidden economy in avoiding waste. Don’t buy three versions of the same object to test them. Don’t place items permanently before confirming the brief. Don’t accept a job whose mandatory furniture is still locked unless you’ve checked the reward against the unlock cost. Every unnecessary purchase delays the next career threshold.
Turn every project into a clean completion

Fast leveling depends on completion quality as much as speed. A rushed project that misses one mandatory objective can cost more time than a careful first pass. When you enter a contract, pause before placing anything and map the room mentally: doorway, windows, fixed elements, circulation route, and the largest required object. Build around those constraints rather than trying to force the room into the same template every time.
Use a checklist as you work. Mark the required room type, structural changes, essential furniture, lighting, cleanliness or finish conditions, and any client-specific request. After placement, leave the room and re-enter the evaluation or objective screen. If the game hasn’t registered an item, move it slightly instead of buying another copy. Small repositioning often fixes a hidden access or placement condition.
| Project phase | Common danger | Counter strategy | Gold-saving result |
|---|---|---|---|
| Planning | Buying before reading the brief | List every mandatory requirement first | Prevents unnecessary catalog purchases |
| Structural work | Blocking doors or windows | Reserve circulation space before furnishing | Avoids expensive redesigns |
| Furniture placement | Overcrowded interaction zones | Place large objects first and test access | Reduces failed objective checks |
| Decoration | Spending beyond the reward | Use the cheapest qualifying items | Protects net profit |
| Submission | Leaving one requirement unchecked | Run a final room-by-room checklist | Secures the full payout and reputation |
The fast reset rule
If a room goes wrong, don’t keep patching it indefinitely. Remove the single object causing the bottleneck, restore the path, and reassess. Persistent micro-adjustments are a time trap. A clean reset of one corner is usually faster than nudging ten nearby items. This is especially true in tight bathrooms and compact offices where object collision rules are unforgiving.
For a broader look at how Steamoz approaches progression-focused builds, see our beginner build guide for Clair Obscur: Expedition 33. The games are wildly different, but the same principle applies: spend early resources on tools that improve the next several decisions, not on flashy purchases that solve only one moment.
Use a repeatable gold-farming route
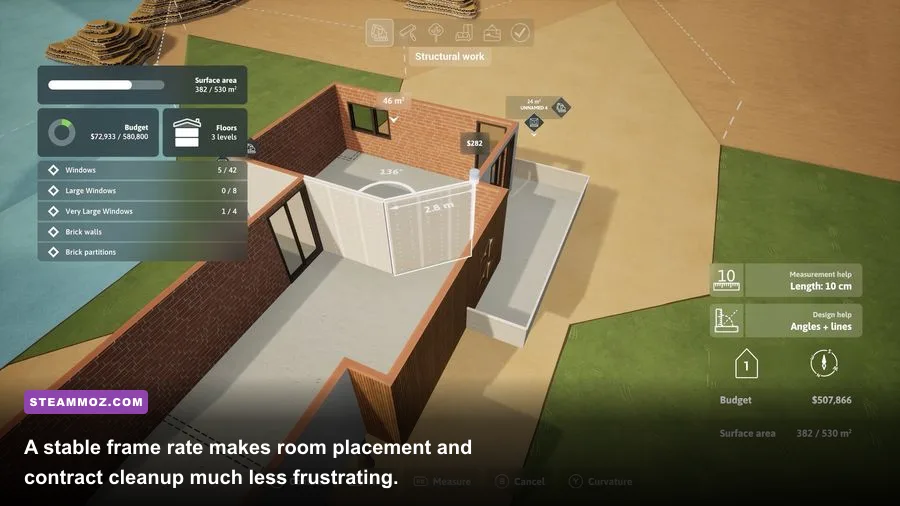
Once your office is functional, use this loop every session. Start at the Home Office, check the available contracts, and reject anything whose mandatory purchases would consume your reserve. Pick the shortest profitable brief with overlapping requirements. At the job site, complete structure and access first, place the largest required objects, fill the remaining objectives with low-cost items, and submit only after checking every room. Return to the office, collect the reward, and immediately reinvest in the next career-enabling unlock.
- Inspect the office: Make sure the workstation is reachable and your basic reserve is intact.
- Compare contracts: Calculate reward minus required purchases, not reward alone.
- Choose overlap: Favor briefs using familiar room types and already-unlocked catalog items.
- Build in passes: Structure, access, large furniture, small furniture, then decoration.
- Verify objectives: Recheck every room before submission and reposition unregistered items.
- Collect and reinvest: Spend on unlocks that improve several future contracts, not one showcase room.
Track your results for three contracts. Write down the payout, material cost, and approximate completion time. Your best farm is the route with the highest net gold per minute, not necessarily the contract with the biggest headline reward. If a project pays 4,000 gold but costs 2,800 and takes twice as long as a 2,500-gold job costing 700, the smaller contract is doing more for your career.
| Session metric | Healthy target | Warning sign | Correction |
|---|---|---|---|
| Net gold per contract | Clearly positive after mandatory purchases | Reward barely exceeds spending | Drop to a shorter compatible brief |
| Objective failures | Zero or one minor correction | Repeated missing requirements | Use a written room checklist |
| Office rebuilds | Rare and planned | Every few contracts | Stop buying cosmetic upgrades early |
| Contract travel and setup | Short, predictable cycle | Long pauses and repeated catalog trips | Favor familiar layouts and overlapping items |
Finally, keep the game updated and watch official patch notes through the developer and publisher information page. Balance changes can alter rewards, object requirements, or performance. If you’re also chasing smooth performance in other management sims, Steamoz’s guide to higher FPS in Grow: Song of the Evertree has useful PC-tuning ideas.
The winning Architect Life strategy is deliberately unglamorous: compact office, readable contracts, cheap qualifying furniture, clean objective checks, and disciplined reinvestment. Once the Home Office stops being a vanity project and starts functioning as your control room, levels arrive faster, gold stops leaking away, and bigger contracts become a calculated upgrade instead of a financial gamble.