
The revolver is Alone in the Dark's best all-purpose weapon, while the shotgun earns S-Tier status for emergencies and the Tommy gun dominates only when ammunition is plentiful. For most of the campaign, carry the revolver as your default, save shotgun shells for aggressive monsters, and use Molotov cocktails or dynamite to break up groups before they surround you. The Digital Deluxe Edition doesn't add exclusive combat weapons, so this ranking applies equally to Edward Carnby and Emily Hartwood.
That distinction matters. The Digital Deluxe Edition adds the Vintage Horror Filter Pack, Director's Commentary Mode, and extra costume content rather than a stronger arsenal. You won't unlock a secret overpowered gun by owning the deluxe package. Your advantage comes from understanding weapon roles, enemy spacing, reload timing, and when avoiding a fight is smarter than spending resources.
Alone in the Dark weapon tier list at a glance
The ranking below is based on damage efficiency, ammunition economy, stopping power, handling, and usefulness across Derceto Manor, the Bayou, New Orleans, and the game's supernatural dream sequences. The game doesn't expose clean damage numbers in its menus, and enemy health varies by difficulty and encounter, so these are practical combat grades rather than invented laboratory statistics.
| Weapon | Tier | Best Role | Main Weakness |
|---|---|---|---|
| Revolver | S-Tier | Reliable single-target damage | Slow against groups |
| Shotgun | S-Tier | Close-range stopping power | Limited shells and reach |
| Tommy Gun | A-Tier | Suppressing groups | High ammunition consumption |
| Molotov Cocktail | A-Tier | Area denial and crowd damage | Needs setup and safe distance |
| Dynamite | A-Tier | Opening damage on clustered enemies | Slow fuse and scarce supply |
| Melee Weapons | B-Tier | Finishers and emergency defense | Risky range and durability pressure |
Think of tiers as practical value, not raw damage. A shotgun blast obviously hits harder than one revolver round, but a revolver cylinder gives you more opportunities to land controlled headshots. Similarly, the Tommy gun can shred a threat faster than either firearm, yet wasting a full burst on a monster you could have bypassed is one of the fastest ways to make the next chapter miserable.
🎮 Alone in the Dark - Digital Deluxe Edition
Looking to experience this game? Grab your digital key directly on our store for $16.48.
View on Steammoz Store →Why the revolver is the best weapon overall
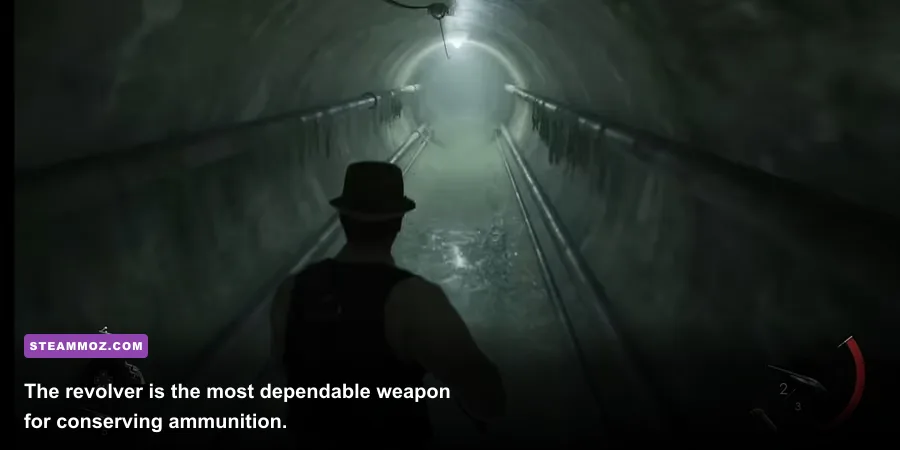
The revolver sits at the top because it handles nearly every problem without demanding perfect conditions. It has useful precision, manageable recoil, and ammunition that is generally easier to justify spending than shotgun shells or Tommy gun rounds. It also lets you fight at a safer distance, which is critical because many creatures punish panic dodges and close-range hesitation.
Use deliberate shots, not frantic emptying
Fire one or two rounds, watch the enemy's reaction, then reposition. Head and upper-body hits produce the most reliable stopping results, but the real skill is timing your shots around an attack telegraph. When a creature lunges, sidestep first and shoot during its recovery animation. Firing while backing into furniture is how a controllable encounter turns into a grab animation.
Reload behind a doorway, after a successful dodge, or while an enemy is recovering. The revolver's reload window is uncomfortable in open space, so don't wait until the cylinder is completely empty if another enemy is already inside striking distance. A partial reload behind cover is usually better than gambling on a final shot.
Edward and Emily don't need separate weapon builds. Their route variations and story presentation differ, but the firearms follow the same survival-horror logic. If you want a clean first playthrough, keep the revolver equipped while exploring and switch only when the encounter gives you a strong reason.
Shotgun, Tommy gun, and the best firearms for hard fights
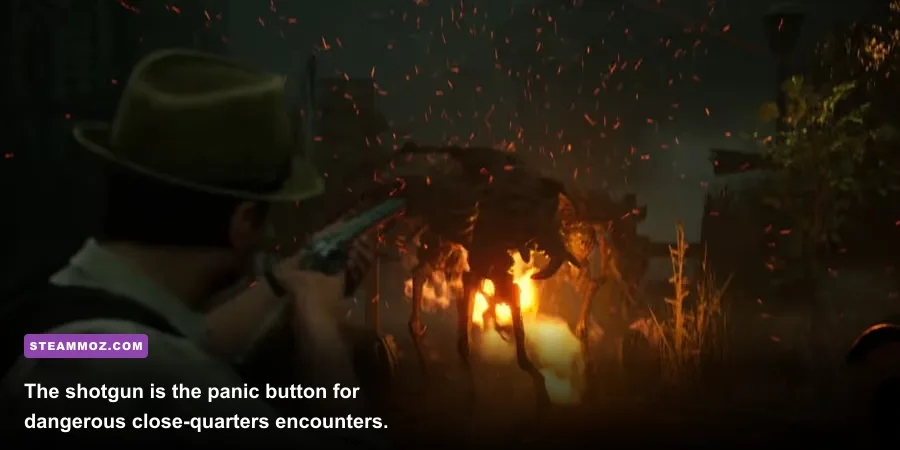
The shotgun is the best emergency weapon in the game. Its close-range spread can stagger or heavily damage enemies that are already in your face, making it ideal after a dodge fails or a narrow corridor removes your room to maneuver. The trade-off is brutal: shells are limited, the effective range is short, and firing from too far away wastes the weapon's biggest advantage.
Use the shotgun when an enemy commits to a charge, not when it is wandering across a room. Let the target enter the center of your reticle, sidestep the attack, and fire into the recovery. Against two enemies, shoot the closer threat first, then sprint through the gap rather than standing still for a second blast. The shotgun is strongest as a fight-ending tool, not a general-purpose primary.
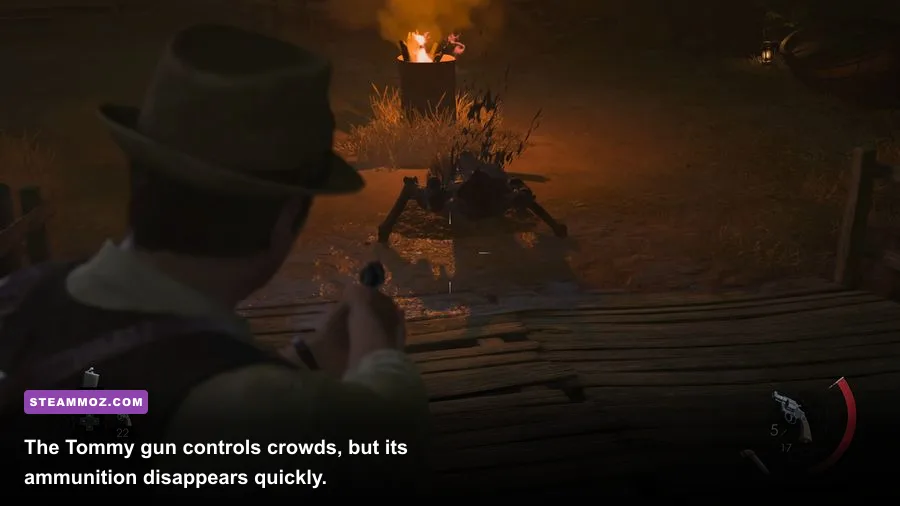
The Tommy gun earns A-Tier because it can suppress multiple enemies and rescue you from a collapsing encounter. Short bursts are the key. Holding the trigger down turns valuable ammunition into wall decoration because recoil and movement make sustained fire unreliable. Tap out controlled bursts at close-to-medium range, then stop shooting as soon as the nearest target is staggered.
| Firearm | Range | Ammo Efficiency | Recommended Use |
|---|---|---|---|
| Revolver | Medium to long | High | Exploration, single targets, precision shots |
| Shotgun | Short | Medium | Charges, narrow rooms, emergency staggers |
| Tommy Gun | Short to medium | Low | Groups, boss pressure, rapid suppression |
There isn't a conventional weapon-upgrade tree that lets you inflate these guns with permanent damage perks. Your effective “build” comes from inventory discipline and encounter selection. That makes the official Steam page for Alone in the Dark useful for checking the edition's included content, but it won't reveal hidden stat upgrades because the game doesn't structure combat that way.
Throwables rank high when you control the battlefield
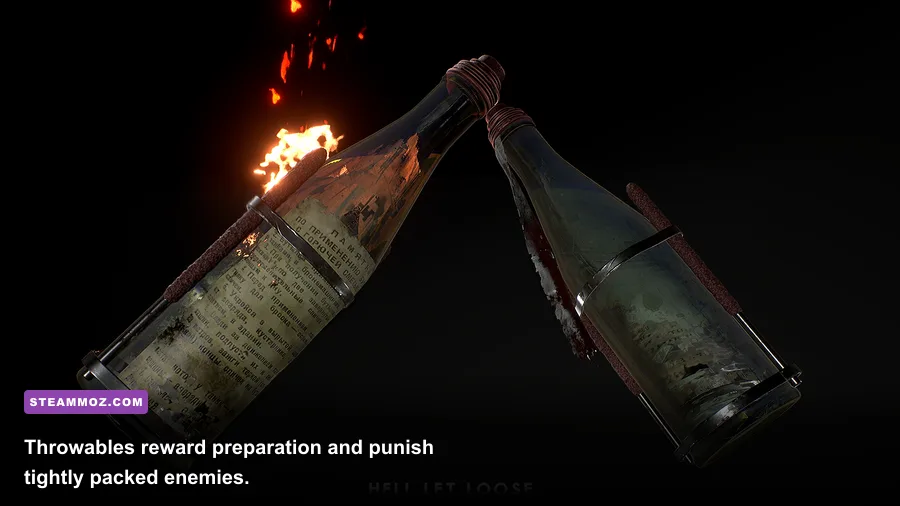
Molotov cocktails and dynamite are both A-Tier equipment, though they serve different jobs. A Molotov creates a burning zone that discourages enemies from crossing a doorway or tightening a circle around you. Throw it where monsters must walk, then use the delay to relocate. Tossing it directly at a fast target in open ground is less reliable and can leave you with no escape route.
Dynamite is the better opener against a cluster. The fuse gives you a short but meaningful delay, so throw from cover and immediately move sideways rather than watching the explosion. It is particularly valuable when enemies are funneling through a doorway or gathering around a scripted arena entrance. Don't use it on a lone enemy unless that target is a boss-phase threat or the blast will prevent a guaranteed hit.
Environmental fire and explosive effects also help compensate for weak positioning. If you enter a room with scarce healing items and several enemies, look for a choke point before drawing your weapon. A single throwable can make the difference between spending one resource and burning through the whole inventory.
Throwable decision table
| Situation | Best Equipment | Action | Why It Works |
|---|---|---|---|
| Enemies packed at a doorway | Dynamite | Throw, then retreat behind cover | Front-loads area damage |
| Enemy blocking an escape route | Molotov | Burn the route and circle wide | Creates temporary space |
| One charging monster | Shotgun | Dodge, then fire during recovery | Faster and safer than a throw |
| Open room with one target | Revolver | Use measured upper-body shots | Preserves rare equipment |
Melee weapons are B-Tier, but don't ignore them

Melee weapons rank below the firearms because their range puts you directly inside the danger zone, yet they remain valuable when ammunition is low. Axes, pipes, and similar improvised weapons are best used to finish a staggered enemy, break a weak target, or create a few seconds of breathing room. They aren't a license to brawl with every supernatural creature you meet.
Watch durability and animation commitment. Swing once or twice, then move. Repeatedly chaining attacks against a target that hasn't staggered is a trap, especially when a second enemy can flank you during the recovery. A quick strike followed by a dodge is safer than trying to complete a long melee string.
Melee also shines in rooms where gunfire would attract attention or where you want to save ammunition for a scripted fight. Pair it with environmental movement: strike near a doorway, retreat through it, and force the enemy to approach on your terms. If the target ignores hit reactions, abandon the melee plan immediately and switch to the revolver or shotgun.
Best equipment loadout for each encounter type
Your inventory should reflect the next problem, not your favorite gun. Before entering a boss arena or major set piece, reload firearms, check your healing supply, and make sure your quick-use slot contains the item you actually intend to throw. The game frequently shifts from investigation to combat with little warning.
| Encounter | Primary | Secondary | Winning Approach |
|---|---|---|---|
| Single roaming enemy | Revolver | Melee finisher | Keep distance and punish recovery |
| Two or three enemies | Revolver | Molotov | Separate targets at a doorway |
| Close corridor ambush | Shotgun | Revolver | Dodge the first attack, then stagger |
| Large group | Tommy gun | Dynamite | Open with explosives and burst fire |
| Boss or scripted arena | Shotgun or Tommy gun | Revolver | Save burst damage for clear telegraphs |
Difficulty changes the value of every tier. On easier settings, the Tommy gun can feel close to S-Tier because you can afford more aggressive ammunition spending. On harder settings, the revolver rises even further because consistency matters more than spectacular burst damage. No setting removes the importance of dodging, spacing, or recognizing an enemy's attack wind-up.
For more PC troubleshooting advice, compare Steamoz's Kholat graphics settings guide and Hunt: Showdown performance settings. They cover different games, but the same principle applies here: stable frame pacing makes dodge timing and aiming feel much more dependable.
Final ranking and the loadout to carry
For a normal campaign, the strongest equipment plan is simple: revolver equipped, shotgun reserved for rushes, Tommy gun saved for groups or major scripted fights, and throwables used to control space rather than chase damage numbers. Treat melee weapons as emergency finishers and a way to conserve ammunition, not as your default answer.
The Digital Deluxe Edition changes presentation, not the combat economy. Whether you're playing Edward's route or Emily's, the best results come from landing deliberate shots, reloading behind cover, and refusing unnecessary fights. If you remember only one rule, make it this: spend the weakest resource that safely solves the current problem. That habit keeps the revolver useful, the shotgun available when it matters, and the late-game encounters from turning into an ammunition crisis.
For the game's official development background, see the Pieces Interactive game page and the official Alone in the Dark site. And if you enjoy ranking survival-game gear, Steamoz's Insurmountable equipment tier list is another useful comparison point.