
A good gaming PC isn't defined by an expensive badge or the biggest number on a product page. Before you start playing, match your hardware to your monitor, install games on an SSD, update the right drivers, check temperatures, and build a graphics profile around a stable frame rate rather than maximum settings. That preparation prevents stutter, shader-compilation hitching, overheating, and wasted upgrade money.
This matters whether you're assembling your first desktop, moving from console to PC, or trying to understand why a supposedly powerful machine feels sluggish. A Core i5 paired with a sensible GPU can deliver a better experience than an unbalanced build with a premium processor and an entry-level graphics card. The same logic applies to laptops, prebuilt systems, and older machines: identify the bottleneck first, then spend money only where it removes that bottleneck.
Start With the Games You Actually Want to Play
The first mistake new PC players make is shopping from a parts list instead of a game list. Counter-Strike 2, Cyberpunk 2077, Baldur's Gate 3, and Microsoft Flight Simulator stress very different parts of a computer. A competitive shooter rewards high, consistent frame rates and low latency. A visually demanding open-world game leans heavily on GPU power, video memory, storage speed, and sometimes CPU performance in crowded areas.
Write down the games you expect to play and the resolution of your monitor. A 1080p display at 60Hz has a very different target from a 1440p 165Hz panel. At 4K, the graphics card becomes the main investment, while ray tracing can push even expensive GPUs hard. If you need a reality check for older releases, Steamoz's Far Cry 2 PC requirements breakdown shows why age alone doesn't tell you how demanding a game will feel on modern hardware.
| Target | Typical Resolution | Practical GPU Class | Best For |
|---|---|---|---|
| Entry-level | 1080p | RTX 4060, RX 7600, Arc A750 | Esports and mainstream games |
| Balanced | 1440p | RTX 4070 Super, RX 7800 XT | High settings and high-refresh play |
| Enthusiast | 1440p ultrawide or 4K | RTX 4080 Super, RX 7900 XTX | Ultra settings and demanding releases |
| Competitive | 1080p at 240Hz | RTX 4070-class or faster | Low-latency shooters |
Those are broad targets, not universal rules. An RTX 4060 can run many games beautifully at 1080p, but its 8GB of VRAM may require texture compromises in newer releases. An RX 7800 XT has 16GB and is excellent for conventional 1440p rendering, while Nvidia's RTX 4070 Super is usually stronger for ray tracing and DLSS-supported games. Check the developer's official requirements on the Steam store before buying, but remember that minimum requirements usually mean “it launches,” not “it feels great.”
Balance the CPU, GPU, RAM, and Storage
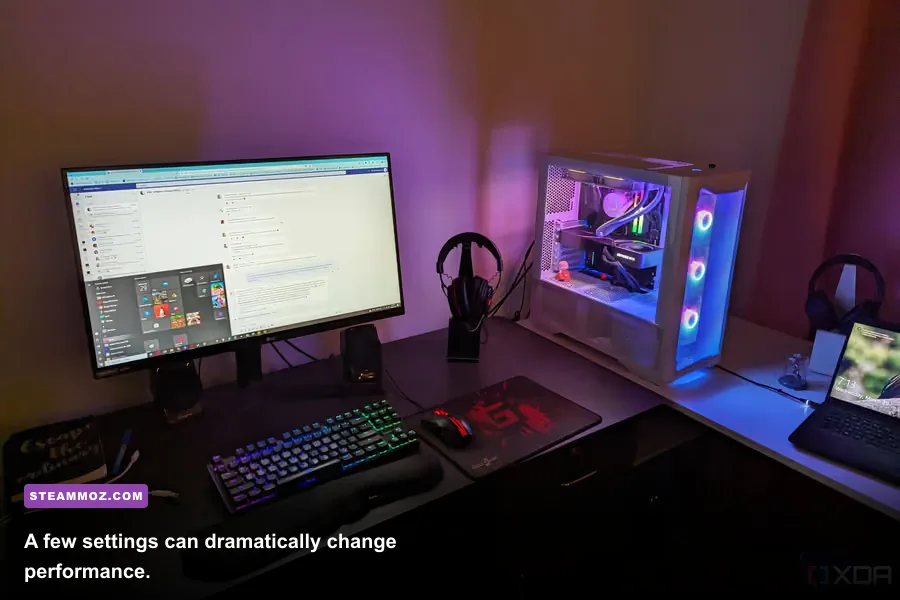
Think of a gaming PC as a chain. The slowest link sets the experience. A powerful GPU paired with an old four-core processor can produce uneven frame times in simulation games, massive multiplayer battles, and open-world cities. A high-end CPU with a weak GPU may deliver excellent menus and loading times but struggle to render modern lighting and effects.
For a new mainstream build, six modern CPU cores are a sensible floor. Chips such as AMD's Ryzen 5 7600 or Intel's Core i5-14400F offer enough throughput for current gaming without forcing the budget into workstation territory. Eight-core parts, including the Ryzen 7 7800X3D, make more sense if you're chasing very high refresh rates or playing CPU-heavy titles. The 7800X3D's 3D V-Cache can be exceptional in games, but it doesn't magically improve GPU-limited 4K performance.
Use 16GB of memory only if your budget is tight and your game library is modest. A 32GB kit, ideally two matched modules such as 2x16GB DDR5, is the more comfortable baseline. It leaves room for Discord, a browser, recording software, and background launchers without pushing Windows into page-file activity. Do not mix random memory kits and assume the advertised speed is guaranteed; enable XMP or EXPO in the motherboard firmware, then test stability.
| Component | Minimum Sensible Choice | Recommended Choice | Why It Matters |
|---|---|---|---|
| CPU | 6 modern cores | Ryzen 5 7600 or Core i5-14400F | Controls game simulation and frame-time consistency |
| GPU | 8GB VRAM class | 12GB to 16GB VRAM class | Determines resolution, effects, and texture headroom |
| Memory | 16GB dual-channel | 32GB dual-channel | Prevents multitasking and open-world memory pressure |
| Storage | 1TB NVMe SSD | 1TB or 2TB PCIe 4.0 NVMe SSD | Reduces load times and texture-streaming stalls |
| Power supply | Quality 550W to 650W | Quality 750W to 850W | Provides safe overhead for GPU spikes and upgrades |
Make an NVMe SSD your primary game drive. A SATA SSD is still perfectly usable, but a hard drive is increasingly a bad place for modern open-world games that stream assets while you move. Keep at least 15 percent of an SSD free; completely filling it can hurt sustained performance and makes updates needlessly painful. If a game still stutters on an SSD, the problem may be shader compilation, CPU limits, drivers, or the game itself rather than storage.
Set a Realistic FPS Target Before Touching Ultra
Your monitor sets the ceiling for visible refresh. A 60Hz screen can display up to 60 refreshes per second, while a 144Hz or 165Hz monitor rewards a much higher and steadier output. That doesn't mean every game must hit 165fps. A stable 90fps often feels better than a wildly fluctuating 130fps that repeatedly drops to 55.
Start with a frame-rate cap. For a 144Hz display using adaptive sync, try 141fps; for 165Hz, try 162fps. The small buffer helps keep the GPU inside the variable-refresh window and can reduce latency spikes. Competitive players may prefer uncapped rendering if input response is the priority, but watch GPU utilization, heat, and frame-time graphs rather than assuming more frames always feel better.
| Setting | Recommended Starting Value | FPS Impact | Visual Trade-Off |
|---|---|---|---|
| Resolution | Native monitor resolution | Very high | Lowering it improves FPS but softens the image |
| Upscaling | Quality at 1440p, Balanced at 4K | High benefit | Can introduce shimmer or ghosting |
| Ray tracing | Off or Medium initially | Very high | Improves reflections and lighting at a major cost |
| Textures | High if VRAM allows | Low to medium | Mostly affects surface detail and memory use |
| Shadows | Medium or High | Medium to high | Lower settings reduce contact and object-shadow quality |
| Volumetrics | Medium | Medium | Fog, smoke, and light shafts become less rich |
| Motion blur | Off for clarity | Small | Removes cinematic blur during camera movement |
Use DLSS on supported Nvidia hardware, FSR on supported AMD and cross-platform titles, and XeSS where it produces the cleanest image on your system. “Quality” is usually the best first test because it preserves more detail than Performance mode. If the game offers a shader-precompilation step, let it finish. Skipping it can cause traversal stutter as shaders compile during live gameplay.
For troubleshooting, change one setting at a time and record the result in the same scene. A benchmark number from an empty hallway tells you less than a repeatable run through a crowded city street. Steamoz's Far Cry 6 settings guide is a useful example of why shadows, volumetrics, and upscaling deserve separate testing rather than one blunt “low” preset.
Install Drivers, Updates, and Essential Tools
Before launching a demanding game, install the current graphics driver from Nvidia, AMD, or Intel. Choose a clean installation if you are replacing a graphics card or moving between vendors. On stubborn systems, Display Driver Uninstaller can help, but use it carefully and create a restore point first.
Update the motherboard BIOS only when you have a reason: CPU compatibility, memory stability, security fixes, or a documented performance improvement. BIOS flashing is not a casual weekly chore. Likewise, motherboard chipset drivers matter more than many players realize because they affect power management, USB behavior, and platform scheduling.
Install hardware monitoring software such as HWiNFO64, then watch temperatures and clocks during a real game. A GPU sitting around 65–80°C under load is generally comfortable, though exact limits vary by model. CPU temperatures can briefly reach the 80s or low 90s on modern boost-oriented chips, but persistent thermal throttling means the cooler, fan curve, mounting, or case airflow deserves attention. Don't judge a PC from idle temperatures; load behavior is what matters.
Disable overlays you don't need. Xbox Game Bar, Discord, Steam, GeForce Experience, recording tools, RGB utilities, and browser acceleration can occasionally collide with anti-cheat or consume enough resources to affect frame times. Don't disable every Windows security feature in pursuit of a tiny benchmark gain. Stable drivers, current Windows updates, and a clean startup usually beat reckless “optimization” scripts. For game-specific crash diagnosis, Steamoz's ELEX PC fixes demonstrates a safer order: verify files, check drivers, remove conflicts, then change deeper settings.
Make Cooling and Power Part of the Build
Airflow is performance. A case with two front intake fans and one rear exhaust fan is a practical starting point; adding a top exhaust can help remove rising heat, but fan direction matters more than RGB count. Keep front filters clean, leave breathing room around the case, and don't bury a desktop in a cramped cabinet.
The power supply is not the place to gamble. Look for a reputable model with protections, a proper warranty, and enough continuous capacity for transient GPU spikes. An 80 Plus rating measures efficiency, not overall quality, so “Gold” alone does not guarantee a good unit. For modern graphics cards, native 12V-2x6 or 12VHPWR support can reduce cable clutter, but seat the connector fully and avoid sharp bends immediately beside the plug.
Thermal throttling often looks like a mysterious software problem. The game starts at 100fps, the fans become loud, clocks fall, and performance settles at 70fps. Check GPU clock speed, CPU effective clock, hotspot temperature, and frame-time graphs together. If temperatures rise steadily, clean the filters and confirm that every fan spins. If only one game behaves badly, compare with another demanding title before rebuilding the entire machine.
Know Which Upgrade Will Actually Help
Don't upgrade by instinct. If your GPU is at 99 percent utilization while the CPU has room, a faster processor won't meaningfully improve visual quality. If the GPU sits at 60 percent but one or two CPU cores are maxed and frame times spike in busy areas, a CPU or platform upgrade may be the answer. If memory usage approaches 16GB and the operating system starts paging, moving to 32GB can smooth the experience even without changing average FPS.
| Symptom | Likely Limit | First Test | Likely Upgrade |
|---|---|---|---|
| GPU at 95–100%, low FPS | Graphics card | Lower resolution or ray tracing | Faster GPU or more VRAM |
| Low average FPS in crowded areas | CPU | Check per-core utilization and frame times | Newer CPU or platform |
| Stutter while multitasking | System memory | Check RAM use and page-file activity | 32GB dual-channel memory |
| Long loads and texture pop-in | Storage or game streaming | Move the title to an NVMe SSD | Larger or faster SSD |
| Performance drops after 15 minutes | Thermals or power | Log temperatures and clock speeds | Better airflow, cooler, or PSU |
Storage upgrades are often the least glamorous but most noticeable quality-of-life improvement. A 2TB SSD lets you keep large games installed without constantly shuffling them between drives. Don't expect an SSD to double average FPS, though. It improves loading, asset streaming, and the general responsiveness of the system; it cannot replace a weak GPU.
The Smart First-Day Setup Checklist
Before your first long session, confirm that the monitor is connected to the graphics card rather than the motherboard video output. Enable the monitor's advertised refresh rate in Windows, turn on adaptive sync if supported, and use the correct DisplayPort or HDMI cable. Then launch one demanding game, apply a sensible preset, cap the frame rate, and spend ten minutes monitoring temperatures and frame times.
Keep game saves synchronized through Steam Cloud when available, but don't treat cloud sync as a complete backup. Important local saves, screenshots, configuration files, and mod profiles may live elsewhere. Avoid downloading unofficial “performance packs” that replace executables or ask you to disable security software. A few extra frames aren't worth exposing your account or system.
Finally, remember that PC gaming is an adjustable experience, not a visual purity test. High textures with medium shadows can look better than Ultra across the board while running faster. A locked 60fps can be the right choice for a cinematic adventure; 240fps is valuable in a competitive shooter but pointless if your monitor is 75Hz. Build around the games you love, measure the result, and upgrade only after the evidence points to a specific limit.
That is the real foundation of a good PC: balanced hardware, sensible settings, clean software, controlled temperatures, and expectations matched to the display in front of you. Get those pieces right and even a mid-range machine can deliver a smoother, quieter, more enjoyable experience than a much more expensive system assembled without a plan.