
Survival in Trumbull Valley isn't about playing the bullet-spraying action hero; it is a ruthless exercise in community logistics where one reckless mistake permanently erases your best character from existence. State of Decay: YOSE on Steam does not feature manual save rollbacks or reload checkpoints when a raid goes sideways. Once Marcus, Maya, or your prized sniper gets torn in half by a Juggernaut, they are gone forever, their gear drops into the dirt, and your base morale plummets. To conquer this open-world apocalypse crafted by Undead Labs, you must understand how its unseen simulation gears grind, how stamina dictates combat, and how safe outposts actually work.
Manage Stamina Like Your Life Depends On It (Because It Does)
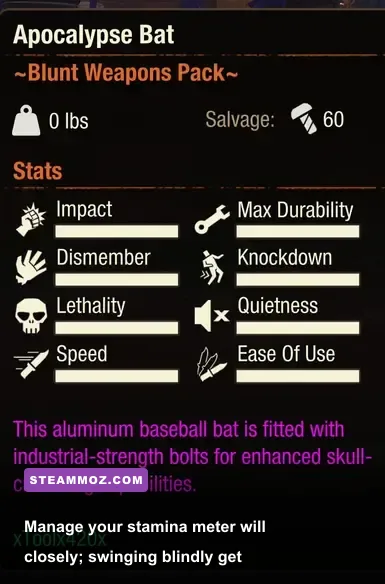
Your health pool is a secondary safety net; your stamina wheel is the real lifeline keeping your teeth inside your mouth. Every sprint, blunt swing, dodge roll, and grapple burns stamina instantly. When that blue bar empties, your survivor drops into a sluggish, gasping animation, leaving you entirely defenseless against standard walkers and lethal freaks alike. You cannot spam light attacks and expect to stun-lock packs. The moment your stamina dips below twenty-five percent, you need to back off, reset your spacing, and let the meter recharge.
Consumables aren't hoarded trophies meant to rot in your supply locker—they are combat necessities. Always leave your home site with at least two stacks of stamina recovery items. Snacks yield immediate bursts of energy, while Coffee and Energy Drinks provide sustained stamina regeneration that allows you to sprint through overgrown orchards without slowing to a crawl. If you're planning a massive resource sweep, consider pairing these with the strategic preparation you'd use when planning a beginner build tailored for relentless endurance.
Furthermore, pay attention to maximum stamina reduction. As survivors fight and sprint over extended runs, fatigue chips away at your total stamina bar, turning twenty percent of your wheel gray. Once fatigue caps your stamina pool by a third, drop your ruck at base, swap to a fresh recruit, and let that survivor crash on a cot in the Bunkhouse.
Base Building and Outpost Geometry Make or Break Your Run

The Church of the Ascension in Spencer's Mill is a functional starting crib, but treating it like a permanent home is a death sentence. It lacks sufficient indoor facility slots, caps your parking capacity, and sits too close to recurring infestation hotspots. Moving your community to premier mid-to-late game headquarters—such as the Savini Residence in central Trumbull or the massive Snyder Trucking Warehouse in southern Marshall—grants the facility slots required to build Medical Labs, Workshops, and indoor sleeping quarters to curb depressive morale spirals.
Much like allocating resources in an Empires of the Undergrowth resource farming strategy, your base economy relies on smart facility synergies. Setting up an Advanced Workshop, for instance, allows you to manufacture homemade munitions and craft vehicle repair kits, saving you dozens of hazardous scavenging trips across town.
Your outpost network is equally critical. Setting up outposts isn't just about passive resource generation (like picking up +3 Ammo or +3 Fuel per day). Outposts cast a protective perimeter ring on the map, armed with fuel traps that automatically incinerate wandering hordes that cross into your defensive zone. By daisy-chaining outposts along the roads surrounding your base, you create a buffer that prevents random horde incursions from battering down your front gates.
| Base Location | Region | Facility Slots | Required Survivors / Materials | Primary Strategic Advantage |
|---|---|---|---|---|
| Church of the Ascension | Spencer's Mill | Small (Fixed Layout) | Default Starting Base | Central starter hub with easy early scavenging routes. |
| Savini Residence | Spencer's Mill Outskirts | Medium (Built-in Watchtower) | 3 Survivors / 30 Materials | Defensible chokepoints and built-in protection against early infestations. |
| Kirkman Residence | Spencer's Mill | Medium (Workshop built-in) | 8 Survivors / 30 Materials | Excellent early repair potential and defensive fencing. |
| The Alamo | Marshall Core | Medium (Roof Lookout) | 5 Survivors / 20 Materials | Surrounded by rich commercial loot, though prone to massive siege noise. |
| Snyder Trucking Warehouse | West Marshall | Massive (4 Large, Multiple Small) | 12 Survivors / 50 Materials | Endgame fortress with massive storage, parking, and weapon manufacturing. |
Freaks Aren't Regular Zeds: Know Their Mechanics Cold
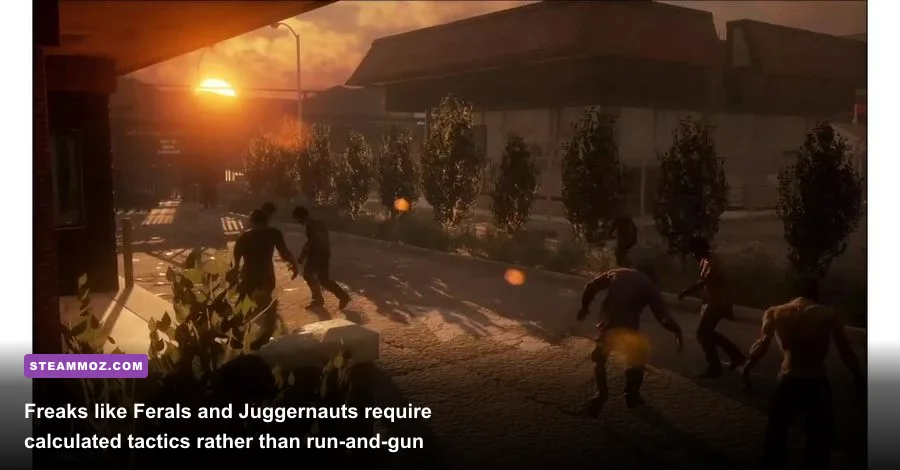
Standard zombies are easily tackled with a blunt Crowbar or a bladed Machete, but special infected—known as Freaks—require tactical responses. Approaching a Freak like standard fodder is how players lose their high-stat survivors in seconds. The official State of Decay Wiki catalogs their lethal quirks, but mastering practical execution in the field demands muscle memory.
Ferals are the number-one killer of veteran survivors. These hunched, skinless nightmares sprint faster than your running speed, dodge head-on vehicle impacts with ease, and feature a tackle-pounce that rips off half your health while tearing away your weapon. When a Feral roars, immediately pull out a high-rate-of-fire sidearm or shotgun. Roll toward the Feral right as it leaps to break its tracking vector, pivot instantly, and pop it in the skull before it reorients.
Juggernauts are hulking slabs of infected meat that soak ungodly amounts of physical trauma. Never run them over in a vehicle; doing so will immediately crumple your car's engine block, blow your tires, and leave you stranded on foot. Fight Juggernauts at range using high-caliber rifles chambered in 7.62mm or .50 cal, or drop them with consecutive incendiary explosives like Molotovs and Grenades. Watch for their charging tackle, side-step early, and shoot them in the soft spot behind the head when they collide with an obstacle and stumble.
| Freak Variant | Primary Threat Factor | Vehicle Ramming Viability | Best Tactical Counter |
|---|---|---|---|
| Feral | Lethal tackle, extreme agility, dismemberment finisher | Very Low (dodges 90% of frontal rams) | Dodge forward under the leap, pivot for an instant headshot with shotgun or 9mm. |
| Juggernaut | Insta-kill bisection, heavy armor, base wall destruction | Forbidden (destroys vehicle engine instantly) | High-caliber rifle fire to the skull or three direct Molotov hits to stagger. |
| Bloater | Toxic gas cloud, stamina drain, lingering health rot | Fatal if hit (fills vehicle cabin with gas) | Single pop to the swollen torso from long range before it gets within 15 meters. |
| Screamer | Sonic screech, draws regional hordes, disorients survivor | High (pancake them immediately) | Suppressed headshot through windows or rapid stealth takedown from behind. |
Noise Management and Vehicle Preservation Rules
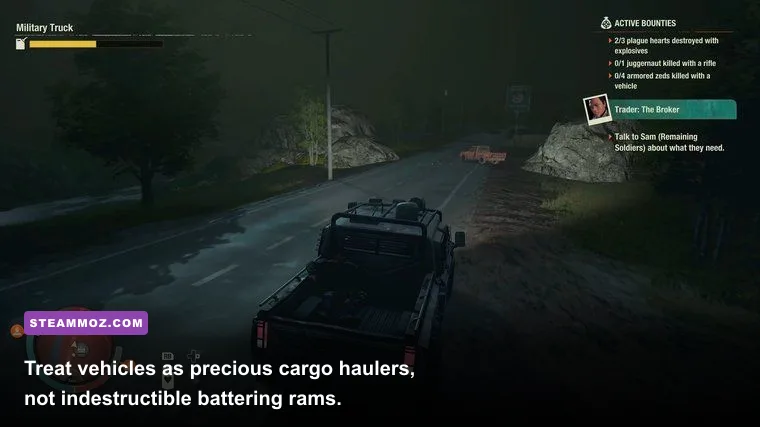
Every mechanical interaction in State of Decay emits noise pings that ripple across the minimap. When looting containers in stores or abandoned homes, you have the option to accelerate the scavenge timer by holding the search button. Resist that urge unless you are in utter desperation. Failing the fast-search roll causes a deafening crash that spawns a wandering pack directly onto your position.
Cars are your primary resource haulers and rapid escape pods, but they are fragile. Every zombie you paste with your front bumper damages the radiator and engine block. Black smoke quickly turns to flames, after which the vehicle explodes. If you must run down a horde to save a stranded community member, hit them in reverse. Using the rear trunk and tailgate to crush zombies inflicts zero engine damage, preserving your vehicle's mechanical health while clearing the path.
Never leave home without surveying fuel consumption and trunk space. Stashing heavy rucksacks of construction materials, food, and medicine in the trunk allows you to clear out entire strip malls in one coordinated run, minimizing dangerous back-and-forth foot travel through high-infestation suburbs.
Weapon Durability, Specialization, and Survivor Rotation
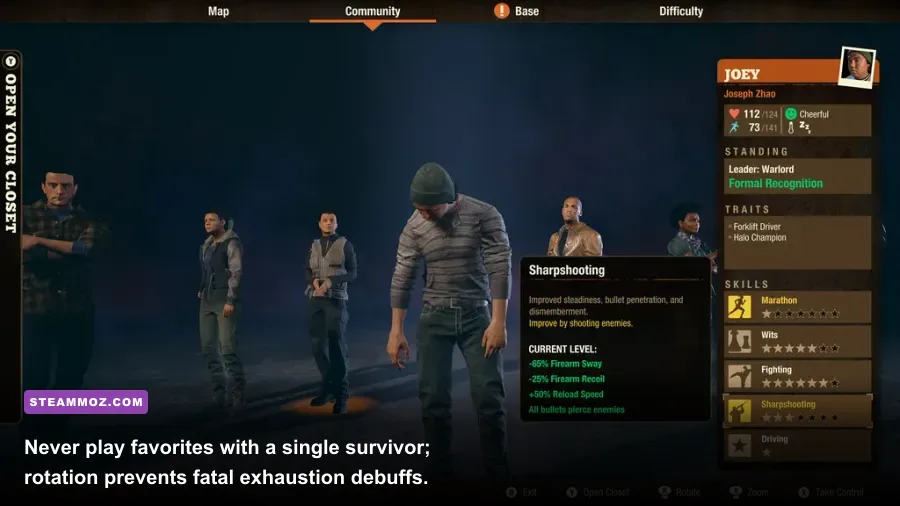
Every firearm and melee implement has a finite lifespan before snapping. Blunt weapons (like lead pipes and bats) boast high durability and excellent knockdown chance, making them ideal for crowd control. Bladed weapons (machetes and wakizashis) provide rapid decapitation rates but dull far quicker. Just as choosing the right arms matters in games with broad weapon pools—as detailed in this breakdown of weapons worth your investment—matching your weapon class to your survivor's natural traits turns basic scrappers into unkillable survivalists.
Specializations unlock once your basic skills hit level seven. Don't leave your survivors as generalists. If a character possesses the Powerhouse trait, upgrade them into Heavy Weapons and grab the Pro Wrestling move, allowing you to suplex zombies to the asphalt for instant ground executions. If they lean toward Nimble or Reflexes, specialize in Bladed combat to unlock sweeping leg slices that instantly cripple sprinting hordes.
Finally, never develop a one-man-army mentality. Pouring every ounce of XP into Marcus Campbell feels great until he gets trapped in an enclosed barn with a Bloater cloud and a Feral. Keep a minimum roster of four combat-ready survivors leveled in shooting, cardio, and fighting. When one is tired, bruised, or recovering from black fever, swap them out at base and head back into the valley with a fresh recruit.
Technical Stability and System Tuning for Large Sieges
During late-game warehouse sieges, Trumbull Valley throws dozen-strong hordes, freak duos, and complex physics interactions on screen at once. If your frame rate dips during a critical Feral attack, timing your dodge becomes a nightmare. If you encounter frame pacing dips or stuttering, tweaking shadow cascades and dynamic lighting down a single notch stabilizes your baseline performance without turning the rural countryside into mud—a performance principle vital for managing smooth frames seen in our settings optimization tips for higher FPS. Similarly, players troubleshooting technical hiccups on older PC hardware can look toward stability adjustments akin to action RPG engine crash fixes to prevent crashes while driving across high-density zone transitions like Marshall bridge.
Mastering State of Decay requires respecting its mechanics. Hoard your consumables, fortify your outposts with overlapping lines of fire, back into incoming hordes with your tailgate, and never let your stamina wheel run completely dry. Stay smart, respect the clock, and your community might just live to see another sunrise over Mount Tanner.