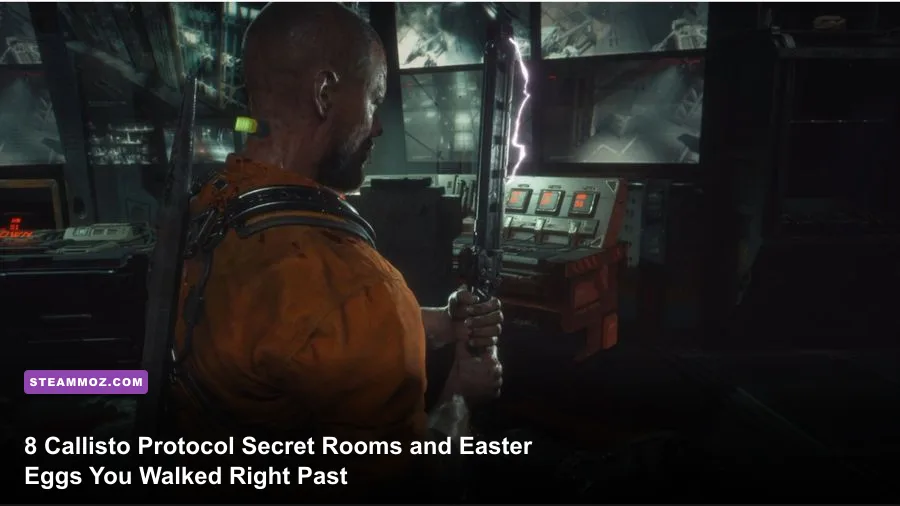
Black Iron Prison is built like an oppressive, linear slaughterhouse, but if you only follow the blinking green door lights and waypoint holograms, you're starving your inventory of thousands of Callisto Credits, game-changing weapon schematics, and twisted narrative easter eggs. Striking Distance Studios intentionally designed Jupiter’s dead moon with deceptive branch points: narrow crawlspaces disguised as dead ends, locked gate-fuse puzzles that reward backtracking, and environmental nods that bridge the gap between classic survival horror history and Krafton’s battle royale empire. Missing these early rooms doesn't just deprive you of lore—it leaves your Stun Baton under-leveled and your GRP glove running on empty right before brutal multi-enemy encounters.
Finding every hidden nook on PC requires a sharp eye, deliberate inventory management, and the willingness to risk an ambush when your health bar is glowing red. Much like tracking down hidden caches in the Everspace 2 secret locations and hidden rewards guide, scouring Black Iron Prison requires knowing exactly where the level geometry deceives you. Below is the battle-tested breakdown of the best secret rooms, missable weapon blueprints, and sly easter eggs hidden throughout The Callisto Protocol on Steam.
The Skunk Gun Schematic: Chapter 3’s Missable Armory Vault
The single biggest mistake you can make in Chapter 3 (Aftermath) is rushing straight toward the SHU after Elias hands you the Stun Baton. Right after you navigate through the laundry sector and enter the Medical Wing’s primary access loop, you'll encounter a locked security gate labeled D303. The game subtly urges you forward toward the basement incinerator, where you rip a Gate Fuse from a wall console to progress the main objective. Ninety percent of players plug that fuse into the exit door and never look back. That is a massive tactical error.
Instead of unlocking the exit path immediately, grab the Gate Fuse and carry it all the way back up the stairs to the dark corridor opposite the medical examination tables. Plug the fuse into the auxiliary terminal adjacent to the locked Security Office. Inside, you bypass two locker traps to find the Skunk Gun Schematic lying on a metal work desk, accompanied by two Pristine Energy Converters (worth 200 Callisto Credits each at the Reforge) and a box of heavy shotgun shells.
The Skunk Gun is a miniature, hand-cannon shotgun that uses small-frame shotgun ammo. It delivers devastating close-quarters spread that can shear the legs off an advancing Biophage in a single trigger pull. If you miss this room, you won't get another shot at the Skunk Gun until Chapter 4 (Habitat), where it sits in an obscure corner of the oxygen processing bay behind a series of spinning ventilation fans. Getting it in Chapter 3 lets you dominate the cellar encounters and saves your Hand Cannon ammo for long-range spitters. Much like optimizing loadouts in our Far Cry 3 Blood Dragon weapons ranked from S to C, grabbing top-tier burst damage early shifts survival horror completely in your favor.

🎮 Protocol
Looking to experience this game? Grab your digital key directly on our store for $19.99.
View on Steammoz Store →The PUBG Level 3 Helmet and Frying Pan: Krafton’s Sneaky Legacy
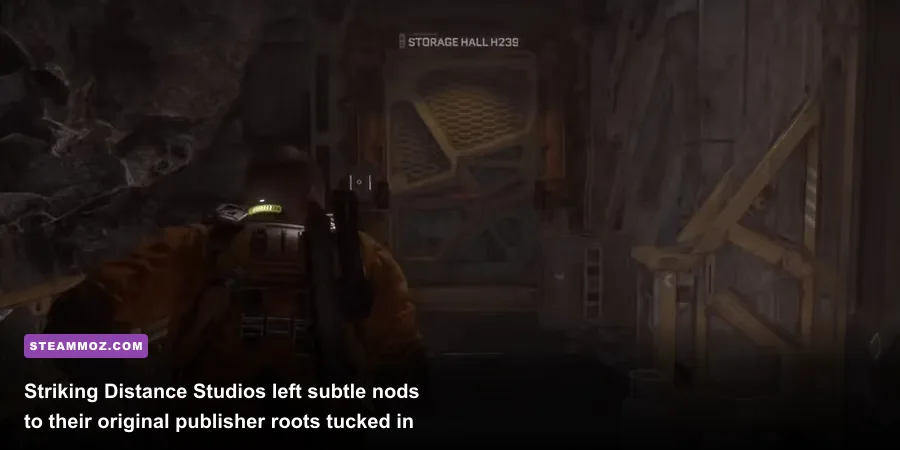
Before Glen Schofield and Striking Distance Studios fully separated The Callisto Protocol into its own independent narrative universe, the game was originally announced as a deep-future story set 300 years within the PUBG: Battlegrounds timeline. While that narrative link was formally severed during development, parent company Krafton left unmistakable relics of the battle royale giant hidden deep within Black Iron’s domestic quarters.
During Chapter 4 (Habitat), while navigating the crew mess halls and hydroponics living quarters, you will enter a trashed galley kitchen. Most players grab the health gel on the central island and duck under the collapsed ceiling girder to chase the mission marker. If you halt, look to the right of the industrial grease trap, and vault over an overturned serving cart, you'll discover a small dry-storage pantry that looks empty at first glance.
Tuck your camera around the rear shelving rack, and you'll spot two unmistakable items:
- The Cast-Iron Skillet: Mounted precisely against a magnetic tool board, distinct from all the surrounding high-tech composite culinary tools. It features the exact curvature and handle geometry of PUBG's iconic bullet-deflecting pan.
- The Tactical Helmet Stencil: Sprayed onto a weathered green supply crate in the back corner is a military supply stamp bearing the unmistakable visor silhouette of the Level 3 Spetsnaz Helmet, accompanied by the inventory batch code K-77 Drop.
Finding this easter egg doesn't award an achievement, but it's a brilliant nod for PC players who remember the game's earliest reveal trailers. If you appreciate hunting obscure developer signatures, it's just as rewarding as uncovering the hidden caches highlighted in our Eternal Destiny secret locations and hidden rewards worth hunting.
Dr. Mahler’s Secret Observation Nook in Habitat Sector D302
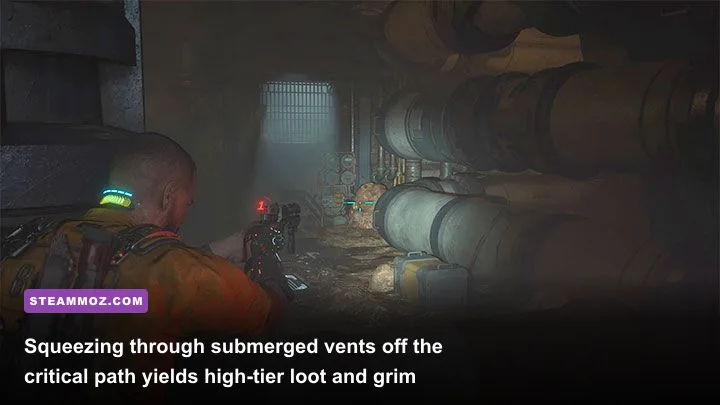
Environmental storytelling peaks in Chapter 4, but you have to get wet and crawl through sewage to see the best of it. While tracking Dr. Caitlyn Mahler through the water filtration system, you’ll reach a massive room dominated by a rotating industrial filtration turbine. The primary path asks you to GRP throw Biophages into the turbine blades to clear the walkway before climbing a metal ladder toward the purification control hub.
Ignore the ladder for a moment. Drop down into the murky drainage ditch directly beneath the turbine platform. Sloshing through the waste brings you to a collapsed drainage pipe marked with faded yellow warning hazard stripes. Crouch down and crawl through this narrow pipe for roughly fifteen seconds. You will emerge into an unmapped, dry observation chamber: Sector D302 Sub-Office.
This secret room contains:
- Audio Log - "Mahler's Doubts": An unlisted datapad revealing Dr. Mahler’s growing terror over Warden Duncan Cole’s Biophage harvesting quotas, long before Jacob crash-landed on Callisto.
- A Pristine Energy Converter: Yields a cool 200 Callisto Credits when pawned at any Reforge 3D printer.
- A GRP Battery Pack: An instant full recharge for your telekinesis glove, which is crucial for the combat gauntlet waiting right outside.
- Two Locker Safes: Containing heavy handgun rounds and medical injectors.
Entering this area on the Steam version can occasionally cause a momentary asset-streaming hitch if you're playing at unlocked framerates with ray tracing enabled. If you run into stuttering when crossing boundary thresholds in Black Iron, tweaking your engine cache using methods similar to our ELEX PC fixes that stop crashes and rescue your FPS will keep your frame delivery buttery smooth during sudden enemy jumps.
The Miner's Secret Bunker: Chapter 6 Below Stash and Audio Log

Chapter 6 (Below) shifts the game's tone into pure, silent survival horror. You drop into the ruins of Arcas, an abandoned mining colony built decades before Black Iron Prison swallowed the surface. This entire level is crawling with Blind Biophages (The Blank)—enemies that cannot see you but will instantly swarm and dismember you if you run, bump into hanging chains, or fire an unsuppressed weapon.
Most players crouch-walk strictly along the central boardwalk, stealth-stabbing enemies in the spinal cord and praying they don't break their last shiv. However, right after passing through the collapsed Transport Hub, you’ll notice an alley blocked by rotting wooden transport pallets. Strike the pallets with your Stun Baton—or better yet, pick up a nearby mineral canister with your GRP and silently lob it out of the way—to reveal a descent ladder leading to a sub-basement labeled Arcas Mine Shaft 04.
Down in this subterranean shelter sits an old miner's bunkhouse that hasn't been disturbed since the original outbreak:
| Hidden Room Asset | Location in Bunker | Economy Value | Tactical Impact |
|---|---|---|---|
| Tactical Pistol Schematic | Resting on the tool workbench | Unlocks Crafting | High-rate-of-fire sidearm, excels at popping mutation tentacles before enemies evolve. |
| Pristine Energy Converter (x2) | Inside the floor wall-safe | 400 Credits Total | Funds Jacob's GRP Velocity Upgrade right before the Two-Head boss encounter. |
| Miner's Final Log Datapad | Beside the skeleton on the cot | Lore Completion | Unlocks missing audio file explaining the initial parasite discovery in the bedrock. |
| Reinforced Supply Chest | Pried open via Shiv | Random Ammo / Meds | Refills 3 inventory slots with shotgun shells and high-potency injector gel. |
Taking this detour requires sacrificing one of your Shiv durability points to pop the locking mechanism on the supply crate, but the payoff is massive. Having the Tactical Pistol crafted and upgraded with burst-fire before stepping onto the moving cargo lift platform later in the chapter makes the dreaded Two-Head mini-boss battle infinitely more manageable.
Master Blueprint Breakdown: Secret Stashes, Loot Yields, and References
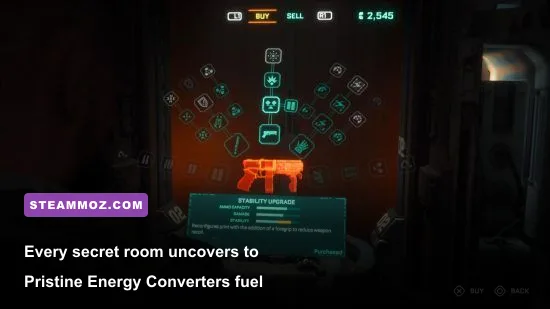
Exploration in The Callisto Protocol is a high-risk, high-reward calculus. Your baseline inventory space in the prison jumpsuit is an agonizing 6 slots. It doesn't expand to 12 slots until you obtain the armored EVA Suit in Chapter 5. That means ducking into secret rooms often forces painful decisions: do you leave behind explosive canisters, drop high-value trade items, or discard precious medical gel?
To help you prioritize which side paths are worth the detour and which ones will merely burn your health reserves, here is the complete breakdown of every major off-path room, schematic, and developer tribute across Black Iron Prison:
| Secret Location / Room | Chapter Access | How to Access | Key Loot & Hidden Secrets | Threat Level |
|---|---|---|---|---|
| Laundry Maintenance Vent 1B | Chapter 3: Aftermath | GRP-rip the grate behind the central wash basin | Energy Converter (100 credits), Audio Log: "Ferris's Orders" | Low (1 crawling parasite ambush) |
| Medical Security Armory | Chapter 3: Aftermath | Backtrack Gate Fuse to door D303 before exiting | Skunk Gun Schematic, 2x Pristine Converters | Moderate (2 spitting grunts spawn on backtrack) |
| Mess Hall Galley Dry Storage | Chapter 4: Habitat | Vault over overturned cart near kitchen grease pit | PUBG Cast-Iron Skillet & Level 3 Helmet Stencil | Zero (Safe lore/easter egg zone) |
| Sewage Filtration Sub-Pipe D302 | Chapter 4: Habitat | Crawl under turbine drainage channel pipe | Dr. Mahler Secret Datapad, GRP Recharge, 300 Credits | Low (Sluggish sludge movement) |
| Power Station Auxiliary Generator | Chapter 5: Lost | Follow broken catwalk left of the snow-swept courtyard | Pristine Converter, Large Medical Gel, Shotgun Shells | High (3 camouflaged Rushers attack simultaneously) |
| Arcas Colony Shaft 04 Bunker | Chapter 6: Below | Clear wooden pallets in Transport Hub sub-alley | Tactical Pistol Schematic, 400 Credits, Lore Log | Extreme (Surrounded by sleeping Blind Biophages) |
| Server Room High-Level Duct | Chapter 7: Colony | Climb maintenance ladder above the collapsed elevator | Energy Converter, Max-tier Battery Pack, Assault Rifle Ammo | Moderate (Spitter waiting around the corner) |
To safely loot these high-threat rooms without blowing your entire resource stash, internalize these battle-tested exploration rules:
- Listen for the GRP Hum: Secret vents that can be ripped open using your glove emit an unmistakable electrical buzz and feature distinct blue magnetic latch pins. If an air vent does not have these pins, don't waste your GRP battery trying to pull it down.
- The Fuse Shuttle Trick: Whenever you find a Gate Fuse plugged into a wall console that opens the forward path, never proceed immediately. Always scan the room for unpowered red consoles nearby. Striking Distance frequently places high-tier supply lockers behind auxiliary doors that require you to borrow the objective fuse for sixty seconds.
- Manage Converter Liquidation: Pristine Energy Converters take up an entire inventory slot just like a stack of shotgun shells. Never hold onto them. The moment you hit a Reforge station, sell them immediately. Hoarding trade items is the number one reason players are forced to leave weapon blueprints behind on the floor.
- Prepare for the Audio Sting Ambush: Whenever a secret room offers loot values exceeding 300 credits or a weapon blueprint, the game will almost always trigger an enemy spawn behind you the moment you pick up the schematic. Keep your back to a wall, swap to the Stun Baton, and prepare your directional dodge before picking up the prize.
Exploring Black Iron Prison's darkest corners turns The Callisto Protocol from a desperate, resource-starved struggle into an empowering action-horror spectacle. Taking the time to locate Dr. Mahler’s hidden datapads, digging out the early Skunk Gun, and enjoying Krafton’s battle royale nods provides the credits, firepower, and context you need to conquer Jupiter's dead moon on your own terms. If you encounter technical hurdles while diving through dark subterranean maps, check out our companion diagnostics in EscapeVR The Basement crashing and low FPS fixes to keep your rig running clean.