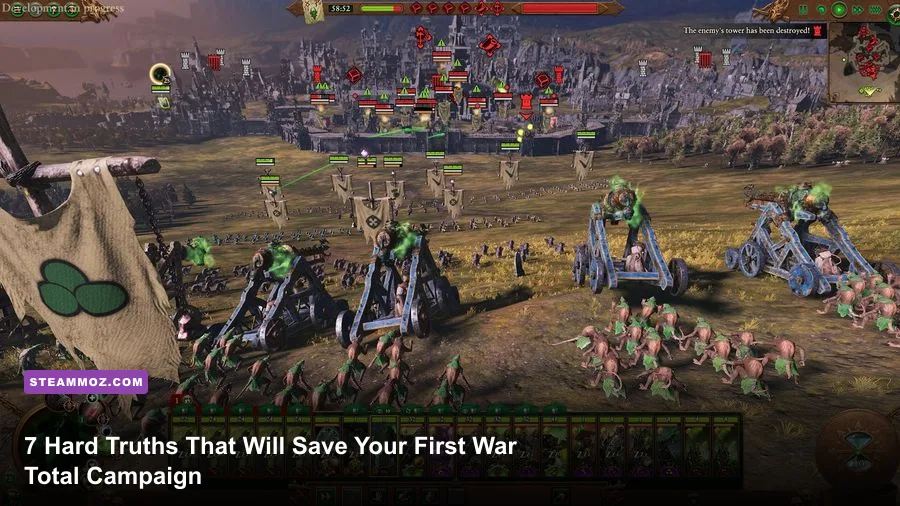
Jumping into your first Total War campaign thinking it plays like a standard RTS or a casual 4X map-painter is the fastest way to see your empire incinerated before turn thirty. Whether you start with historical battlegrounds like Total War: Rome II and Three Kingdoms or dive into the grim fantasy brawl of Total War: Warhammer III, the series demands a split mindset. You aren't just managing tactical field skirmishes or moving tokens across a risk board—you are juggling two interconnected engines that constantly punish careless decisions. If your province economy collapses, your frontlines starve; if you mismanage battlefield stamina, your elite heavy infantry gets butchered by peasant mobs.
Surviving your first hundred turns means understanding the math beneath the spectacle. The game rarely spells out its most punishing systems, leaving beginners confused when a numerically superior army breaks and runs in three minutes, or when their richest province rebels overnight. Before marching your banners into hostile territory, here are the mechanical truths, campaign setups, and tactical habits you need to master.
The Campaign Economy Trap: Growth and Replenishment Always Beat Military Spam
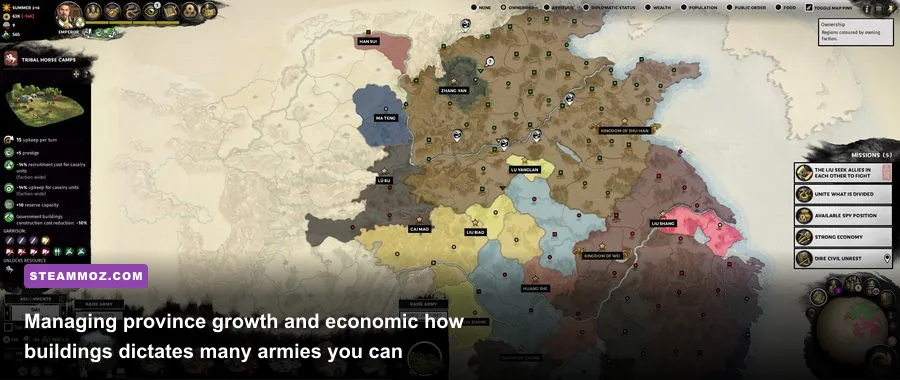
The most common beginner blunder is turning every single settlement into a miniature barracks. When you conquer your first province, your instinct tells you to build weapon-makers, stable yards, and archery ranges in every town slot. Don't do this. Total War campaigns are won by logistical efficiency, not redundant recruitment capacity. A recruitment building in a minor settlement produces the exact same Swordsmen as the one in your provincial capital, but building it everywhere chokes your treasury and wastes building slots that should generate raw coin and population growth.
In modern entries developed by Creative Assembly, provincial growth dictates how quickly you can upgrade your main settlement chain from Tier 1 to Tier 5. High-tier settlements unlock defensive garrisons, walls, and top-bracket economic multipliers. If you neglect growth buildings early, your settlements linger at Tier 2 while neighboring AI factions unlock armored monstrosities. Just like building a sustainable engine in resource-heavy titles like Empires of the Undergrowth, snowballing in Total War requires banking infrastructure first and luxury military upgrades second.
Alongside growth sits Casualty Replenishment Rate—the single most powerful campaign stat in the entire franchise. When your veteran army wins a bloody siege and loses 40% of its bodies, their battlefield value drops to zero until those ranks refill. Base replenishment might recover 6% of your unit count per turn in friendly territory, grounding your army for six full turns. A faction spec'd into replenishment tech, hero skills, and command traits can push that to 25% or 30% per turn, letting that same army take a city, heal to full in two turns, and immediately strike the next target. Fast replenishment turns one aggressive army into an unstoppable wrecking crew; low replenishment forces you to recruit backup armies you can't afford.
Watch your Supply Lines penalties, particularly in the Total War: Warhammer trilogy. Every additional general or army you recruit increases the upkeep cost of every existing unit in your faction by a flat percentage (climbing up to 4% per army on higher difficulties). Spawning a weak defensive army of basic spearmen to chase off raiders might end up costing you 2,500 gold per turn across your whole empire. If you can't afford to field a full, self-sufficient 20-stack army, don't recruit a secondary lord just to guard an insecure border. Use local defensive garrisons, ambushes, and walls instead.
Battles Are Won on Morale, Not Casualty Counts
Total War is not StarCraft or Warcraft. You do not fight down to the final hit point of the last standing soldier. Units fight only as long as their collective nerve holds. The floating white or colored bar over a regiment represents its Morale (or Leadership in fantasy titles), and the moment that bar empties, the unit breaks formation, drops its weapons, and flees. You can win an entire battle while killing fewer than 20% of the enemy army if you know how to induce a leadership cascade.
Morale is influenced by geometric positioning, sudden losses, and sensory shock. Understanding these hidden modifiers separates tactical experts from button-mashers:
- Flanked Penalty: Engaging a unit in melee while another squad hits its exposed side drops its morale by -6 to -10 points.
- Rear Attack Penalty: Ramming cavalry or shock infantry directly into the rear of an engaged unit hits them with a brutal -14 to -20 morale debuff, alongside massive physical impact damage.
- Under Ranged Fire / Under Artillery Bombardment: Taking sustained volleys inflicts -4 to -8 morale, which stacks with causalities sustained within a brief 5-second window.
- Loss of General / Army Leader: Killing or routing the enemy commander immediately slashes the entire opposing army's morale by -16 to -20 for several seconds, frequently triggering immediate mass routes across their entire line.
- Terrifying / Dread Aura: Monsters, high-tier warlords, and flaming artillery projectiles actively project an aura that strips away 8 to 10 points of leadership from any enemy standing nearby.
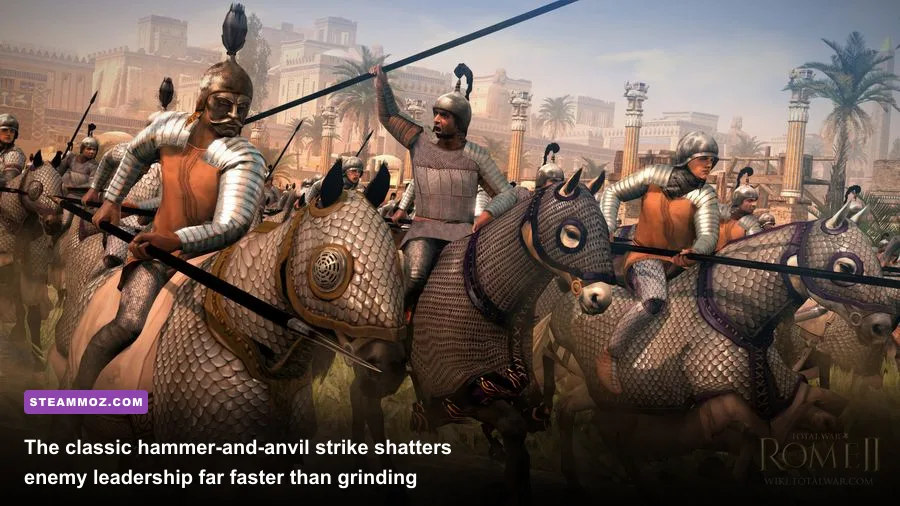
The timeless Hammer and Anvil maneuver exploits this math perfectly. Your "Anvil" consists of sturdy, high-melee-defense, shielded infantry (like Roman Legionaries, High Elf Spearmen, or Dwarf Warriors) locked into defensive formations. They don't need to deal huge damage; their job is to soak up attacks and pin the enemy line in place. Once the enemy commits their front, your "Hammer"—shock cavalry, chariots, or monstrous flankers—rides around the flanks and slams into their exposed backs. That rear charge inflicts catastrophic shock damage, triggers the severe rear-attack morale penalty, and breaks the enemy formation within five seconds of contact.
Understanding Vigor: The Silent Stat That Destroys Elite Armies
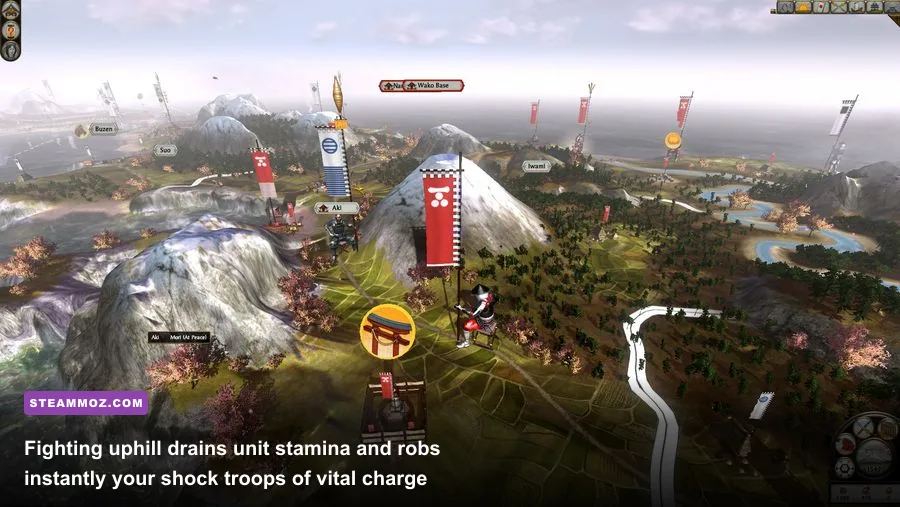
Newcomers often wonder why their top-tier, gold-chevron elite troops suddenly lose a straight melee fight against cheap militia units. Nine times out of ten, the culprit is Vigor (fatigue). Running across a massive tactical map, charging uphill, or staying locked in grinding melee drains a unit's physical stamina bar. When your troops slip from "Fresh" into "Exhausted," their combat effectiveness falls off a cliff.
The stat penalties applied to an exhausted unit are crippling. An exhausted frontline loses more than a third of its offensive hitting power and moves at a crawl, turning once-deadly shock troops into sitting ducks for enemy archers. If your computer rig is experiencing sudden micro-stutter during these massive 40-unit clashes, our guide on PC fixes that stop crashes and rescue your FPS outlines general baseline habits to eliminate hardware choke points during resource-heavy simulation spikes.
| Fatigue State | Melee Attack Penalty | Melee Defense Penalty | Armor Penalty | Speed Reduction | Reload Speed Penalty |
|---|---|---|---|---|---|
| Fresh | 0% | 0% | 0% | 0% | 0% |
| Active | -5% | 0% | 0% | 0% | 0% |
| Winded | -10% | -5% | 0% | -5% | -10% |
| Tired | -15% | -10% | -5% | -15% | -15% |
| Very Tired | -25% | -15% | -10% | -25% | -25% |
| Exhausted | -35% | -15% | -10% | -35% | -35% |
Terrain dramatically accelerates this fatigue. Marching through deep mud, snow, or marshlands doubles your stamina consumption rate. More critically, charging uphill cuts your unit's Charge Bonus in half, robs them of kinetic impact damage, and elevates their fatigue to "Winded" before they even trade blows. Conversely, fighting downhill grants a massive physics-based combat multiplier to charge mass and defensive weapon reach. Always seize high ground during the deployment phase, and make the enemy run uphill to meet you while your own battle line stands completely fresh.
The Auto-Resolve Deception: Why Calculated Odds Lie to You
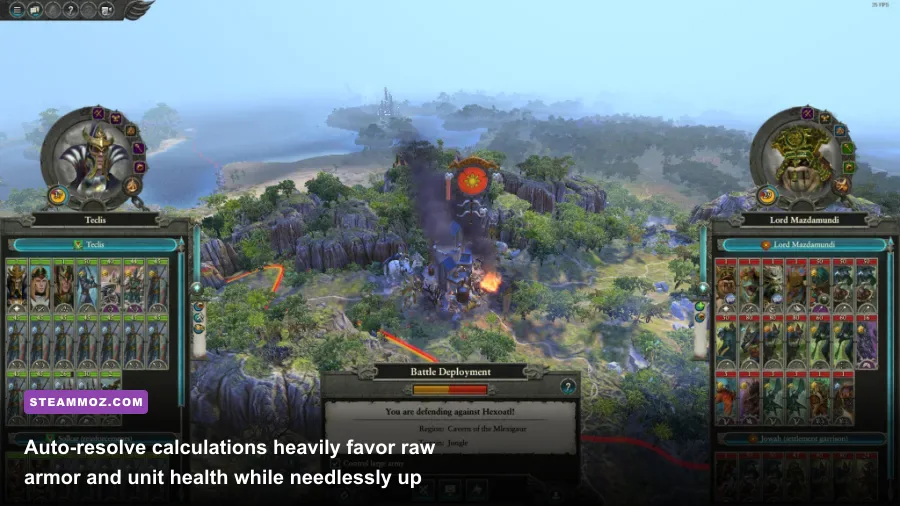
The pre-battle screen features an tempting button: Auto-Resolve. It gives you a projected outcome—Decisive Victory, Close Victory, Valiant Defeat—and promises to save you twenty minutes of manual maneuvering. While it's convenient for cleaning up shattered enemy remnants, relying blindly on auto-resolve will permanently cripple your campaign momentum.
The auto-resolve algorithm does not simulate flanking maneuvers, line of sight, or tactical genius. It essentially runs a fast mathematical comparison based heavily on Unit Armor Values, Raw Melee Defense, and Total Missile Ammunition. Because the calculation simulates that all ammunition is fired completely and all units trade flat blow-for-blow damage across the front, it heavily favors heavily armored, basic infantry walls while grossly miscalculating squishy, micro-intensive tactical assets.
| Army / Unit Archetype | Auto-Resolve Behavior | Manual Combat Reality | Best Player Choice |
|---|---|---|---|
| Heavily Armored Infantry | Massively overvalued; takes very light damage. | Slow to kill; reliable wall, but vulnerable to armor-piercing flankers. | Auto-Resolve safe fights to save real-world time. |
| Artillery & Catapults | Frequently targeted first; often wiped out completely. | Can be protected easily with backline guards and devastates approach paths. | Always fight manually to protect expensive siege assets. |
| Glass-Cannon Cavalry | Takes disproportionate losses and rarely gets clean charges. | Deadly hammer; can rack up 300+ kills with zero friendly casualties if microed. | Fight manually to avoid losing fragile shock units. |
| Single Entity Monsters / Lords | Averages damage across all units; sometimes kills isolated heroes. | Can be healed, cycle-charged, or pulled back when low on health. | Fight manually if your lord is at low health. |
| Minor Settlement Defense | Almost guaranteed defeat against 2-to-1 odds. | Narrow chokepoints and tower fire let tiny garrisons defeat full stacks. | Always fight manually; defensive chokepoints defy statistical odds. |
If you're running heavy siege weapons like Empire Mortars, Skaven Plagueclaw Catapults, or Roman Onagers, auto-resolve will routinely report a "Decisive Victory" while showing that two of your three siege engines were mysteriously eradicated by peasant spearmen. Taking the reins manually guarantees your frontline protects those expensive backline batteries. When fine-tuning your game client to handle full 20-stack manual battles with hundreds of spell effects and artillery smoke, check our breakdown on graphics settings for max FPS to keep high-particle scenes buttery smooth.
Campaign Diplomacy and the Multi-Front Suicide Pact
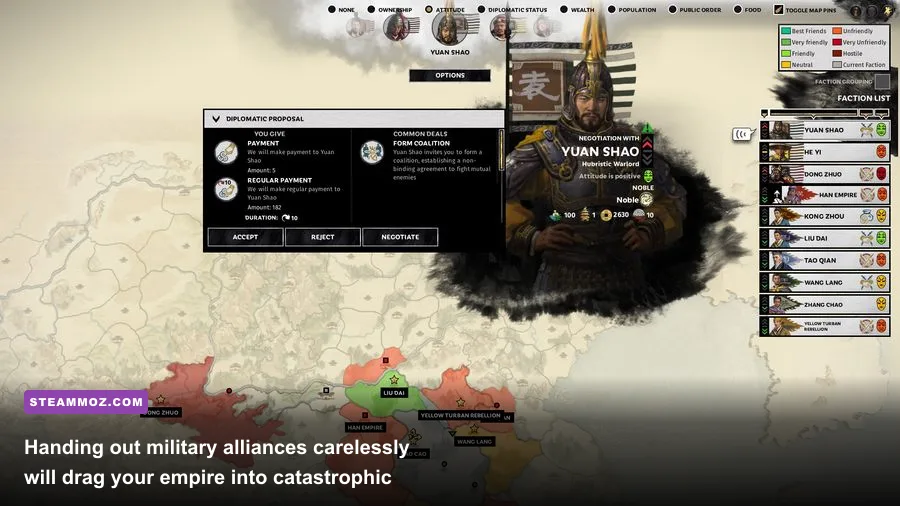
It's easy to treat the campaign map like a playground where you declare war on anyone who looks at you sideways. But the strategic layer of Total War operates under brutal balance-of-power rules. The AI possesses noticeable anti-player bias, meaning nearby factions will actively prioritize attacking you over their own historical, border-adjacent enemies if they sense military vulnerability or geopolitical weakness.
The fastest way to sign your own death warrant is signing Military Alliances with everyone who offers one. In games like Rome II, Attila, and Warhammer, an ally's war becomes your war. If your cheerful neighboring military ally decides to declare war on three separate superpowers across the sea, you are forced to choose: dishonor the alliance, taking a catastrophic reliability hit that makes future diplomacy impossible, or join the conflict and fight a catastrophic multi-front war on borders you have zero troops to protect.
Instead, follow these unbreakable diplomatic principles:
- Non-Aggression Pacts and Trade Agreements are king: Secure your flanks with Non-Aggression Pacts (NAPs) and lucrative trade agreements, but stubbornly refuse defensive or military alliances until the late game. Treat non-aggression treaties as geopolitical shields that let you commit 100% of your offensive forces in a single direction.
- Never break treaties prematurely: Wait at least ten full turns after canceling a pact before declaring war on that faction. Breaking a treaty on the turn you cancel it tanks your diplomatic reliability rating to "Untrustworthy." Once you carry that status, every faction on the map—even friends—will refuse trade, break treaties, and declare opportunistic wars on you.
- Maintain buffer states: Don't expand in a giant 360-degree circle around your starting province. Expand toward natural map edges, oceans, or mountain bottlenecks. Leave minor, peaceful neutral factions along dangerous borders to act as meat shields against distant, aggressive superpowers.
If you want to dive deeper into faction mechanics and unit rosters, checking the community-maintained Total War Wiki or the developer's official updates on the Total War Official Website is essential for tracking faction-specific quirks and patch balance adjustments.
Total War rewards patience, battlefield discipline, and cold-blooded economic planning far more than fast clicking or sheer numerical brute force. By prioritizing growth infrastructure over military spam, treating troop morale as the true win condition, managing fatigue over rough terrain, and avoiding messy multi-front diplomatic pacts, you'll transition from a struggling beginner into an empire-forging commander who dictates the terms of every war on the map.