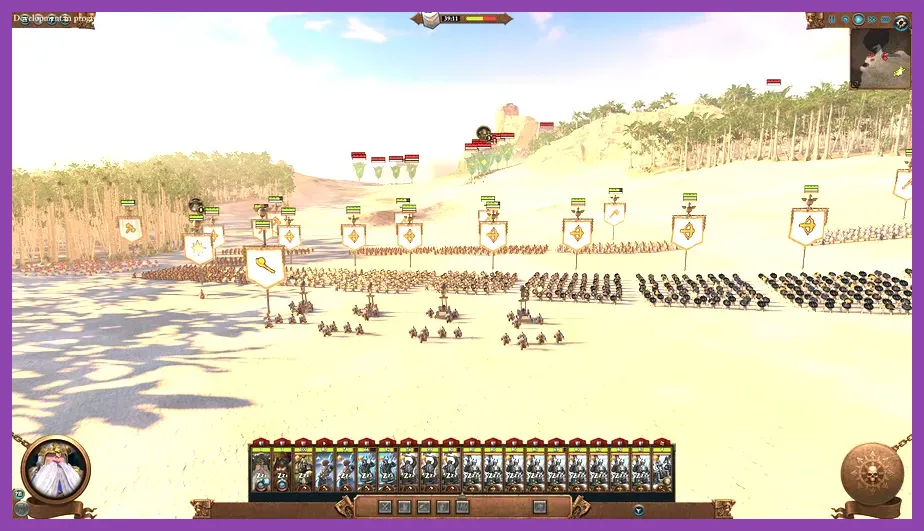
The best Total War: Warhammer 3 team comp synergy comes from pairing a faction that holds ground with one that supplies missing tools: armor-piercing damage, healing, mobility, or reliable magic. For most two-player battles, the strongest choices are Grand Cathay + Kislev and The Empire + Dwarfs; High Elves + Lizardmen is the best aggressive alternative.
This guide focuses on Immortal Empires armies, land battles, and Domination Mode. DLC units can improve several compositions, but the core plans work with the base-game rosters. Patch balance can change exact unit costs, so check the official Steam page for current game and DLC availability.
How Team Comp Synergy Actually Works
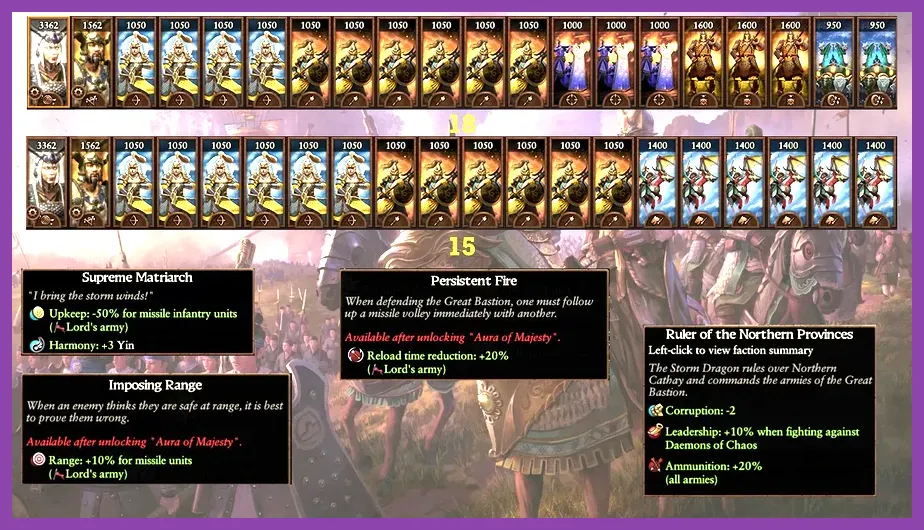
A two-army team should not simply bring twice the same damage type. Build around five battlefield jobs: a frontline, anti-large tools, armor-piercing damage, fast flankers, and a spell or ability that changes formations. If both armies cover only three of those jobs, a single counter—large monsters, mass armor, or fast cavalry—can collapse the entire plan.
Use one army as the anvil and the other as the hammer. The anvil pins units with shields, armor, or healing. The hammer attacks exposed flanks, artillery crews, enemy lords, and isolated monsters. Keep overlapping ranged fire limited to two or three high-value units; the remaining slots should solve mobility and disruption.
Leadership and timing are equally important. A debuff such as Melkoth's Mystifying Miasma, Frost Blades, or Enfeebling Foe is most valuable immediately before a concentrated charge or missile volley. Do not spend every spell on the opening clash, because the second engagement usually decides a multiplayer battle.
S-Tier: Grand Cathay and Kislev
Why this pairing ranks first
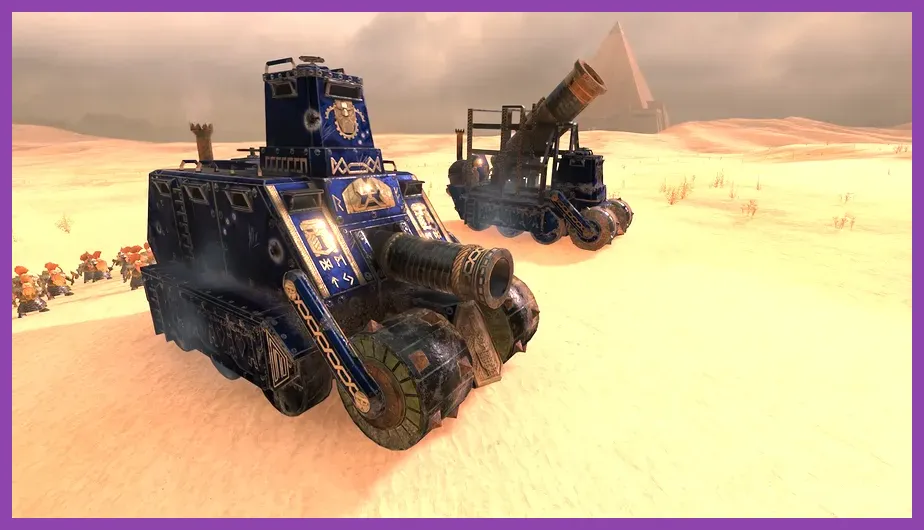
Grand Cathay supplies the stable formation: Celestial Dragon Guard hold the center, Iron Hail Gunners punish targets at close range, and Crane Gunners threaten enemy lords, monstrous units, and heavily armored cavalry. Kislev adds the tools Cathay lacks: speed, frost-based slowing, durable hybrid infantry, and emergency support.
A practical Cathay core is two Celestial Dragon Guard, two Jade Warriors with Halberds, two Crane Gunners, one Iron Hail Gunners unit, one Jet Lion or Terracotta Sentinel, and a Cathay wizard. The Sentinel is a strong anchor against large targets, while the Jet Lion can punish exposed ranged units and create a second threat lane.
Kislev should bring two Kislev Warriors or Tzar Guard, two Ice Guard with Glaives, one Little Grom, one War Bear Riders, and a Frost Maiden. The Glaive variant handles large targets; regular Ice Guard are better when the opposing army relies on infantry and cavalry.
Battle plan and spell timing
Start with Cathay's line compact enough to preserve Harmony bonuses, then place Crane Gunners at angles rather than directly behind infantry. Kislev's Ice Guard should fire into the same target being marked by Crane Gunners. Use frost attacks to slow a charging unit, then let Cathay's missiles finish it before contact.
Save the Frost Maiden's Heart of Winter for a blob that has already committed. Cathay's Wall of Wind and Fire is best cast along a pinned infantry line, not on fast units. War Bear Riders should stay hidden until the opponent reveals artillery or a vulnerable caster. This composition is S-Tier because it can fight at range, survive a frontal engagement, and still threaten both flanks.
S-Tier: The Empire and Dwarfs
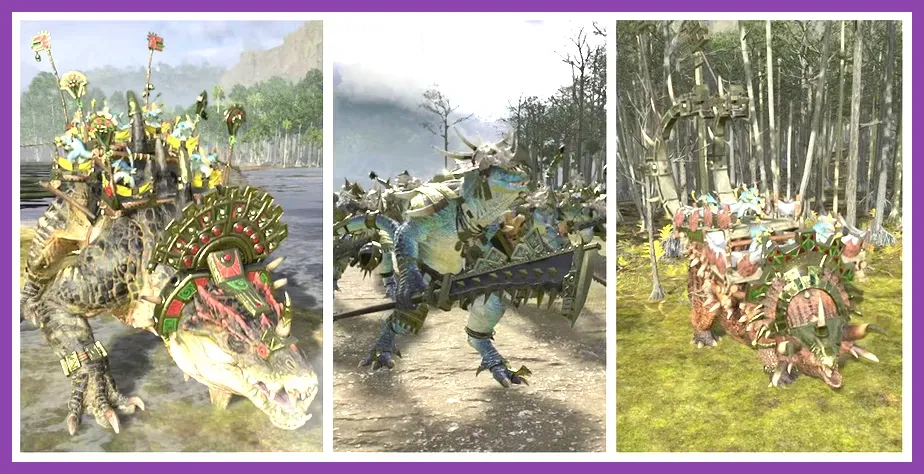
The Empire-Dwarf pairing is the safest answer to elite infantry and armored monsters. Dwarfs provide dependable leadership, armor, and artillery protection; the Empire adds mobile cavalry, healing through the Warrior Priest, and precise gunfire from Handgunners or War Wagons.
A Dwarf army should prioritize two Ironbreakers, one Hammerers, two Quarrellers or Thunderers, one Irondrakes, one Runelord, and two artillery pieces. Grudge Throwers are excellent against infantry blobs, while Organ Guns are the better choice against large single entities and armored cavalry. Use a Gyrocopter only when the enemy has exposed artillery or weak backline units.
The Empire partner can field two Halberdiers, two Greatswords, two Handgunners, one Steam Tank, one Demigryph Knight unit, a Warrior Priest, and either a Bright Wizard or Light Wizard. The Steam Tank occupies dangerous space while Demigryph Knights punish anything chasing the gunline.
Do not form a passive artillery corner. Advance the Dwarf infantry behind artillery fire, then use the Empire's Net of Amyntok to hold a lord or monster in a kill zone. A Bright Wizard's Flame Storm is devastating after Ironbreakers have fixed an infantry mass. This setup is less mobile than Cathay-Kislev, but it wins prolonged trades and gives beginners the clearest target priorities.
A-Tier: High Elves and Lizardmen
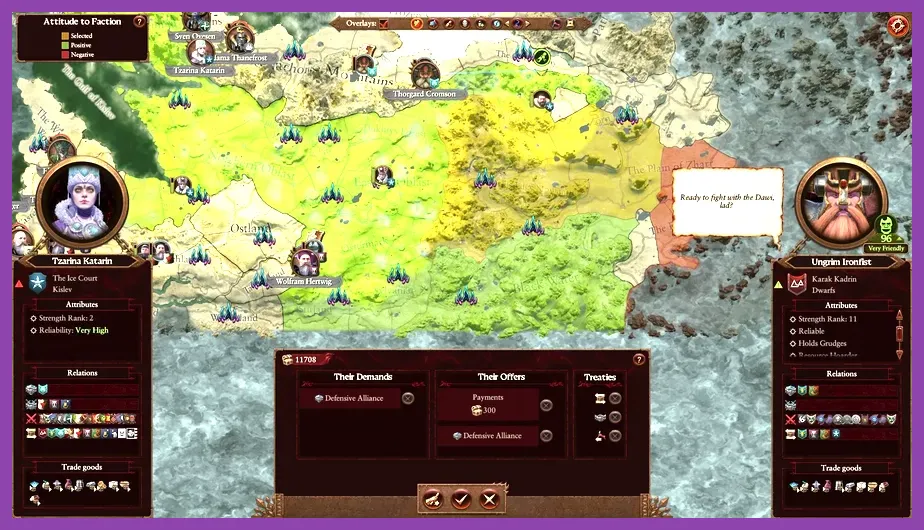
High Elves and Lizardmen are the best high-pressure team comp. High Elves bring accurate missiles, elite infantry, and some of the strongest battlefield control in the game. Lizardmen add terror, monstrous charges, and durable units that can keep fighting after the first impact.
Build the High Elf army around two Shielded Spearmen or Silverin Guard, two Archers or Rangers, one Arcane Phoenix, one Dragon Princes, and a Mage of Life or High Magic. Net of Amyntok is unavailable to High Elves, so the Life Mage's Earth Blood and Regrowth are valuable for keeping elite units operational.
Lizardmen should field two Saurus Warriors with shields, one Saurus Spears, one Temple Guard, two Red-Crested Skinks or Chameleon Skinks, one Bastiladon with Solar Engine, and one Stegadon or Ancient Stegadon. A Slann Mage-Priest adds powerful area control, while a Skink Priest provides mobile spells and scouting.
Use High Elf missiles to force the opponent forward, then send Saurus and Temple Guard into the first contact. Phoenixes and Stegadons should charge the same section of the line, disengage before being surrounded, and attack again from a new angle. This comp ranks A-Tier because it has enormous offensive potential but demands better micro than the two S-Tier pairings.
B-Tier Options and Matchup Rules
Useful alternatives
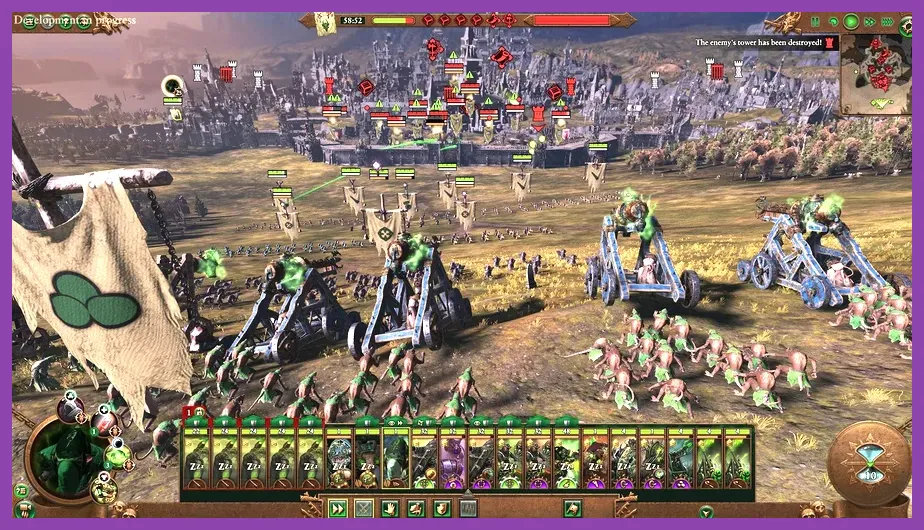
Vampire Counts + Nurgle is a powerful attrition team: Grave Guard, Blood Knights, Forsaken, Plaguebearers, and Exalted Great Unclean Ones create a terrifying grind. However, both factions can struggle against concentrated ranged fire. Skaven + Vampire Coast offers artillery, guns, summons, and expendable infantry, but leadership collapses quickly if both backlines are flanked.
Warriors of Chaos + Beastmen is a strong ambush pairing. Chosen, Chaos Knights, Bestigor Herds, and Minotaurs can destroy a weak flank, but the team has limited sustained missile pressure and needs careful scouting. These are B-Tier for general use, not weak factions.
Counter rules
Against cavalry-heavy armies, place halberds or Glaive Ice Guard on the outer edges and keep a fast response unit behind the line. Against mass armor, prioritize Crane Gunners, Handgunners, Organ Guns, and Solar Engines rather than low-damage arrows. Against elite infantry, use artillery or vortex spells before the lines meet, then focus every ranged unit on one regiment until it breaks.
In Domination Mode, buy flexible units instead of saving for one late doomstack. Capture points with cheap infantry, reinforce with artillery only after the enemy commits, and preserve one mobile unit for decapping. The same principles apply to campaign armies, where complementary red-line skills, replenishment, and an embedded hero can matter more than raw unit quality. For another clear strategy ranking format, see Steamoz's Civilization 7 leader tier list and tier-list breakdown.
Final Army-Build Checklist
Before starting a battle, confirm that the combined armies have at least four frontline units, two reliable anti-large answers, two armor-piercing damage sources, one healing or sustain tool, and two units capable of attacking the rear. Decide which player owns the center and which player owns the flank; unclear responsibilities waste the main advantage of a team.
For the most forgiving result, choose Grand Cathay with Kislev and synchronize Crane Gunners, Ice Guard, and Little Grom around one target. Choose Empire with Dwarfs when you expect armored opponents and want a fortified gunline. Choose High Elves with Lizardmen when your team can coordinate repeated monster charges. Large battles can be demanding on hardware, so Steam Deck players should also review Steamoz's Steam Deck settings guide before loading a 40-unit engagement.
For official unit, faction, and patch information, use the Total War: Warhammer III website and the developer's official community hub. Synergy wins when every unit has a defined job, a protected route to that job, and a teammate ready to exploit the opening.