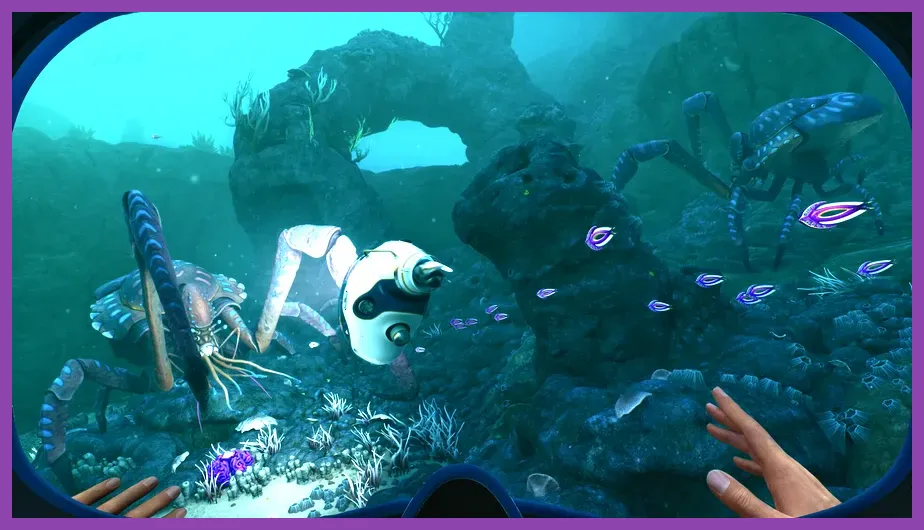
The safest way to find every Subnautica 2 secret location is to explore by depth, mark every unexplained signal, and return to blocked passages after upgrading your oxygen, cutting, and vehicle equipment. Because Subnautica 2 is being developed as an evolving Unknown Worlds survival game, location names, entrances, loot tables, and coordinates can change between builds; use the route below as a reliable discovery system rather than trusting unverified coordinate lists.
This distinction matters. Many online “all locations” maps copy names from the original Subnautica or invent landmarks from trailers. Subnautica 2 is not a remastered version of the first game, and its confirmed features include a new alien world, new ecosystems, and optional four-player cooperation. For version-specific changes, compare your build with the official Unknown Worlds news page and the game’s Steam page before using any community map.
What Counts as a Secret Location in Subnautica 2?
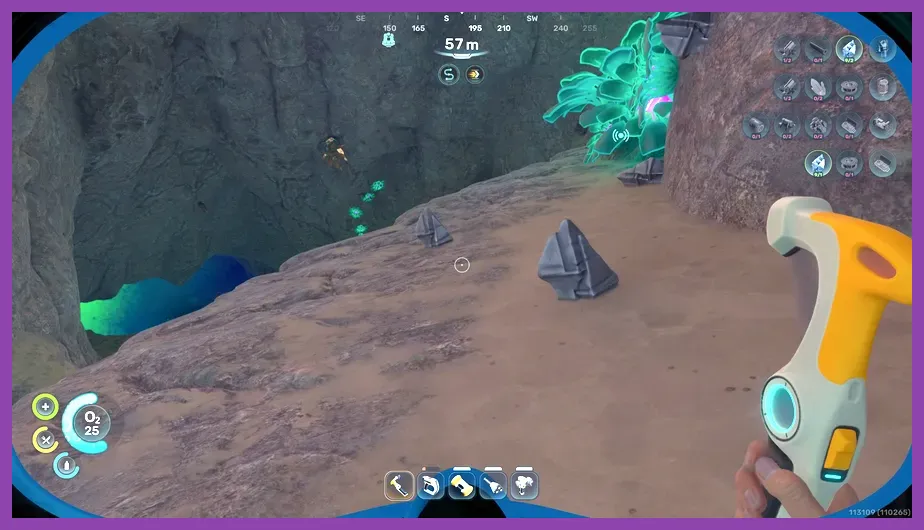
A secret location is more than a large biome visible from the surface. For this guide, count an area as secret when it is concealed behind terrain, requires a tool or depth upgrade, contains a scannable object, reveals a story clue, or holds a resource route that is not obvious from the starting zone. This definition prevents the common mistake of treating every attractive patch of coral as a separate discovery.
Use three evidence levels
- Confirmed: You physically entered the area, scanned its objects, and placed a beacon or screenshot marker.
- Probable: A signal, unusual sound, structural shadow, or visible opening suggests an undiscovered chamber, but the route is currently blocked.
- Unverified: A video, social-media post, or coordinate list does not match your game version. Do not build a route around it.
Keep a simple log with the location’s depth, compass direction, nearest obvious landmark, required equipment, and whether the area is safe for a return trip. This is more dependable than memorizing coordinates when an Early Access patch changes terrain.
Best Early-Game Route for Hidden Areas
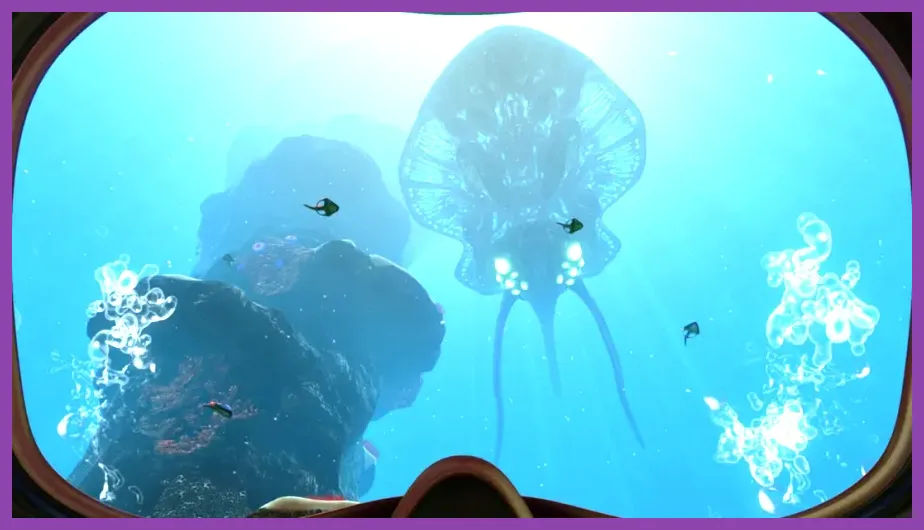
Begin with a slow 360-degree survey around your starting base or lifepod equivalent. Swim outward in four straight lines, returning to the base after each line. Scan every fragment, plant, creature, and mineral outcrop, then place a beacon beside any cave entrance that disappears beneath a ceiling or bends out of sight.
First expedition checklist
- Craft the basic Scanner and scan the starting biome completely before chasing distant signals.
- Prioritize a Seaglide-style mobility upgrade if your build provides one; speed is more valuable than carrying extra low-tier minerals.
- Upgrade oxygen capacity before exploring vertical shafts. A hidden chamber is worthless if you cannot reach the exit with 30 seconds of air remaining.
- Carry food, water, a survival knife, spare batteries, and at least one beacon.
- Mark every dead end. Later technology often turns a blocked tunnel into a shortcut.
Do not descend directly into the darkest hole you find. Follow the walls first and locate a second exit. Secret caves frequently connect two biomes, while blind shafts can trap an unprepared diver. If you are playing cooperatively, have one player remain near the entrance with a beacon and spare battery; this is safer than splitting up without a mapped escape route.
For performance during large underwater scenes, reduce shadows before lowering textures. Players using a handheld PC can also compare this exploration approach with Steam Deck optimization advice in our Steam Deck settings guide.
How to Find Mid-Depth Caves and Abandoned Structures
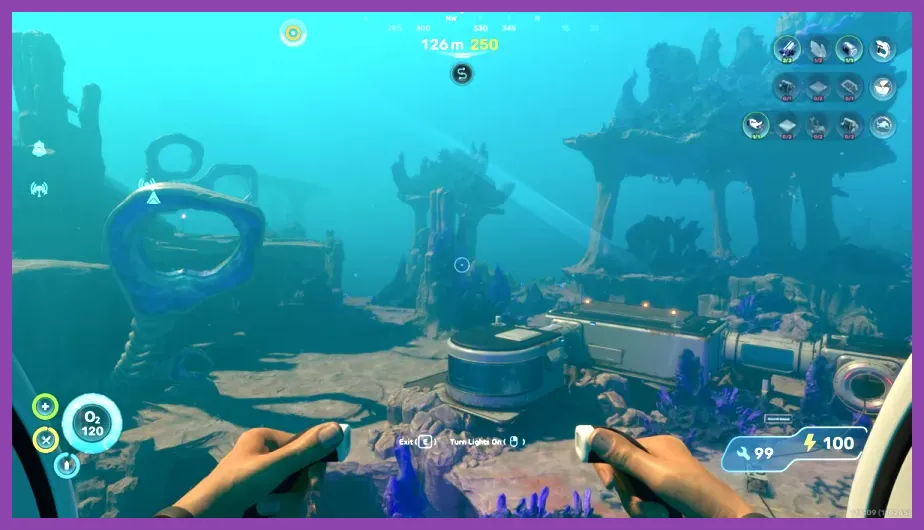
Most worthwhile secrets sit at the boundary between a safe starter biome and a more hostile mid-depth region. Search the boundary, not the center. Look for broken terrain lines, columns that form a narrow gap, clusters of lights, and plants growing where the surrounding rock is bare. These visual inconsistencies are stronger clues than random swimming.
Follow signals, then search around them
When a radio, scanner, or environmental signal appears, travel to its approximate direction but stop 100–150 meters away if your equipment allows distance tracking. Circle the area at two different depths. Signals often lead to a landmark while the actual secret entrance is underneath, behind, or several meters above it.
At every structure, scan the exterior before entering. Then check the roof, underside, side alcoves, and nearby wreckage. Use a Laser Cutter only when your current build confirms that the obstruction is cuttable; do not waste battery charges on decorative panels. Likewise, a Propulsion Cannon-type tool is valuable for moving debris, but it may not open doors that require a key, code, or story trigger.
Carry a beacon named with a useful format such as “CAVE—CUTTER—DEPTH” or “RUIN—RETURN—NORTH.” Avoid generic labels like “secret,” because five identical markers become useless after a long session. Screenshot the beacon from the entrance and record which direction points back to open water.
Deep-Ocean Secrets and Dangerous Entrances
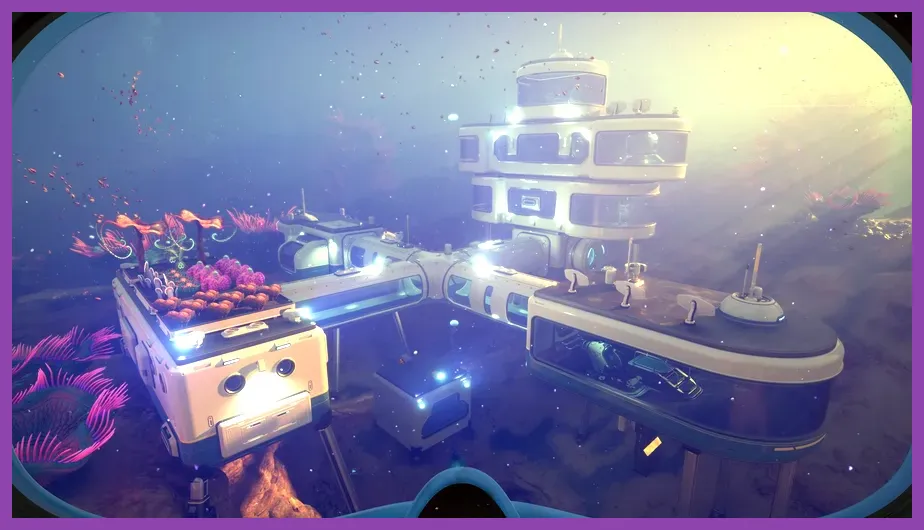
Deep locations should be treated as return trips, not first visits. Before committing to a trench or vertical drop, confirm that your oxygen tank, depth protection, power supply, and vehicle access match the area. The exact depth thresholds may change with balancing updates, so follow the warning message from your equipment rather than an old guide’s number.
Recognize a genuine deep-secret route
- Vertical geometry: A shaft continues below the visible plant line or bends sharply after a narrow entrance.
- Unusual audio: Low pulses, metallic movement, or creature calls that do not match the surrounding biome deserve a beacon.
- Resource transition: A sudden change from common starter minerals to rare deposits usually marks a progression boundary.
- Artificial symmetry: Repeated pillars, regular arches, lights, or flat walls indicate an intentional structure.
Park a vehicle above the deepest safe shelf instead of taking it into every tunnel. This gives you a fixed oxygen and power reference point. If your build includes a deployable air source or portable base component, place it at the last junction rather than at the entrance. In co-op, assign one player to navigation and one to scanning; panic begins when everyone moves in different directions after a hostile creature appears.
When a large predator enters, do not fight simply because you can. Break line of sight with rock, retreat to the marked shelf, and wait for its patrol to move. A secret room with ordinary supplies is not worth a damaged vehicle or a lost inventory. Save before descending, and make a second trip with the correct upgrade instead of forcing the first attempt.
Alien Technology, Story Rooms, and Missable Scans
Artificial sites are the most easily missed secrets because their entrances may be hidden in ordinary terrain. Search around the full perimeter and inspect ceilings, floors, and waterlogged side rooms. A room that appears empty may still contain a wall panel, pedestal, terminal, fragment, or environmental scan that advances your discovery progress.
Use a complete scan sweep
- Scan the entrance architecture from outside.
- Scan doors, consoles, symbols, power sources, and movable objects.
- Walk the room’s perimeter while aiming at the floor and ceiling.
- Check behind crates, plants, debris, and collapsed panels.
- Return after activating any nearby signal or story event.
Do not assume that a locked door is permanently inaccessible. Write down the door’s appearance and nearby requirements, then revisit it after each major equipment or narrative milestone. This is particularly important in an evolving game, where a later update can add an interaction to an existing structure without moving the structure itself.
Keep separate beacons for “scan complete” and “locked.” A completed ruin should be named clearly, while an unfinished one should include the missing requirement. This system works better than deleting every marker because it preserves the route for future updates and co-op partners.
Complete Secret-Location Checklist
Before calling your map complete, revisit every category in this order: starter-biome caves, biome-border tunnels, signal locations, mid-depth structures, deep shafts, alien ruins, locked rooms, and resource pockets behind movable debris. At each marker, confirm that you scanned the entrance, searched above and below it, checked for a second exit, and recorded the current build number.
Use a spreadsheet with columns for marker name, biome, depth, entrance direction, required tool, scans found, danger level, and return status. A useful danger scale is zero for safe, one for environmental risk, two for aggressive wildlife, and three for a route that requires a vehicle or strict oxygen timing. This turns exploration into a repeatable checklist instead of a vague hunt for missing icons.
Patch notes should trigger a targeted review, not a complete restart. Revisit locked doors, unfinished scans, unexplained signals, and areas where terrain looked artificially symmetrical. Those are the locations most likely to gain new content. The official developer updates are the best source for changes to biomes, creatures, tools, and story content.
Finally, keep backups of your save before major expeditions and avoid installing an unverified map mod if you are trying to preserve discovery. Players who enjoy methodical progression may also find useful exploration habits in our open-world Steam Deck guide and resource-planning tips in our Terraria solo guide. Until the Subnautica 2 map and naming conventions stabilize, this evidence-based system is the closest thing to an accurate all-secret-locations guide—and it remains useful after every update.