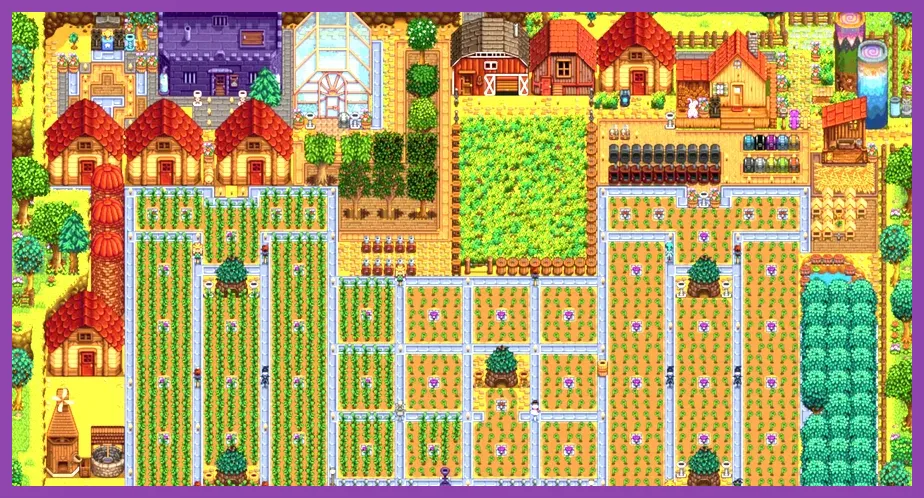
When playing Stardew Valley solo in the 1.6 update, the absolute best class specialization—determined by your level 5 and level 10 profession choices—is the Tiller into Artisan farming path paired with the Fighter into Defender combat specialization. Because you lack the cooperative labor and shared income of a farmhand, your character must single-handedly maximize gold generation per energy point spent while maintaining enough survivability to clear deep dungeon floors. Solo play punishes inefficiency, meaning your choice of skill trees dictates whether you can afford the 10,000,000g Gold Clock or the Stardew Valley official website updates by Year 3. Below is the definitive breakdown of how to configure your solo character for maximum profit, durability, and time management.
Farming: The Undisputed King of Solo Economy
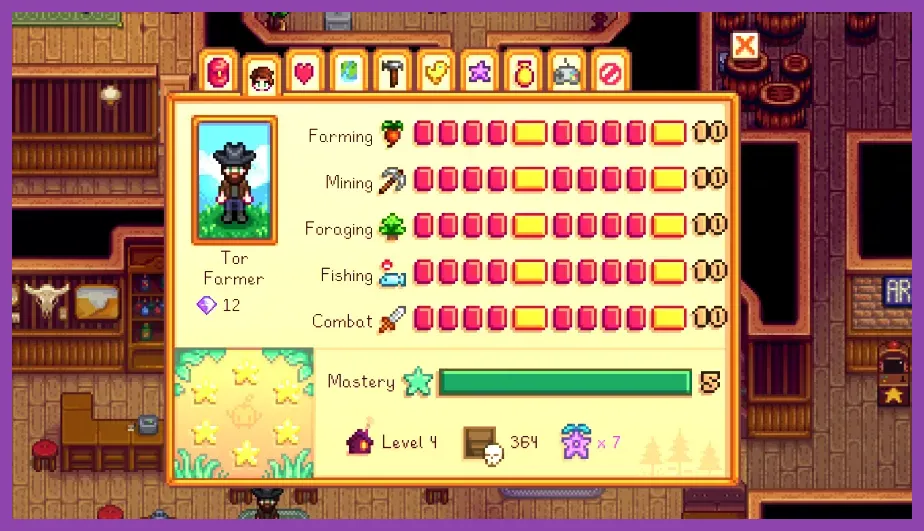
Farming is the single most important skill tree for solo players in Stardew Valley 1.6. Without other players to share chores, your greenhouse, cellar, and outdoor crop fields must fund every major upgrade, building, and tool enchantment. At Farming Level 5, you must choose between Rancher (animal products worth 20% more) and Tiller (crops worth 10% more). Always select Tiller. While animals require less daily manual labor once automated with auto-grabbers, raw crop value scales drastically better into the late game, particularly when feeding into Kegs and Preserves Jars.
At Farming Level 10, Tiller branches into Agriculturist (crops grow 10% faster) and Artisan (artisan goods like wine, cheese, and oil are worth 40% more). For solo players, Artisan is non-negotiable. With the 1.6 update introducing new farm types and streamlined crafting UI, processing Ancient Fruit, Starfruit, and Pale Ale through keg empires remains the undisputed meta for generating millions of gold per season. If you love optimizing production pipelines similarly to complex management loops found in games like Project Zomboid, mastering the Artisan route transforms your farm into a self-sustaining financial powerhouse.
Combat: Surviving the Skull Cavern and Volcano Dungeon Solo
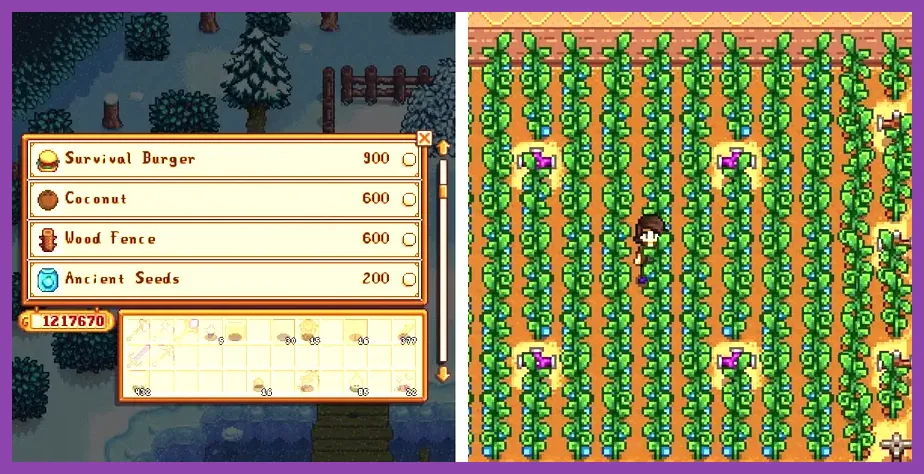
Combat is your secondary lifeline. When you dive into the 120 floors of the Pelican Town Mines, the challenging Skull Cavern, or Ginger Island's Volcano Dungeon, you have no teammates to revive you or pull enemy agro. At Combat Level 5, you choose between Fighter (+10% attack damage, +15 max health) and Scout (+50% critical strike chance). Always take Fighter. Raw, consistent damage output is mathematically superior to critical hits in Stardew Valley because reliable two-shotting of Serpents and Mummies prevents health attrition.
At Combat Level 10, Fighter branches into Brute (+15% damage) and Defender (+25 max health). While Brute sounds tempting, Defender is surprisingly optimal for solo players who rely on face-tanking hits while spamming Life Elixirs or Mega Bomb detonations. Alternatively, if you prefer evasion and heavy critical builds with the Infinity Dagger, switching to Scout and Desperado at a statue of uncertainty later in the game is viable, but Fighter-Defender offers the smoothest progression curve for standard playthroughs. For players transitioning from intense tactical shooters or fast-paced action titles like Counter-Strike 2, keeping your reflexes sharp against sudden Serpent swarms is critical to avoiding untimely deaths.
Mining: Accelerating Material Grinds Without Co-op Support
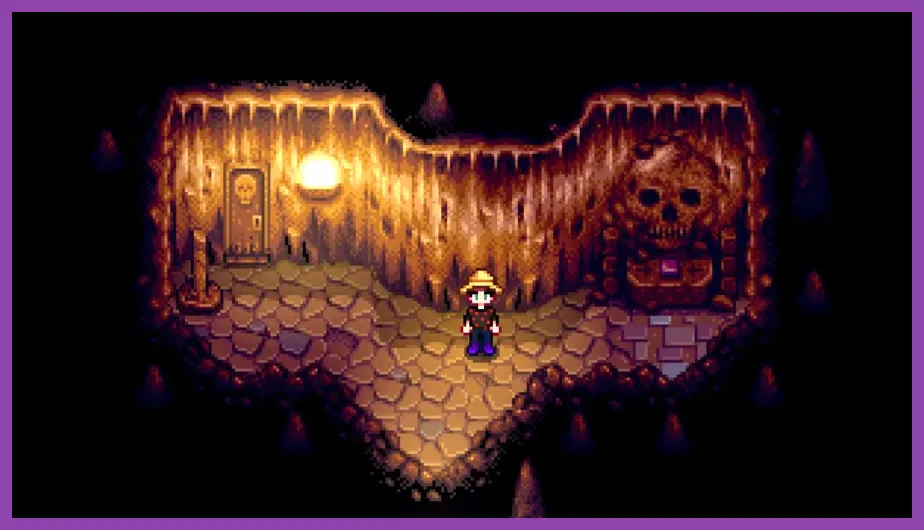
Mining dictates how fast you can upgrade your Pickaxe and Axe to Iridium, craft crystalariums for Jade-to-Staircase duplication, and build heavy machinery. At Mining Level 5, you choose between Miner (+1 ore per vein) and Geologist (chances for gems to appear in pairs). Take Miner. Solo players need massive volumes of Copper, Iron, Gold, and Iridium Ore to fund sprinklers, casks, and bombs. Saving time on ore gathering directly translates to more energy saved for farming and social events.
At Mining Level 10, Miner branches into Blacksmith (coal and metal bars worth 50% more) and Prospector (find twice as much coal). Prospector is the hidden gem for solo progression. Coal is notoriously the biggest bottleneck in Stardew Valley crafting—needed heavily for Quality Sprinklers, Bee Houses, and Kegs. While selling bars for extra gold via Blacksmith is nice, the self-sufficiency provided by Prospector's coal drops keeps your production lines moving without forcing you to spend days grinding Dust Sprites in the frozen floors.
Fishing: Early Game Liquidity and Energy Management
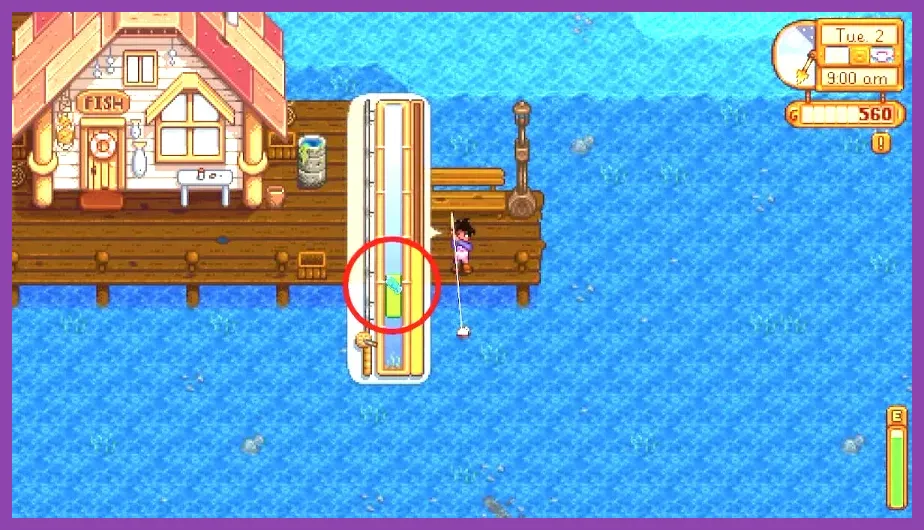
In the first Spring of a solo playthrough, cash flow is tight and energy is extremely limited. Fishing is the ultimate equalizer. At Fishing Level 5, you choose between Fisher (fish worth 25% more) and Trapper (resources required to craft crab pots halved, crab pots take less maintenance). Always choose Fisher to maximize immediate capital injection during the first twenty days.
At Fishing Level 10, Fisher branches into Anger (fish worth 50% more) and Pirate (chance to find treasure chests doubled). While Pirate is fun for finding Artifact Troves and Lost Books, Angler cements your early-to-mid-game economy. Catching Catfish on rainy days and Lava Eels in the Mines with the Angler profession yields thousands of gold per day before your farming empire is established. If you enjoy deep progression systems and meticulously planning your character builds, checking out guides on Warframe build optimization can provide a similar satisfaction of scaling power.
Foraging: Wood, Woodcutter, and Botanical Efficiency
Foraging is often overlooked, but for a solo player managing extensive farm expansions, it dictates how quickly you can clear hardwood, build sheds, and craft storage chests. At Foraging Level 5, choose Forester (wood is worth 25% more and trees drop more wood) over Gatherer. The extra wood yield is invaluable during the massive land-clearing phases of Spring and Summer.
At Level 10, Forester branches into Lumberjack (normal trees occasionally drop hardwood) and Tapper (syrups are worth 25% more). Lumberjack is a massive quality-of-life upgrade for solo players. Having a steady passive stream of Hardwood without needing to daily-farm Secret Woods stumps accelerates your ability to craft Horse Flutes, Farm Computer units, and heavy-duty chests. Combine your farming and foraging routes efficiently, and consult resources like the Stardew Valley Wiki to verify seasonal foragable spawn locations and maximize your daily walk paths across Pelican Town.