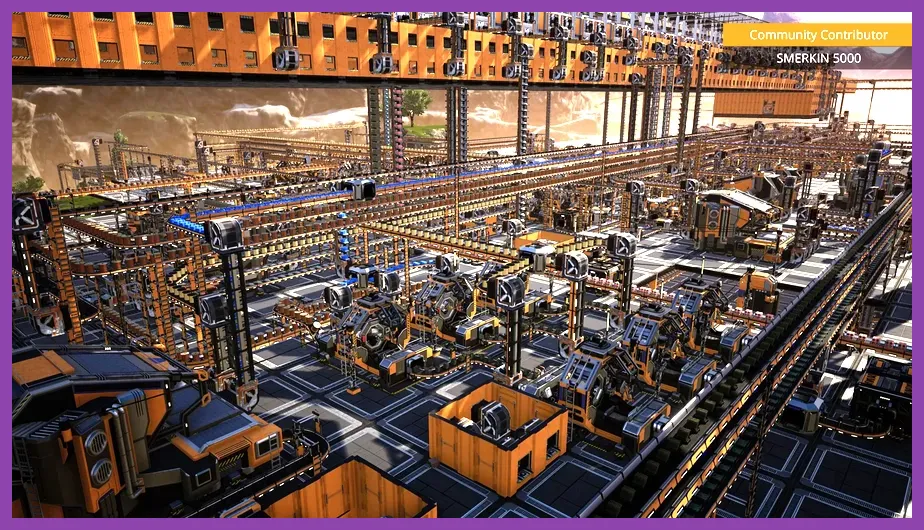
Satisfactory has no selectable character classes, so the best solo-player “class” is a logistics-focused builder: prioritize efficient factory layouts, reliable power, personal mobility, and modular production over combat specialization. Start in Grass Fields, rush coal power, unlock the MAM’s mobility upgrades, and build factories that can expand without being demolished.
What Is the Best Solo Class in Satisfactory?
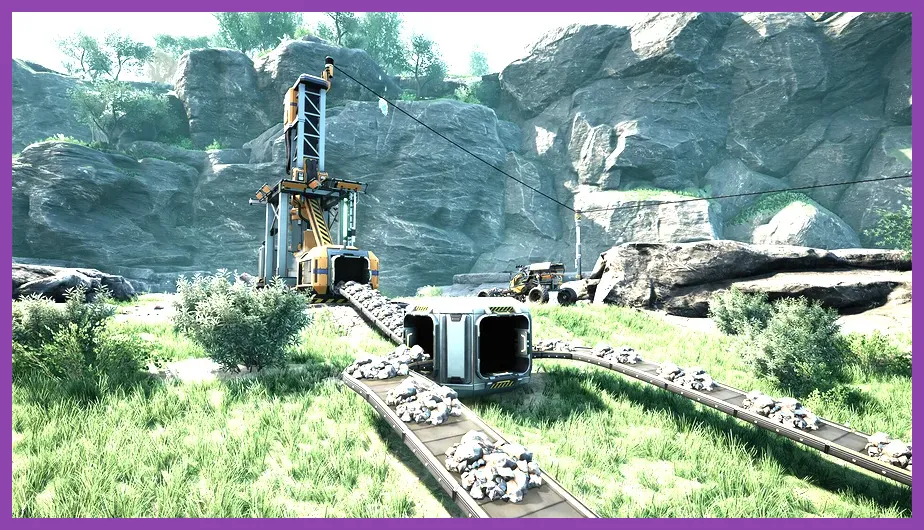
The practical solo class is the Logistics Engineer. Satisfactory does not assign you a Warrior, Miner, or Engineer class at character creation. Every player uses the same tools, equipment, technologies, and weapon unlocks. Your “class” is defined by the way you spend resources and structure progression.
For solo play, logistics beats a combat-first approach because nearly every objective is solved through throughput. The strongest priorities are iron, copper, limestone, coal, steel, oil, and aluminum. A solo player must mine, transport, refine, assemble, defend, and troubleshoot without teammates covering weak points. An organized factory therefore provides more value than extra weapon damage.
Choose the Grass Fields starting area if you want the smoothest solo campaign. It has abundant iron, copper, limestone, and biomass near the starting position, while the open terrain makes early conveyor lines easy to place. The Rocky Desert offers more room and strong resource access, but its distances and hostile wildlife make the opening more demanding. The Northern Forest has excellent nodes but tighter terrain and more complicated construction angles.
Players coming from traditional class-based games should not copy a fixed build. Our Satisfactory solo-player class guide is best understood as a logistics blueprint: automate basic parts quickly, create spare capacity, and avoid building every machine at maximum demand before your power grid is ready.
Best Solo Progression and Skill Priorities

Satisfactory’s progression is divided between Milestones, Space Elevator phases, and the MAM. Your first objective should be the HUB and its early tiers, not weapon collecting. Unlock Tier 1 Logistics for Conveyor Splitters and Mergers, then take Tier 2 Logistics for Conveyor Lift Mk.1. These two unlocks let you balance production instead of manually feeding machines.
Use this priority order for solo progression:
- Tier 1 Logistics: unlock Splitters, Mergers, and storage access so every basic line can run unattended.
- Tier 2 Logistics: unlock Conveyor Lift Mk.1 and improve vertical factory design.
- Tier 3 Coal Power: replace biomass burners with Coal Generators and stabilize your grid.
- Tier 3 Basic Steel Production: unlock the Foundry, then produce Steel Ingots, Steel Pipes, and Steel Beams.
- Tier 4 Advanced Steel Production: unlock Conveyor Belt Mk.3 and stronger industrial capacity.
- Tier 5 Oil Processing: move toward Plastic, Rubber, Fuel, and Fuel Generators.
In the MAM, prioritize the Hatcher Research Chain for alien power shards, then pursue Mycelia for medicinal inhalers and fabric-related utility. The Sulfur tree is important for explosive options and later advanced materials. Alien Power Augmenters should be saved for machines that would otherwise force a major expansion of your power plant.
Mobility is the solo player’s second skill tree. Unlock the Parachute, Zipline, and eventually the Jetpack. The Blade Runners are especially valuable because they increase movement speed and jump height, making resource scouting and construction much faster. Keep a Nobelisk Detonator available for clearing vegetation, rocks, and dangerous terrain, but do not treat explosives as your primary damage strategy.
Best Solo Loadout, Weapons, and Combat Routine
The Logistics Engineer still needs a combat loadout. Carry the Rebar Gun early, then upgrade to the Rifle once you have access to the required ammunition and components. The Rebar Gun is efficient against individual creatures, while the Rifle is safer against groups and airborne threats. Keep Medicinal Inhalers on the hotbar and carry Paleberries or Bacon Agaric as emergency healing items.
For dangerous exploration, use this rotation:
- Scan the area with the Object Scanner and identify hostile creatures before approaching a node.
- Place a temporary personal storage box and respawn point near long expeditions.
- Open with Rebar Gun shots against a single target, then switch to the Rifle when multiple enemies close in.
- Strafe rather than backpedal, especially against Spitters and Alpha variants whose projectiles punish predictable movement.
- Use the Jetpack or Blade Runners to gain elevation and break line of sight around trees, rocks, and factory foundations.
- Heal before reaching critical health; respawning far from a remote hard drive can cost more time than one inhaler.
Hard Drives are more valuable than most early combat rewards because they unlock Alternate Recipes. Scan crash sites after securing nearby enemies, then research each drive in the MAM. Strong solo recipes include Cast Screw, which removes Screw production from Iron Rods, Iron Wire, which improves Copper Wire output, and Solid Steel Ingot, which reduces Coal consumption compared with the default steel recipe. Alternate recipes are the closest thing Satisfactory has to a true class specialization.
For combat-focused comparisons, Steamoz’s Lords of the Fallen class tier list explains a conventional class system, while the Minecraft weapons tier list covers equipment prioritization. Neither system applies directly here: factory throughput remains the dominant solo advantage.
Best Solo Factory Layout and Power Plan
Build a main bus for common materials, but do not force every product onto one belt. Reserve dedicated lines for Iron Plates, Iron Rods, Copper Sheets, Concrete, Steel Pipes, and modular parts. Use Smart Splitters once available to route overflow into storage or an Awesome Sink. This prevents one blocked container from stopping an entire production chain.
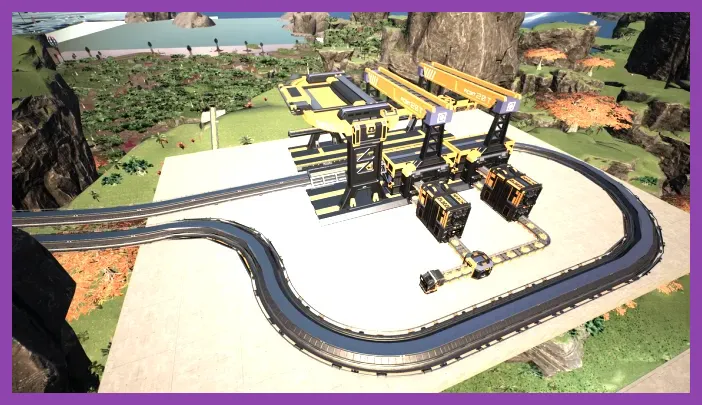
Keep the first factory close to iron, copper, and limestone, but move oil, aluminum, and uranium processing to satellite sites. Connect them with Tractors early and Trains later. A single railway with a Train Station, Freight Platform, and returning locomotive can transport high-volume materials more cleanly than dozens of long belts. The train system is especially useful for solo players because it turns distance into a planning problem instead of a constant maintenance chore.
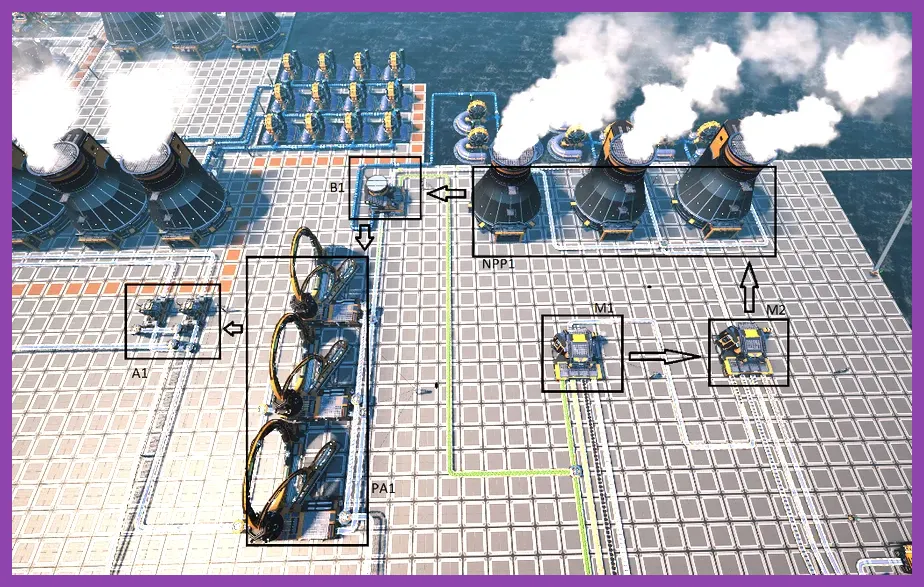
Coal power is the first major test of the solo Logistics Engineer. A Coal Generator consumes 15 coal per minute and 45 cubic meters of water per minute at 100% clock speed. A standard Water Extractor produces 120 cubic meters per minute, so one extractor can support two generators with water left over, or three generators if the pipe network is balanced carefully. Build at least eight generators in a clean block, use separate water branches, and leave room for more generators before your grid reaches its limit.
Later, Fuel Generators and Nuclear Power reward modular construction. Nuclear plants require Uranium Fuel Rods, Encased Uranium Cells, and extensive waste handling, so keep the nuclear site far from your main hub. Never place nuclear production beside your starter factory: radioactive waste cannot be removed normally and will permanently complicate nearby building space.
Solo Endgame Specialization and Final Verdict
By the late game, the best solo class remains the Logistics Engineer, but you can specialize into three practical variants. The Efficiency Builder uses Alternate Recipes, overclocking, and underclocked machines to reduce power spikes. The Explorer prioritizes Blade Runners, Jetpack mobility, Hard Drives, and resource scanning. The Megafactory Architect focuses on trains, Smart Splitters, vertical floors, and clean modular production.
For most players, combine all three in that order: efficiency first, exploration second, megafactory design third. Do not rush Tier 9 if your power grid is unstable or your elevator parts are being produced manually. A factory that produces Thermal Propulsion Rockets or Assembly Director Systems slowly but continuously is stronger than a larger build that repeatedly trips its generators.
Check the official Satisfactory Steam page for the current PC version, and use Coffee Stain’s official Satisfactory site for update information. The officially supported Satisfactory Wiki is useful for checking recipe ratios, node purity, and machine consumption before committing to a large build.
Whether you are playing on a powerful PC, streaming through a console setup, or searching for the best PS5 Pro solo experience, the answer is not a combat class. Choose the builder-logistics playstyle, automate every repeatable task, secure coal power early, and use alternate recipes to make each resource node work harder. In Satisfactory, the most powerful solo character is the factory you design.