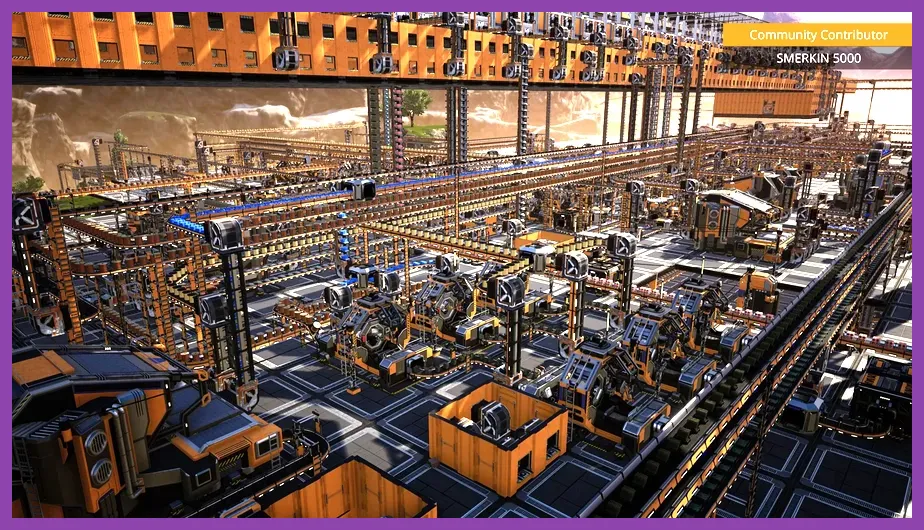
The best Satisfactory class for solo players is the Pioneer Explorer-Engineer hybrid: prioritize mobility, ranged combat, inventory efficiency, and power automation instead of specializing in pure building or fighting. Satisfactory has no selectable classes, skill trees, or permanent character roles, so your class is defined by the equipment, milestones, alternate recipes, and factory priorities you choose.
This setup works because solo players must handle every job themselves. You will mine ore, clear hostile creatures, transport materials, research hard drives, lay power lines, and expand production without another player covering a weakness. The Explorer-Engineer build keeps progression flexible while avoiding the two most common solo problems: getting stranded far from the HUB and rebuilding an entire factory because power or logistics were ignored.
What Counts as a Class in Satisfactory?
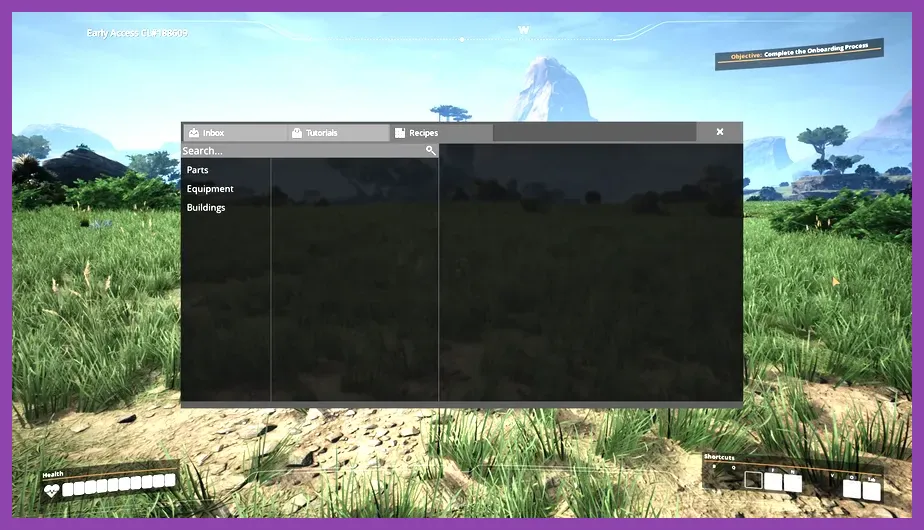
Satisfactory begins with every player as a Pioneer, but the game does not offer traditional roles such as tank, medic, engineer, or scout. Your effective class is a practical playstyle made from three systems: equipment unlocks, MAM research, and production milestones. Unlike a role-playing game, you can change your approach at any time by switching equipment and reorganizing your factory.
For solo play, the most important class decisions are not cosmetic. They determine how quickly you can travel, how safely you can enter hostile areas, and how much time you spend hand-feeding machines. A combat-focused Pioneer can kill creatures efficiently but still struggle with power. A construction-focused Pioneer may build quickly but lose time whenever a resource node is guarded. The strongest solo setup combines both.
Your early loadout should eventually include the Blade Runners for faster movement and higher jumps, the Xeno-Zapper or Xeno-Basher for close combat, a Rebar Gun for ranged damage, and the Object Scanner for locating resources and points of interest. Later, add the Jetpack, Hover Pack, Rifle, Nobelisk Detonator, Gas Mask, and Hazmat Suit as the world becomes more dangerous.
The official Satisfactory Steam page confirms the central loop: explore an alien planet, automate production, and build increasingly complex factories. That loop is why a hybrid class is more reliable than a narrow specialization.
Solo Playstyle Ranking: S-Tier to B-Tier
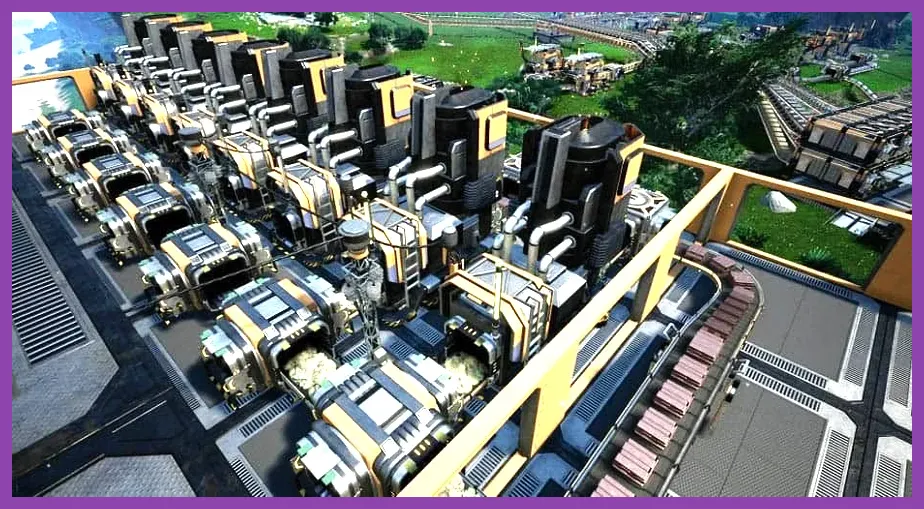
S-Tier: Explorer-Engineer Hybrid
This is the best class for nearly every solo world. Use Blade Runners and the Jetpack for traversal, carry a Xeno-Basher and Rebar Gun for defense, and prioritize MAM research that improves exploration. Build small, modular factories rather than one enormous starter base. This gives you enough mobility to find hard drives and enough engineering power to automate every major production chain.
The hybrid ranks S-Tier because it covers the four tasks that cannot be delegated in solo play: reaching new resource nodes, surviving hostile creatures, building production lines, and maintaining power. It also scales well. The same player who uses a Rebar Gun to clear an Alpha Hog can later use a Hover Pack to construct a steel manifold above the factory.
A-Tier: Pure Builder
The Pure Builder focuses on foundations, organization, conveyor routing, and aesthetic layouts. It is excellent once you have stable coal or fuel power, but it is weaker during the first several hours. Without early mobility and combat tools, guarded limestone, caterium, crash sites, and hard drives become inconvenient detours.
This class works for players who prefer planning over exploration. Choose it after unlocking the Logistics and Solid Biofuel milestones, but do not delay weapons or Blade Runners for too long. A beautiful factory still stops if a hostile creature prevents access to a nearby node.
B-Tier: Combat-Focused Pioneer
A Combat-Focused Pioneer carries every weapon and aggressively clears the map. This is entertaining, but it is inefficient because creature drops are not the main progression bottleneck. You still need iron, copper, limestone, coal, water, and automated transport. Spending early resources on ammunition while machines remain hand-fed slows the entire run.
Combat specialization becomes more useful when hunting dangerous areas, collecting hard drives, or preparing for nuclear production. It should not be your starting identity unless you are deliberately playing a challenge run.
Best Early Solo Loadout and Equipment Order
Equipment slots are limited, so carry tools that solve a specific solo problem. Your first practical loadout should be a Xeno-Zapper, Portable Miner, Build Gun, and Object Scanner. Add the Xeno-Basher as soon as it becomes available through the MAM, then unlock the Rebar Gun for safe ranged attacks.
- Build Gun and Portable Miner: These are mandatory for early production. A Portable Miner has no conveyor connection, but it lets you collect starter ore while the HUB and Miner Mk.1 milestones are still locked.
- Xeno-Zapper: Use it against regular Hogs, Spitters, and smaller wildlife. Attack, back away, and avoid standing still during a creature charge.
- Blade Runners: Unlock these before long exploration trips. The movement and jump improvements reduce fall risk and make it easier to escape Hogs and Stingers.
- Rebar Gun: Standard Rebar is the best early ammunition because it is cheap and gives you distance. Explosive Rebar is valuable against groups, while Stun Rebar can interrupt dangerous creatures.
- Object Scanner: Use it to locate Mercer Spheres, Somersloops, power slugs, and hard drives. Researching alien artifacts and hard drives creates major advantages for a solo factory.
- Jetpack: Unlock it when you have automated fuel or packaged fuel. It enables cliff traversal and safer construction, but remember that it cannot replace a parachute during every fall.
- Hover Pack: This is the strongest solo construction upgrade. It connects to nearby power and lets you fly around powered factory areas while placing foundations, conveyors, and machines.
Keep the Parachute available when scouting deep ravines. The Jetpack is powerful, but falling while your fuel is empty can still kill the Pioneer. Store the Gas Mask and Hazmat Suit in an equipment box near your factory until poison gas and nuclear production become relevant.
Best Solo Milestone and MAM Priorities
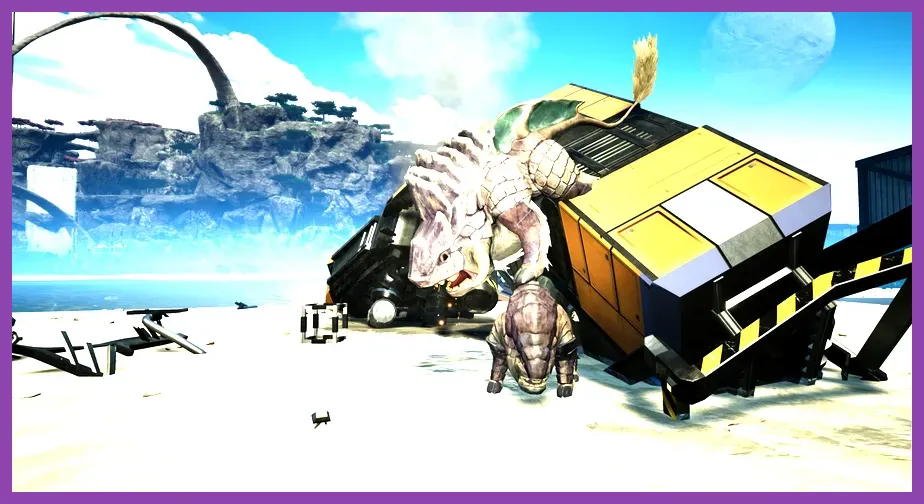
Solo players should not unlock milestones randomly. Every choice should either increase automation, improve movement, or reduce the time spent traveling between the HUB and resource nodes.
Phase One: Automate Iron and Copper
Start with iron production because Iron Ingot supports Iron Plates, Iron Rods, Screws, Reinforced Iron Plates, Rotors, and Modular Frames. A Miner Mk.1 produces up to 60 ore per minute from a normal node, while a Miner Mk.2 produces up to 120 and a Miner Mk.3 up to 240. These numbers matter when planning smelters and avoiding early bottlenecks.
Automate Iron Plates and Iron Rods first, then Reinforced Iron Plates and Rotors. Copper should produce Copper Sheets and Wire, because Copper Sheets are required for pipes and later heat-management components. Use storage containers between production stages so one slow recipe does not stop the entire line.
Phase Two: Reach Coal Power Quickly
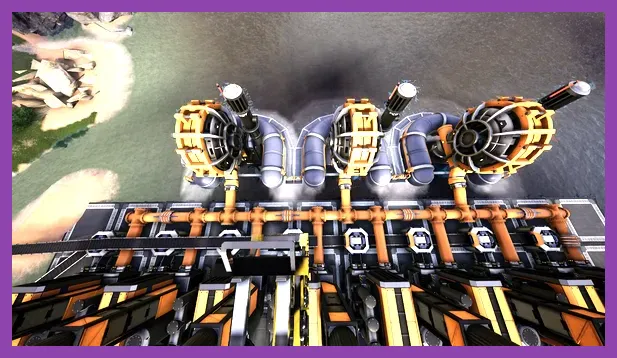
Coal power is the first major solo breakthrough. A Coal Generator produces 75 megawatts, but each generator requires 15 coal per minute and 45 cubic meters of water per minute at full output. A Water Extractor produces 120 cubic meters per minute, so two extractors can support only five generators exactly on paper. In practice, use three extractors for eight generators or build manifolds with enough buffer capacity.
Place the coal plant near water, not necessarily beside your starter factory. Transporting coal is usually easier than routing long water pipes uphill. Connect the plant to a separate power grid if possible, and keep a few Biomass Burners ready as an emergency restart source. A Biomass Burner produces 30 megawatts and can restart pumps or miners after a grid failure.
Phase Three: Research Movement and Alternative Recipes
Use the MAM to unlock Caterium research for faster production and improved electronics, Sulfur research for explosives, and Mycelia research for inhalers and fabric-based equipment. Hard drives are especially important because they offer alternate recipes. For solo play, prefer recipes that reduce screw usage, simplify transportation, or improve foundry throughput.
Do not spend every hard drive immediately. Compare the ingredients against your current node locations and factory layout. An alternate recipe is only good if it removes a real bottleneck. This approach is similar to choosing a flexible build in other games; Steamoz also covers role selection in our Overwatch 2 solo class guide, but Satisfactory rewards production planning rather than permanent character stats.
Solo Combat Rotation and Creature Counters
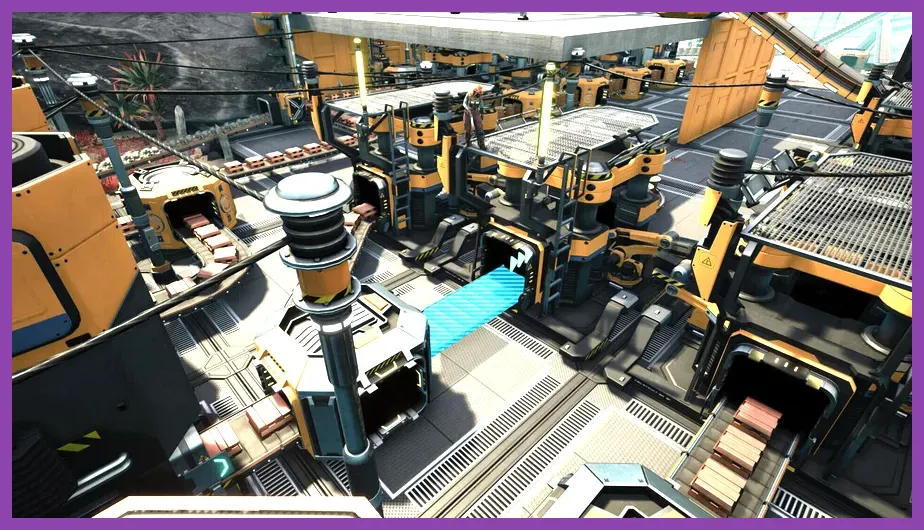
Combat should protect your production schedule, not replace it. Before leaving the base, carry healing items, ammunition, a weapon, and enough inventory space for hard-drive research materials. Put the Rebar Gun or Rifle in an accessible hotbar slot and keep the Xeno-Basher beside it for emergencies.
Hogs and Alpha Hogs
Regular Hogs telegraph a charge by facing you and lowering their body before rushing forward. Strafe sideways rather than retreating in a straight line. Fire Rebar at close-to-medium range, then switch to the Xeno-Basher if the Hog reaches you. Alpha Hogs have more health and hit harder, so fight from a ledge, rock, or foundation whenever possible. Never allow one to push you toward a cliff.
Spitters and Flying Creatures
Spitters attack from range and can punish players who stand still while building. Use terrain to break line of sight, peek out to fire, and move immediately after each shot. Flame Spitters are especially dangerous around vegetation because their projectiles can force you out of cover. Clear them before placing a long conveyor route.
Stingers
Stingers are the biggest reason solo players should not rush into caves. They can ambush you at close range and make narrow tunnels difficult to escape. Bring healing items, use a Rebar Gun or Rifle, and place portable lights or foundations to improve visibility. If a cave contains several Stingers and no immediate resource objective, leave and return with better weapons.
Nobelisk explosives are excellent for clustered enemies and environmental obstacles, but do not use them beside machines, power poles, or storage containers unless you accept collateral damage. The official Satisfactory website and Coffee Stain Studios game page are useful references for major updates, while the game itself remains the authority for current recipe and balance changes.
Factory Layout for the Best Solo Class
The Explorer-Engineer hybrid performs best with a three-layer factory strategy. First, keep a compact starter base near iron, copper, and limestone. Second, build dedicated outposts at coal, oil, quartz, sulfur, and later uranium locations. Third, connect those outposts with trains, trucks, drones, or long conveyor lines only when production volume justifies the effort.
Use foundations from the beginning. A 10-by-10 foundation platform is enough for an early iron block, and leaving one foundation of spacing between machines makes belt upgrades much easier. Use splitters and mergers in manifolds, then place a storage container at the output of every important production chain. Label containers with signs so solo troubleshooting does not become a memory test.
Separate power generation from manufacturing. Coal, fuel, and nuclear plants should have clear access paths, spare space for additional generators, and independent water infrastructure. Nuclear power is a late-game commitment: Nuclear Power Plants produce 2,500 megawatts, but uranium fuel rods, waste handling, and radiation protection make the setup far more demanding than coal or fuel.
For performance, reduce unnecessary decorative objects near the main factory and avoid building every belt at maximum length. If your frame rate drops during large-scale construction, Steamoz has a practical low-FPS troubleshooting guide; the same basics apply here, especially lowering shadows and view distance before reducing texture quality.
Final Solo Class Verdict
The Explorer-Engineer hybrid is the clear S-Tier choice for solo Satisfactory players. Start with iron automation, unlock Blade Runners and the Rebar Gun early, reach coal power before overbuilding the starter base, and use hard drives to remove production bottlenecks. Keep combat equipment ready, but invest most resources in reliable logistics and power.
The key advantage is flexibility. You can scout a distant crash site, defeat an Alpha Hog, return with a hard drive, and immediately use the new alternate recipe in a modular factory. A pure builder or combat specialist may outperform the hybrid in one activity, but neither handles the full solo workload as consistently.
Do not worry about choosing perfectly at the HUB. Satisfactory has no irreversible class selection. Replace the Xeno-Zapper with the Xeno-Basher, switch from Jetpack to Hover Pack, move from coal to fuel, or rebuild an entire production line whenever your factory needs it. The best solo class is ultimately the Pioneer who keeps exploration, defense, automation, and power progressing together.
For broader progression planning, pair this approach with Steamoz guides such as our endgame build-planning guide and beginner tips for Monster Hunter Wilds. The games differ, but the same principle applies: choose a setup that solves your most frequent problems instead of maximizing only one statistic.