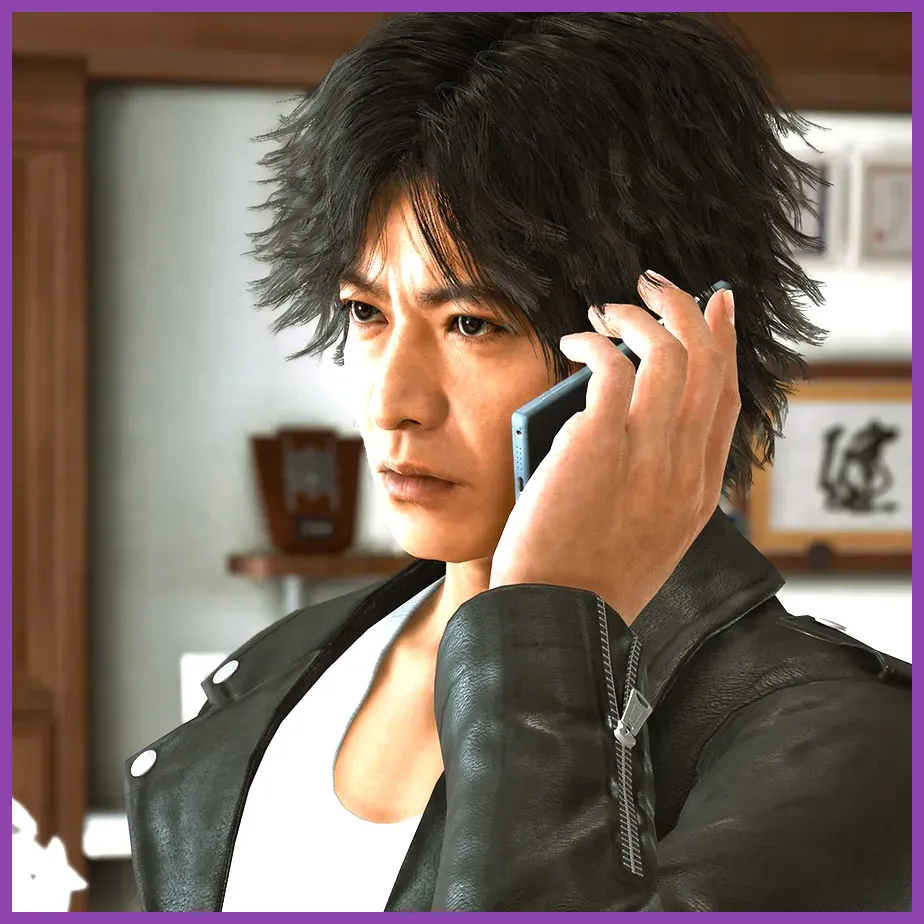
For a clean Lost Judgment complete walkthrough and progression guide, follow the main case until new School Stories, side cases, and city activities open up, then pause to upgrade Yagami's skills, gear, and combat styles before every major investigation. The fastest reliable route is main story first, targeted side content second, and full completion only after the final chapter unlocks the remaining activities.
Lost Judgment is generous with money and distractions, but it hides several important upgrades behind optional content. You can finish the story while ignoring Seiryo High, yet you'll miss combat tools, relationship rewards, and context that make the final stretch much easier. This guide covers the story route, exploration priorities, combat progression, detective tools, School Stories, side cases, and the most common points where players accidentally waste time.
If you're new to Ryu Ga Gotoku Studio's style of urban adventure, the official Steam listing for The Kaito Files is worth bookmarking separately; it is an expansion, not part of the base game's critical path. For the main release, check the official Lost Judgment page before buying DLC or planning a completion run.

How to Structure the Main Story Without Missing Upgrades

The opening chapters establish Yagami's investigation into Akihiro Ehara, the Tokyo Metropolitan Police officer whose public train-platform humiliation is linked to a murder in Isezaki Ijincho. Let the early story teach you the investigation controls instead of rushing through every prompt. Search mode, tailing, disguises, and surveillance sections are mostly linear, but the game begins layering optional objectives into those scenes after the first major trip to Yokohama.
Your first major progression decision arrives when Yagami starts moving between Kamurocho and Isezaki Ijincho. Kamurocho is the efficient place to buy medicine, upgrade gear, and handle familiar side cases. Ijincho is where the central investigation, Seiryo High's activities, and many later combat encounters develop. Keep a reasonable supply of Toughness Z and Toughness Emperor before story missions; healing items are cheap compared with the time lost repeating a difficult encounter.
Don't spend every yen on weapon upgrades immediately. Early gear has short usefulness windows, while skill unlocks remain valuable for the entire campaign. The best early purchases are inventory expansion, basic EX Action improvements, and defensive equipment that reduces incoming damage. Save some cash for detective gadgets and the more expensive late-game skill nodes.
| Progression Point | What to Do First | Why It Matters | Recommended Timing |
|---|---|---|---|
| First Kamurocho return | Buy medicine and unlock basic skills | Prevents early fights from draining resources | Immediately |
| First Ijincho investigation | Open Seiryo High activities and check shops | School Stories feed useful combat and stat rewards | Before pushing the next case |
| New detective gadget | Test it in the current neighborhood | Some clues and side cases only appear with the correct tool | Same play session |
| Before a story boss | Equip medicine, defense gear, and EX-related skills | Bosses punish underprepared damage rotations | Before entering the marked objective |
| Final story approach | Finish desired side content and save manually | Several scenes become combat-heavy and spoiler-sensitive | Before the final sequence |
Story pacing by chapter group
The early campaign is investigation-heavy. Use this time to learn the difference between normal observation, noise amplification, and the detector. Middle chapters add more street combat, tailing, and school-related objectives, so your skill budget should shift toward crowd control and survivability. The final chapters chain investigations and fights together more aggressively; enter them with a full medicine pouch and at least one reliable healing or EX-focused setup.
There are no permanently missable main-story upgrades, and you can clean up much of the city after finishing the story. Still, save before every chapter transition. Lost Judgment occasionally moves you into a sequence with limited access to shops, and a manual save is the safest way to preserve your preferred exploration order.
Combat Progression: When to Use Tiger, Crane, Snake, and Boxer
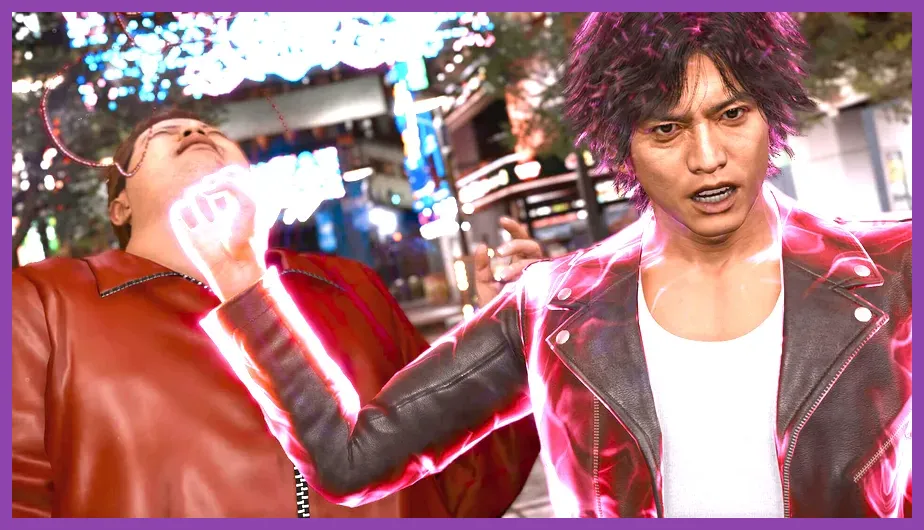
Yagami's three base styles are not cosmetic stances. Tiger is your single-target damage and armor-breaking option, Crane is built for groups, and Snake controls armed or aggressive opponents with counters and throws. The Boxing style is available through the game's extra content and is excellent for direct pressure, but it shouldn't replace the base-style fundamentals during a first playthrough.
Use Crane when enemies surround Yagami or spread into a loose semicircle. Its wide attacks clear weaker targets quickly, especially after you unlock skills that improve EX Gauge gain and crowd-focused attacks. Switch to Tiger when one enemy remains or when a tougher target is staggered. Tiger's tighter strings are easier to aim and generally produce better damage against a boss who is no longer protected by minions.
Snake is the answer to weapons and reckless rushers. Its counters require timing, but a successful counter can turn an enemy's momentum against them and create a clean opening. Don't spam Snake against a passive group; it is strongest when you can read a specific attack. Against armed enemies, prioritize disarming or throwing the weapon user before returning to Crane for the rest of the crowd.
Prioritize skill nodes that expand EX Actions, improve the EX Gauge, increase health, and unlock style-specific finishers. Raw attack bonuses are useful, but they are less noticeable than a new tool that interrupts a boss or clears three enemies at once. Equip accessories that improve attack or defense only after your core skill board has enough utility to support your preferred style.
| Situation | Best Style | Core Approach | Common Mistake |
|---|---|---|---|
| Four or more unarmed enemies | Crane | Circle the group, hit the edges, and finish with an EX Action | Standing still inside the mob |
| Single armored or elite enemy | Tiger | Evade the first swing, punish recovery, and use charged attacks | Continuing a long string after the enemy guards |
| Knife or bat user | Snake | Wait for the committed strike, counter, then disarm or throw | Attacking first into an armed lunge |
| Boss with summoned support | Crane, then Tiger | Delete support enemies before focusing the boss | Ignoring adds while chasing damage |
| Fast one-on-one duel | Boxing or Tiger | Use short strings and sidestep rather than trading hits | Relying on healing instead of spacing |
Boss fundamentals that save healing items
Most major fights use readable telegraphs: a brief pause before a lunge, a weapon lift before a heavy strike, or a wide red attack marker that demands immediate movement. The reliable pattern is evade, punish recovery, disengage. Don't chase a boss across the arena after a whiff; the next attack often has armor and will beat your follow-up.
EX Actions are strongest when they interrupt a dangerous sequence, not when you trigger them the moment the gauge fills. Position Yagami near environmental objects, bicycles, walls, or tables, because the arena itself frequently determines which finisher is available. If a boss enters a powered-up phase, stop trying to win the damage race. Heal, remove nearby enemies, and return to short safe punish windows.
Investigation Tools, Search Sections, and Detective Dog Routes
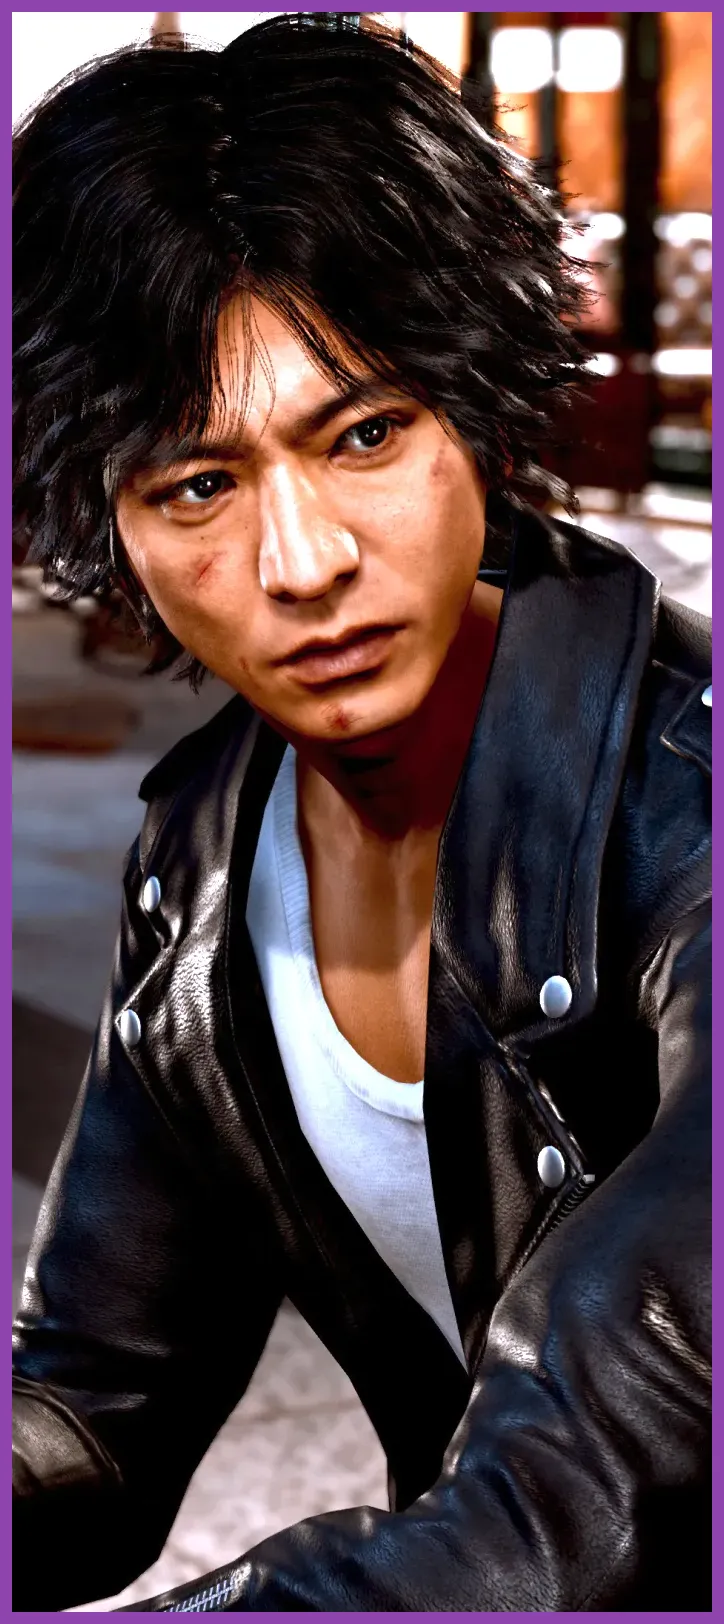
Lost Judgment's investigation scenes are usually straightforward, but the game expects you to switch tools rather than stare at one object. The detector is for electronic signals and hidden devices, noise amplification reveals distant conversations, and the camera helps identify suspicious details during observation segments. If a search appears frozen, move Yagami's viewpoint slowly across the entire environment instead of repeatedly examining the last highlighted object.
Tailing missions reward patience more than speed. Stay behind cover, keep the target inside the safe distance, and avoid sprinting unless the game explicitly demands it. Use corners and storefronts to break line of sight. A failed tail can feel slow because the sequence restarts from the beginning, so treat each movement as a rhythm: walk, cover, observe, advance.
The detective dog is more than a charming travel option. Follow it whenever the game allows a free walk because it can lead to items, money, or side content that would be difficult to locate manually. If the dog pauses, check the immediate ground and nearby objects before moving on. These rewards are modest individually, but they help fund medicine and equipment during a completion run.
Skateboarding and the drone also become more useful as the city opens. The skateboard cuts travel time across Ijincho, while drone searches are especially valuable in cases involving rooftops, windows, or distant surveillance. You don't need to sweep every roof during the main story; return later when a side case specifically identifies an elevated clue.
For general city-exploration habits, Steamoz's secret locations guide has a similarly useful approach: identify which clues are progression-critical and which are better saved for a cleanup pass.
School Stories and Side Cases: The Best Completion Order

School Stories are the biggest optional progression system in Lost Judgment. They begin at Seiryo High and branch into clubs including boxing, robotics, dance, biker, and more. These activities are not filler if you care about combat. The boxing storyline improves Yagami's close-range fundamentals, while the robotics and club investigations provide money, items, and access to scenes that deepen the game's central themes.
Do not attempt to max every club the instant it appears. Instead, complete the first available objective for each activity, then return to the main case. This unlocks the system's major rewards without turning the middle chapters into a grind. When a club asks for materials or a minigame score, use the nearest shop and avoid buying rare items until the objective explicitly requires them.
Side cases are best handled when they appear in the current district. They frequently teach mechanics that later become useful in the story, and several reward skill points, money, or equipment. Prioritize cases involving new detective tools, the detective dog, or named characters. Short delivery and street-crime requests can wait until you're already passing through the area.
| Optional Content | Priority | Reward Type | Best Completion Window |
|---|---|---|---|
| First objective in each School Story | S-Tier | Unlocks systems and future rewards | As soon as the club opens |
| Named side cases | S-Tier | Skill points, story context, equipment | When marked in the active district |
| Boxing club progression | A-Tier | Combat practice and character scenes | Middle chapters |
| Robotics club deep progression | A-Tier | Materials, money, optional investigation content | After collecting shop access |
| Random street requests | B-Tier | Cash and minor items | Cleanup after the story |
How to avoid the School Stories grind
Rotate activities instead of repeating one club for an hour. Buy materials only when prices are reasonable, use combat rewards to fund upgrades, and check the activity menus after every main-story milestone. Some progression gates are tied to specific characters or investigation developments, so a locked event doesn't necessarily mean you missed an item.
For players who enjoy optimizing optional content, compare this staged approach with the structured unlock priorities in Steamoz's weapon tier guide and starting build guide. The principle is the same: unlock broadly first, specialize after the game gives you enough information to make a meaningful choice.
Money, Gear, Skills, and Final-Chapter Preparation
Money comes from battles, side cases, restaurants, pawn shops, and minigames, but the best early economy is simply refusing to overbuy. Keep medicine stocked, purchase useful equipment when it appears, and avoid spending heavily on novelty items until your core combat skills are online. Restaurants also provide temporary meal effects, so eat before a difficult sequence when the bonus complements your style.
Skill points should first cover health, EX Gauge generation, style utility, and basic defensive options. After that, choose between Tiger damage, Crane crowd control, or Snake counter improvements based on how you actually fight. A player who constantly gets surrounded gains more from Crane's group tools than from a small Tiger attack increase. Conversely, a careful player who rarely takes damage can invest in Tiger finishers and boss punish windows.
Equipment bonuses matter most when they solve a specific problem. Attack gear shortens encounters, defense gear gives you room to learn a boss, and EX-oriented accessories can produce a safer loop if you understand when to spend the gauge. Don't equip a mixed set simply because every piece has a bonus; two items that reinforce your chosen plan are usually better than three unrelated effects.
Before the final run of story missions, make a manual save, refill healing items, repair or replace weak equipment, and finish the School Stories you care about. Check both Kamurocho and Ijincho for available cases. Also inspect your skill boards rather than leaving unspent points; a late-game health or EX upgrade can be the difference between a clean clear and repeated retries.
| Build Focus | Skill Priority | Gear Preference | Combat Rotation |
|---|---|---|---|
| Balanced investigator | Health, EX Gauge, style utility | One attack item and one defense item | Crane for groups, Tiger for elites |
| Aggressive Tiger | Charged attacks, Tiger finishers, attack boosts | Attack and EX damage bonuses | Evade, charged punish, EX finisher |
| Control-focused Snake | Counters, throws, defensive upgrades | Defense and damage reduction | Bait strike, counter, disarm, reposition |
| Completionist | Utility, inventory, movement-related options | Flexible bonuses and item capacity | Switch styles according to enemy group |
For performance, Lost Judgment is generally comfortable at 60 frames per second on a modern gaming PC, but crowded streets and reflections are the first places to watch. If your system struggles, reduce screen-space reflections and shadow quality before lowering texture quality. Stable frame pacing helps more than a higher peak frame rate during combat. Steamoz's graphics settings guide explains the same practical rule: cut expensive lighting effects first, not the settings that preserve image clarity.
The clean endgame checklist
Complete the final main-story preparation only after saving separately. Carry multiple healing items, keep at least one EX-friendly accessory equipped, and make sure Yagami's most-used style has its essential attacks unlocked. If a boss defeats you, change the plan rather than simply buying more medicine: remove support enemies, wait for telegraphs, and spend EX during recovery windows.
After the credits, return to both cities and clear remaining side cases, School Stories, collectibles, and minigames. Use the pause menus and case lists to identify unfinished content rather than wandering randomly. The post-story cleanup is much faster when you group objectives by district, and the detective dog can help locate rewards you would otherwise miss.
Lost Judgment rewards a deliberate route. Push the investigation forward, open every optional system once, invest skill points into utility before flashy damage, and reserve completionist cleanup for the end. That approach preserves the story's momentum while ensuring Yagami has the tools, money, and combat control needed for the game's toughest encounters.
For more progression-focused reads, see Steamoz's team composition guide and early skill priority guide. They cover different genres, but both reinforce the key lesson here: unlock flexible options first, then build around the challenges the game actually puts in front of you.
Additional official information is available through the Ryu Ga Gotoku Studio game site. Use it for release details and official announcements, while this walkthrough remains focused on practical progression and moment-to-moment decisions.