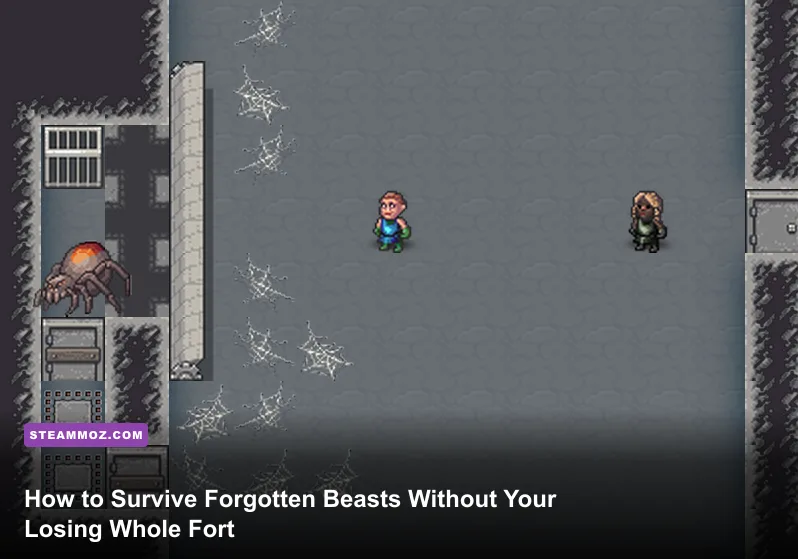
Beating a forgotten beast, titan, or any of Dwarf Fortress's nightmare megabeasts comes down to one brutal truth: you don't fight fair, you fight smart. Lure it into a fortified corridor lined with fortifications and marksdwarves, keep your melee squad in steel or better, and never let a single beast fight your whole military in an open cavern. That's the entire philosophy in a nutshell — now let's get into why it works and how to actually pull it off without losing half your fort to a syndrome-spewing husk with wings.

Why Dwarf Fortress Boss Fights Are Different From Everything Else
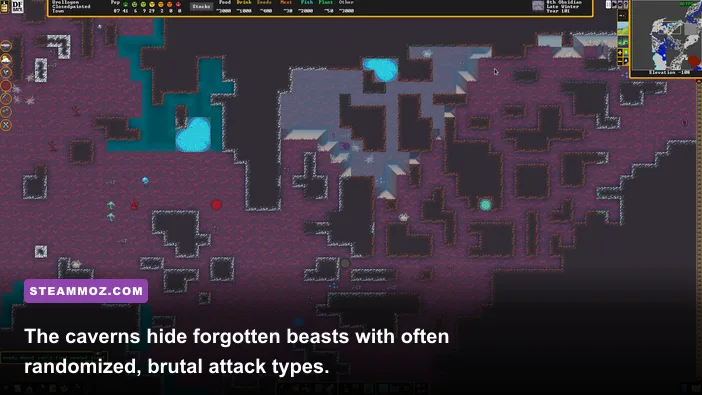
There's no boss health bar here, no telegraphed windup animations flashing red. Dwarf Fortress generates its bosses procedurally — forgotten beasts get randomized body parts, randomized attacks, and randomized special abilities every single time one spawns. One might breathe a fire that melts steel, another might just be a blind, deaf worm with paralyzing dust breath that's actually a total pushover. You genuinely don't know what you're dealing with until your first scout (usually an unlucky dwarf) gets torn in half or, if you're lucky, walks away confused about why the beast didn't react.
This randomness is why cautious scouting beats blind aggression every time. Before you commit your whole squad, check the beast's description in the Units menu or via legends mode if you've got a beast that's already been spotted. Look for keywords like "an odd fungus-like material" or "a terrifying advanced organ" — these hints tell you if it has fire, poison, webbing, or paralysis attacks before you send anyone near it.
🎮 Dwarf Fortress
Looking to experience this game? Grab your digital key directly on our store for $29.99.
View on Steammoz Store →Setting Up Your Military Before the Beast Even Shows Up

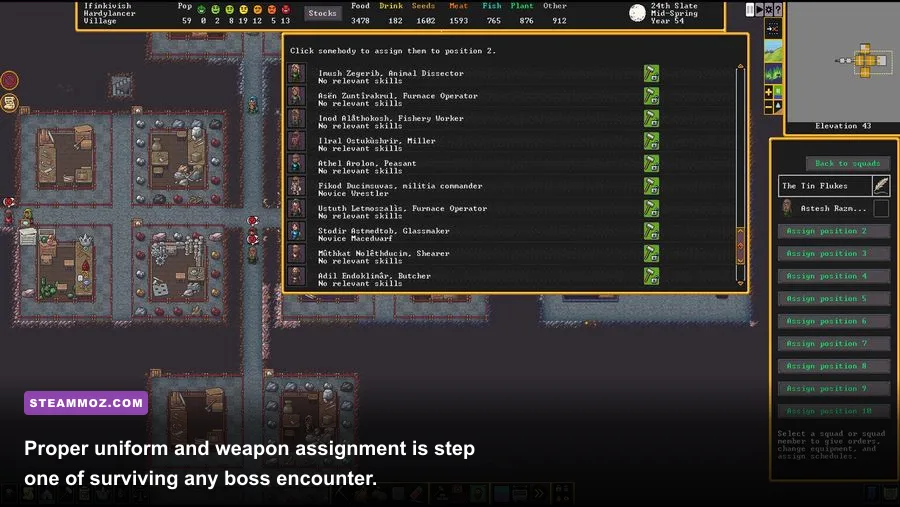
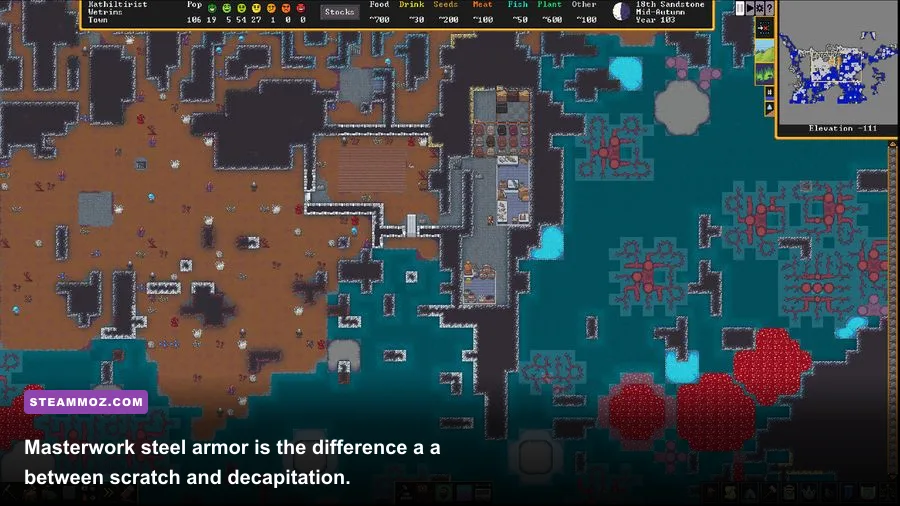
You cannot improvise a good defense the turn a titan smashes through your wall. Your military needs to be squared away months, sometimes years, before that happens. Aim for at least one full squad of 10 dwarves armored head to toe in steel — leather and copper won't cut it against megabeast claws, which routinely deal enough force to shatter bone through mail.
Prioritize this gear order: steel breastplate, steel greaves, steel high boots, steel gauntlets, steel helm, and a shield if your dwarf isn't dual-wielding. Weapon-wise, war hammers and mauls are underrated against beasts with high natural armor because blunt force causes internal damage that bypasses tough hide, while axes and swords excel at severing limbs and heads outright once the beast's guard drops. Picks are actually one of the sleeper-strong weapons in the game thanks to their absurd contact area stat, making them shockingly good at piercing thick beast skin.
Train your squad relentlessly using the military schedule — set them to train constantly rather than defend duty until they hit at least Proficient or Adept in their weapon skill. A dwarf with Legendary Fighter and Legendary Axedwarf skill will solo most single forgotten beasts; a squad of Novices will get slaughtered by the exact same beast.
| Combat Prep Stage | Key Danger | Counter Strategy | Optimal Tool |
|---|---|---|---|
| Pre-Fight Scouting | Unknown attack type (fire, dust, webs) | Check unit description before engaging | Units Menu / Legends Mode |
| Squad Gearing | Under-armored dwarves get one-shot | Full steel armor set, no gaps | Steel Breastplate + Greaves |
| Skill Training | Novice fighters flee or die instantly | Grind to Adept+ before engaging bosses | Barracks Training Schedule |
| Engagement Terrain | Open ground lets beast flank multiple dwarves | Fight in 1-3 tile wide corridors only | Fortified Chokepoint |
| Ranged Support | Melee squad takes full brunt of damage | Marksdwarves behind fortifications | Steel-Tipped Bolts |
The Chokepoint Is Your Single Best Weapon
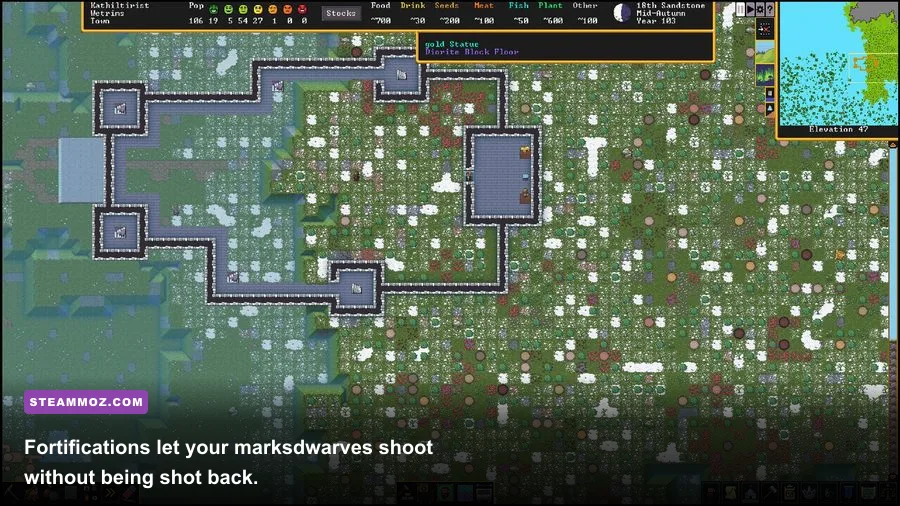
Forget fighting in the open. Dwarf Fortress combat resolves multiple attackers per tick, meaning a beast surrounded by six dwarves gets hit six times a turn while it can only realistically retaliate against one or two. That math only works in your favor if you force the fight into a narrow space — a 1-wide corridor, a bridge, a doorway. Build your military staging area right next to a corridor exactly one tile wide, dig fortifications into the walls flanking it, and station marksdwarves behind those fortifications so they can shoot into the hallway without the beast ever reaching them.
This setup single-handedly turns titans that could otherwise wreck an entire fortress into glorified target practice. Bolts chip away HP while your melee line finishes whatever staggers through. If you don't have marksdwarves trained yet, even a lever-operated bridge trap that drops the beast into a pit works — magma pits especially, since most creatures (barring fire-immune ones) simply combust on contact.
Reading Combat Reports Mid-Fight (Don't Just Watch and Hope)
Once the fight kicks off, pull up the combat report log constantly. You'll see exact phrasing like "strikes at the forgotten beast, but the shot is deflected by the mail shirt" or "tears open the guts, jetting blood everywhere" — these tell you in real time whether your armor's actually holding or whether the beast's attacks are punching through. If you're seeing repeated messages about dwarves being "stunned" or bones being fractured, pull that squad out immediately using the Fall Back order rather than letting attrition finish them off.
Watch specifically for syndrome-based attacks. Some forgotten beasts spray gas clouds or dust that inflict debilitating syndromes — bleeding, nausea, blisters, even instant death in extreme cases. If your dwarves start collapsing without visible wounds, that's a syndrome, not physical damage, and no amount of armor helps. The only real counter is keeping that beast's threat zone contained with miasma-proof doors, or simply not engaging it in melee at all and relying purely on ranged squads and traps from a distance.
Traps, Cage Catches, and the Coward's Path to Victory
There's zero shame in beating a boss without a single sword swing. Weapon traps loaded with serrated steel discs can shred a beast to pieces before it ever reaches your dwarves, and cage traps let you capture it alive — useful since a caught forgotten beast can be sold, used for entertainment via animal training if it's tameable, or even released for a rematch once your military levels up. Line a corridor with 5-6 weapon traps and most beasts will be dead or crippled before they clear the gauntlet.
Drawbridges are the nuclear option. A raised bridge blocks access entirely, letting you simply wait out a beast that's wandering your map without ever fighting it. Pair this with a retracting bridge trap over a magma channel and you've got a one-click kill switch for anything unfortunate enough to walk over it.
| Boss Type | Typical Threat Level | Best Counter | Notes |
|---|---|---|---|
| Forgotten Beast (Cavern) | Variable, often extreme | Scout first, fortified corridor | Random attacks make prep essential |
| Titan | Very High | Full steel squad + marksdwarves | Attacks aboveground fortress directly |
| Colossus | Extreme | Magma pit trap or cage trap | Massive size, huge damage output |
| Bronze Colossus (ruins) | High | Blunt weapons, avoid melee if undergeared | Immune to most edged weapon cuts |
| Night Creatures | Moderate to High | Avoid at night, daylight kills weaker ones | Some flee or vanish at dawn |
What To Do the Moment You Realize You're Losing
Pride kills forts. If your squad's HP is dropping and no beast damage is registering back, pull them out. Fall Back orders in the military screen work instantly and dwarves will run for the nearest safe zone. Seal doors behind your retreating squad if you've got a lever operator standing by — it buys precious seconds. Losing a squad member stings, but losing your entire fortress because you refused to retreat is the actual game-ending mistake most new players make.
Once you've stabilized, don't just throw the same squad back in. Reassess: did the beast have a syndrome attack you didn't account for? Was your armor tier too low? Add masterwork pieces, upgrade weapon quality, and consider drafting an extra squad of crossbow-wielding marksdwarves before the rematch. Dwarf Fortress rewards patience over bravado every single time — the beast isn't going anywhere, but your legendary blacksmith definitely can if you rush things.
For more strategy breakdowns on managing tough in-game encounters and getting the most out of your builds, check out our guides on beginner build optimization, our deep dive on ranking weapons by tier, and tips on fast leveling and resource farming that apply just as well to grinding out your dwarven military's skill levels.
If you want the deep mechanical rundown straight from the source, the official Bay 12 Games site and the Dwarf Fortress Wiki both break down combat formulas in painstaking detail, while the Steam page tracks the latest patches that can shift beast balance entirely. Also worth bookmarking is the r/dwarffortress community, where players constantly share fresh beast encounter reports worth learning from before your own fort meets its next uninvited guest.